Audy's Tom Yum Soup by Amy Cantu

Print Friendly and PDF

When I told my sister that we were going to feature some of our dad’s Thai home-cooking on the blog, she enthusiastically said, “Oh Dad makes the BEST tom yum soup!” I think she’s right. I’m hard-pressed to find a better one at any Thai restaurant - with generous pieces of fish, shrimp, and scallops (my favorite). The key to his soup is making sure to get the right balance of sweet, sour, salty, and spicy - you really do need to taste the soup and adjust the seasonings so that they equally satisfy all four senses. Limes vary in size, acidity and sweetness - so use your tastebuds as your guide and the listed amounts in the recipe as suggestions.

Notes: Thai soups are fragrant and spicy from all the fresh aromatic herbs and chilies. There will be large chunks of galangal, lemongrass, and lime leaves in the final soup that are not meant to be eaten, but are there to flavor the soup. You can fish them out before you serve, or do as the Thais do, and just eat around them. Lemongrass, lime leaves (a.k.a. makrut or kaffir lime leaves), and galangal can be found in the produce section of most Asian supermarkets and some well-stocked grocery stores. If you cannot find lemongrass or kaffir lime leaves, you can substitute strips of lime or lemon zest. You can also substitute ginger for the galangal. It will not have same flavor, but the soup will still taste good. Thai fish sauce or nam pla, can also be found in Asian supermarkets or in the Asian section of a well-stocked grocery store.

My dad uses scallops, salmon, and shrimp for the seafood in this soup. You can use any combination of seafood (mussels and other firm-fleshed fish work well) or substitute cut-up chicken.


Time: 30 minutes
Servings: 4-5 generously

¼ cup cilantro (with stems), finely chopped
1-2 fresh Thai bird chilies or serrano chilies, finely diced
1-2 limes, juiced
2 tablespoons Thai fish sauce (nam pla), add more or less to taste
2 teaspoons sugar
1 quart chicken stock
2 cups water
1 inch piece of galangal, sliced into ⅛” pieces
4 makrut lime leaves
2 stalks of lemongrass, cut into 2" lengths
1 small yellow onion, cut into 1” dice
1 shallot, cut into 1” dice
½ pound white button mushrooms, sliced into ½” pieces (about 2 cups)
½ pound salmon, cut into 2” pieces
½ pound sea scallops
½ pound medium shrimp, peeled and deveined

Combine cilantro, finely diced chilies, lime juice, fish sauce and sugar into a serving bowl and reserve. Remove outer layer of lemongrass stalk and cut stalk into 2-inch lengths. Using the butt of a kitchen knife, pound and bruise stalks all over.

Pour stock and water into a large pot, add galangal, kaffir lime leaves, and sliced lemongrass; bring to a boil over medium-high heat. Add onion and shallots and simmer for 5 minutes. Add mushrooms and simmer for 3 more minutes. Add salmon, simmer for 1 minute. Add scallops and simmer for 1 minute. Add shrimp and simmer for 1 minute or until just pink and no longer translucent. (Seafood will continue to cook in the hot broth after removing from heat.)

Ladle into serving bowl containing chili and cilantro mixture, and stir to combine. Taste and adjust lime juice (sour), fish sauce (salty), sugar (sweet), and chilies (spicy) as needed. (The soup should taste equally sour, salty, sweet, and spicy.) Serve immediately.

Chopped Herb Salad with Farro by Cynthia Raub

Print Friendly and PDF

California's El Niño dreams have been realized this winter. The rains that have drenched our drought stricken area have been numerous and plentiful. But in true California fashion, in between the blustery storm systems, we also had gorgeous clear days in the 70s! My husband has been telling me for years that he has SAD (Seasonal Affective Disorder). Like the amazing wife that I am, I laughed and teased him because I thought he was being dramatic. But this winter has brought out the SAD in me. As soon as a week of gray skies and heavy showers passed, the sun shone and warmed everything - including my cold, cold heart. This sunny and bright herb-heavy side dish was a welcome relief from the chilly cold days. My husband aptly described it as, "preposterously herbaceous" and he is right (again??). Martha Rose Shulman of the venerable NYT Cooking Magazine, a.k.a. my spirit animal, named it a Chopped Herb Salad with Farro for a reason- the farro adds a savory chew but it's by far not the star of the dish. It was such a light and satisfying accompaniment to Amy's succulent Roasted Chicken Legs with Smoked Paprika, Blood Orange and Honey.

Notes: I followed this recipe to the T and made no changes to the ingredients or preparation. If you are not convinced that the strong and fragrant herbs make an incredible salad base, I wouldn't judge you for adding more grains to suit your preferences. 


Time: 30 minutes
Servings: 6

2 cups chopped fresh flat-leaf parsley (from 2 large bunches)
¼ cup chopped fresh mint
1 cup chopped arugula or a mix of arugula and other herbs
¾ pound (2 large) ripe tomatoes, very finely chopped
1 bunch scallions, finely chopped
1 cup cooked farro or spelt
1 teaspoon ground sumac
 Juice of 1 to 2 large lemons, to taste
 Salt to taste
¼ cup extra-virgin olive oil

In a large bowl, combine parsley, mint, arugula and/or other herbs, tomatoes, scallions, farro, sumac, lemon juice and salt to taste. Refrigerate for 2 to 3 hours so the farro marinates in the lemon juice.
Add olive oil, toss together, taste and adjust seasonings. The salad should taste lemony. Add more lemon juice if it doesn’t. 

Recipe from: NYT Cooking Magazine

Roasted Chicken Legs with Smoked Paprika, Blood Orange, and Honey by Amy Cantu

Print Friendly and PDF

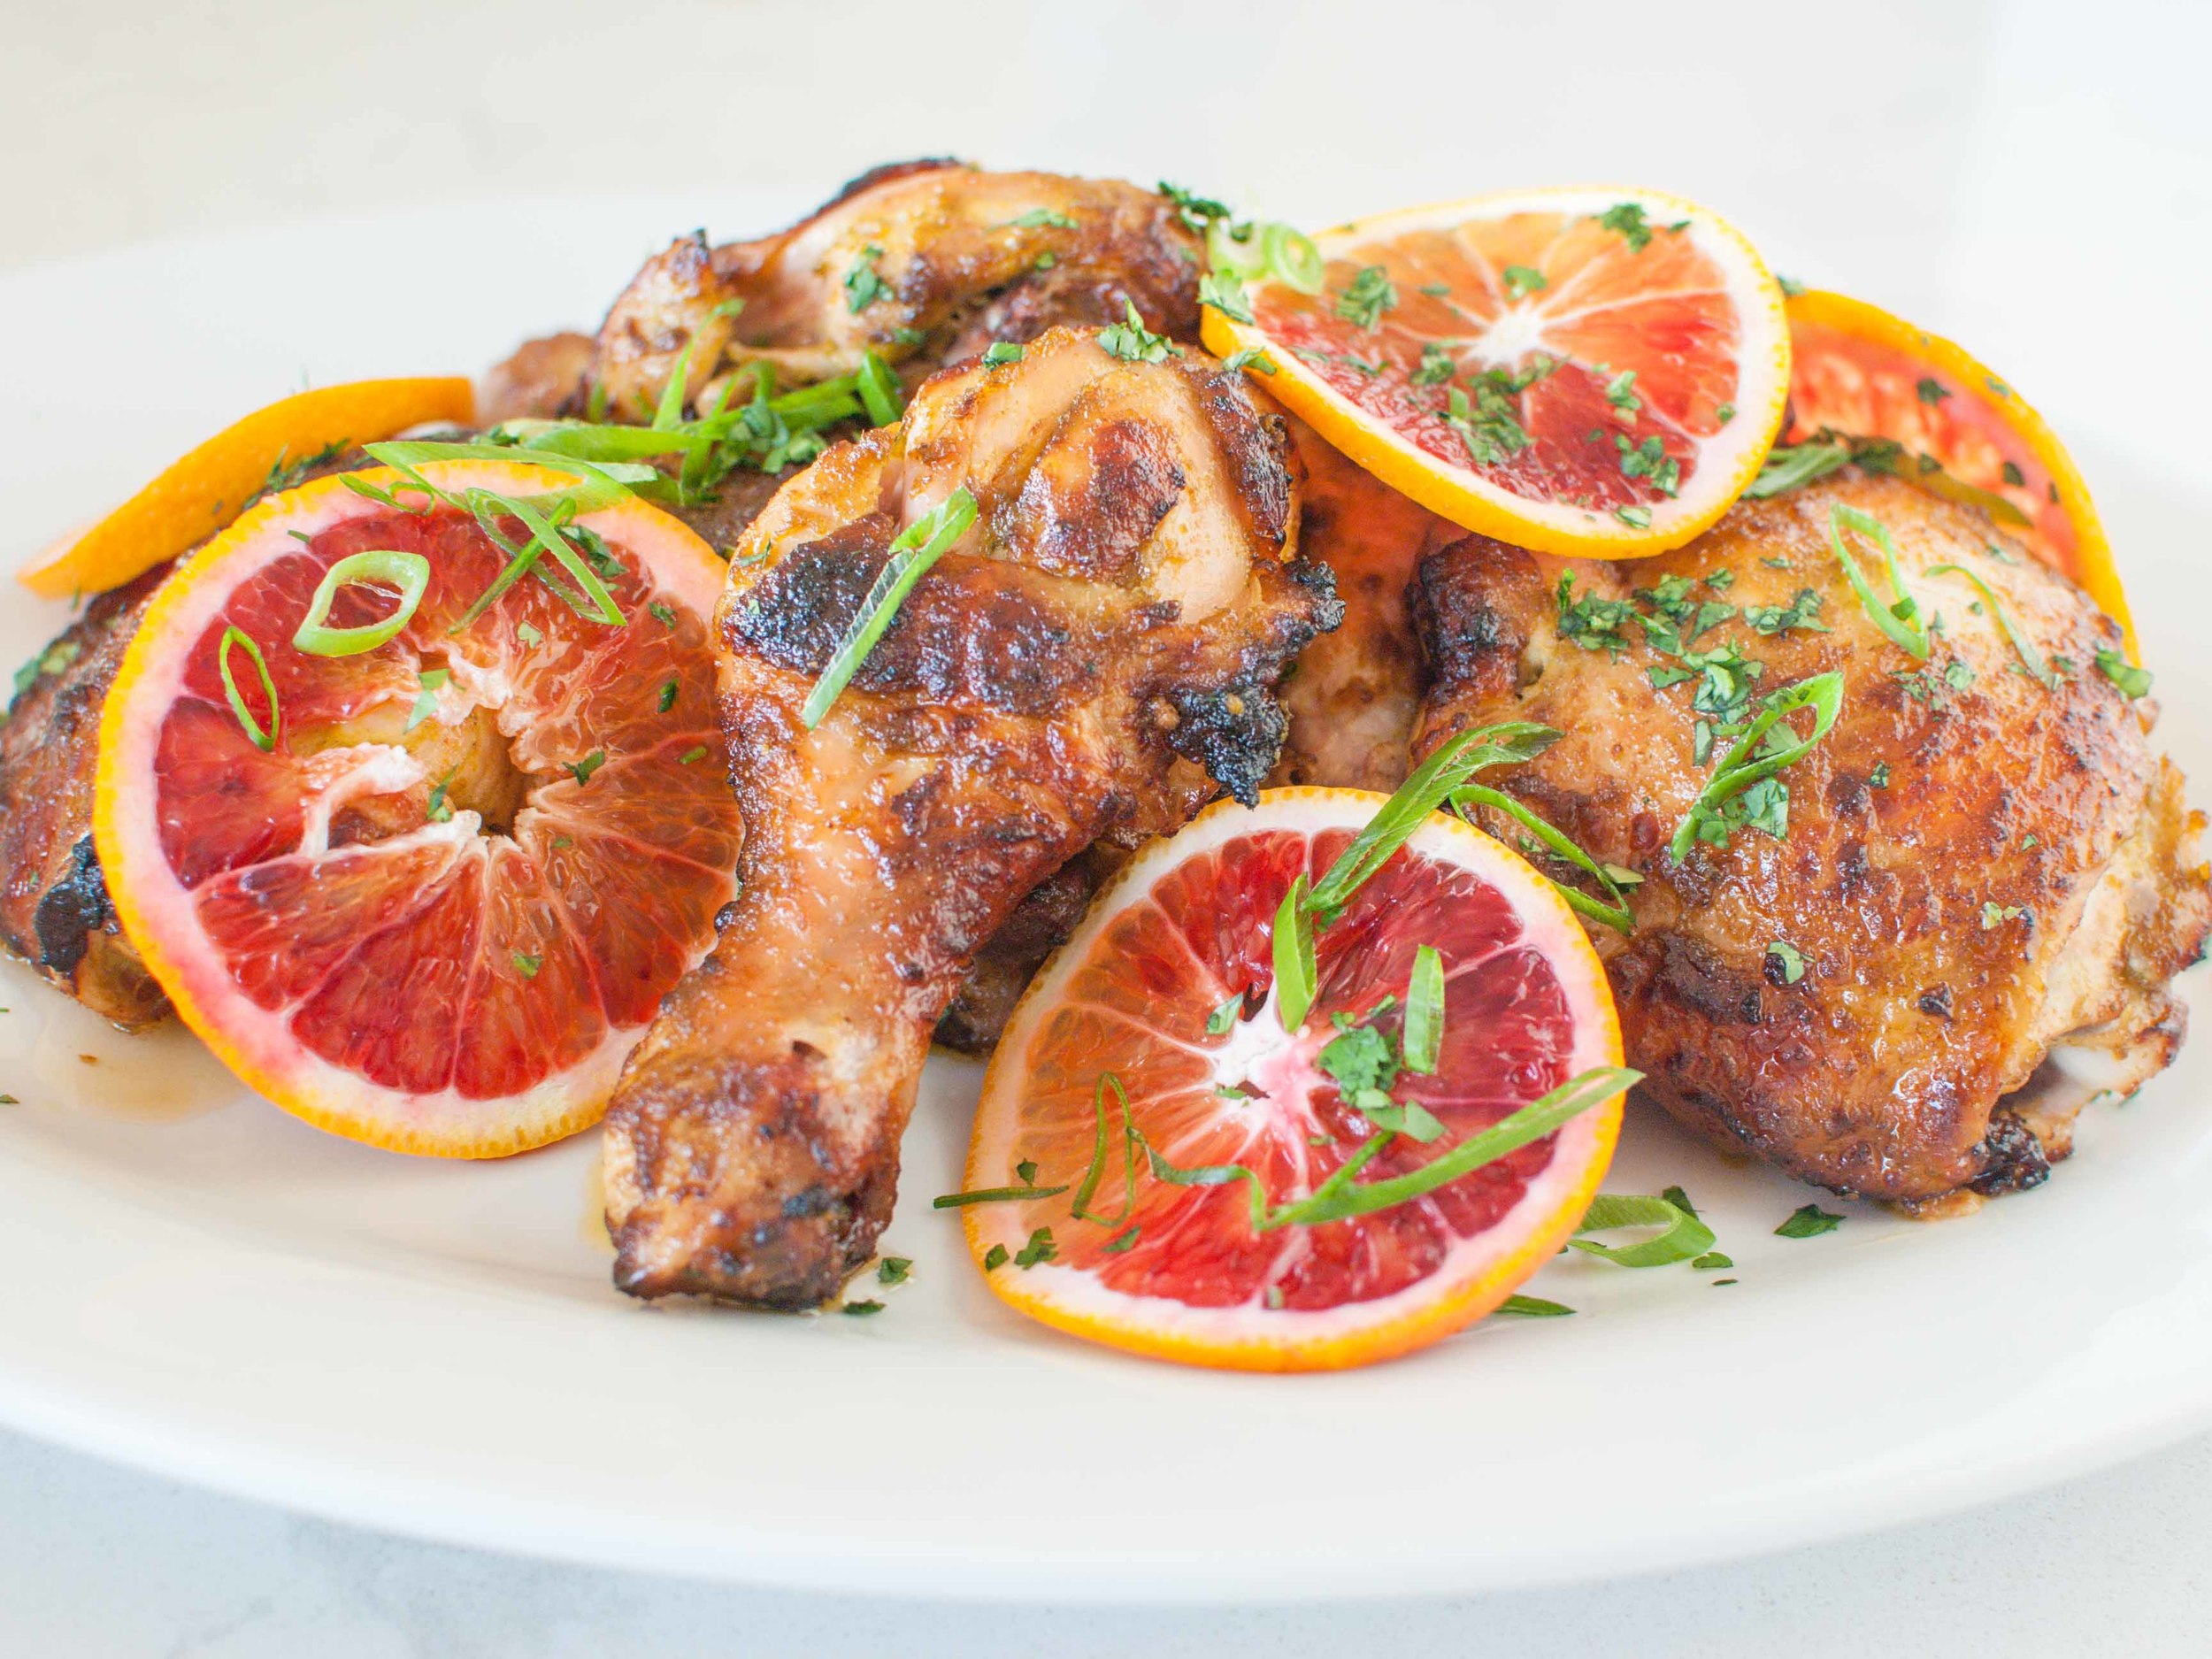
I really can’t get enough of roasted chicken in its very many forms. The skin gets so tantalizingly golden, and meat comes out so juicy! This one is already conveniently in pieces, and using dark meat keeps it moist, even if you happen to forget about it in the oven for a bit. I love the lightly sweet honey glaze matched with the punchy tart orange, spicy jalapeño, and smokey paprika. The blood oranges speak to winter, but the fresh herb garnish bridges the gap to spring. This chicken goes perfectly with the herbaceous farro salad that Cynthia put together!

Notes: Consider your spiciness level when choosing how much jalapeño to add and whether to seed it. For the kids, I used half of a small, seeded jalapeño - the marinade seemed mildly spicy, but once cooked, I could hardly tell it was there. Keeping the seeds will dramatically increase the spiciness.

The recipe calls for blood oranges, which have a more pronounced flavor and adds pretty color for the garnish. Regular oranges work just fine too!


Inspired by Melissa Clark’s recipe in her cookbook, Cook This Now.

Time: 1 hour
Servings: 4

⅓ cup freshly squeezed orange juice, preferably blood orange
3 tablespoons extra virgin olive oil
3 garlic cloves, finely chopped
2 tablespoons cilantro leaves, plus additional for garnish
½ - 1 small jalapeño, seeded if desired, and chopped
1 tablespoon grated fresh ginger
1 ½ teaspoons kosher salt (¾ teaspoon table salt)
1 teaspoon freshly grated orange zest
1 teaspoon smoked paprika
1 tablespoon honey
3 pounds bone-in, skin-on chicken thighs and drumsticks, patted dry
Sliced scallions, for serving
Orange wedges, for serving

In a blender, combine the orange juice, oil, garlic, cilantro, jalapeño, ginger, salt, orange zest, and paprika and blend until garlic and jalapeño are pureed.

Reserve ¼ cup of marinade and stir in honey to make a glaze. Set aside.

Combine the chicken and remaining marinade in a large bowl. Cover with plastic wrap and transfer to the refrigerator to marinate for at least 1 hour (or overnight if you can plan that far ahead).

When you are ready to cook the chicken, preheat the oven to 475 degrees Fahrenheit. Line a large baking sheet with aluminum foil and top with the chicken. Roast for 30 minutes, turning once halfway through. Brush glaze over chicken pieces and roast for 10 minutes more or until the chicken skin is golden and the meat juices are no longer pink.

Serve sprinkled with scallions and cilantro, with orange wedges for squeezing over the meat.

Chickpea Carrot Salad by Cynthia Raub

Print Friendly and PDF
chickpea and carrot salad

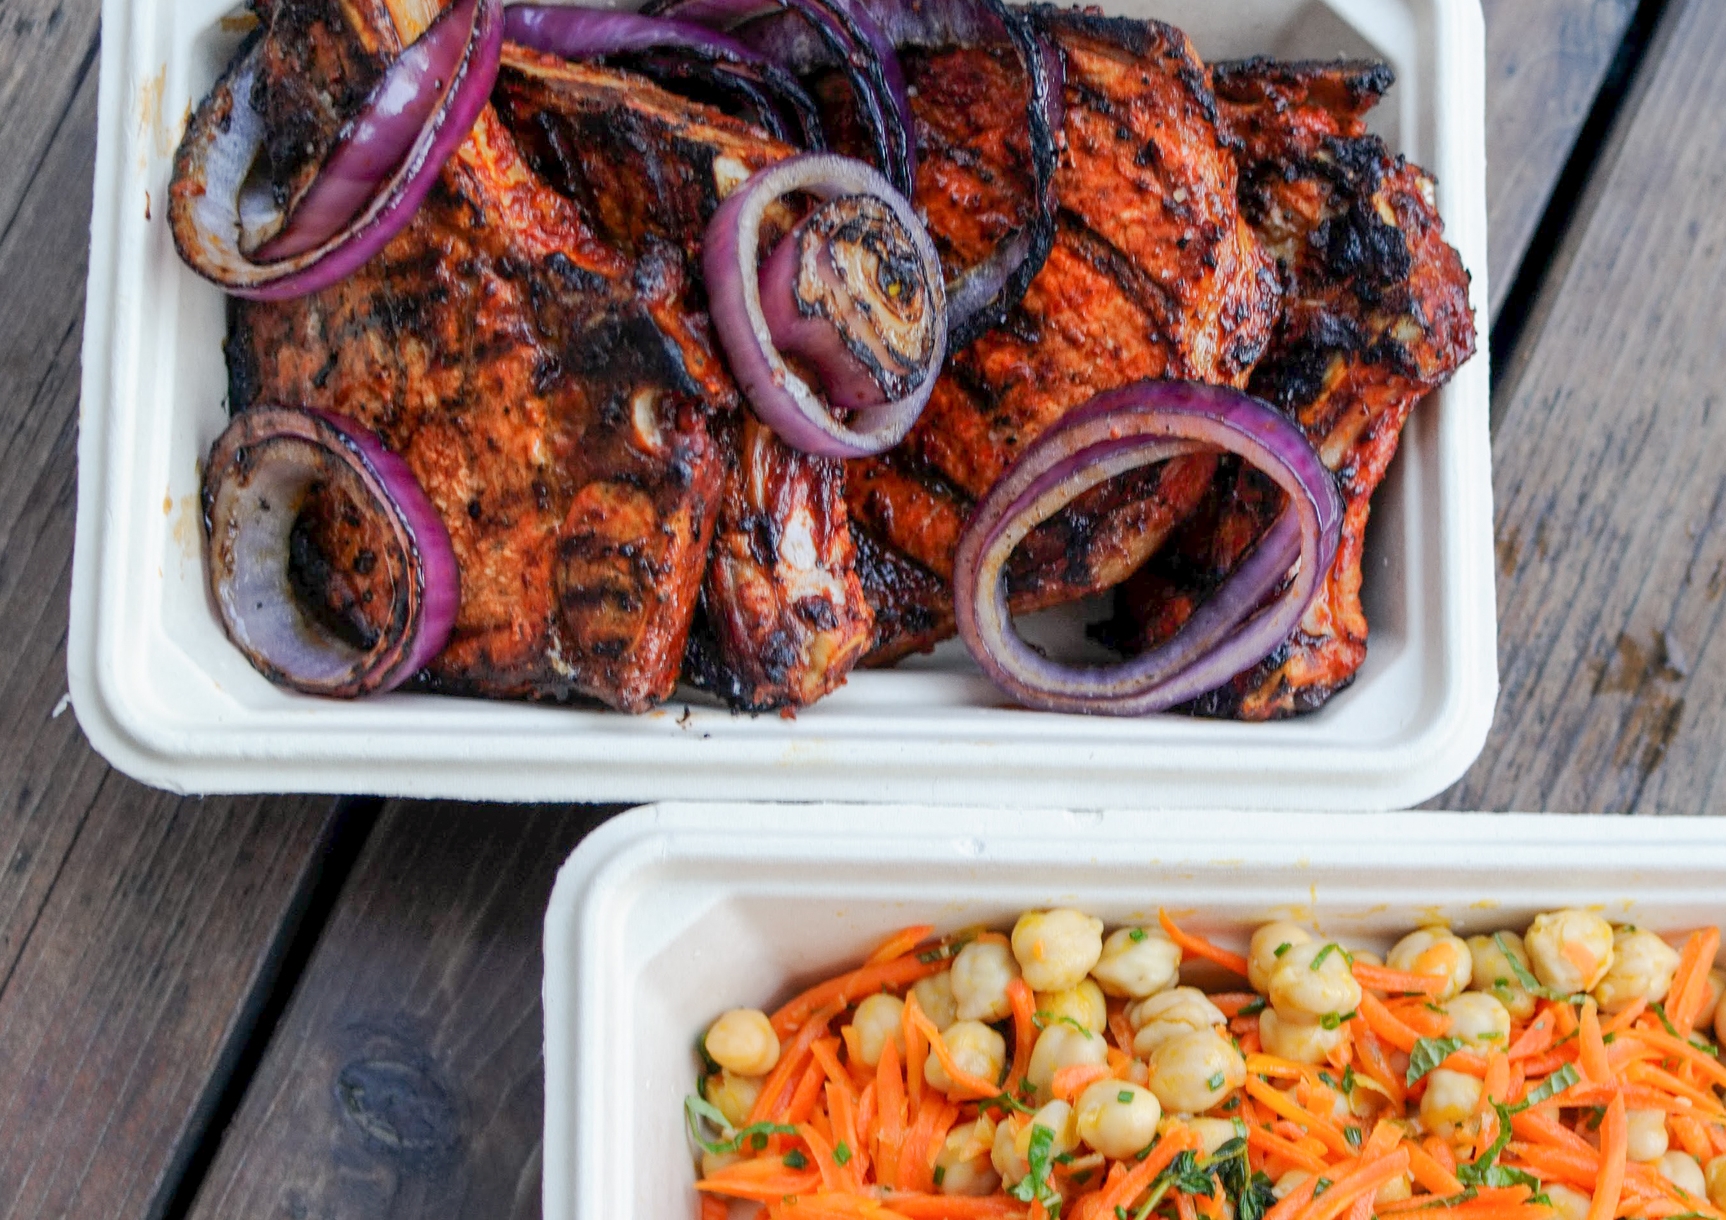
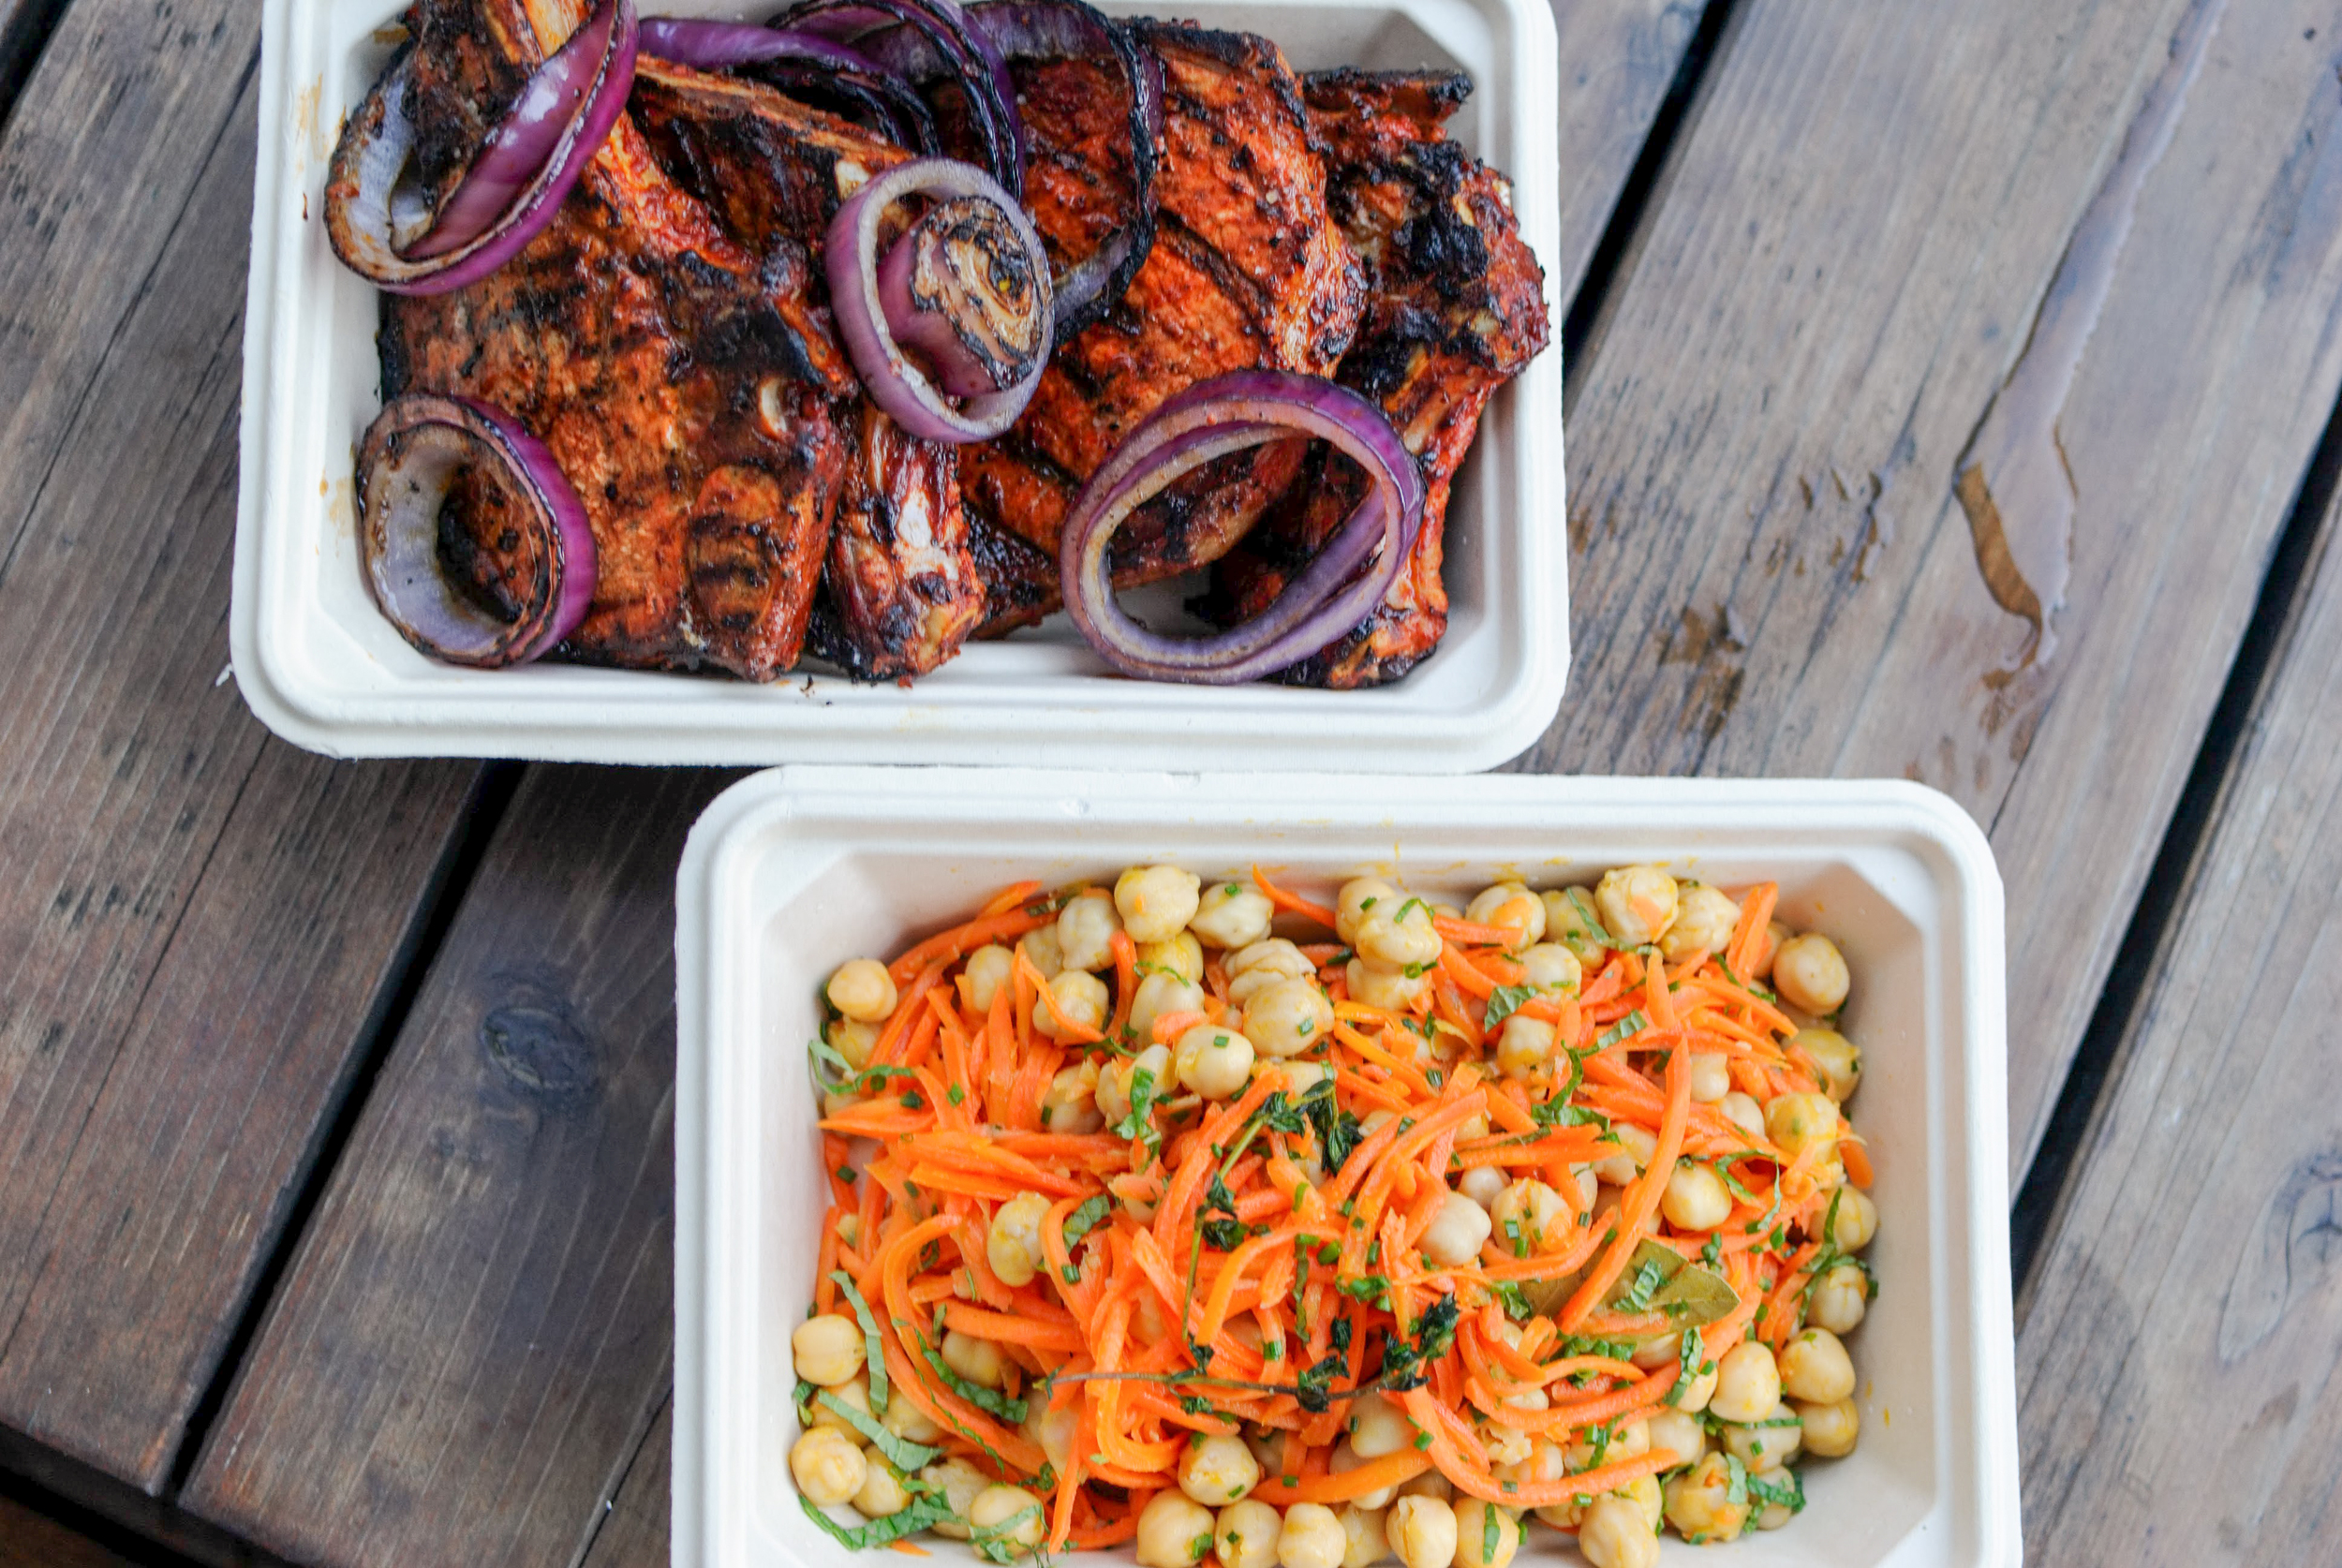
When considering what to bring as a side in addition to the Harissa Grilled Pork Chops, I wanted to make something that was packed with the protein of a sturdy bean and included a hearty, kid-friendly vegetable. This Chickpea Carrot Salad is all of that, and it's also delicious cold, at room temperature, and warmed. (When you have a new baby, you can't be too picky with the temperature of food because you'll be lucky to eat at all!) This salad is filling but not heavy, and so delicious despite the humble and simple ingredients.

Notes: I wish I had tripled or quadrupled this recipe, too! It kept so well that it made an easy lunch the next day with a fried egg on top. If you have a food processor or large box grater to shred the carrots, this recipe is easy and not labor intensive. If you have neither a food processor or large box grater, this is a great way to work on your knife skills and practice your julienne!


Time: 15 minutes
Serves: 4-6

2 cans of chickpeas
2 tablespoons extra virgin olive oil
2 bay leaves
2 garlic cloves, smashed
2 thyme sprigs
2 cups carrots, finely julienned (or shredded)
2 teaspoons lemon juice, freshly squeezed
2 teaspoons sherry vinegar
2 teaspoons kosher salt
1/2 teaspoon freshly cracked black pepper
1 tablespoon mint, chiffonade
1 tablespoon parsley, minced
1 tablespoon chives, chopped

Drain chickpeas and rinse with water - set aside.

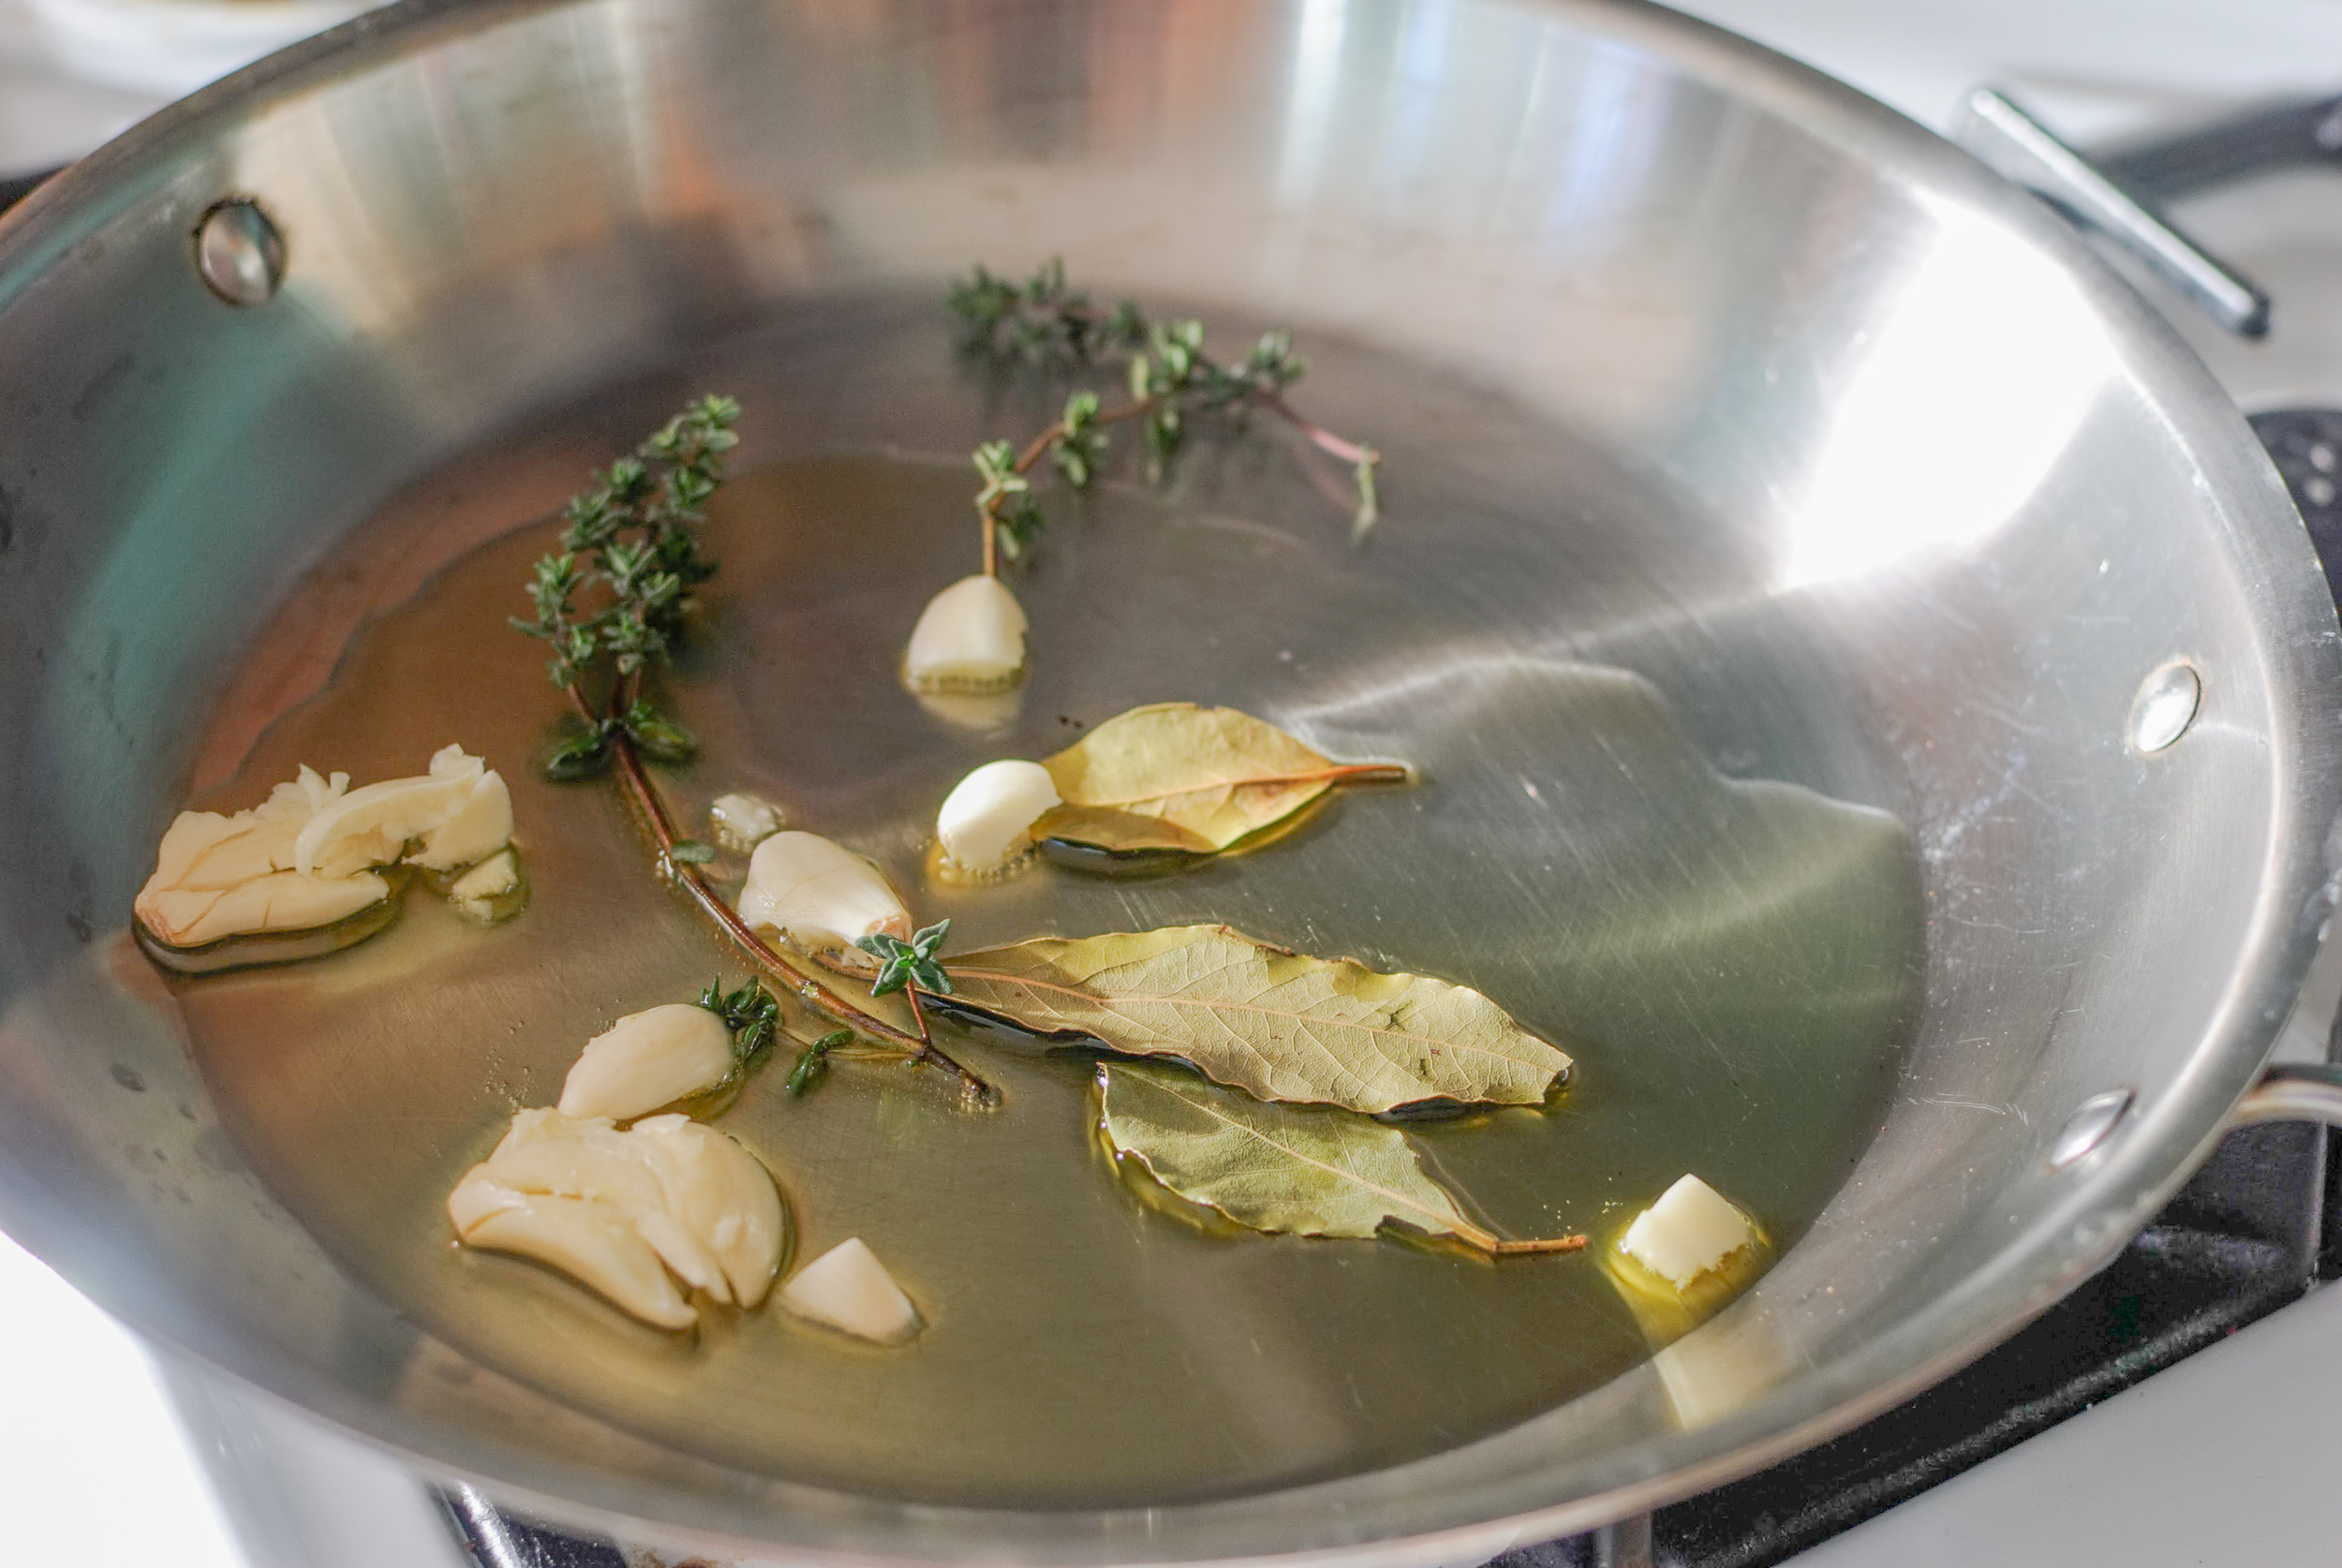
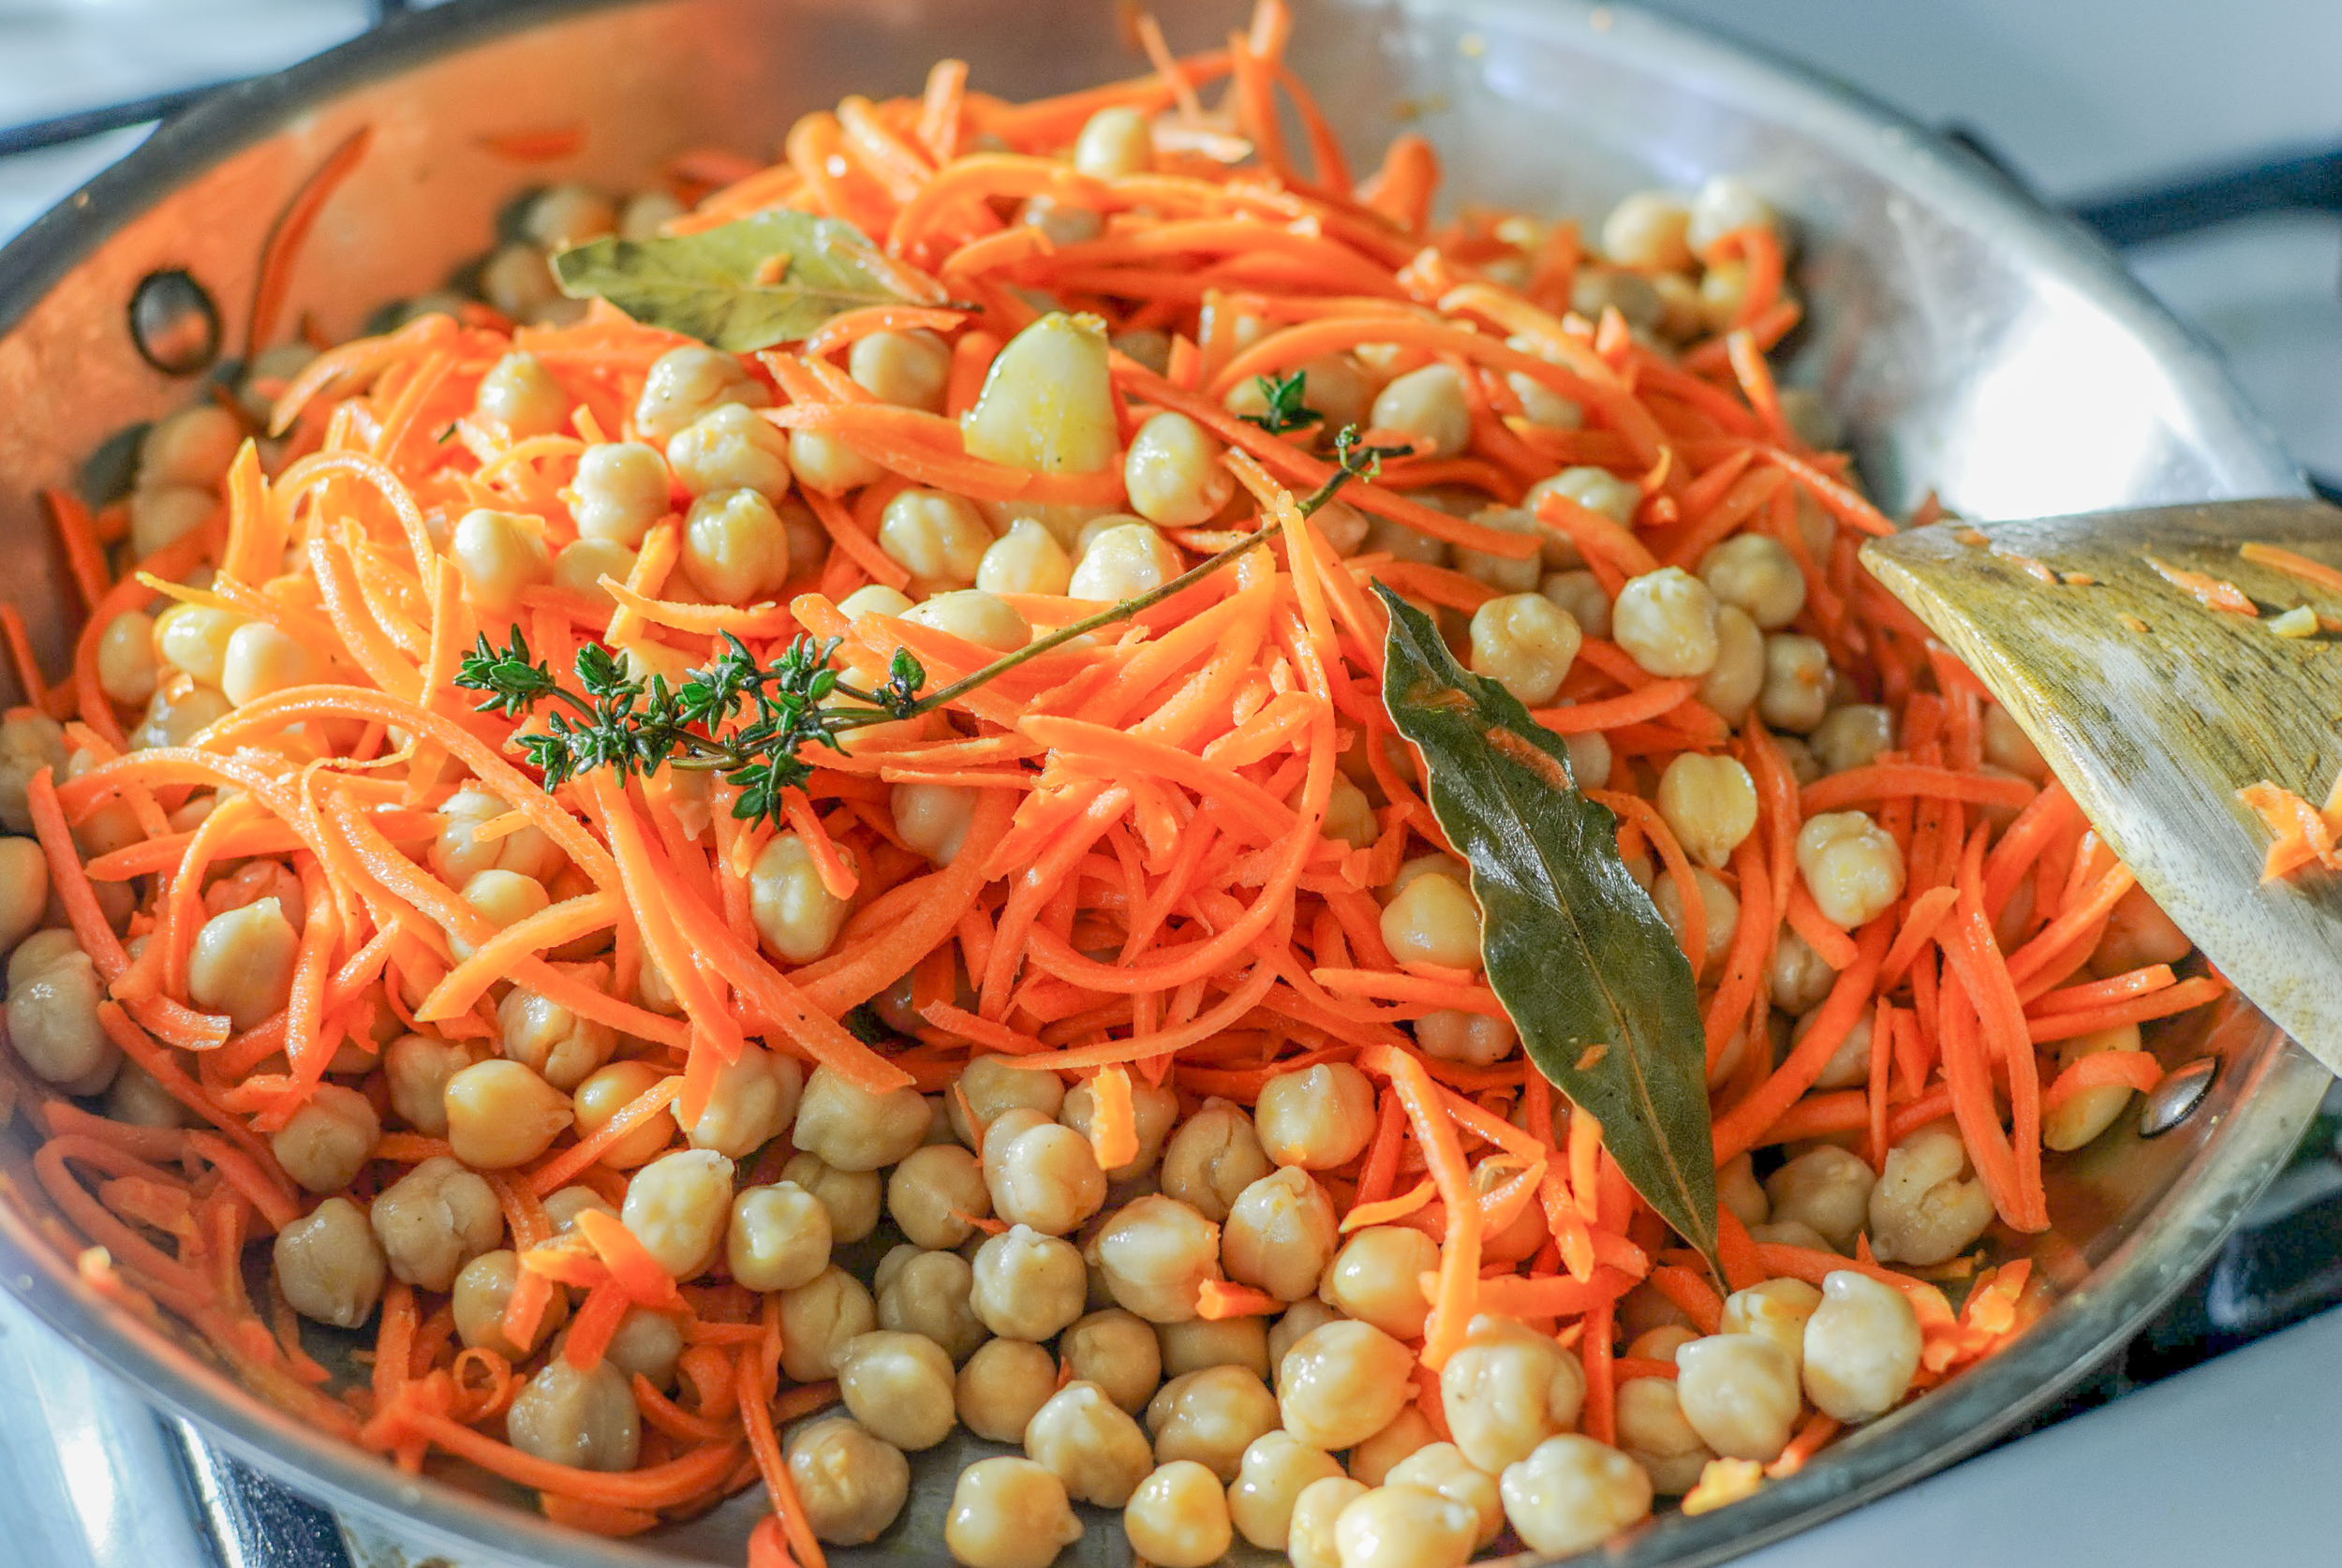
Add 2 tablespoons olive oil, 2 bay leaves, 2 smashed garlic cloves, and 2 thyme sprigs to a large skillet. Heat the oil and ingredients until garlic is sizzling. Once sizzling, add 2 cups of shredded carrots and toss to coat in oil and aromatics. Cook for 1 minute.

Add the chickpeas to the skillet and season with salt and freshly ground black pepper.  Toss the chickpeas for a couple minutes until warmed through.  Transfer to a dish to cool.

Before serving remove the bay leaves, garlic, and thyme.  Season with 2 teaspoons freshly squeezed lemon juice, 2 teaspoons of sherry vinegar, and adjust seasoning. Garnish with herbs just before serving.

Adapted from Bouchon cookbook by Thomas Keller

Harissa Grilled Pork Loin Chops by Cynthia Raub

Print Friendly and PDF
harissa grilled pork loin chops

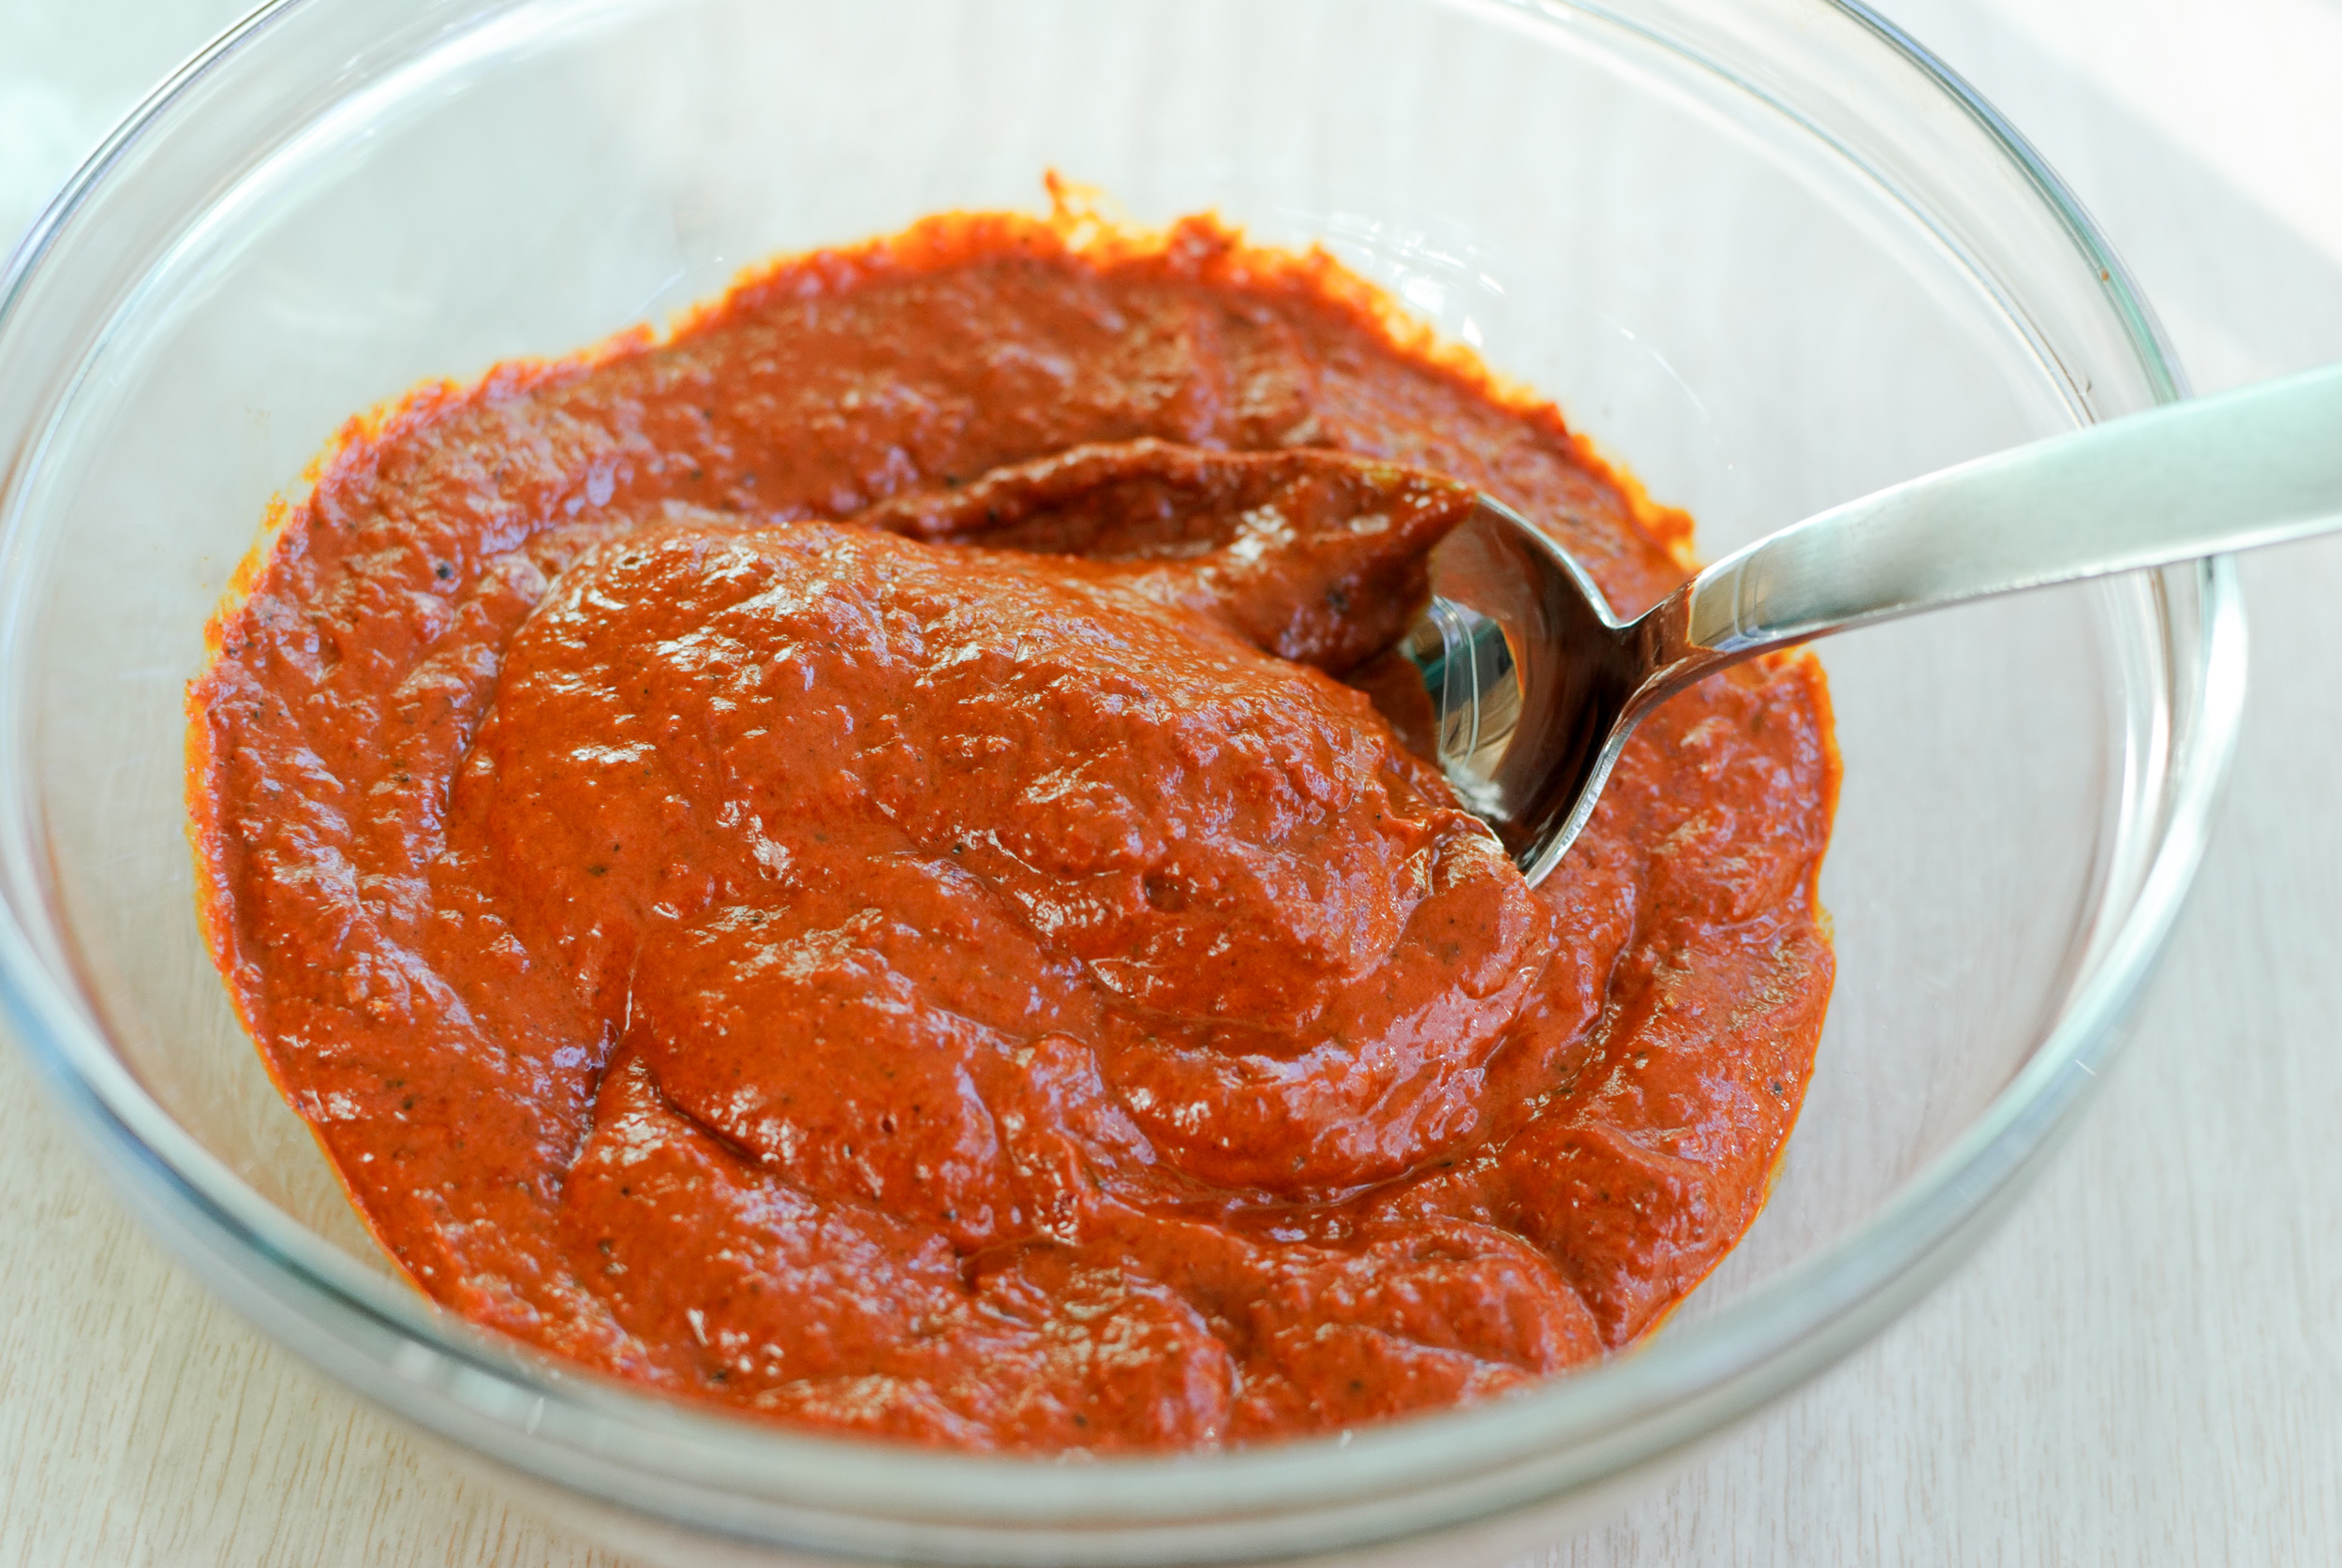
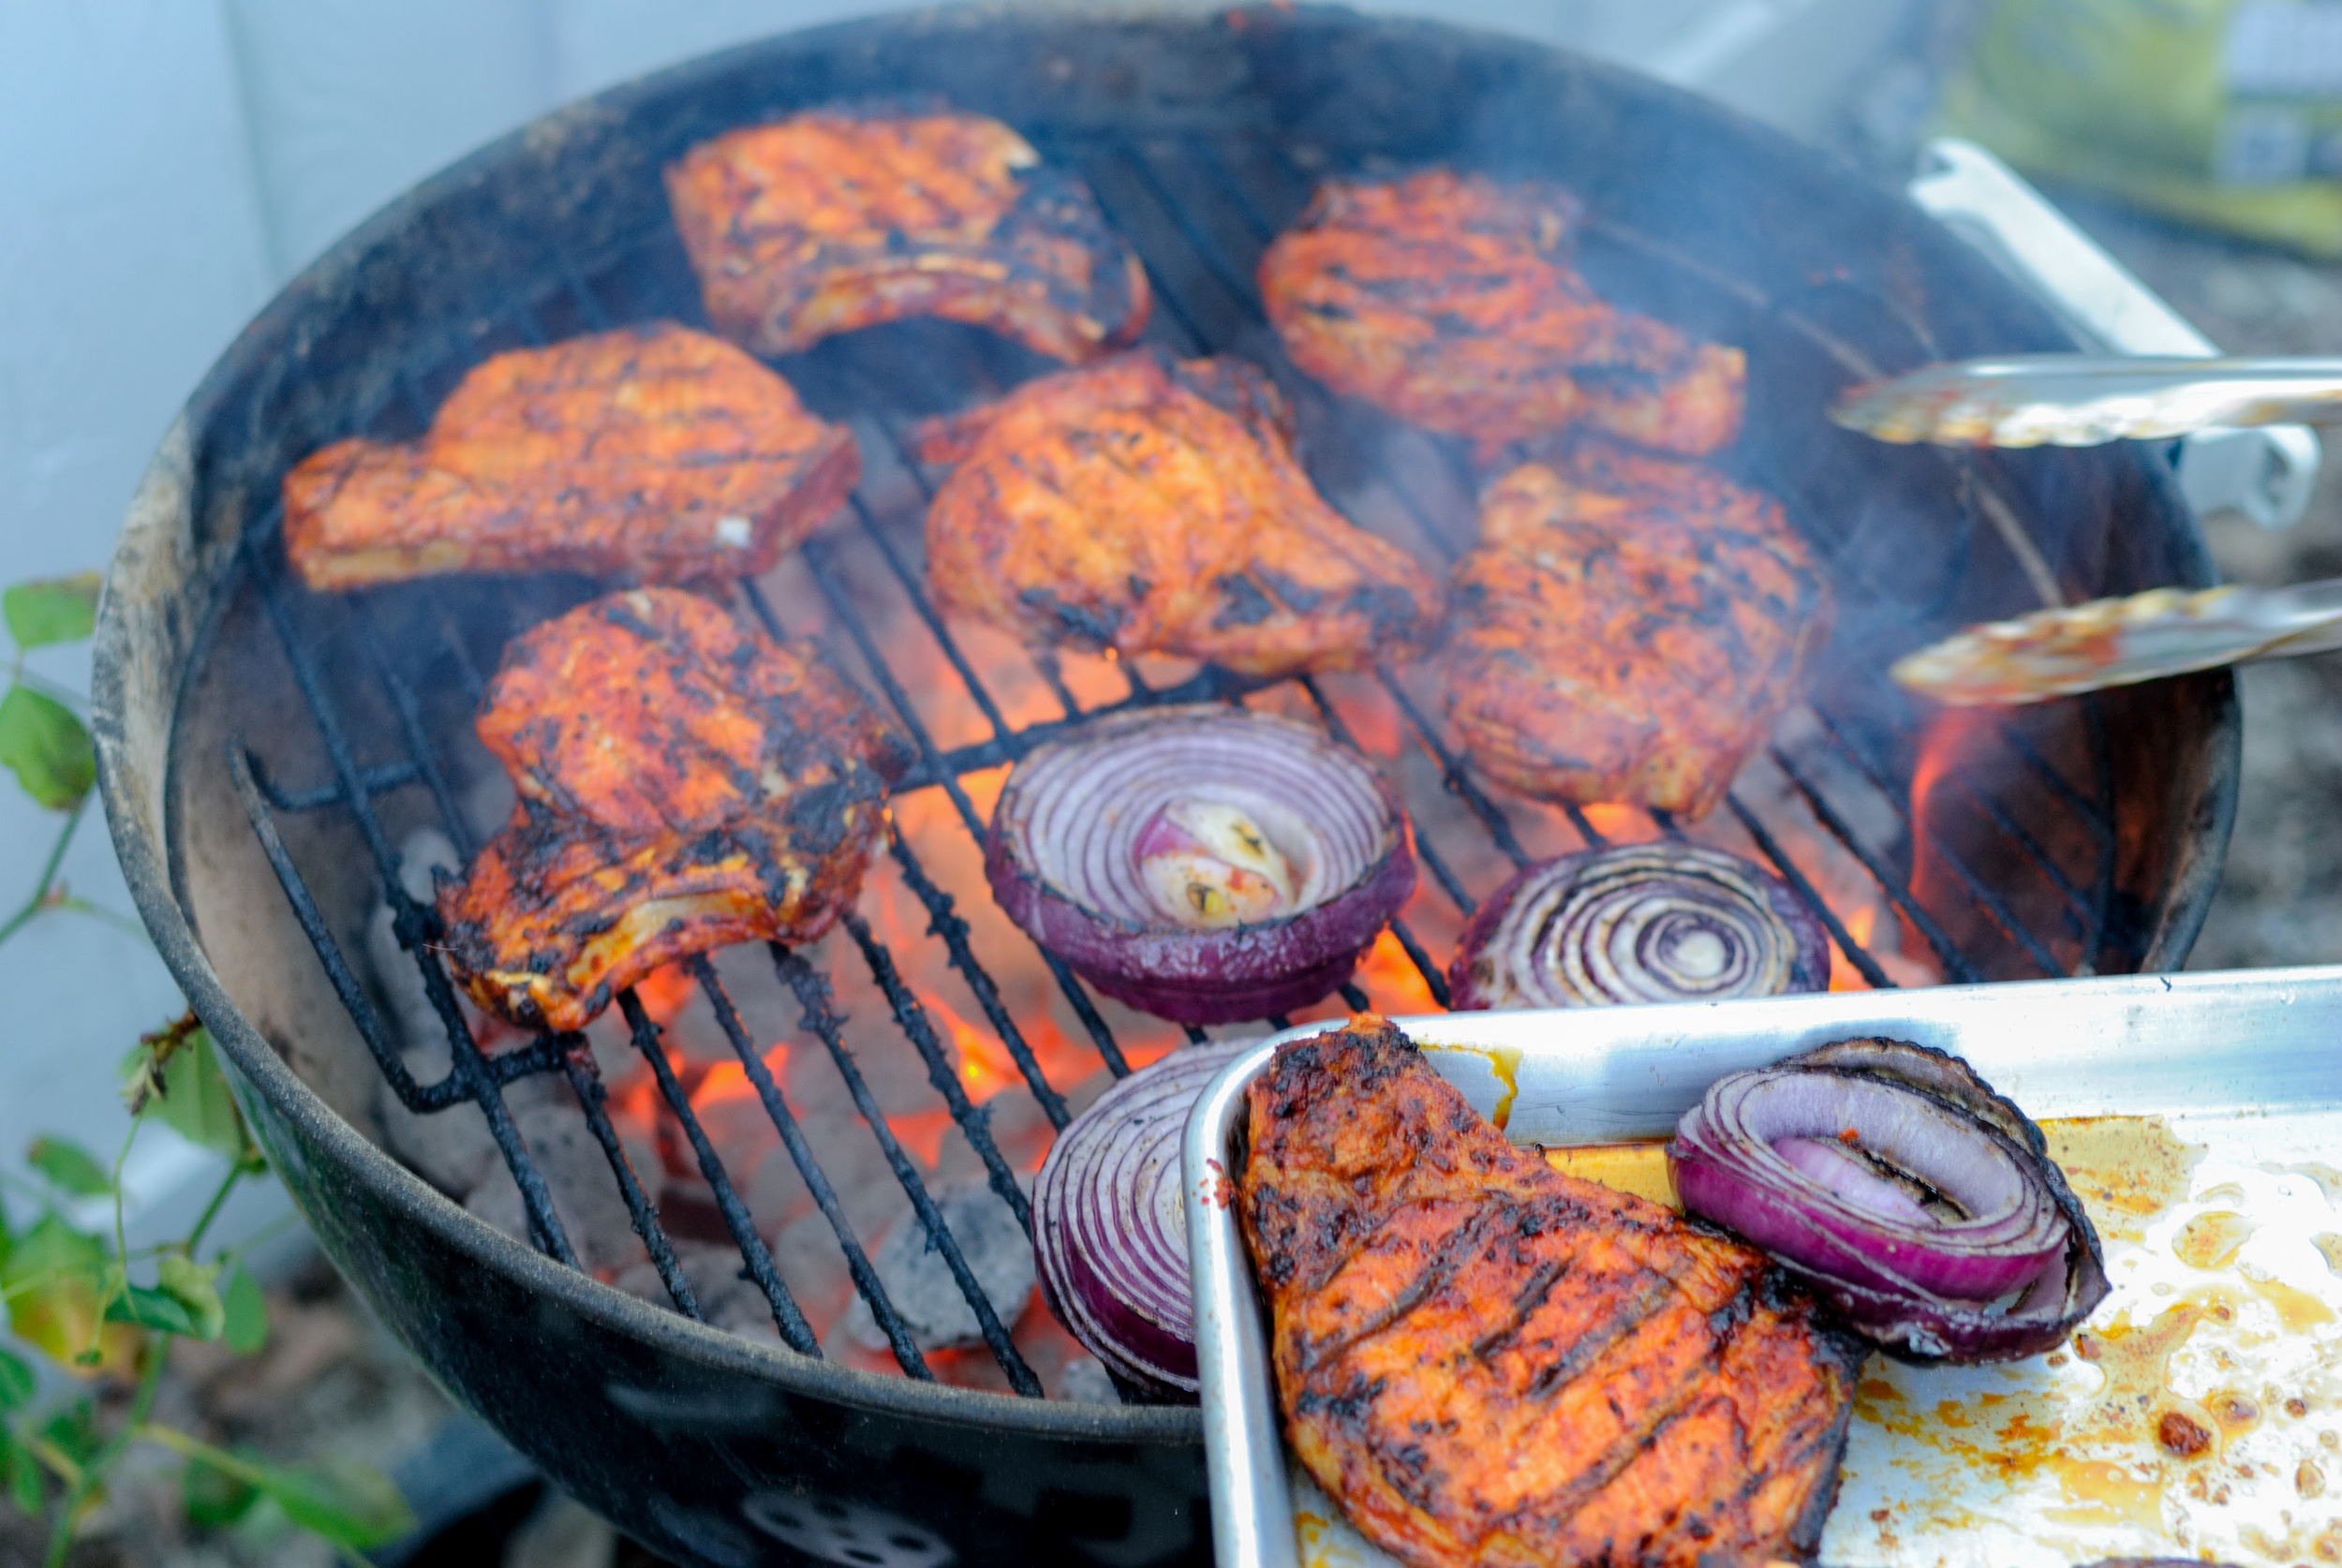
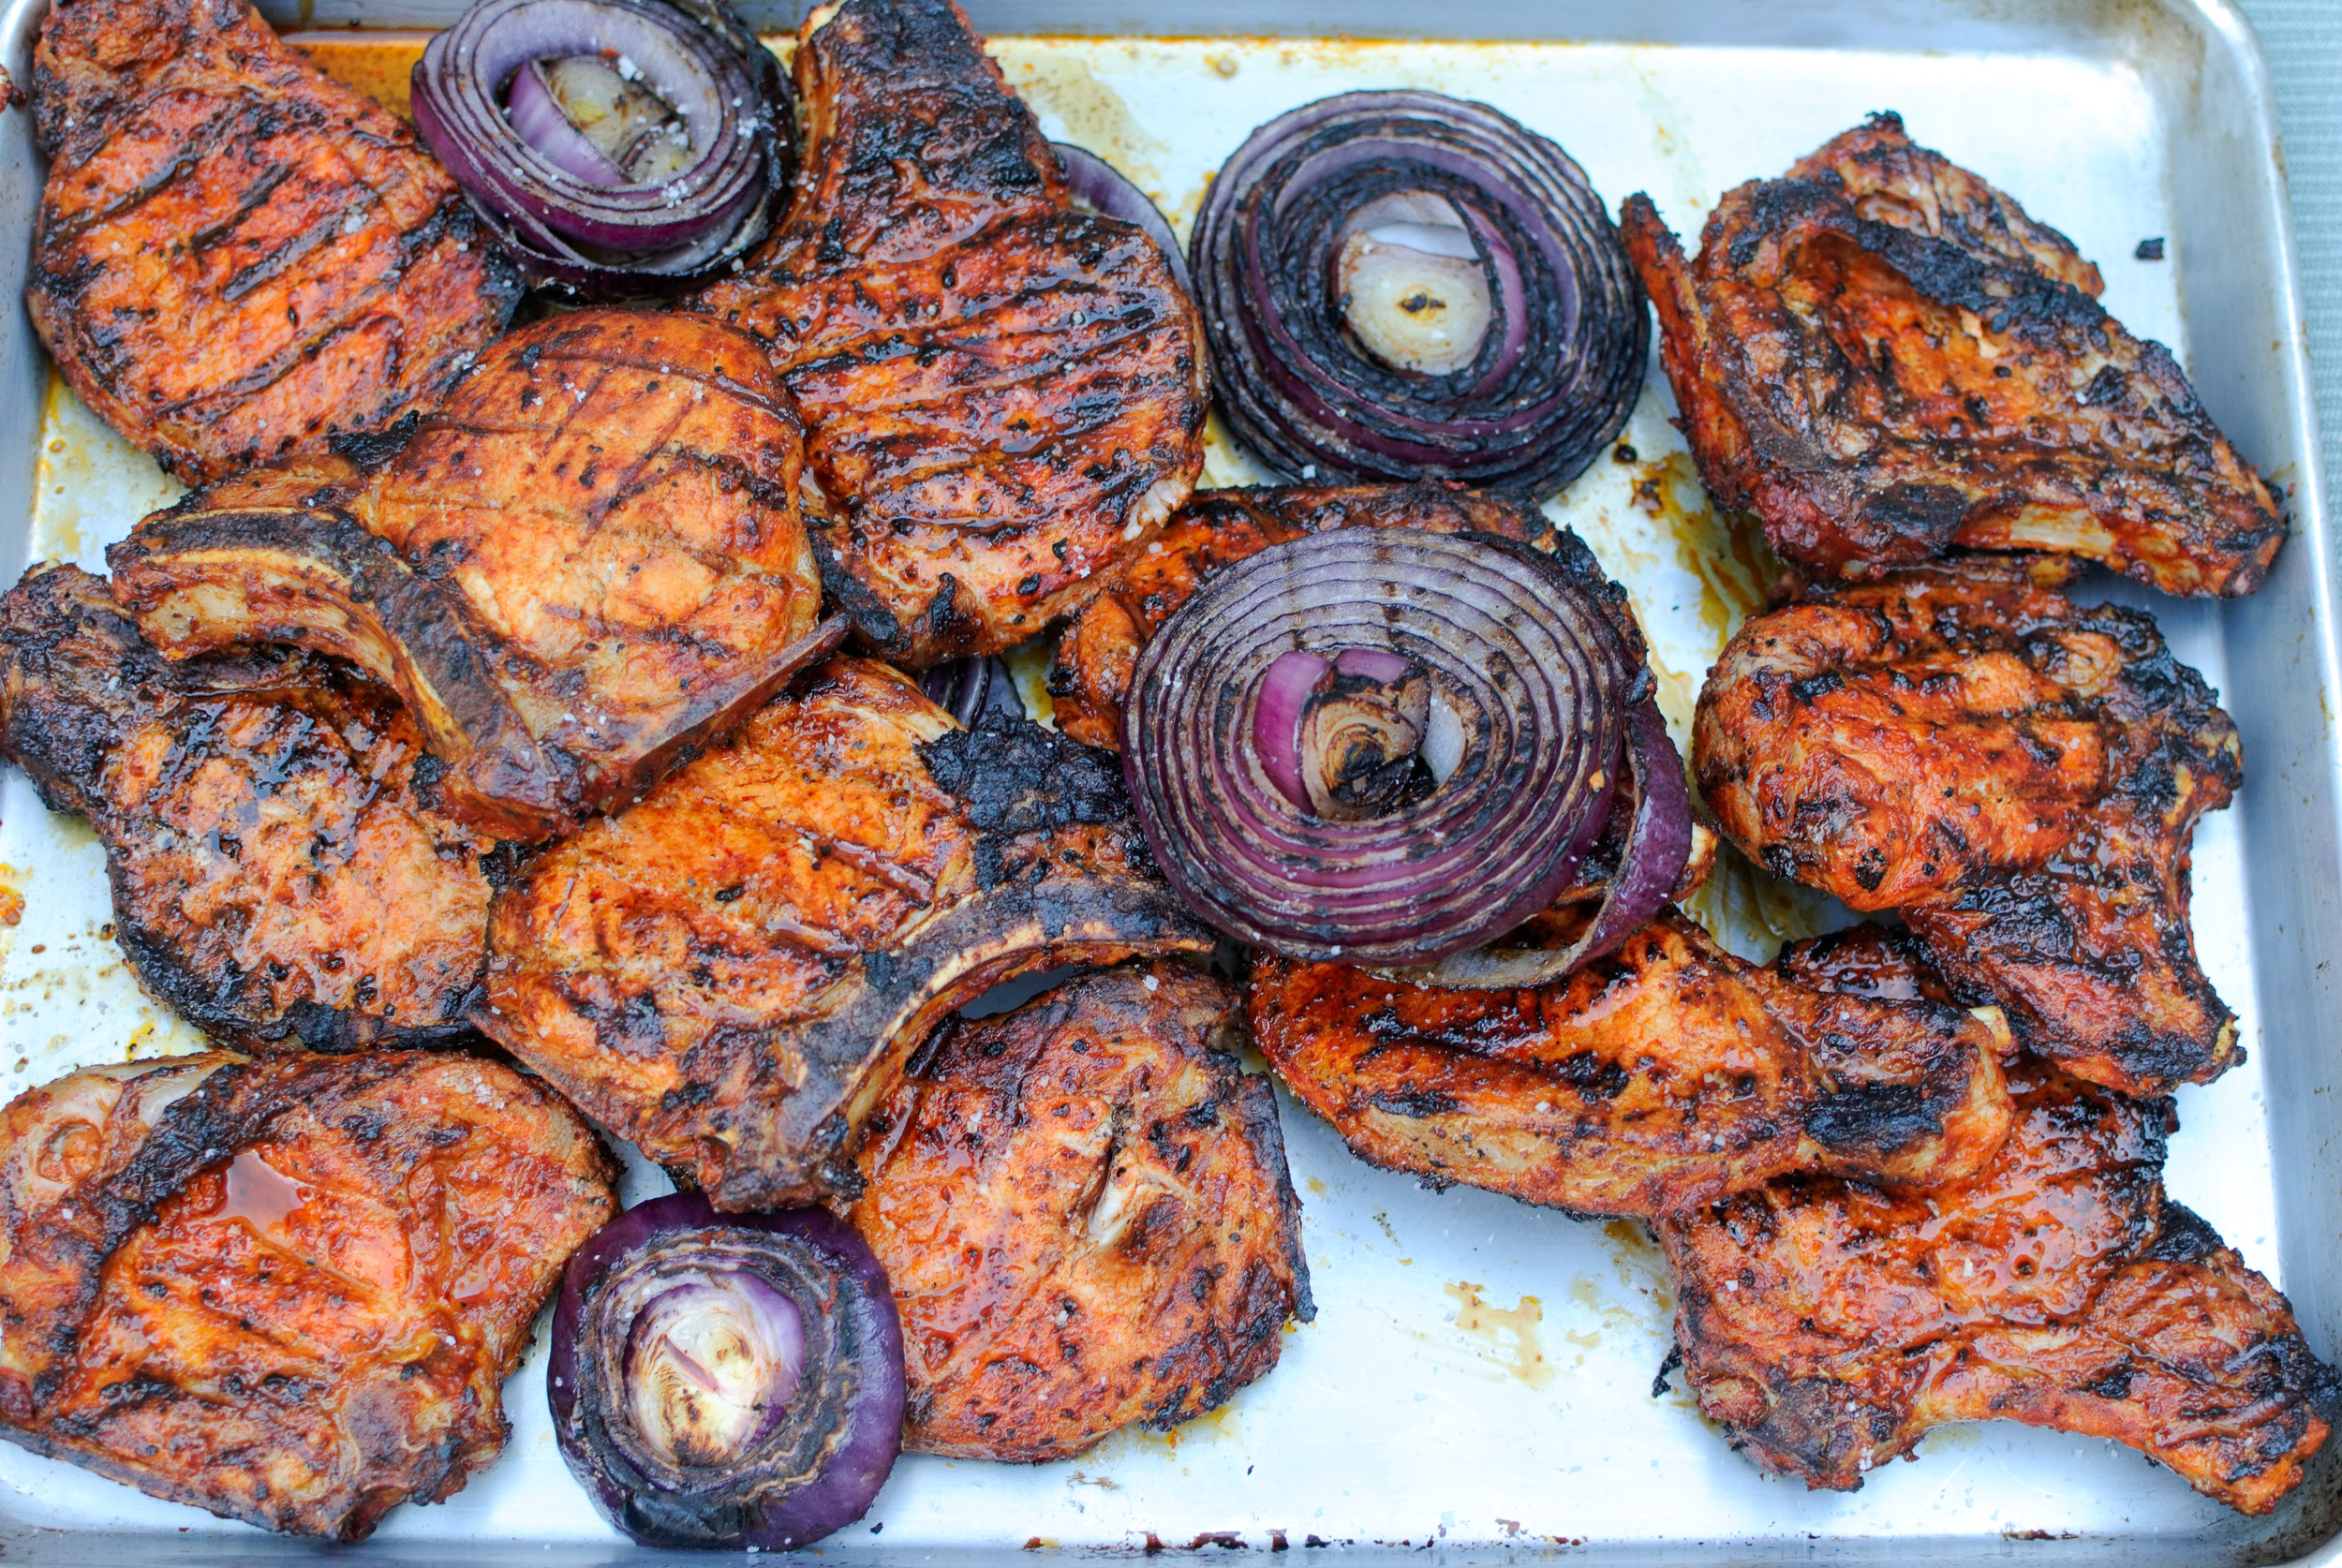
After the delivery of my first child, I was ravenous. I craved animal fat and meat that I could gnaw off of the bone. When the opportunity came to cook for a friend with a new baby, I recalled my postpartum craving and was drawn to the idea of grilled meat on the bone with a deeply savory marinade. After some brainstorming with my husband Michael, he suggested I make my own harissa for the pork loin chops I had in mind. Harissa is a North African pepper paste blended with fragrant spices like cumin, coriander, dried mint and caraway. There are numerous iterations of harissa depending on the neighborhood, country or ethnicity but the basic recipe is peppers, spices, garlic and olive oil. It's a widely available condiment in specialty food stores, but it was also surprisingly easy and very inexpensive to make at home from scratch. Harissa is often compared to ketchup or sriracha, but it's neither of those. It's deeply aromatic with very little sweetness, unlike ketchup; and it lacks the bite in acidity that sriracha brings to the palette.

Notes: Because I was cooking for a family that included a three year old, I deseeded the peppers in order to control and mute the amount of spiciness. Deseeding the peppers made the harissa warm but not spicy to my palette. Before I served it to our friends, my own similar-aged (and spicy-adverse) children tried it, and they didn't find it spicy at all. I wish I had doubled this recipe because the harissa keeps so well and is a perfect food gift to share. This recipe was generous enough to season the pork, and I had a 1/2 cup to give to Amy on the condition that she cook something delicious for us with it.


For the Harissa:
Time: 30 minutes
Makes 1 Cup

8 dried guajillo chiles, stemmed and seeded (about 2 oz.)
8 dried new mexico chiles, stemmed and seeded (about 1 1⁄2 oz.)
1⁄4 tsp. coriander seeds
1⁄4 tsp. cumin seeds
3 tbsp. extra-virgin olive oil, plus more as needed
1 1⁄2 tsp. kosher salt
5 cloves garlic
Juice of 1 lemon
Zest of 1 orange

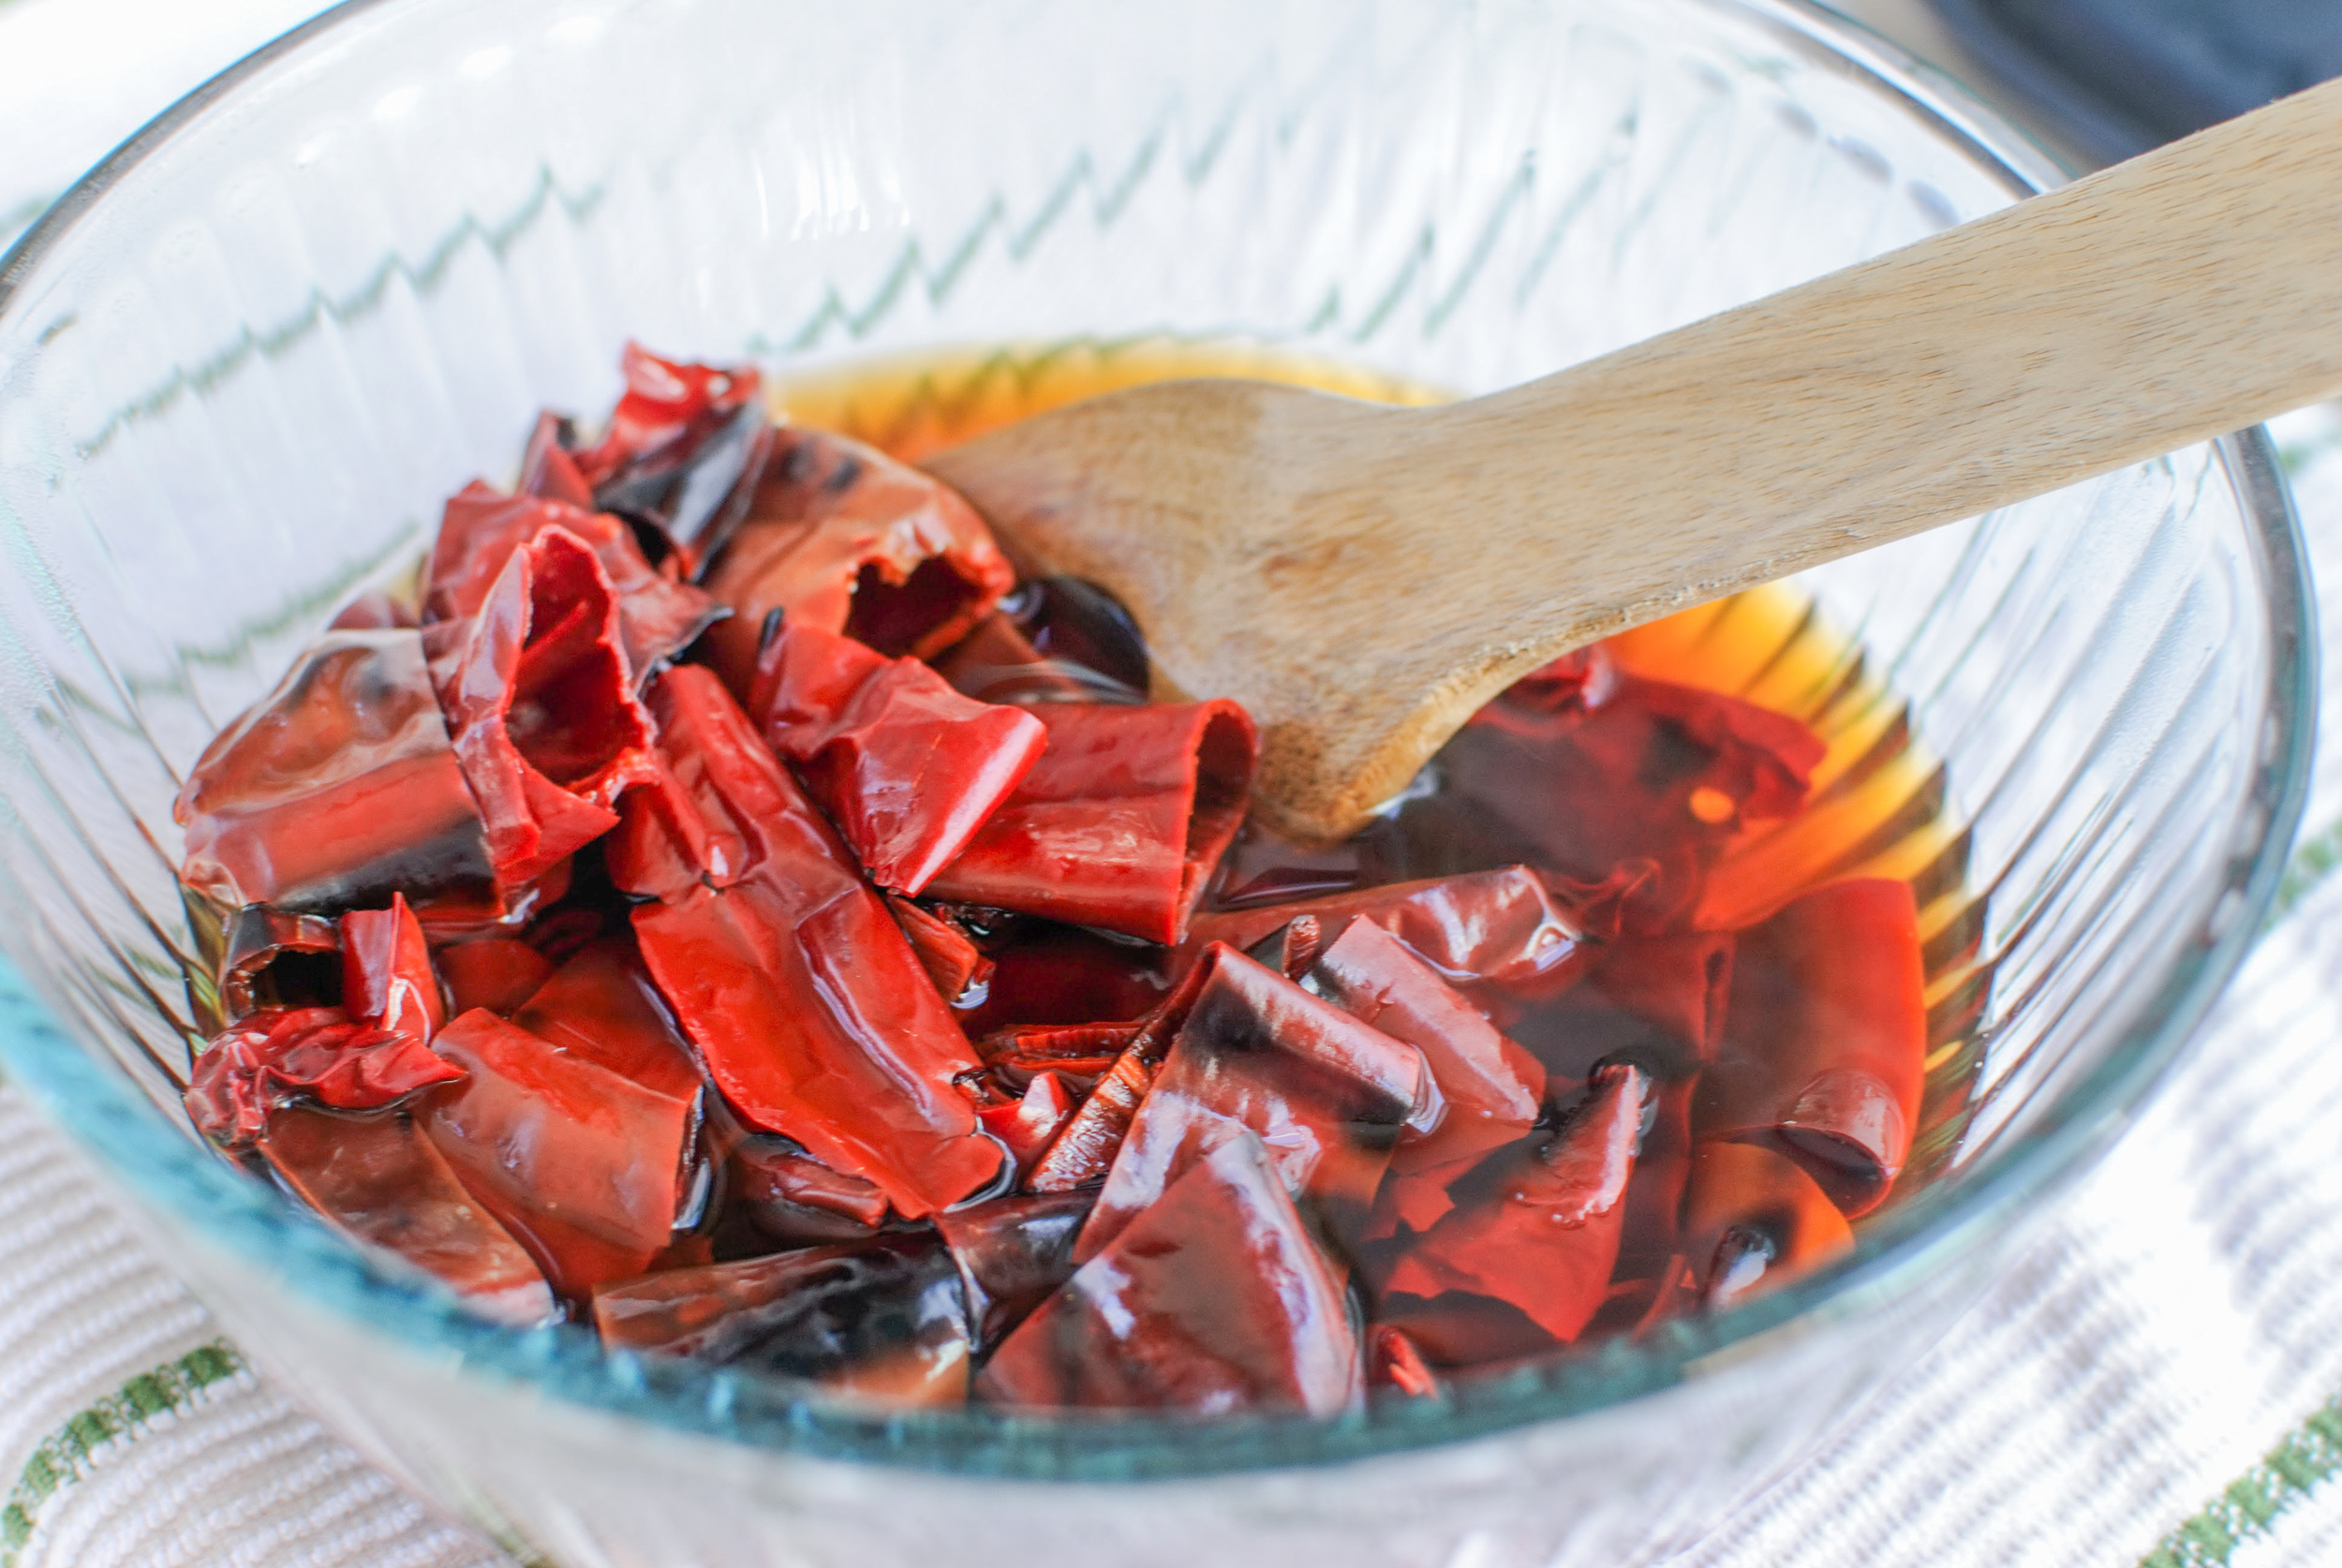
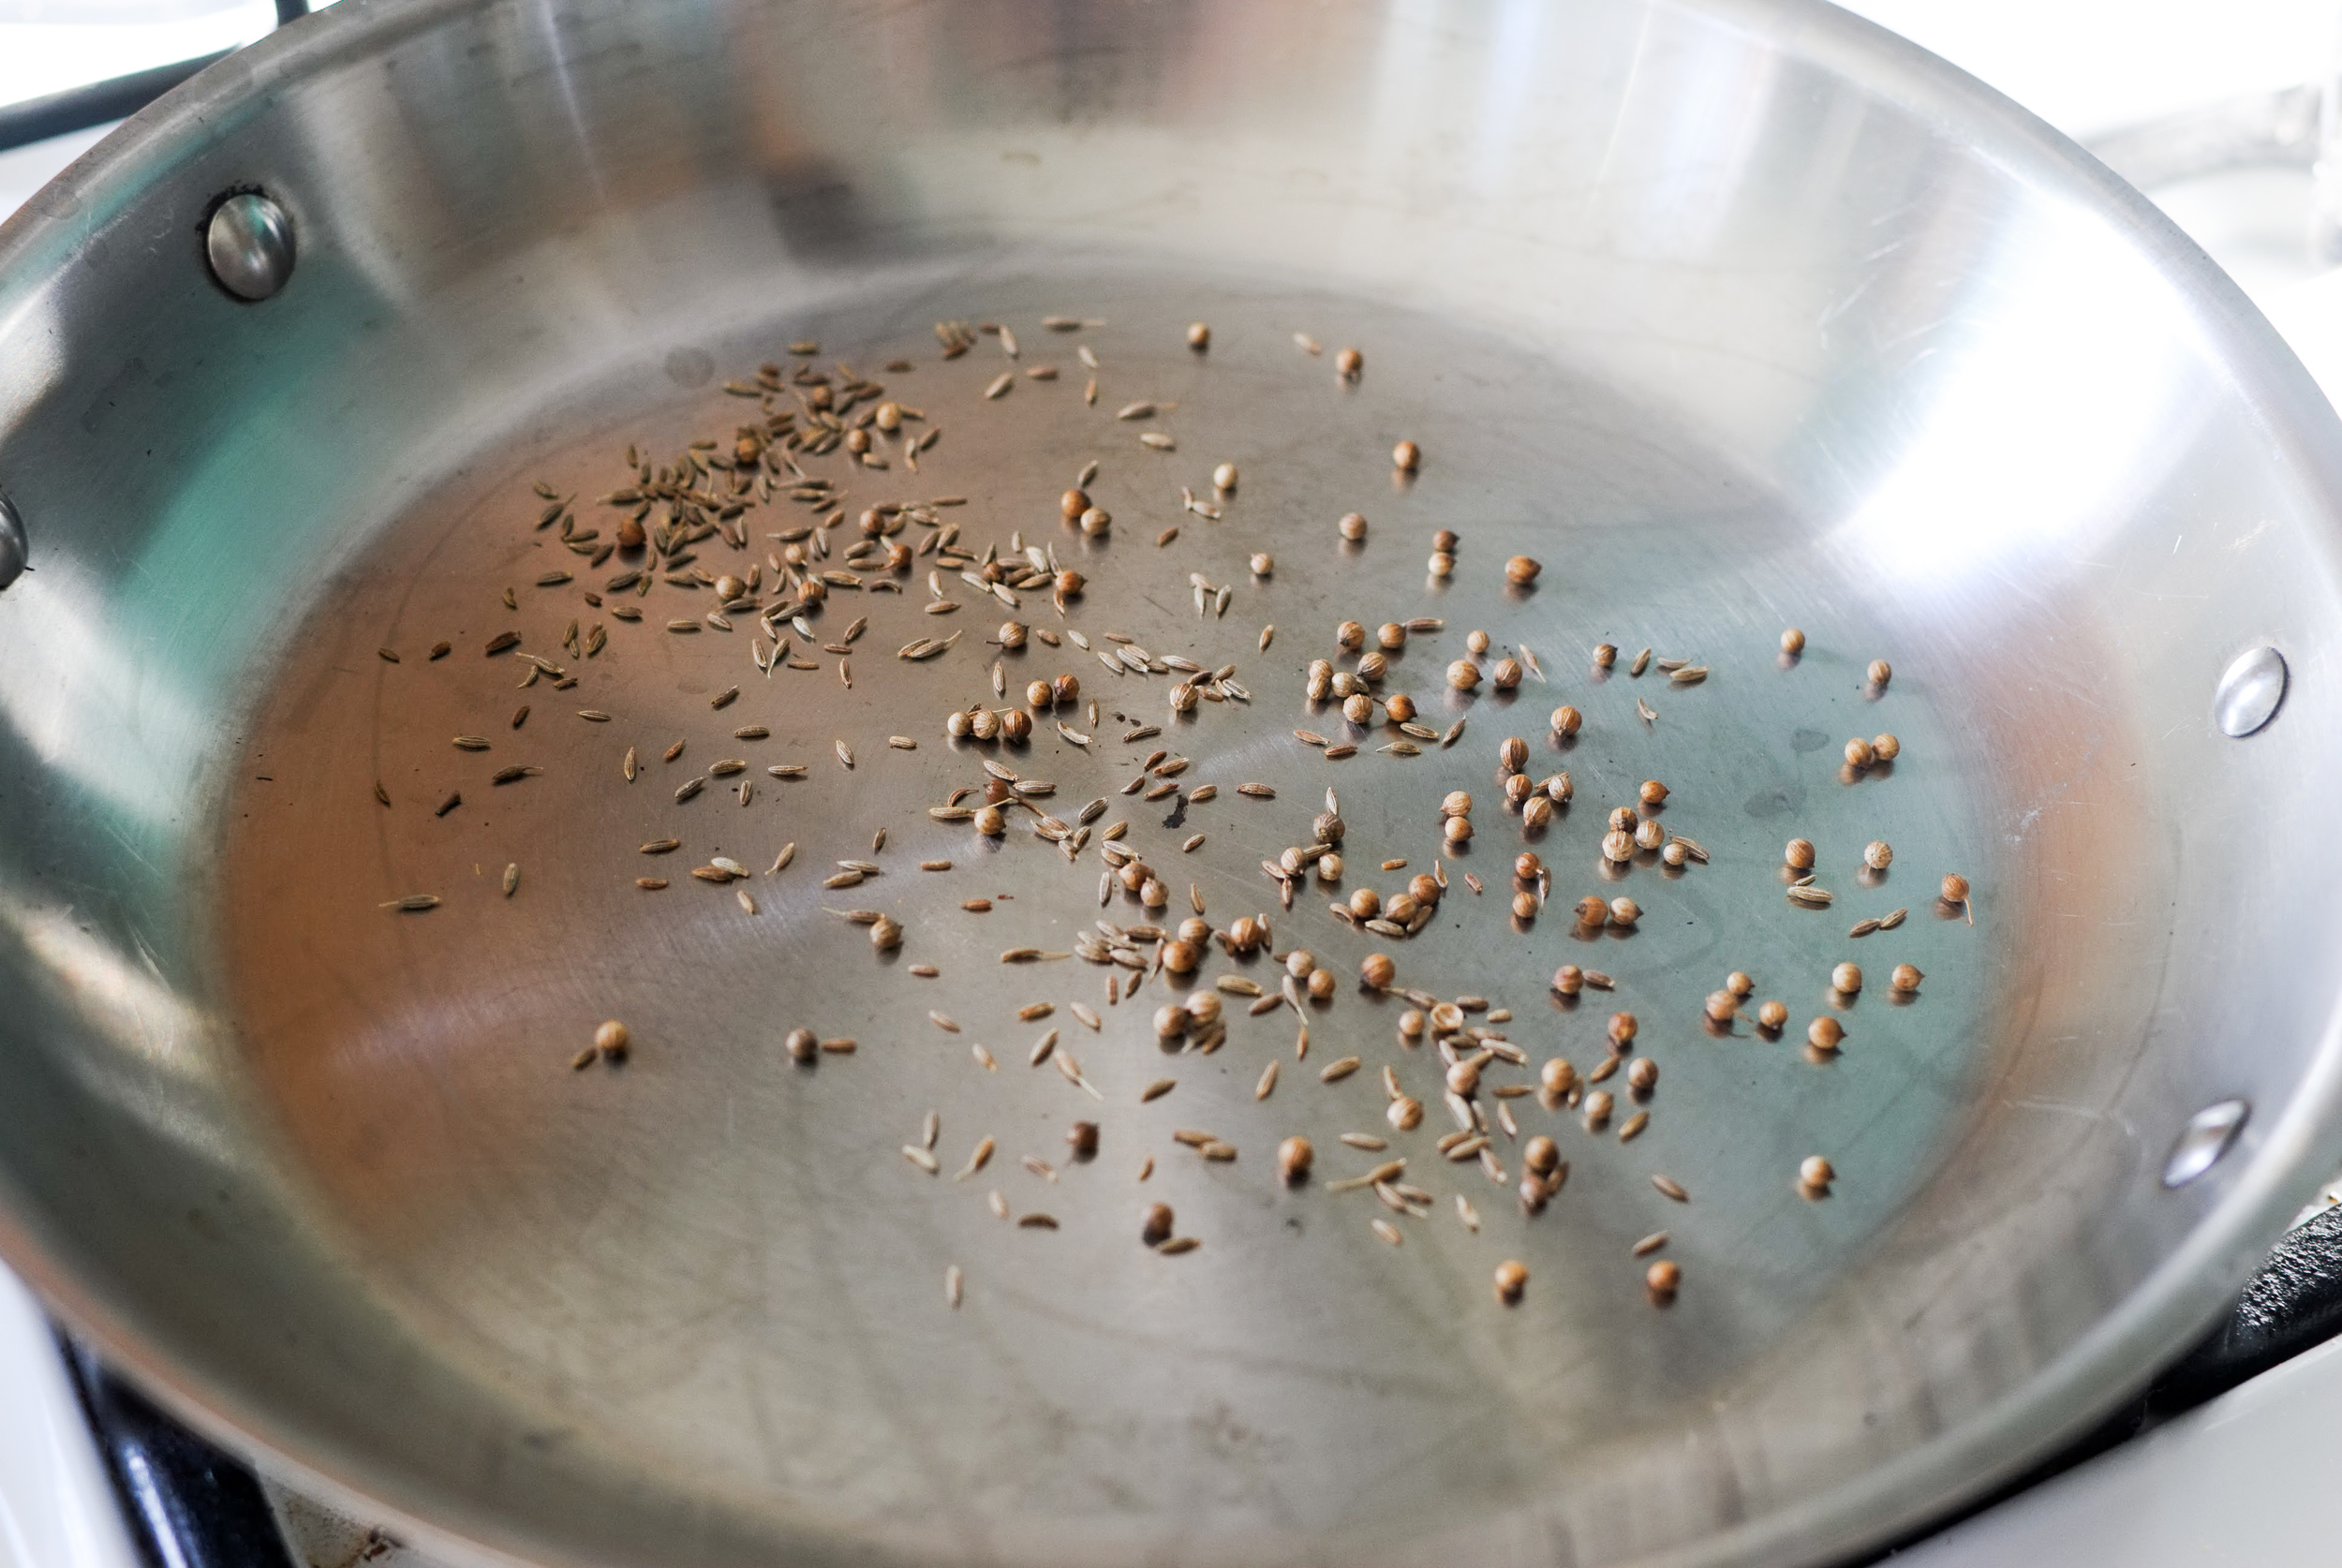
Deseed chiles, cut into 2 inch pieces with scissors and put into a skillet over medium heat. Toast chilies until fragrant, about 3 minutes. Place chiles into a medium bowl, cover with boiling water, and let sit until softened, 20-30 minutes. Heat caraway, coriander, and cumin in an 8" skillet over medium heat. Toast spices, swirling skillet constantly, until very fragrant, about 2 minutes. Transfer spices to a grinder and grind to a fine powder. Set aside.

Drain chiles and transfer to the bowl of a food processor or blender with the ground spices, olive oil, salt, garlic, lemon juice and orange zest. Purée, stopping occasionally to scrape down the sides of the bowl, until the paste is very smooth, about 2-4 minutes. Transfer to a sterilized 1-pint glass jar and fill with oil until ingredients are submerged by 1⁄2". Refrigerate, topping off with more oil after each use. Harissa paste will keep for up to 3 weeks.

Adapted from: Saveur Magazine

For the Pork Loin Chops:
Time: 60 minutes
Servings: 6

3/4 cup prepared Harissa
12, 1" thick pork loin chops (bone in)

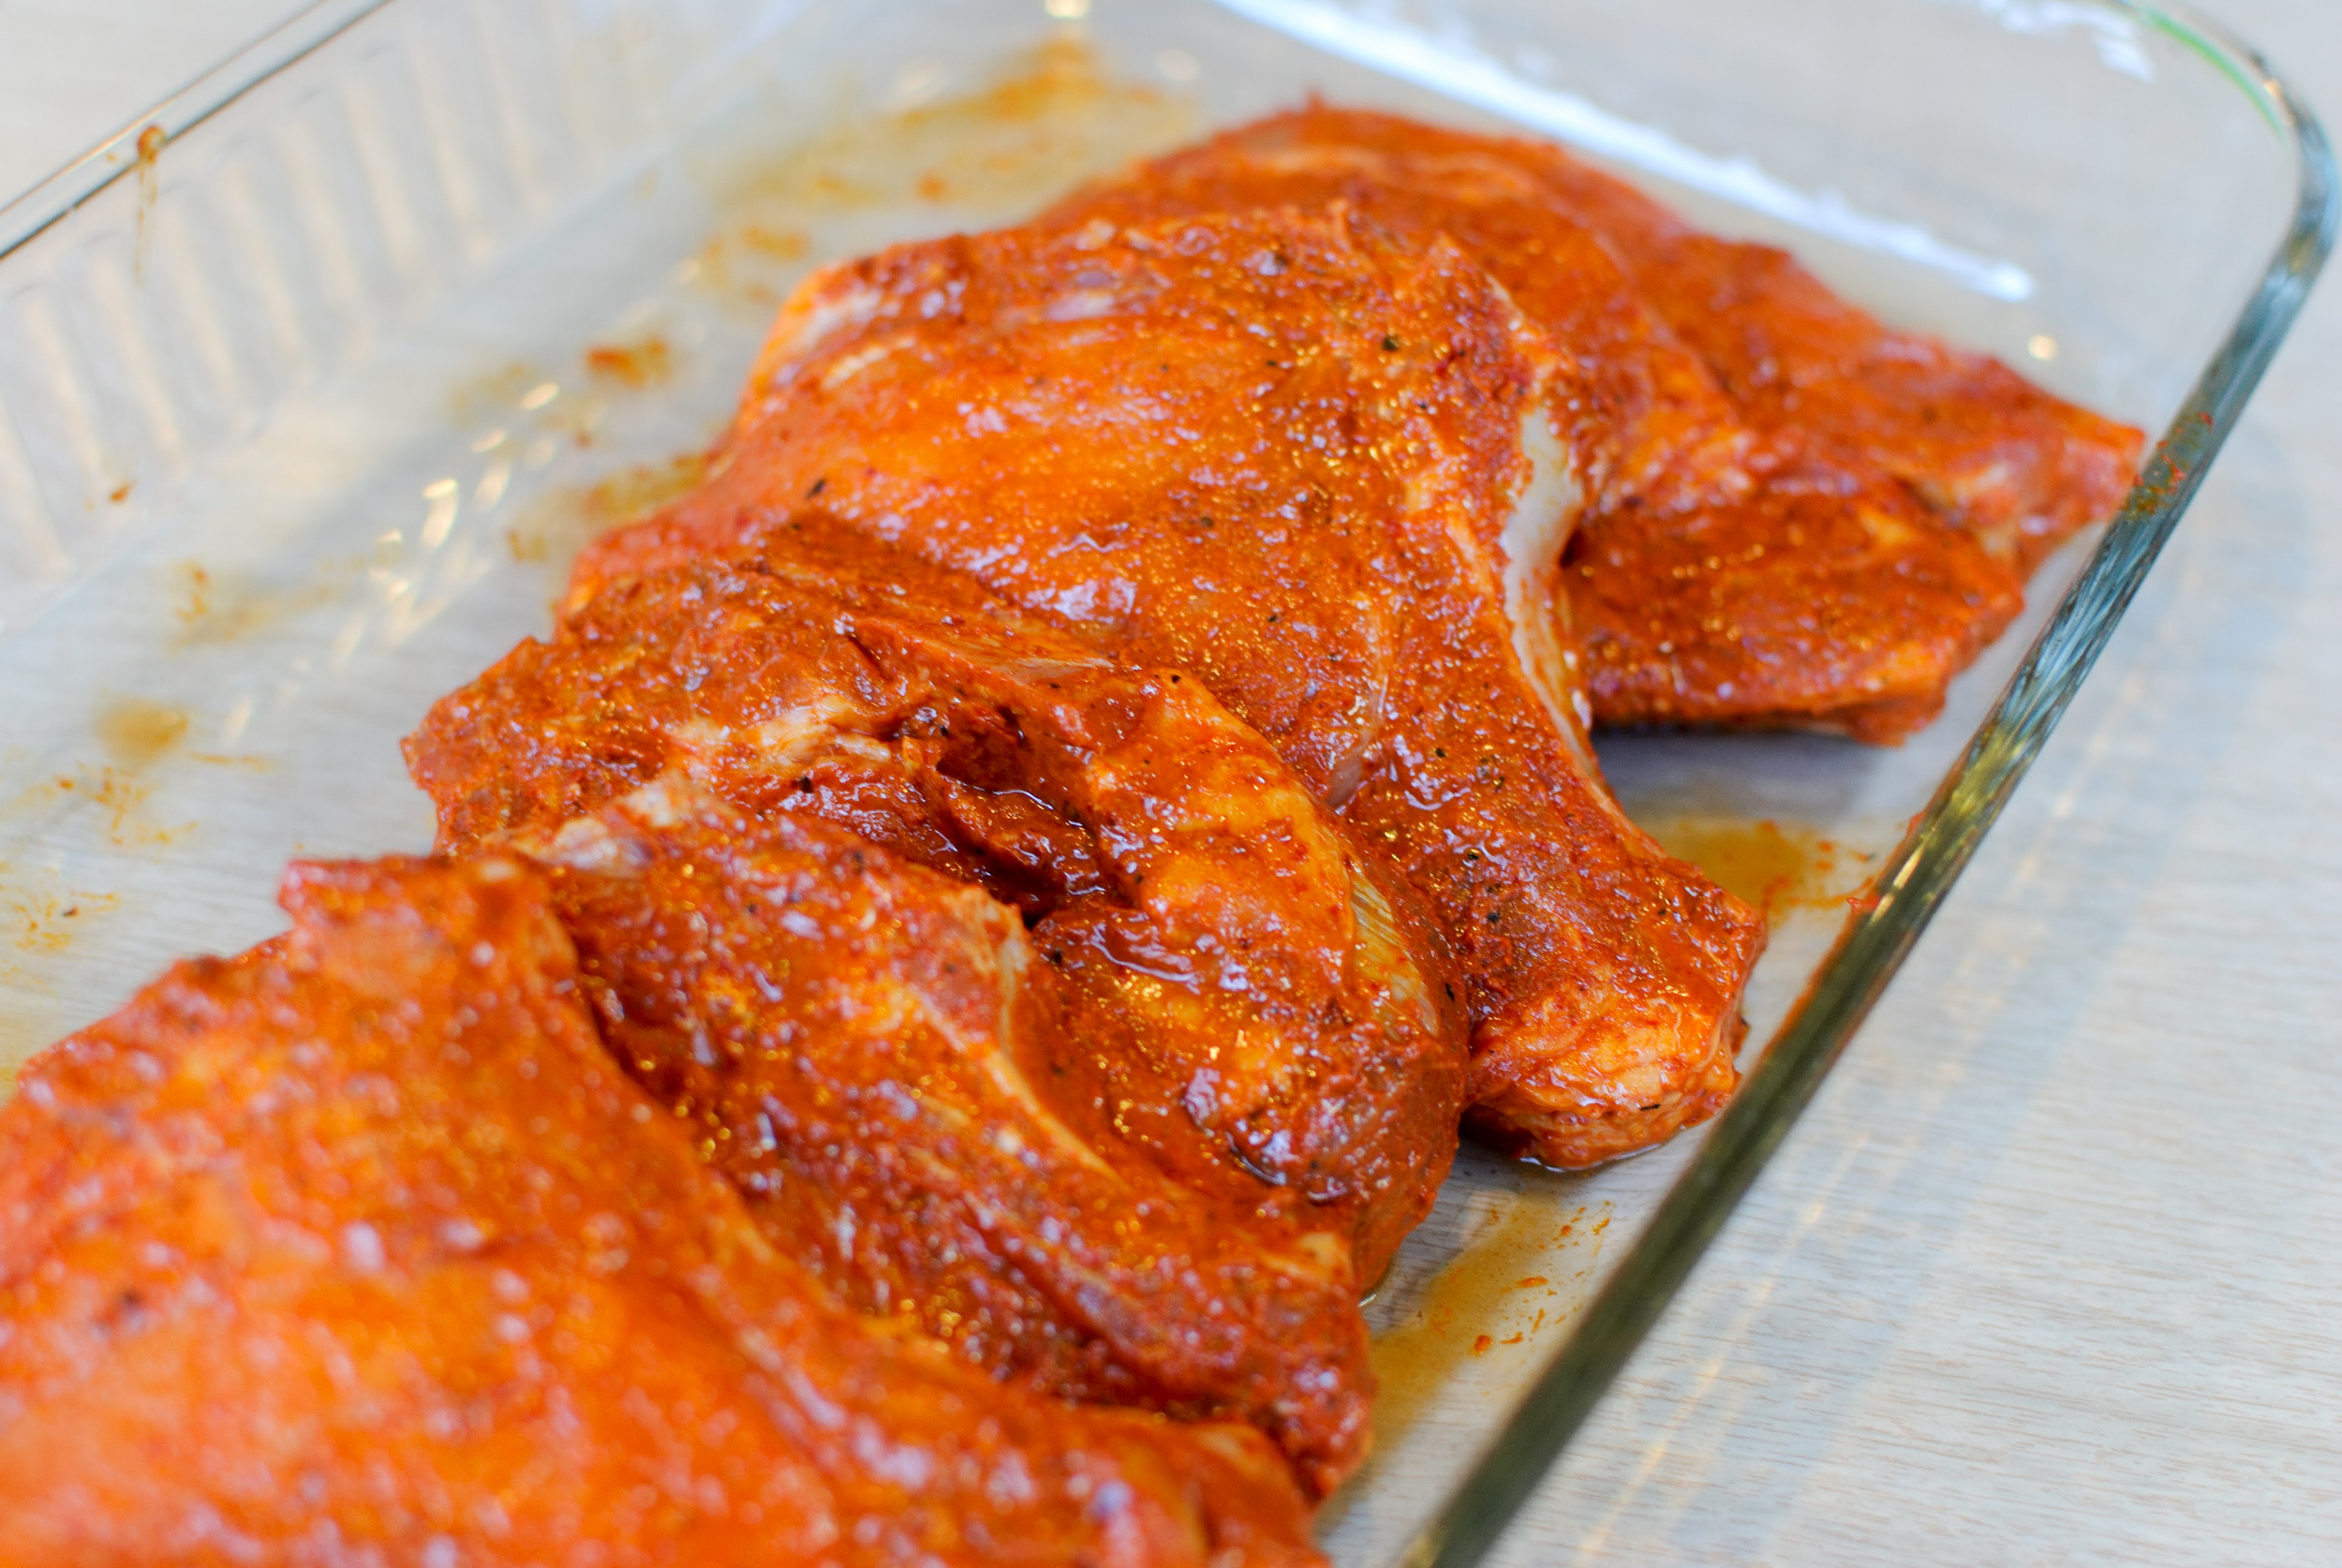
Prepare your grill. While your grill is heating up, dry pork chops throughly with a paper towel. On a large sheet pan, toss pork chops with Harissa paste and marinate for a minimum of 30 minutes (up to 6 hours). Once the pork is marinated and the grill is hot, place pork chops on the grill over indirect heat and cook 3-5 minutes per side. Cook until internal temperature reaches 145 degrees Fahrenheit.

Mussels with Tomato and Fennel by Amy Cantu

Print Friendly and PDF
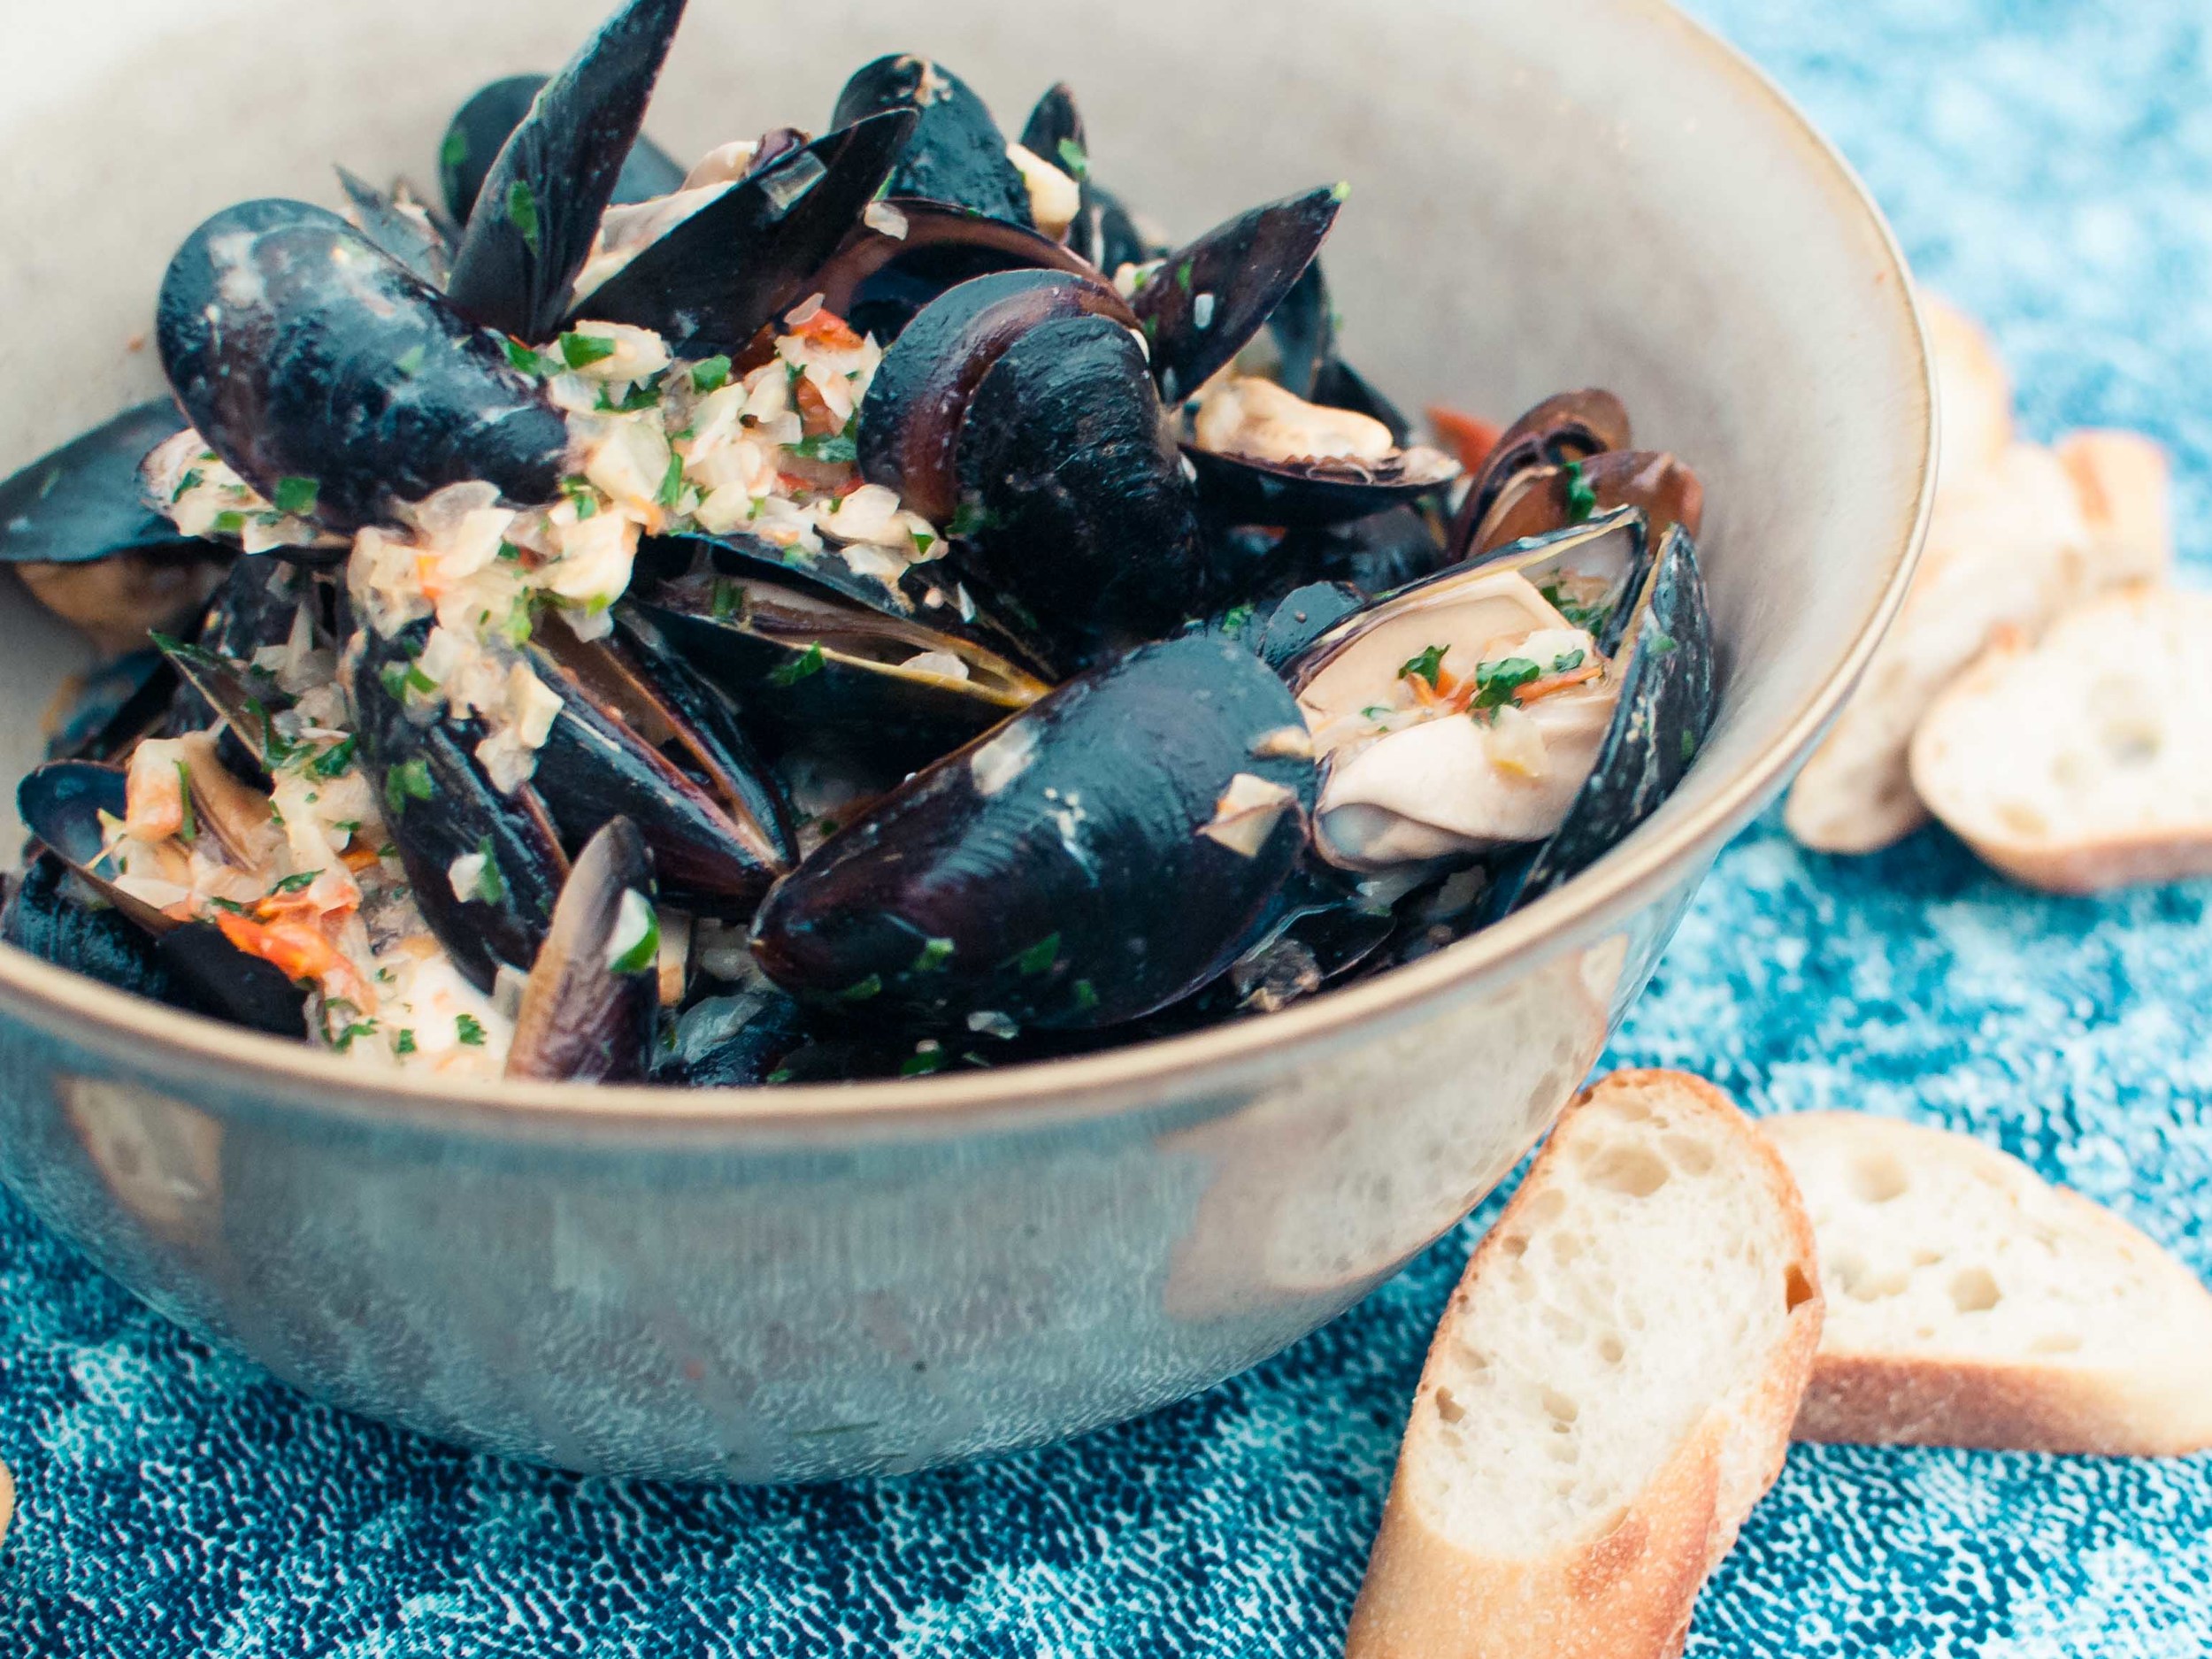
Mussels with Tomato and Fennel

Notes: Rinse mussels well under cold water, scrubbing if needed.  Pull out any beards by grabbing them and pulling towards the hinge-end of the mussels. (The beards look like little hairs poking out from between the shells.) Throw out any cracked mussels or open mussels that don't close when tapped with another mussel.


Time: 15 minutes
Servings: 4

2 tablespoons unsalted butter
1 small onion, finely chopped
1 small fennel bulb, fronds removed, and finely chopped
4 medium cloves garlic, thinly sliced
1 tomato, small dice
1 teaspoon kosher salt (1/2 teaspoon table salt)
1/2 teaspoon freshly ground pepper
1 cup dry white wine, such as Sauvignon Blanc
2 pounds mussels (see note above)
3 tablespoons heavy cream (optional)
1 tablespoon juice and 1 teaspoon grated zest from 1 lemon
3 tablespoons minced fresh parsley leaves
1 baguette, sliced and lightly toasted

Melt 2 tablespoons butter in a large saucepan over medium-low heat. Add onion, fennel, and garlic. Season with salt and pepper and cook, stirring, until vegetables begin to soften (about 5 minutes). Add tomatoes and continue to cook until all vegetables are soft but not browned, about 5 minutes more.

Increase heat to high and add wine. Bring to a boil and let reduce by half, about 2 minutes. Add mussels, stir, cover, and cook, shaking pan constantly and peeking every 30 seconds to stir. As soon as all the mussels are open, transfer mussels to a bowl using tongs. Place pan lid over bowl to keep mussels warm.

Remove from heat and whisk in heavy cream. Return mussels to pot, add parsley, lemon juice, and lemon zest, stir to combine, then transfer to a warm serving bowl. Serve immediately with crusty bread.

Cookies and Cream Ice Cream Cake by Amy Cantu

Print Friendly and PDF
Cookies and Cream Ice Cream Cake

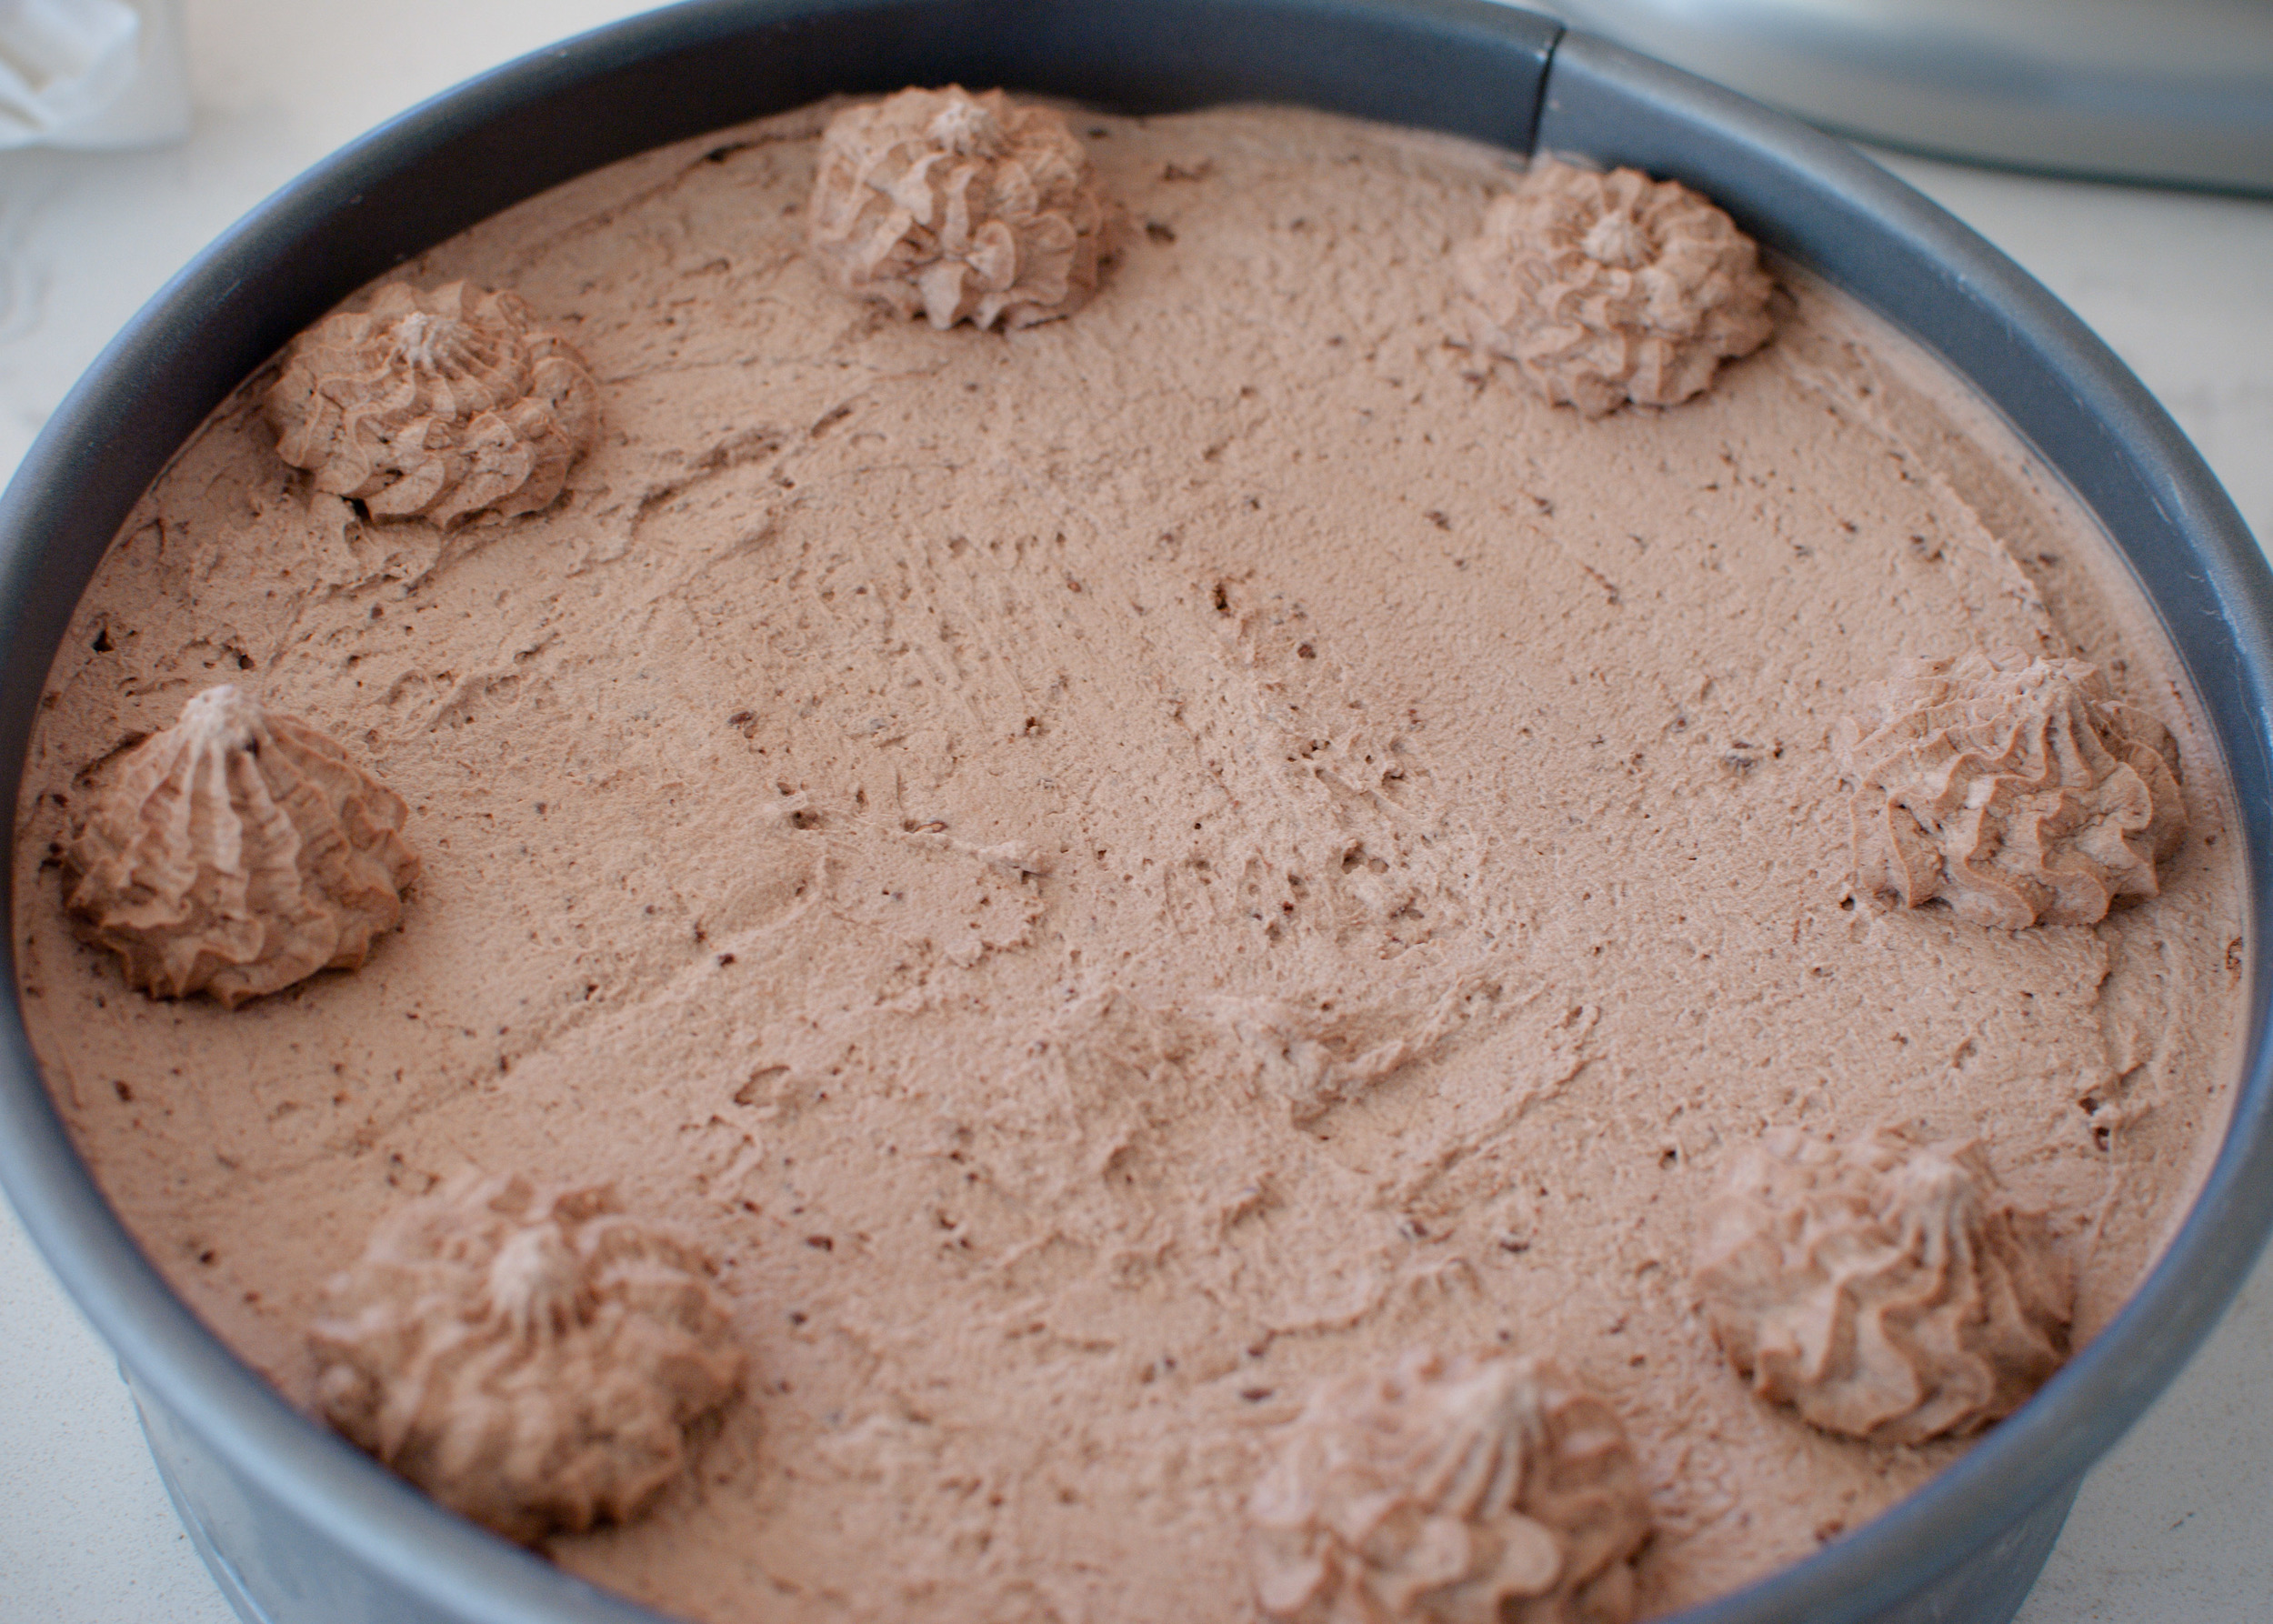
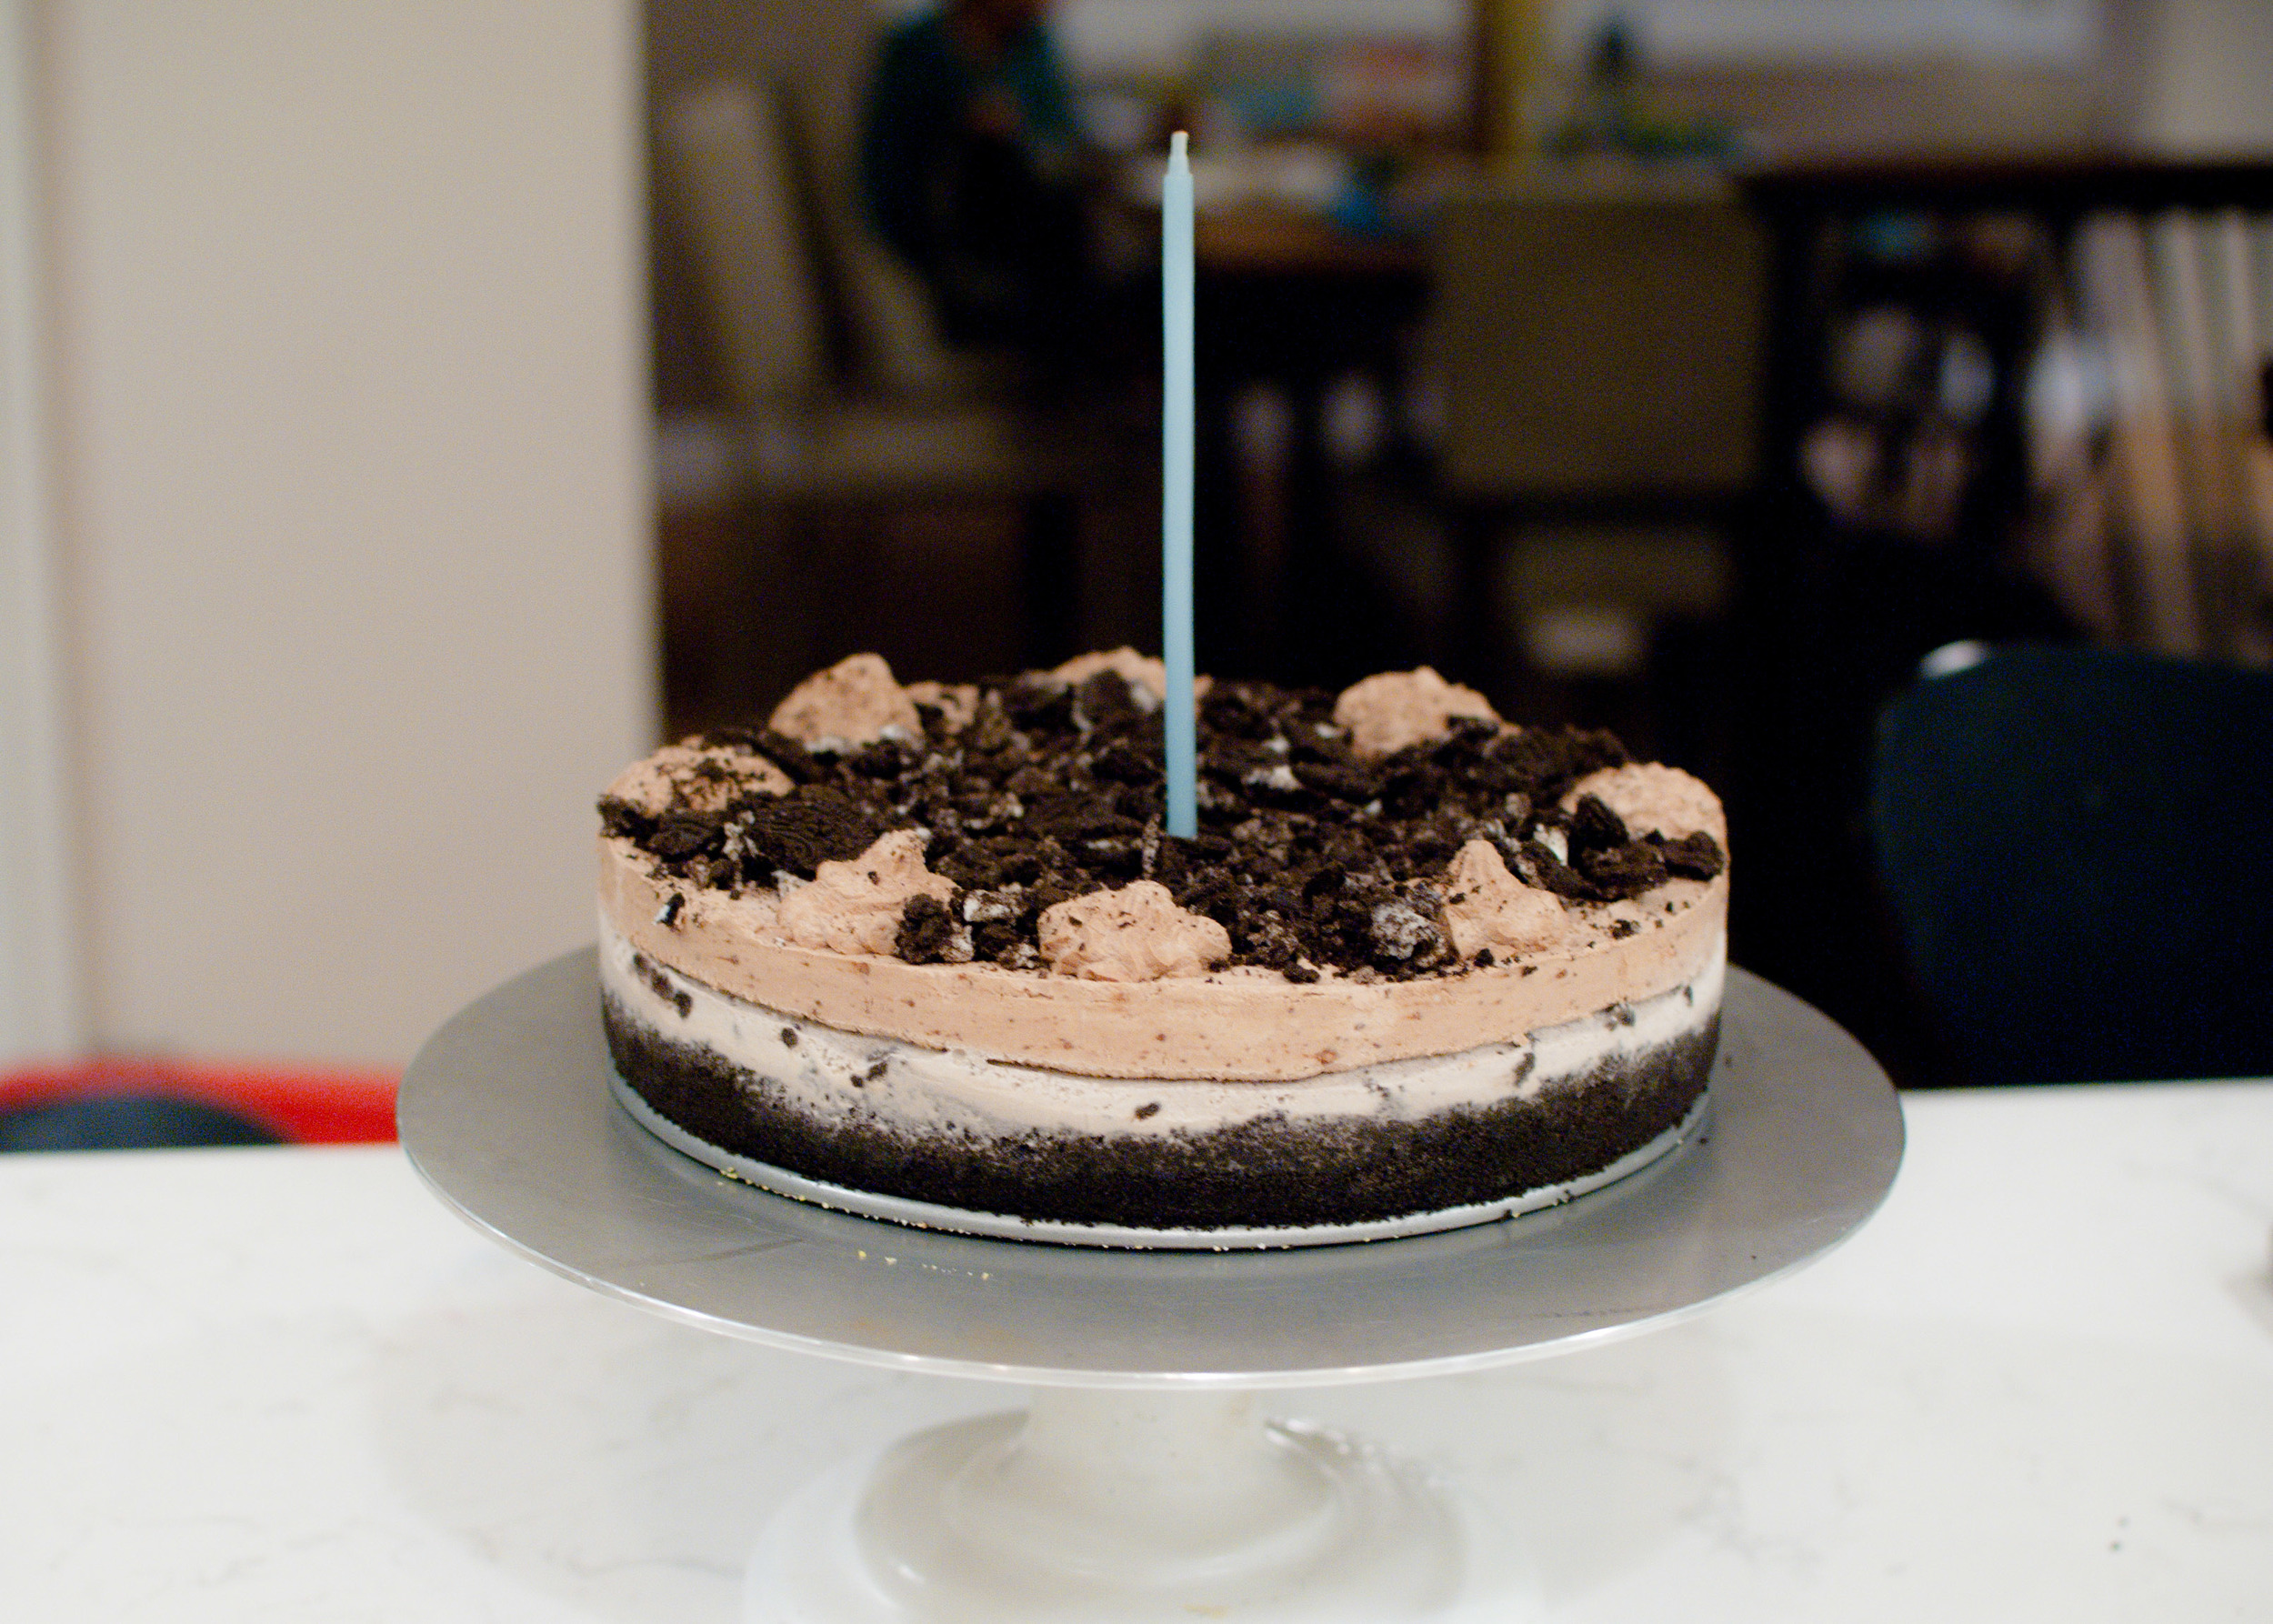
Ice cream cake is sooo much easier to make than a tiered cake baked in the oven. It looks impressive and tastes divine, because much like cheese, who doesn’t like ice cream? My family declared this “the best birthday cake ever”, which is almost an insult because of how little effort it took. The hardest part about this “cake” is starting at least a day in advance, so that the layers have ample time to freeze. I love the layered look of the cake, once it’s sliced. Depending on the flavor of ice cream you choose, this ice cream cake is just as comfortable at an elegant dinner party, as it is at a kid’s (or husband’s) birthday party!

Developed from Bon Appetit.

Notes: Variations of this ice cream cake are endless. You can change the ice cream flavor to just about anything that would go with chocolate. (Peanut butter ice cream topped with peanut butter cups?! A berry flavored ice cream and then top with fresh berries?! Or how about Dulce de Leche ice cream and then drizzle with caramel sauce? YUM!). You could also change the chocolate cookies to shortbread or vanilla wafer cookies and do a citrus flavored ice cream. Modify the whipped cream topping by substituting a teaspoon of lemon or orange zest for the cocoa powder. Now you have a summery dessert!


Time: 30 minutes (not including freezing time)
Servings: 12

52 chocolate wafer cookies, such as Famous Chocolate Wafers (about 12 ounces), broken into pieces, or chocolate cookie crumbs
6 tablespoons unsalted butter, melted
2 quarts Cookies and Cream ice cream, slightly softened
2 cups chilled whipping cream
1/2 teaspoon vanilla extract
3/4 cup powdered sugar
1/3 cup unsweetened cocoa powder
Chocolate sandwich cookies, crushed, for garnish

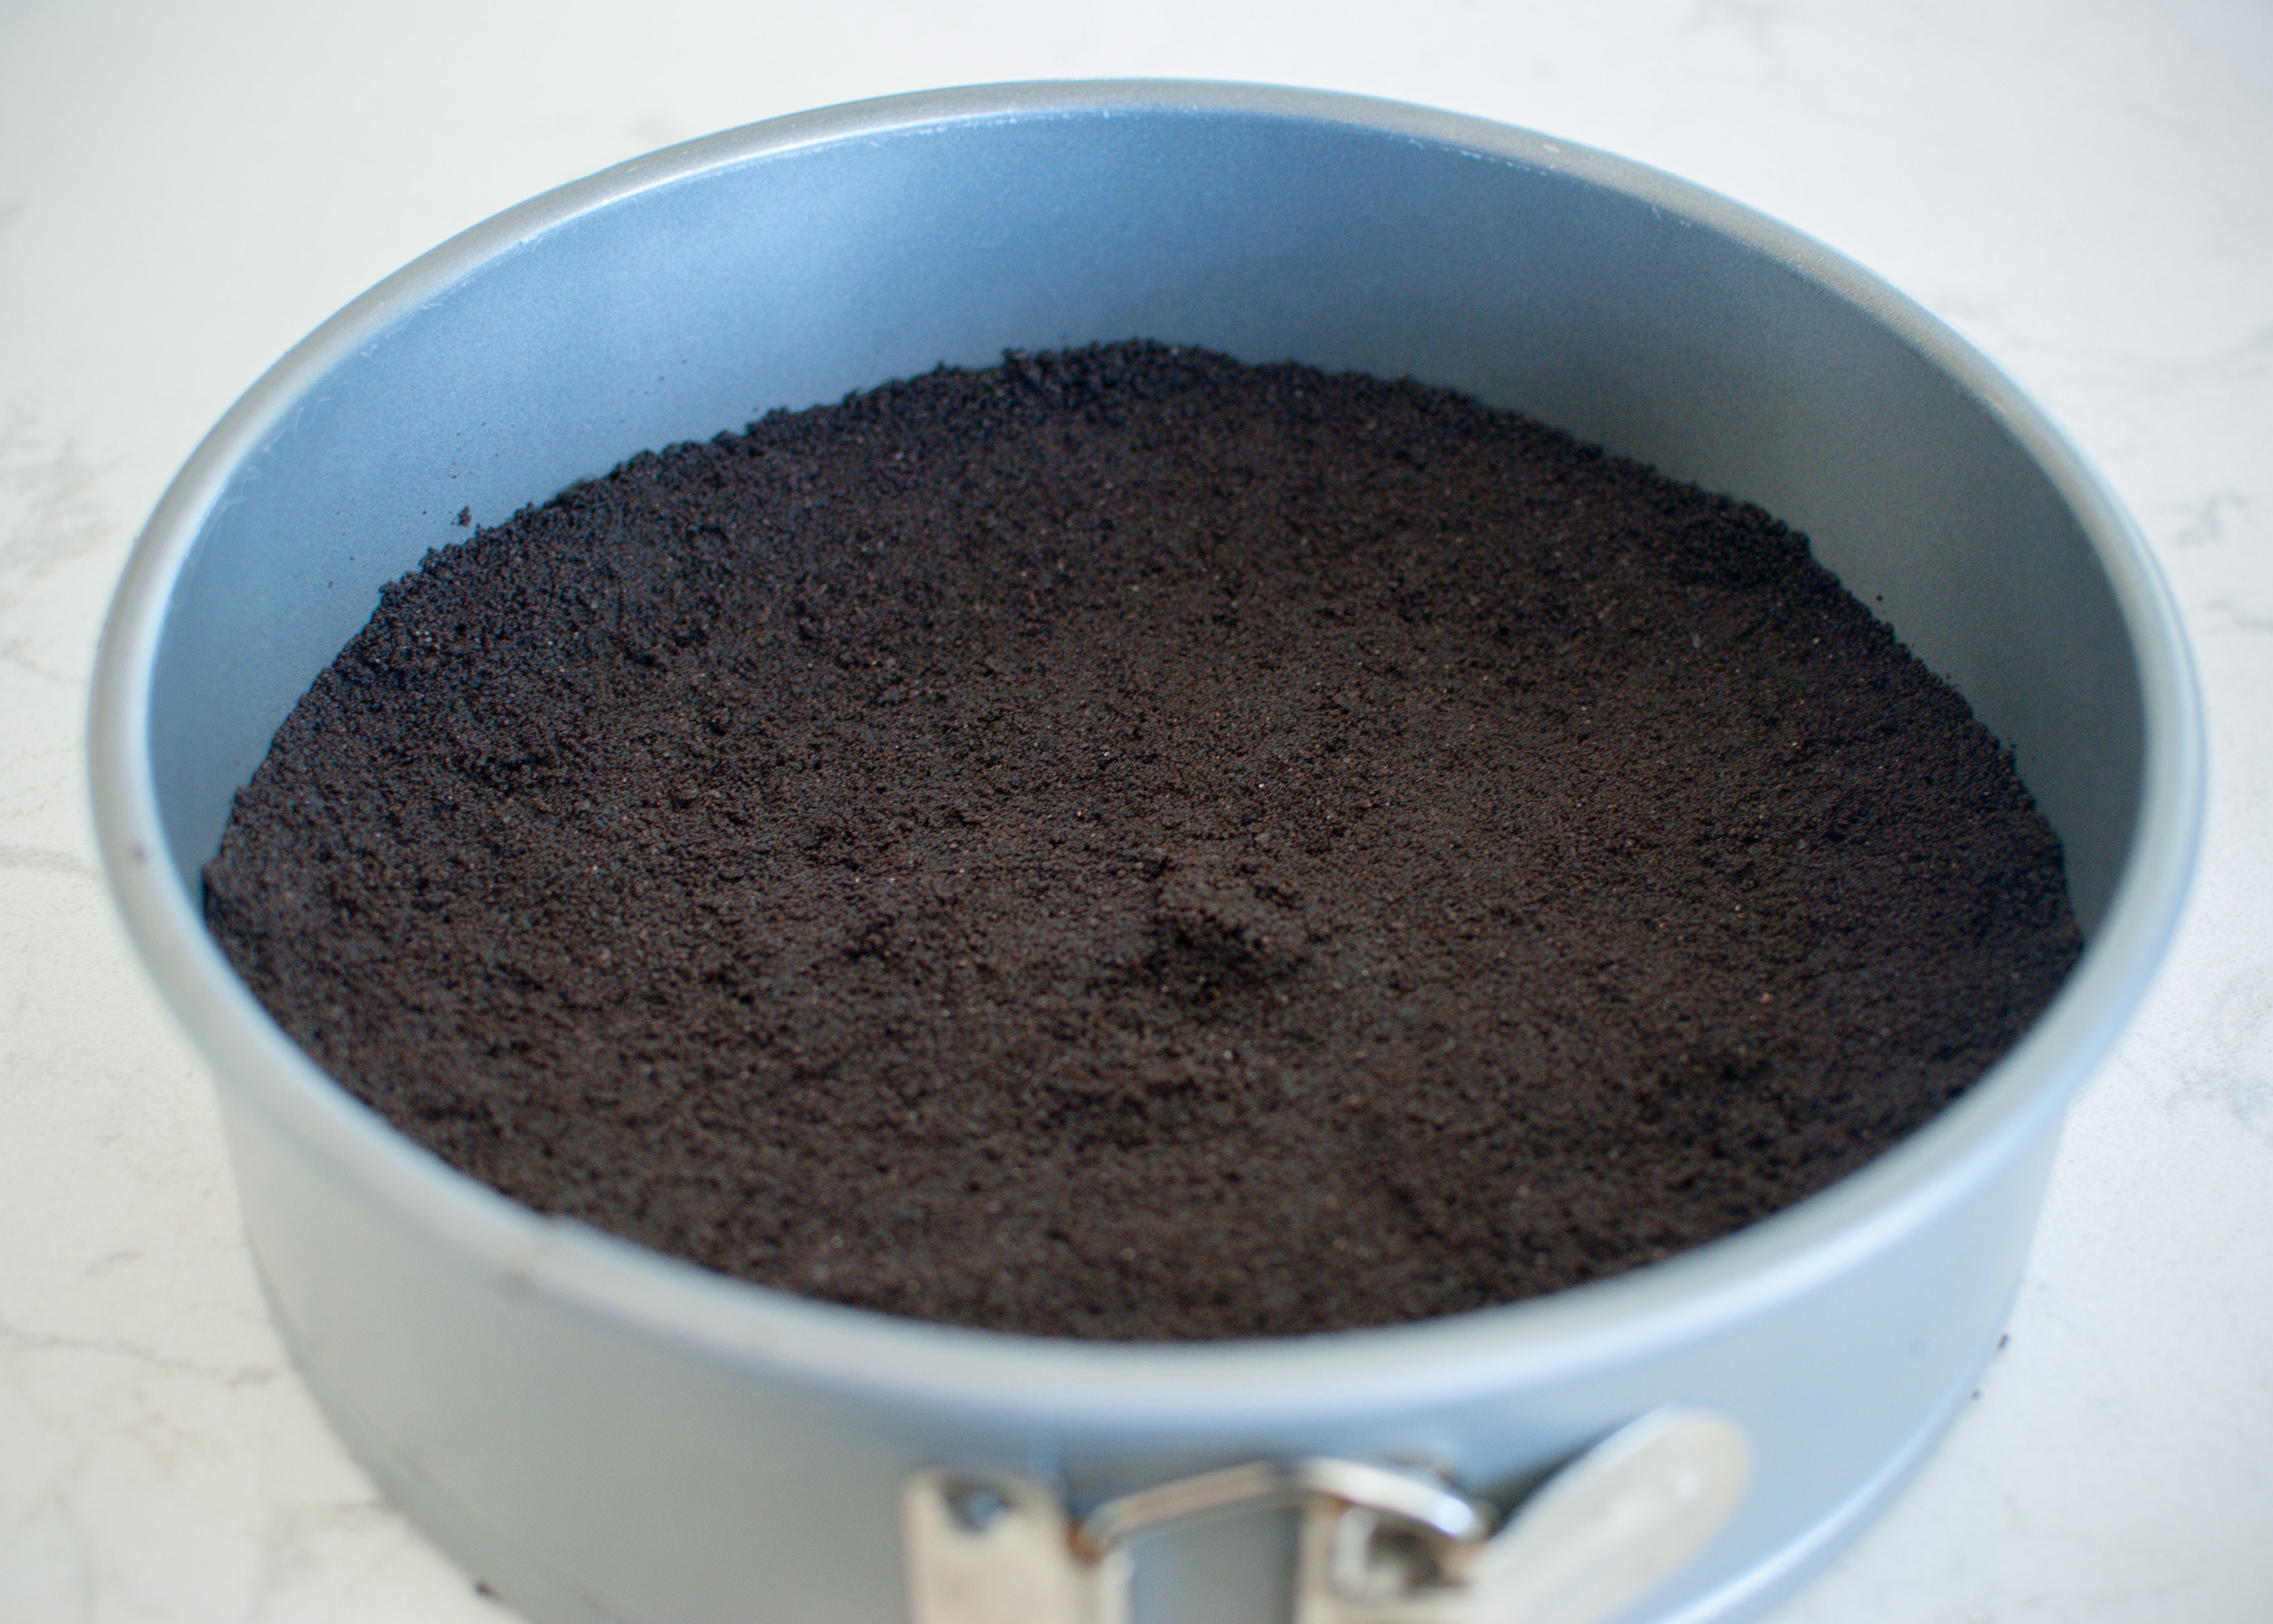
Blend cookies in food processor until finely ground. Add melted butter; process until crumbs are moistened. (Or if using chocolate cookie crumbs - use a fork to combine crumbs with butter until moistened.) Press crumb mixture onto bottom of 9-inch-diameter springform pan with 2 3/4-inch-high sides. Freeze until firm, about 10 minutes.

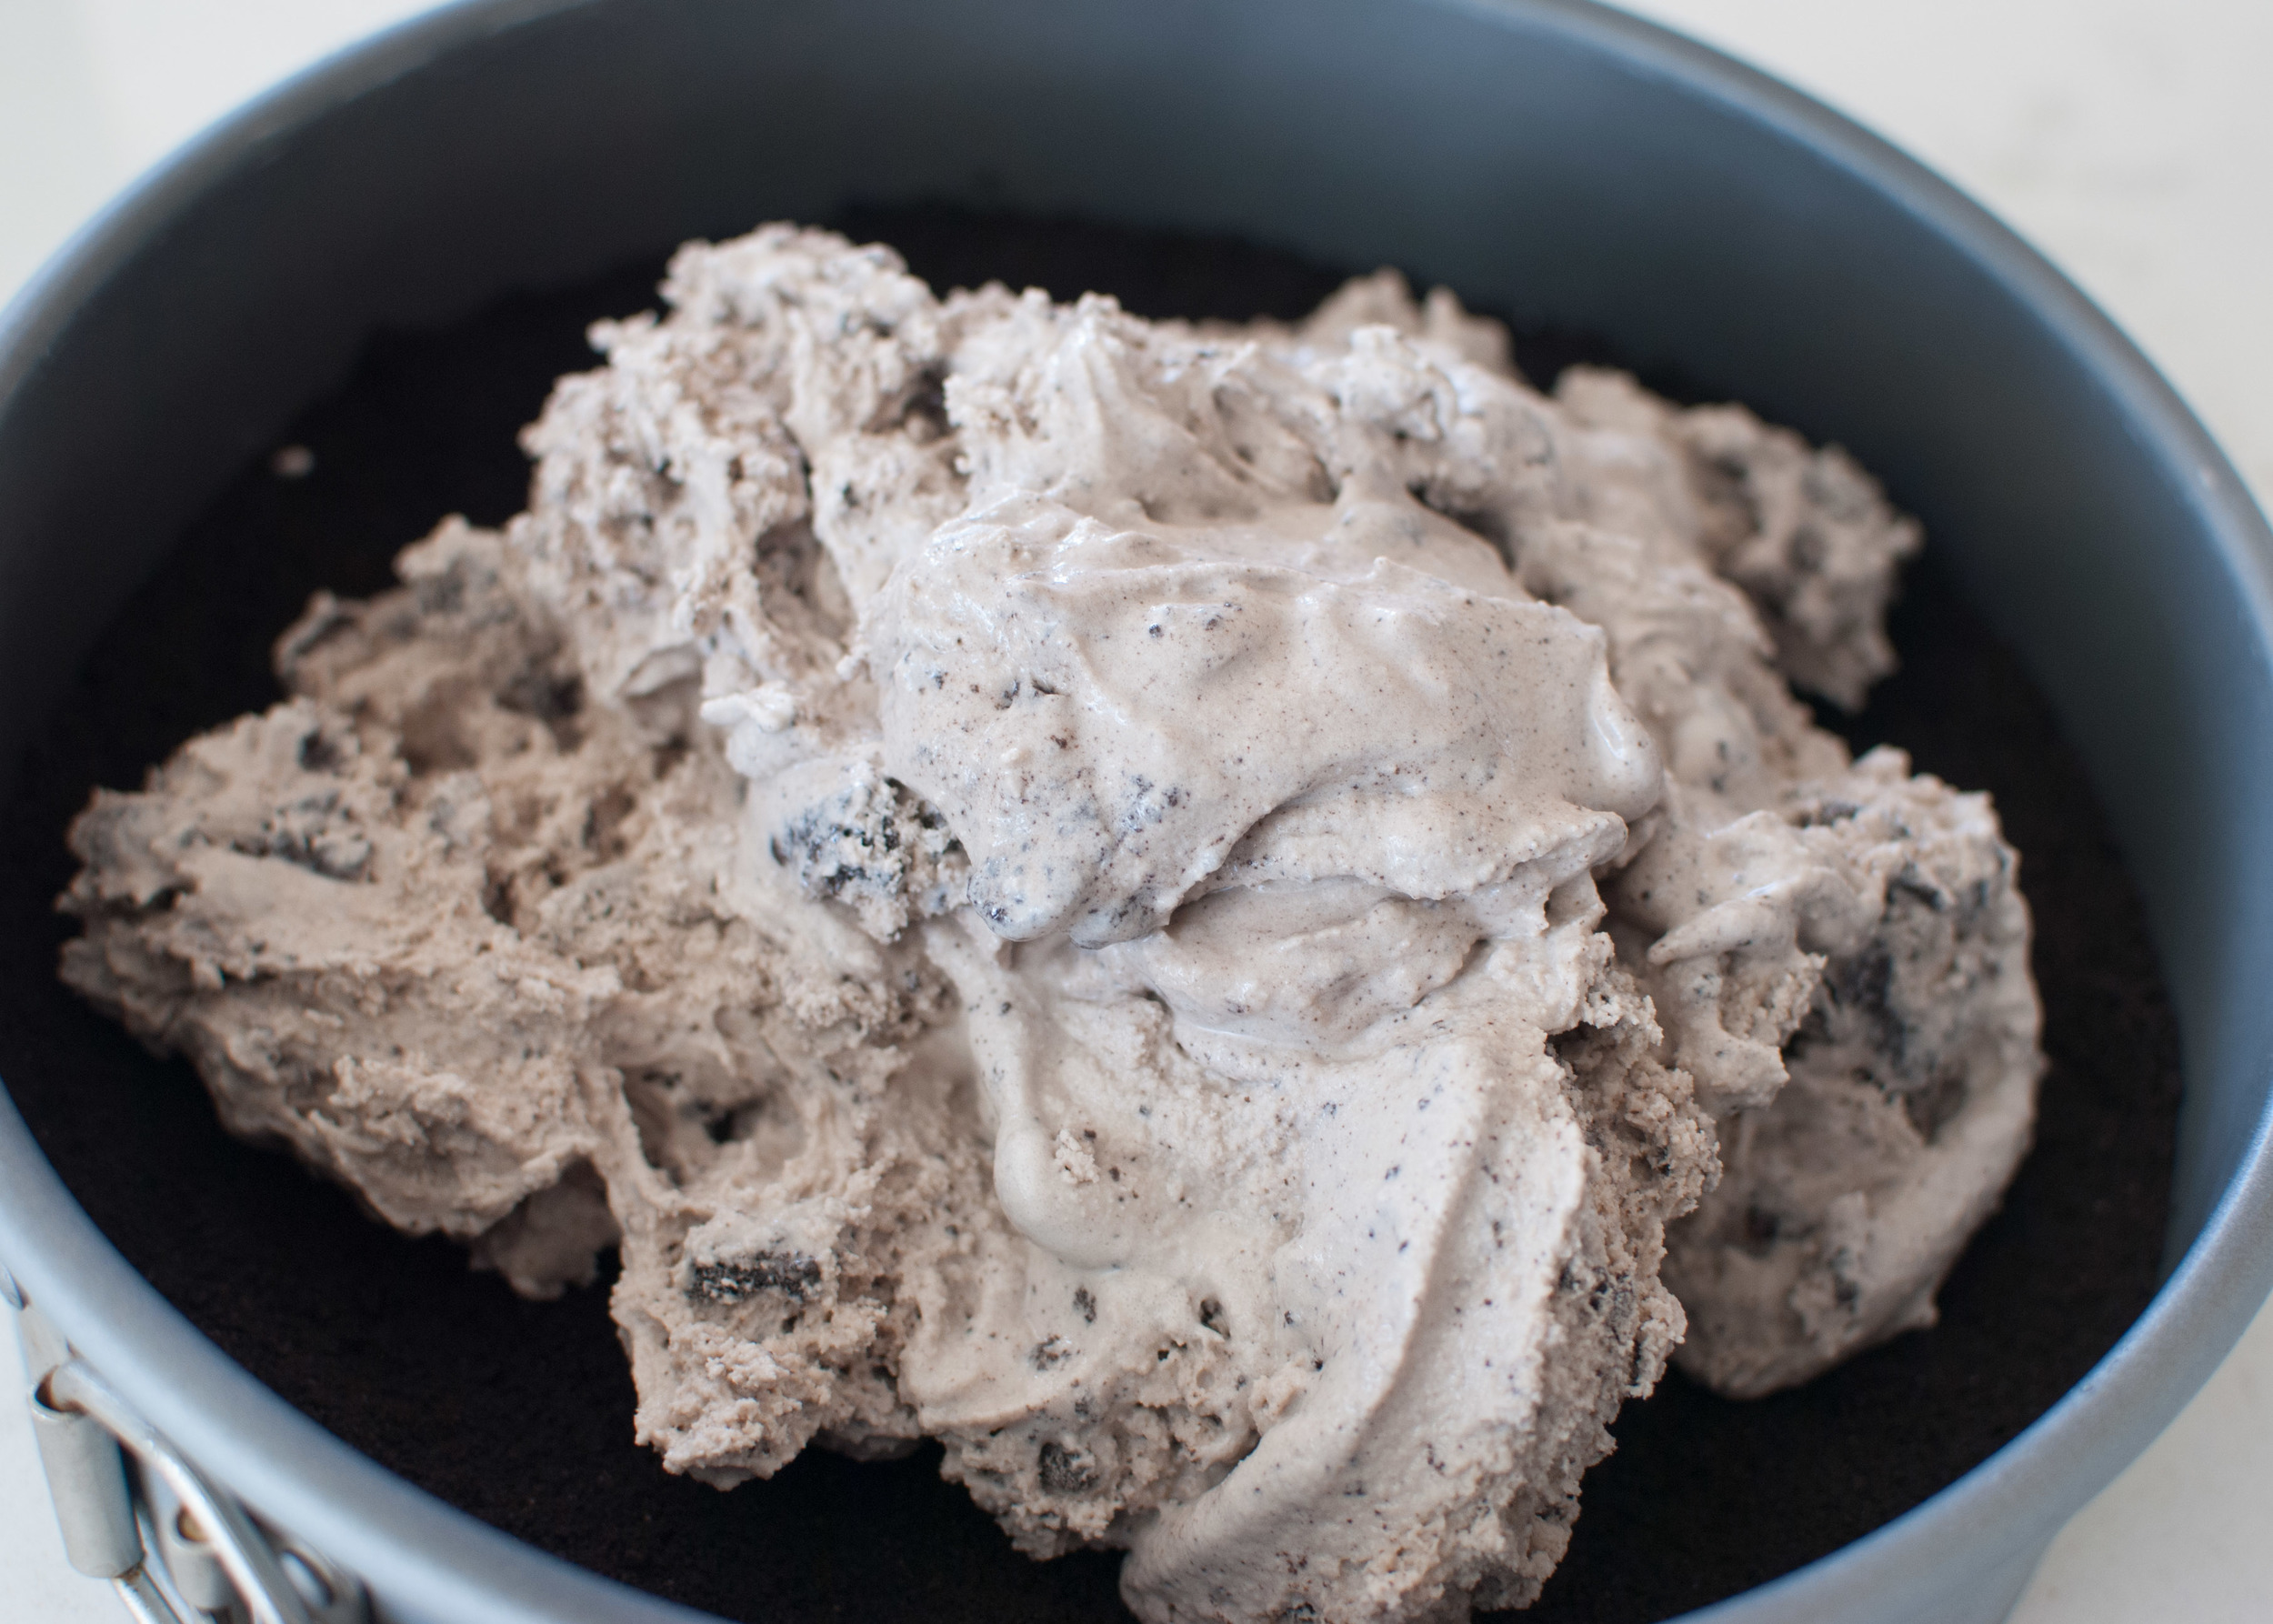
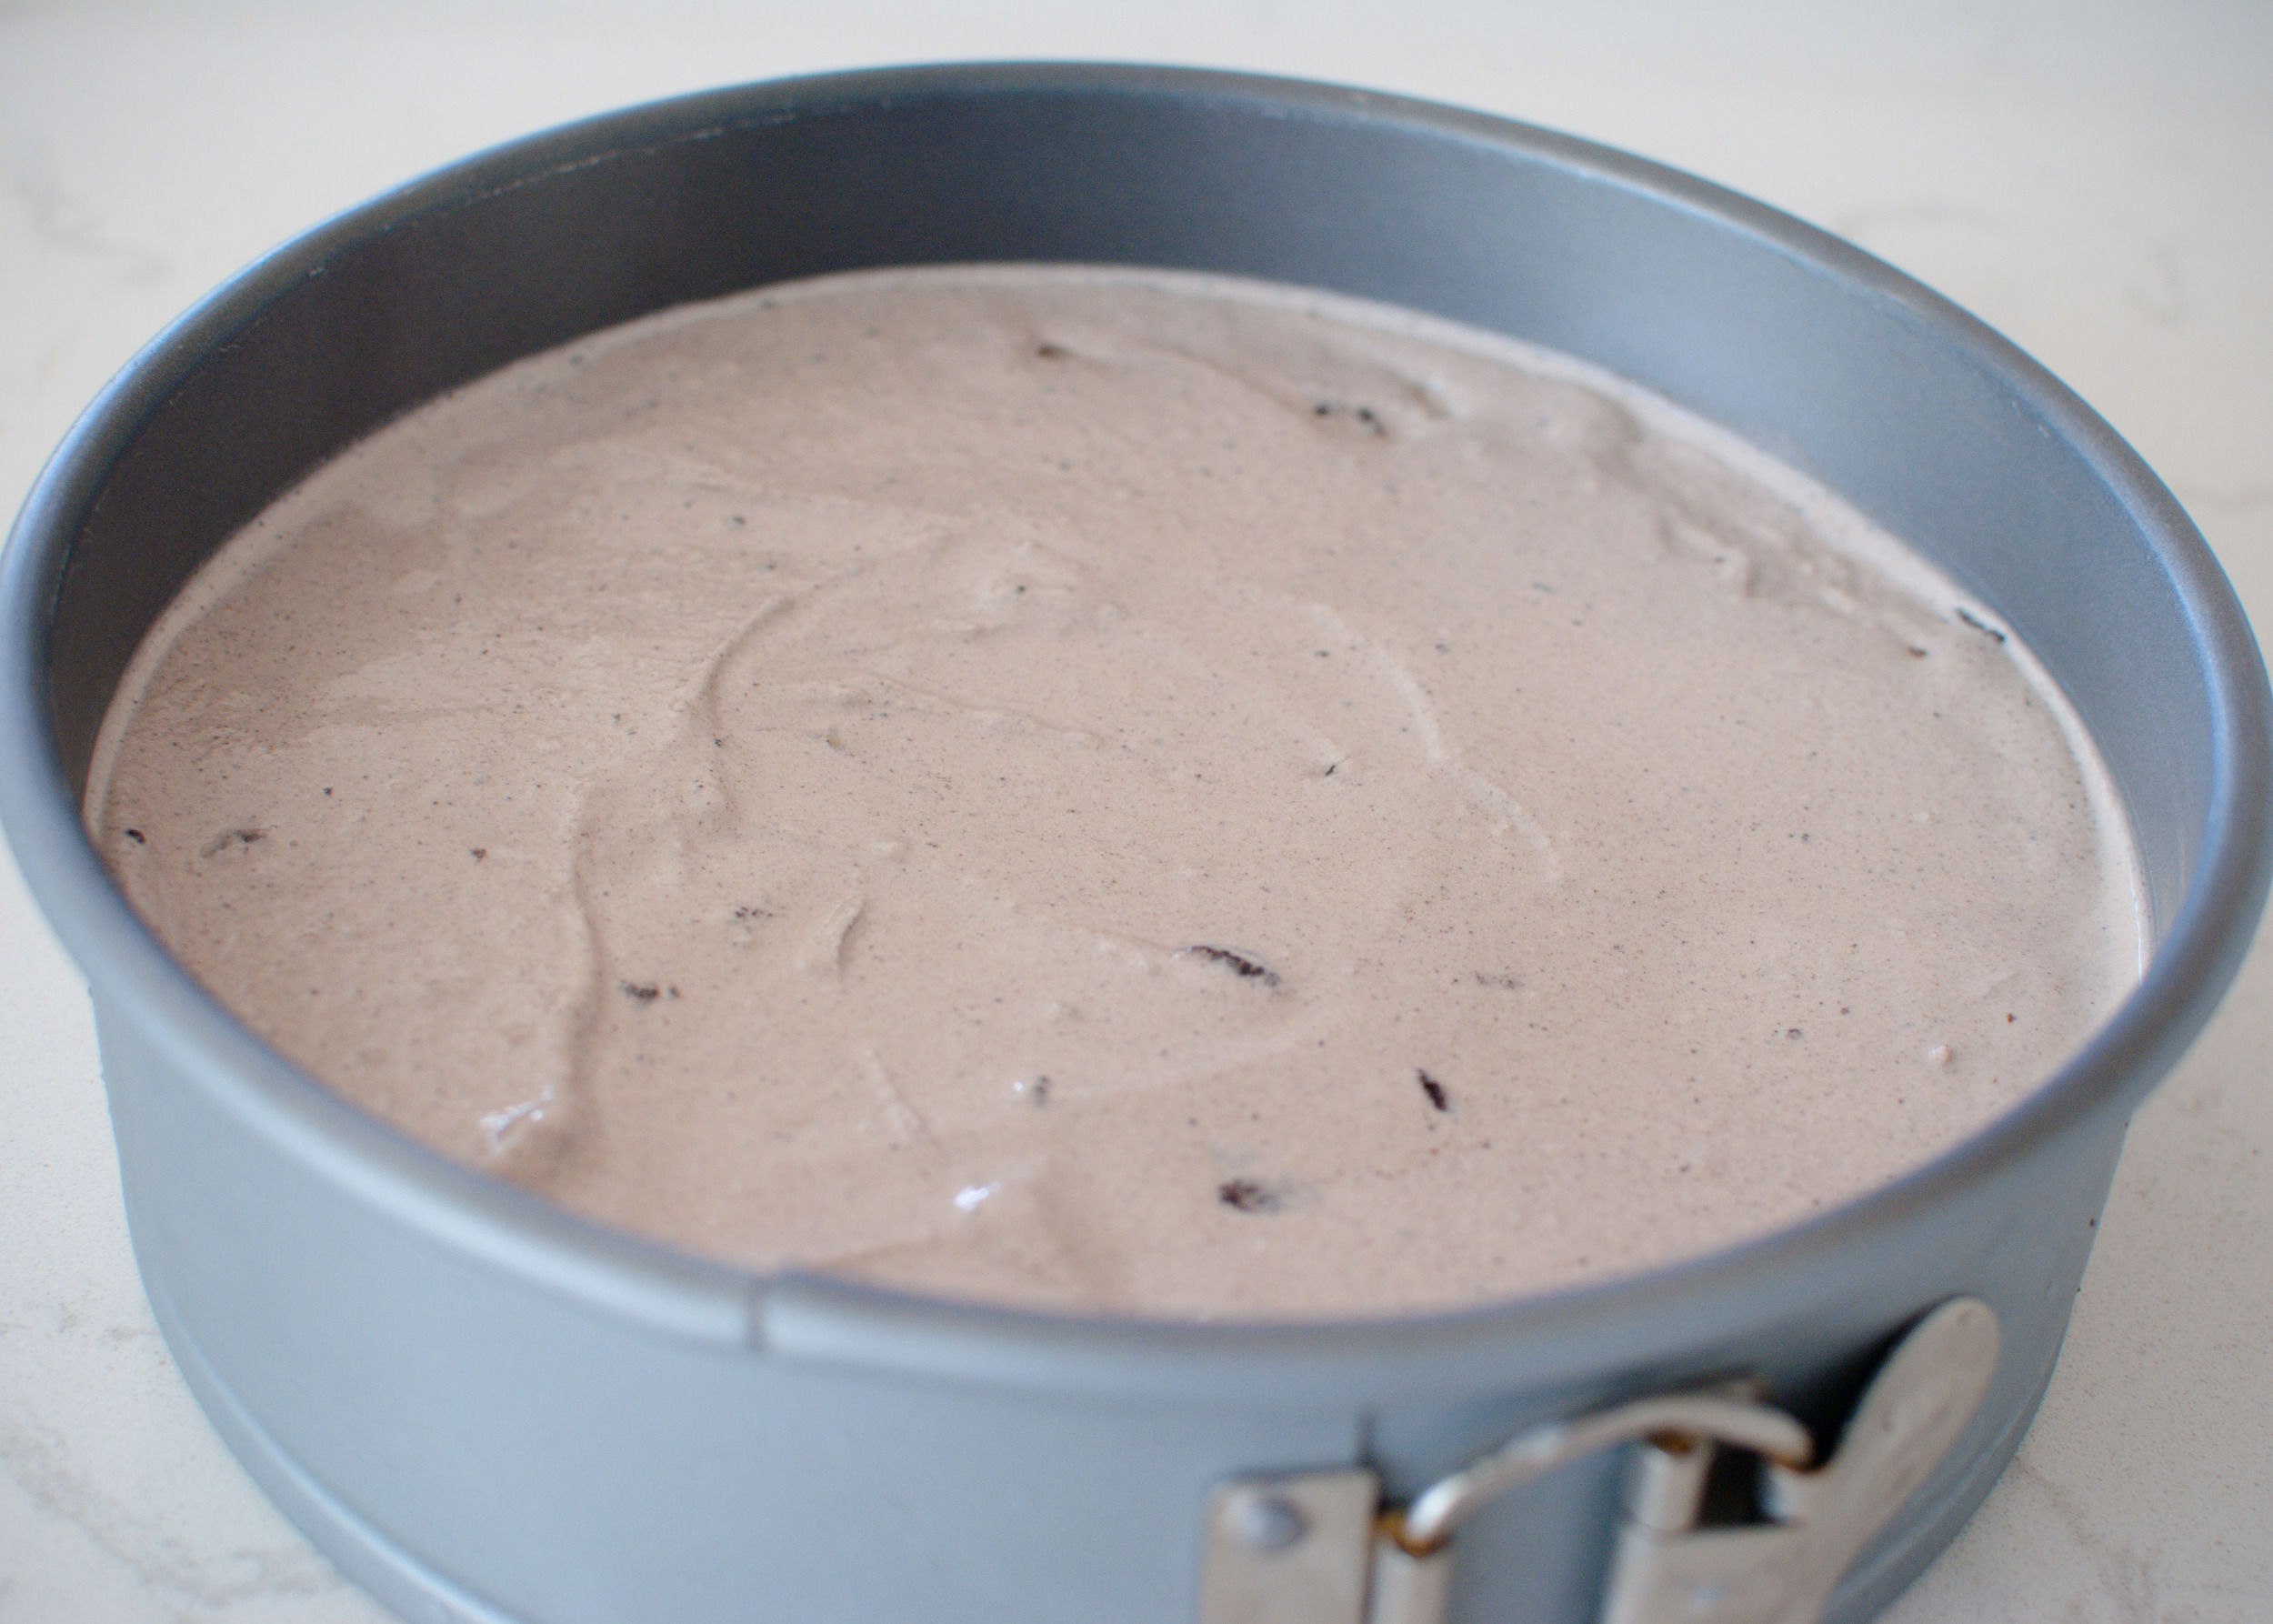
Spoon the softened ice cream into the crust-lined pan. Smooth top. Cover with plastic wrap. Freeze overnight.

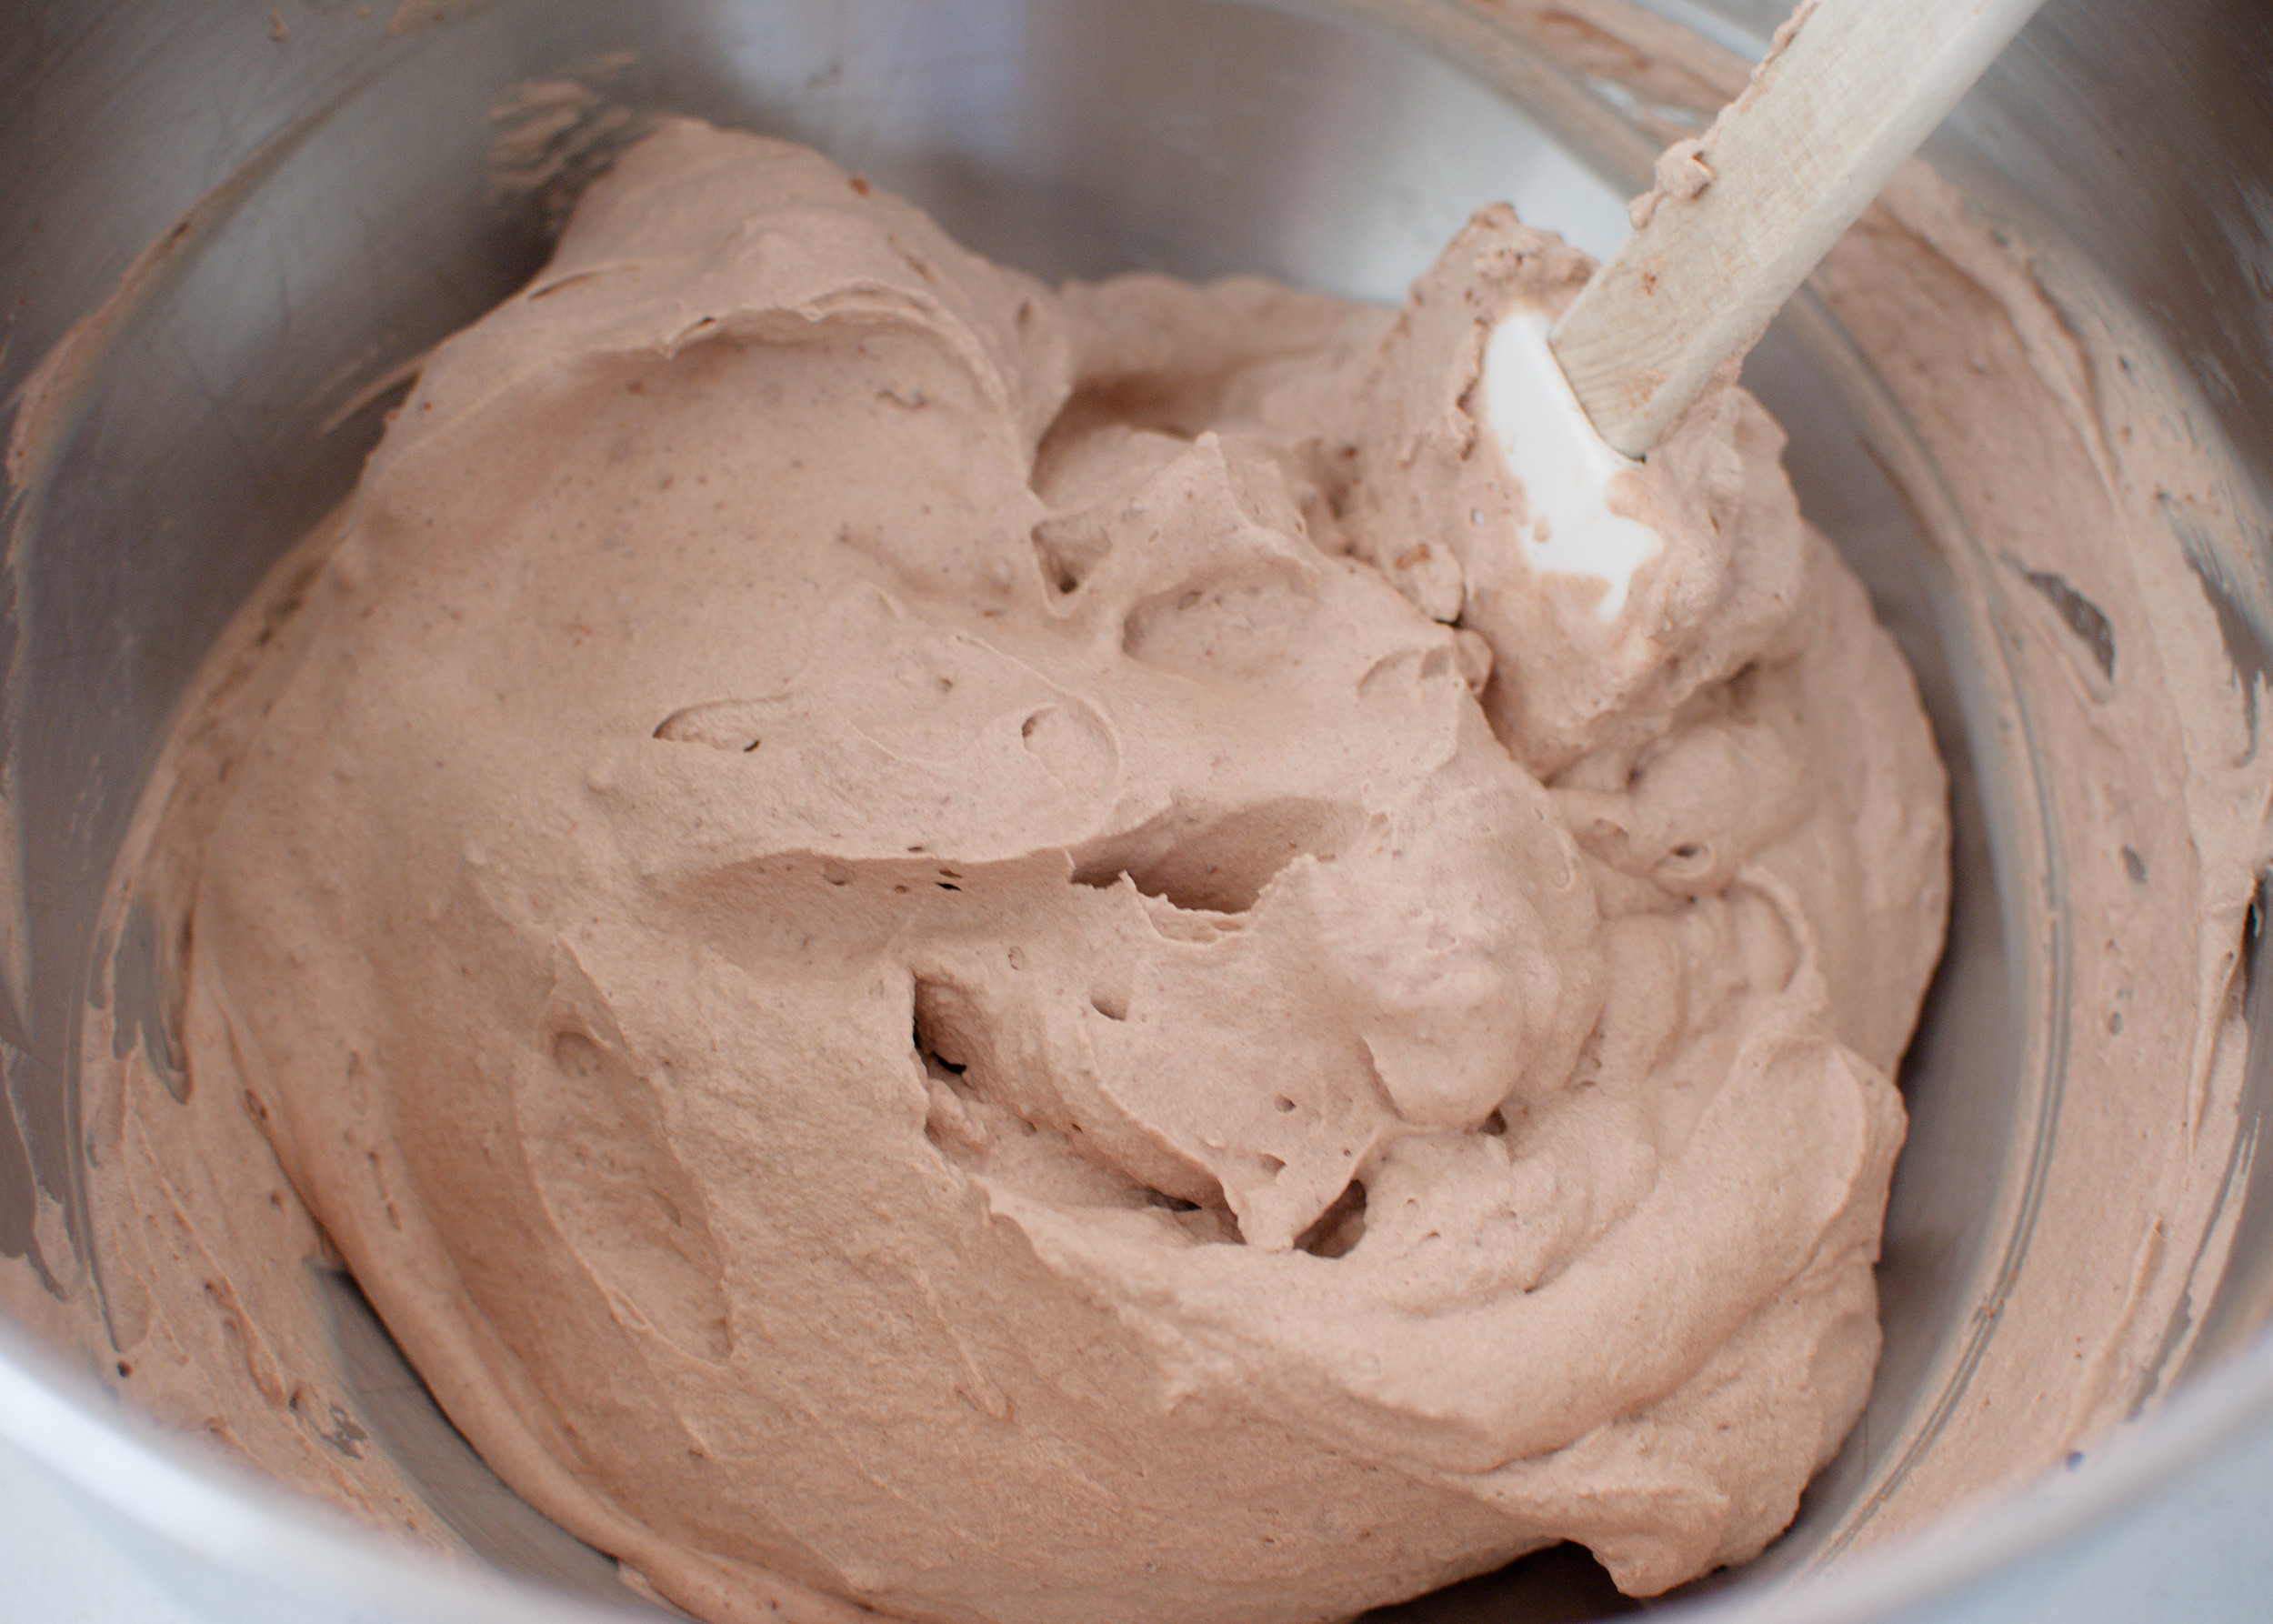
Combine whipping cream and vanilla in another large bowl. Sift powdered sugar and cocoa over. Using electric mixer, beat until soft peaks form. Spread mixture over top of cake. Freeze until cream is set, at least 1 hour. (Can be made 2 days ahead. Cover; keep frozen.) Sprinkle crushed chocolate sandwich cookies over top of cake. Run knife between pan sides and cake to loosen. Remove pan sides. Using small metal spatula or knife, smooth cake sides. Let cake stand at cool room temperature 10 minutes before serving.

Three Cheese Fondue by Amy Cantu

Print Friendly and PDF

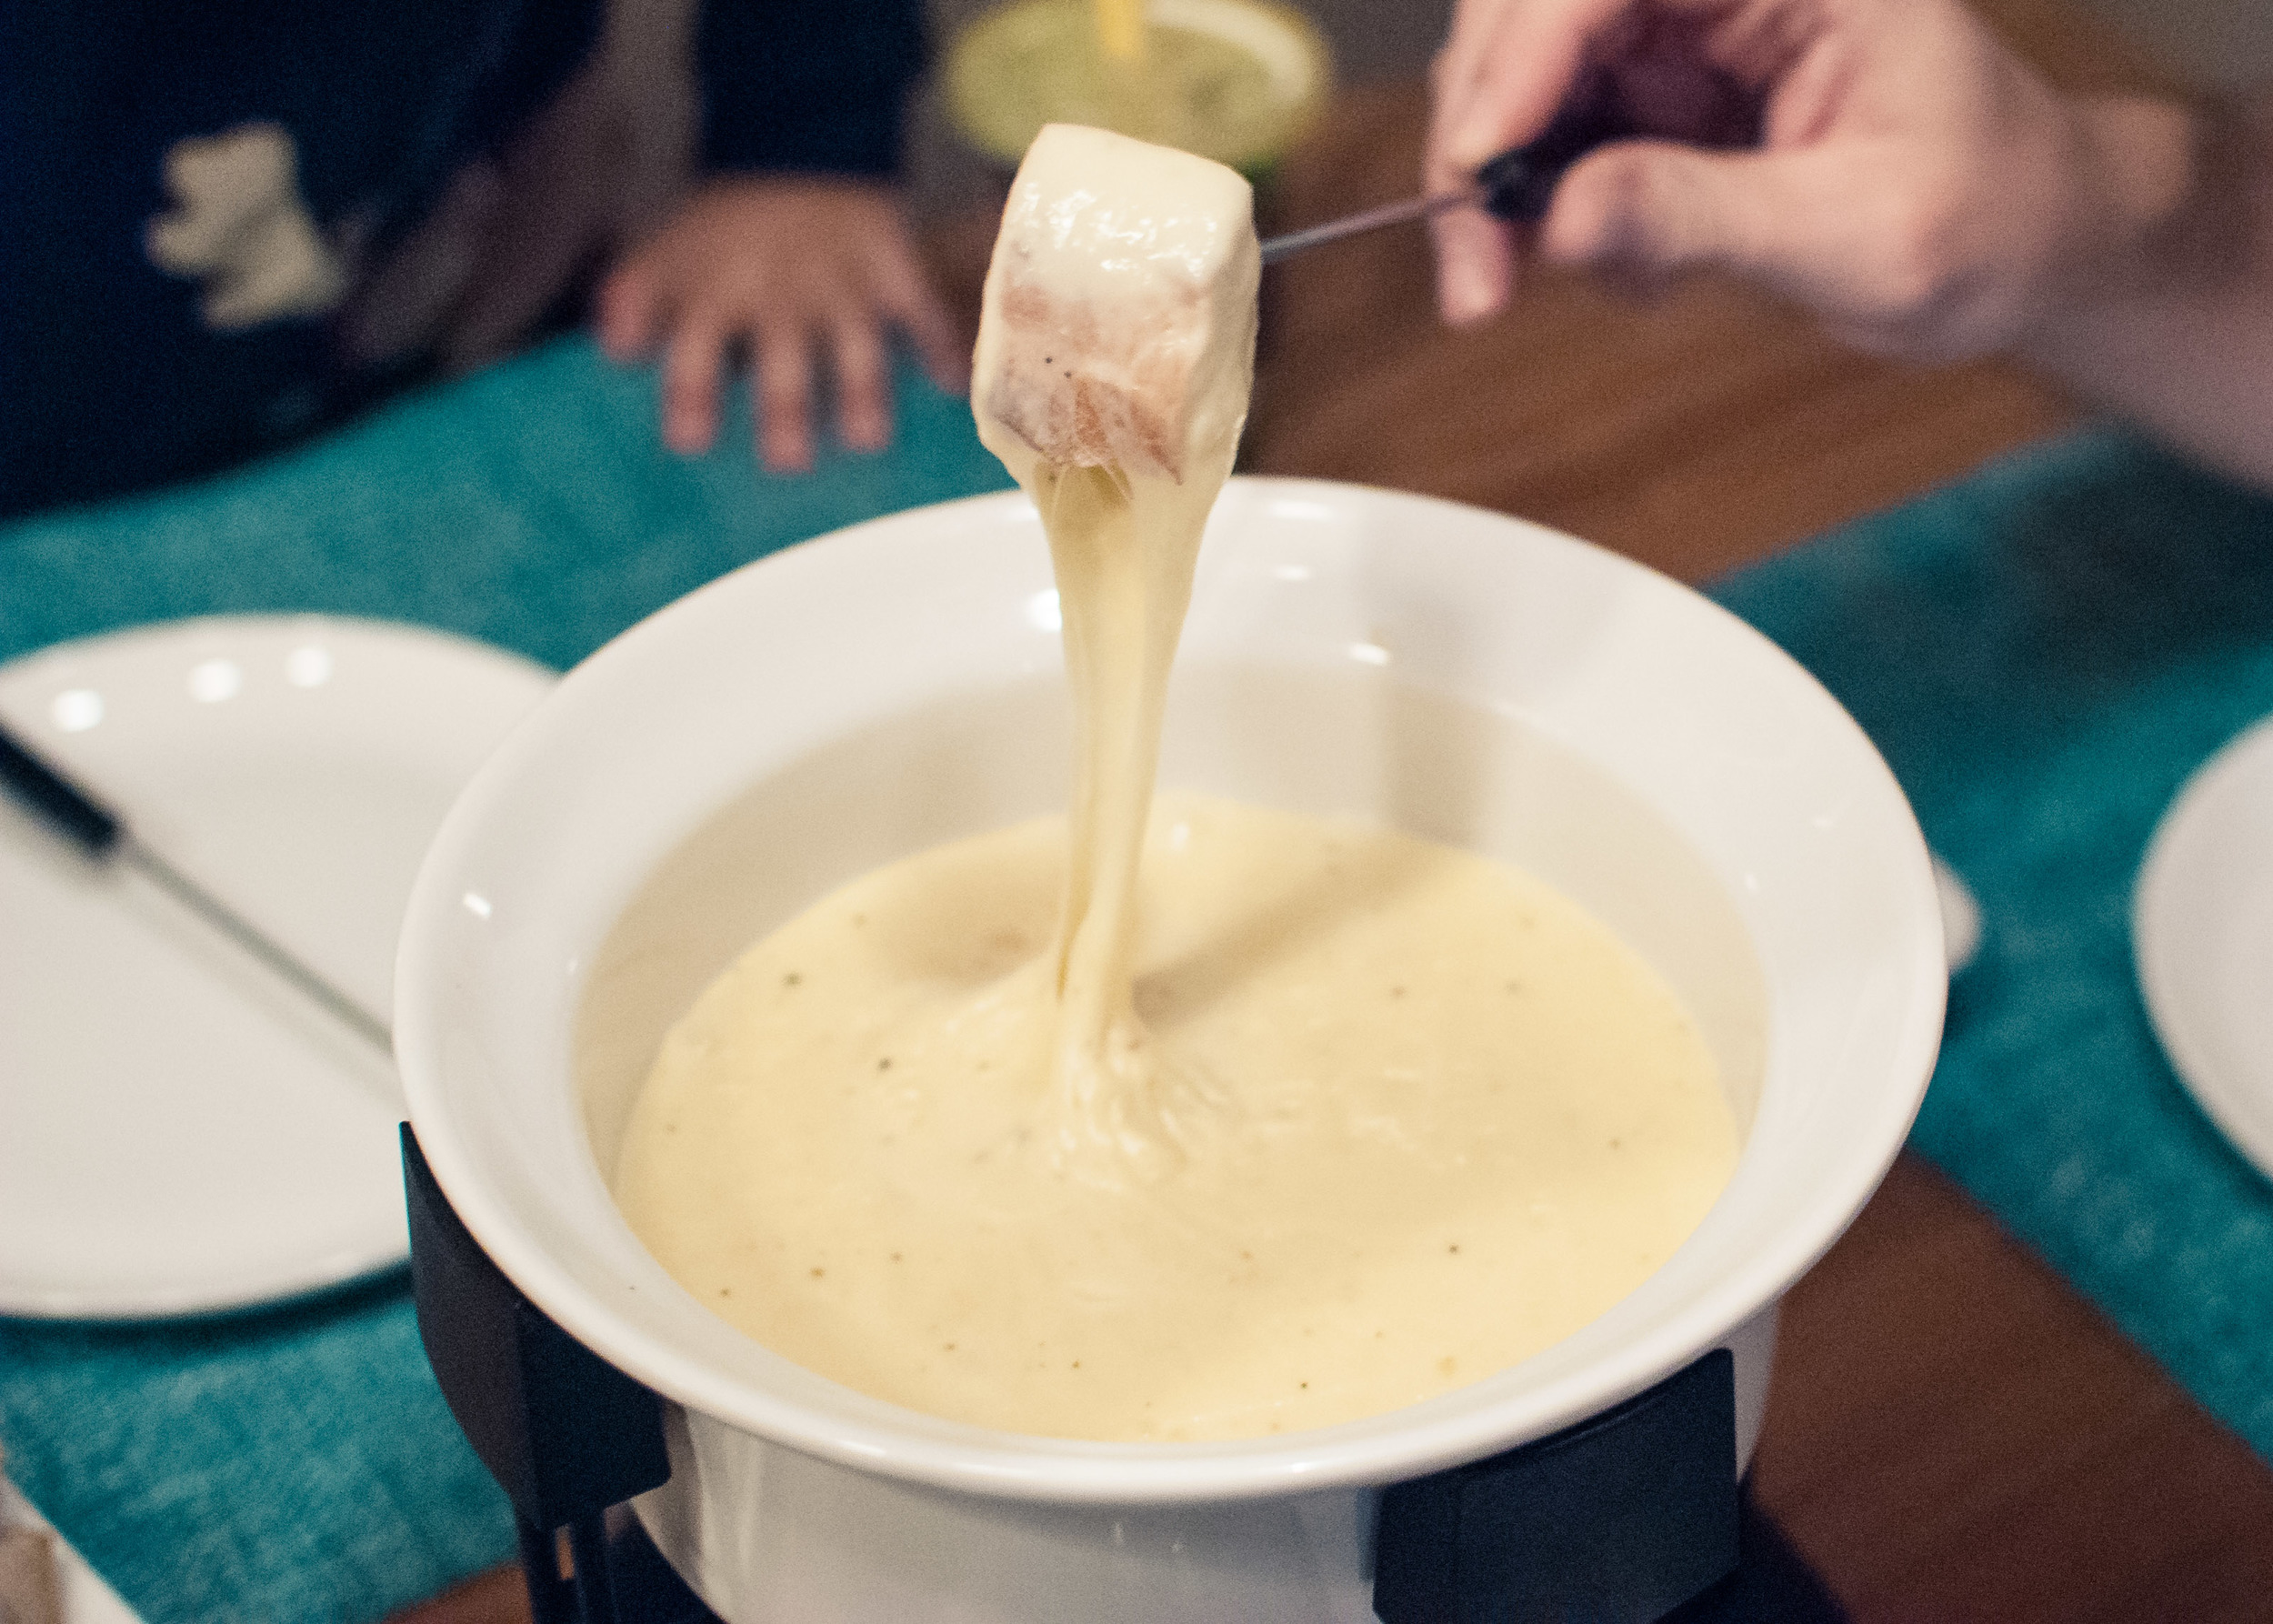
Fondue is so fun to eat! Who can resist crusty bread dipped into a pot of ooey-gooey, unctuous cheese? No one, that’s who. (Unless you hate cheese, in which case, I’m sorry- we can’t be friends. Just kidding . . . maybe.) Twirling bits of food into a pool of melty goodness is somehow therapeutic and it also bonds you with those dipping with you. Added bonus: My 4-year-old got a big kick out of dunking his broccoli and carrots into the cheese sauce, and he probably ate a week’s worth of veggies in this one meal alone.

Notes: This is a fairly classic fondue recipe, but make it your own by using any combination of good melting cheeses, liquid, and flavoring. For example, you could substitute smoked cheddar, hard apple cider, and apple butter for a completely different fondue. Or how about extra-sharp cheddar, beer, and bacon bits? You get the idea!


Time: 25 minutes
Servings: 4

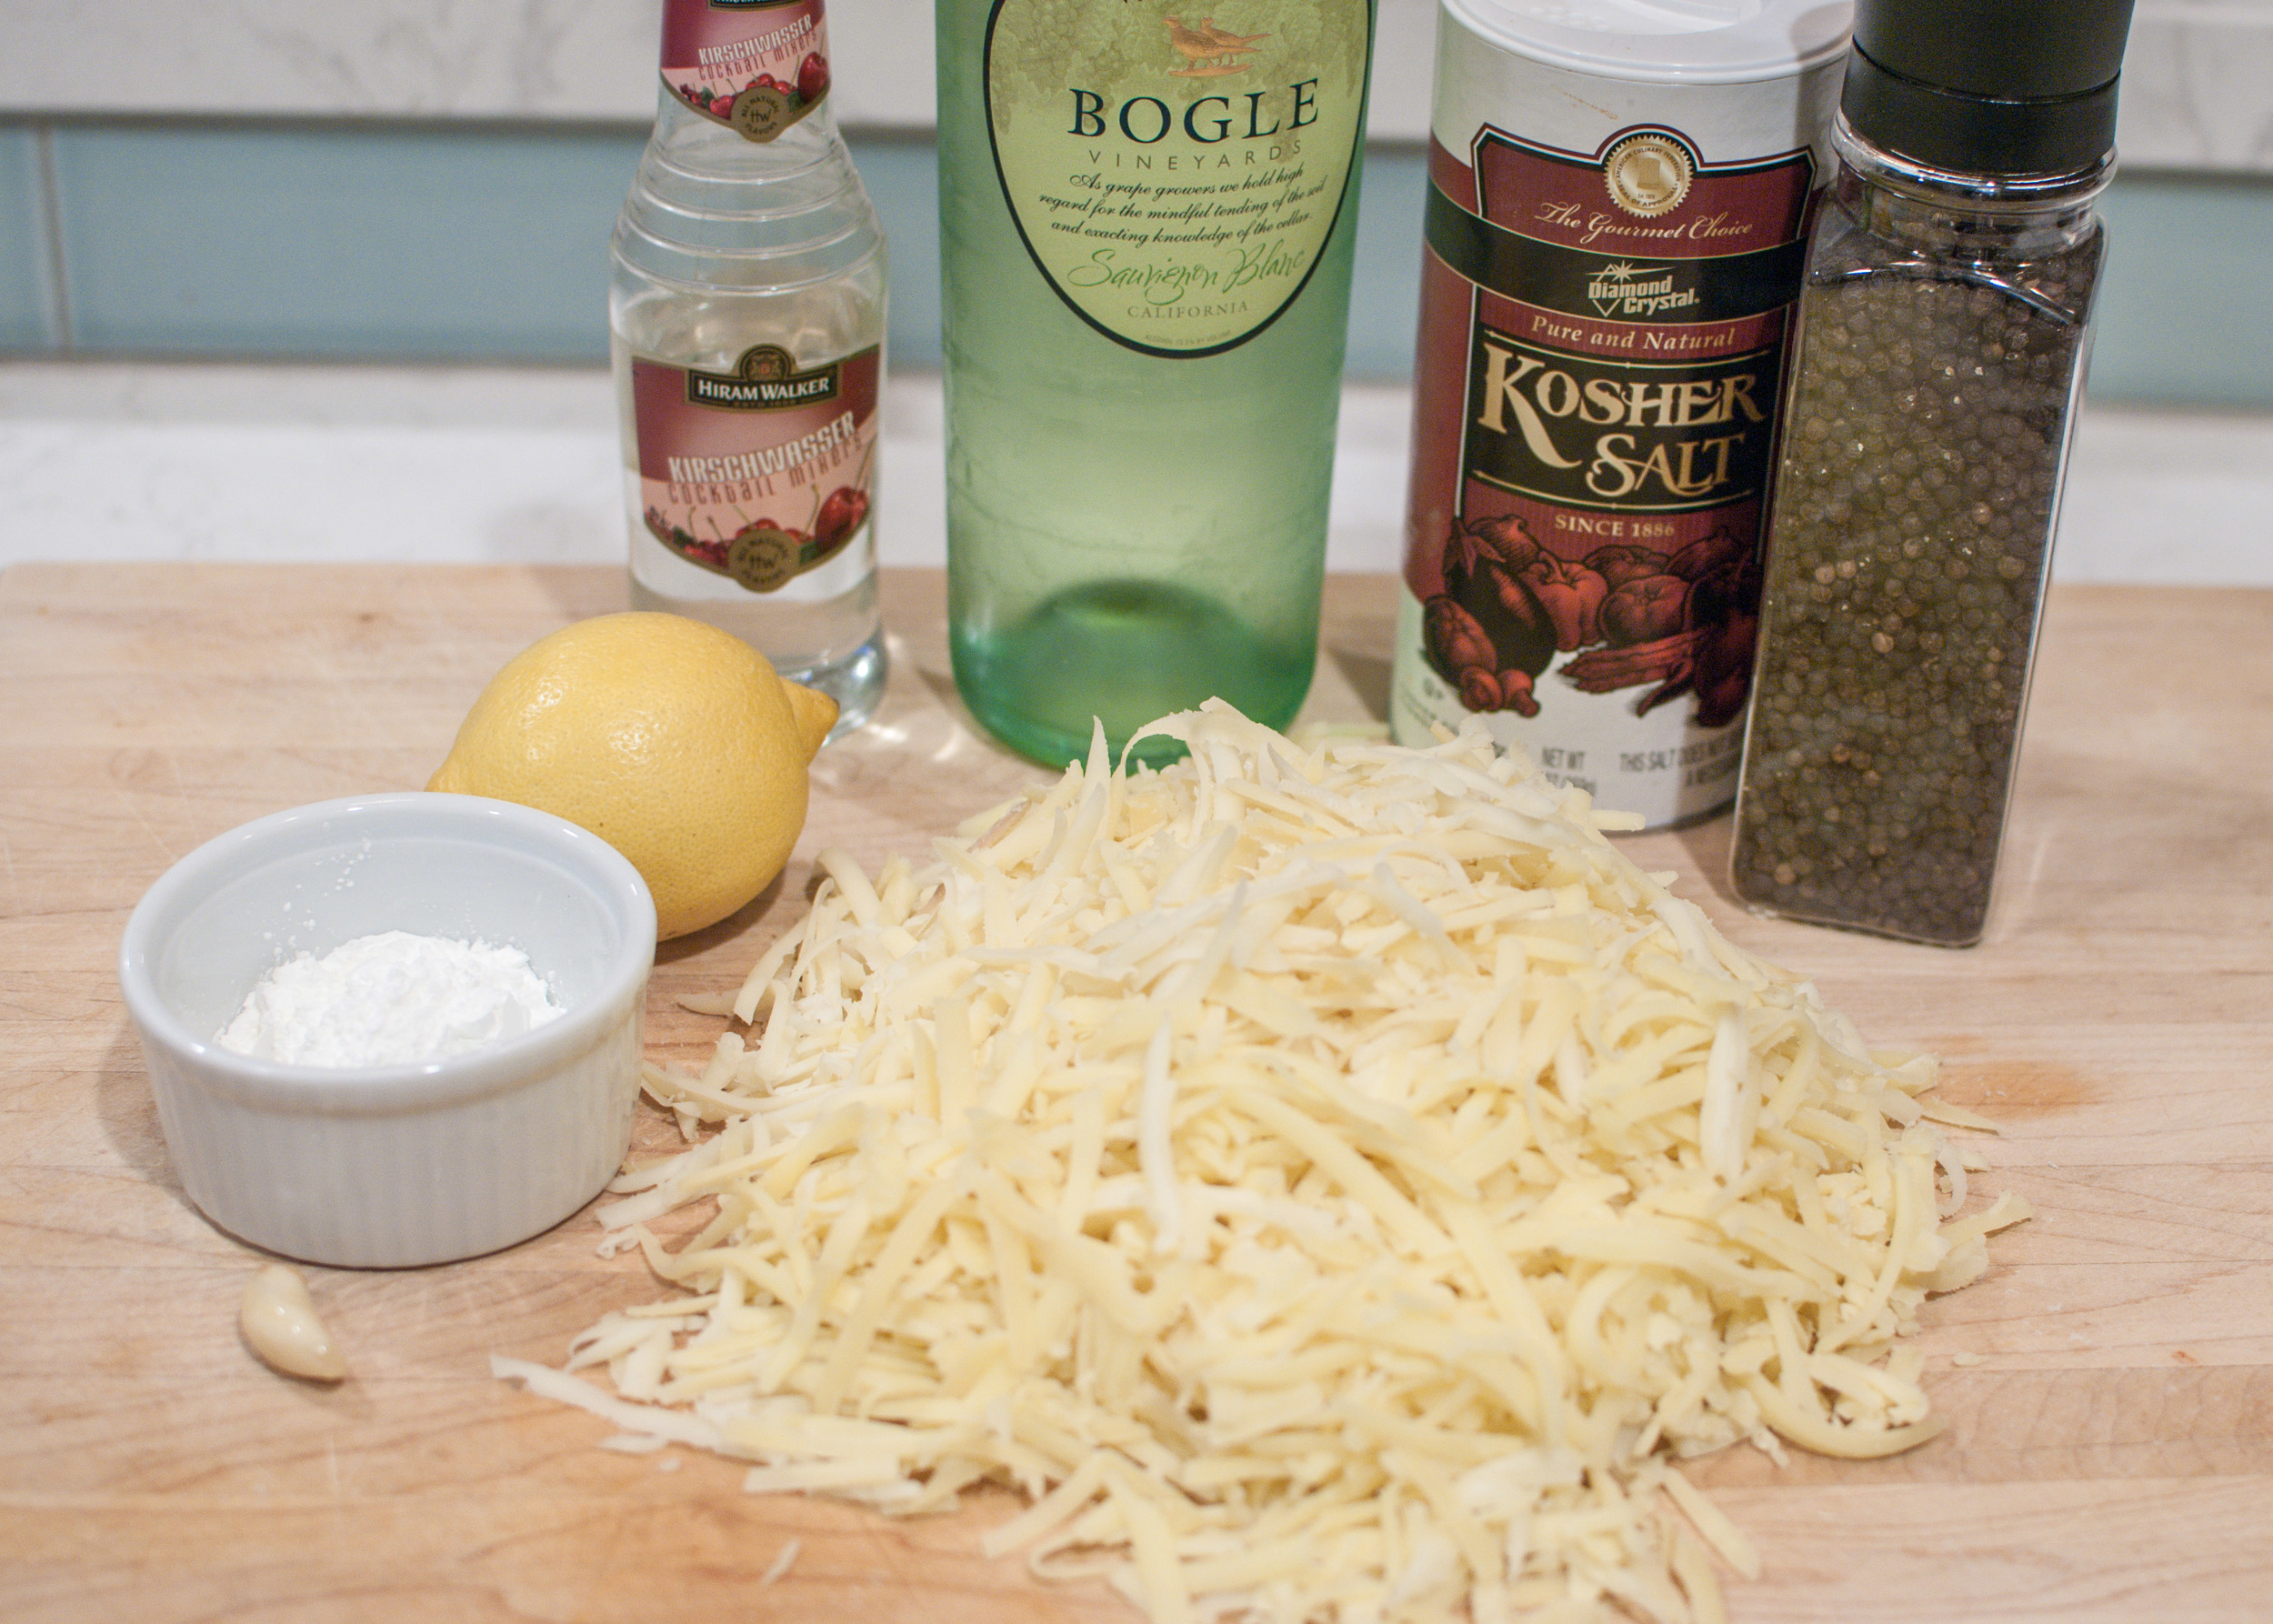
1 medium clove garlic, cut in half
1 cup dry white wine, such as Sauvignon Blanc, plus more as needed
⅓ pound Gruyère or Comté cheese, grated
⅓ pound Emmentaler cheese, grated
⅓ pound Fontina cheese, grated
1 tablespoon cornstarch
1 tablespoon fresh juice from 1 lemon
1 tablespoon kirsch (optional)
Freshly ground pepper

Ideas for dipping:
Baguette or other rustic bread, large cubes
Small new potatoes, boiled and cooled (can be left whole or halved)
Broccoli or cauliflower florets, blanched
Carrots, bite-size pieces, blanched
Asparagus, blanched
Sausage, cooked and sliced into bite-sized pieces
Salami, diced into bite-sized pieces
Apple slices, Granny Smith or other tart apple

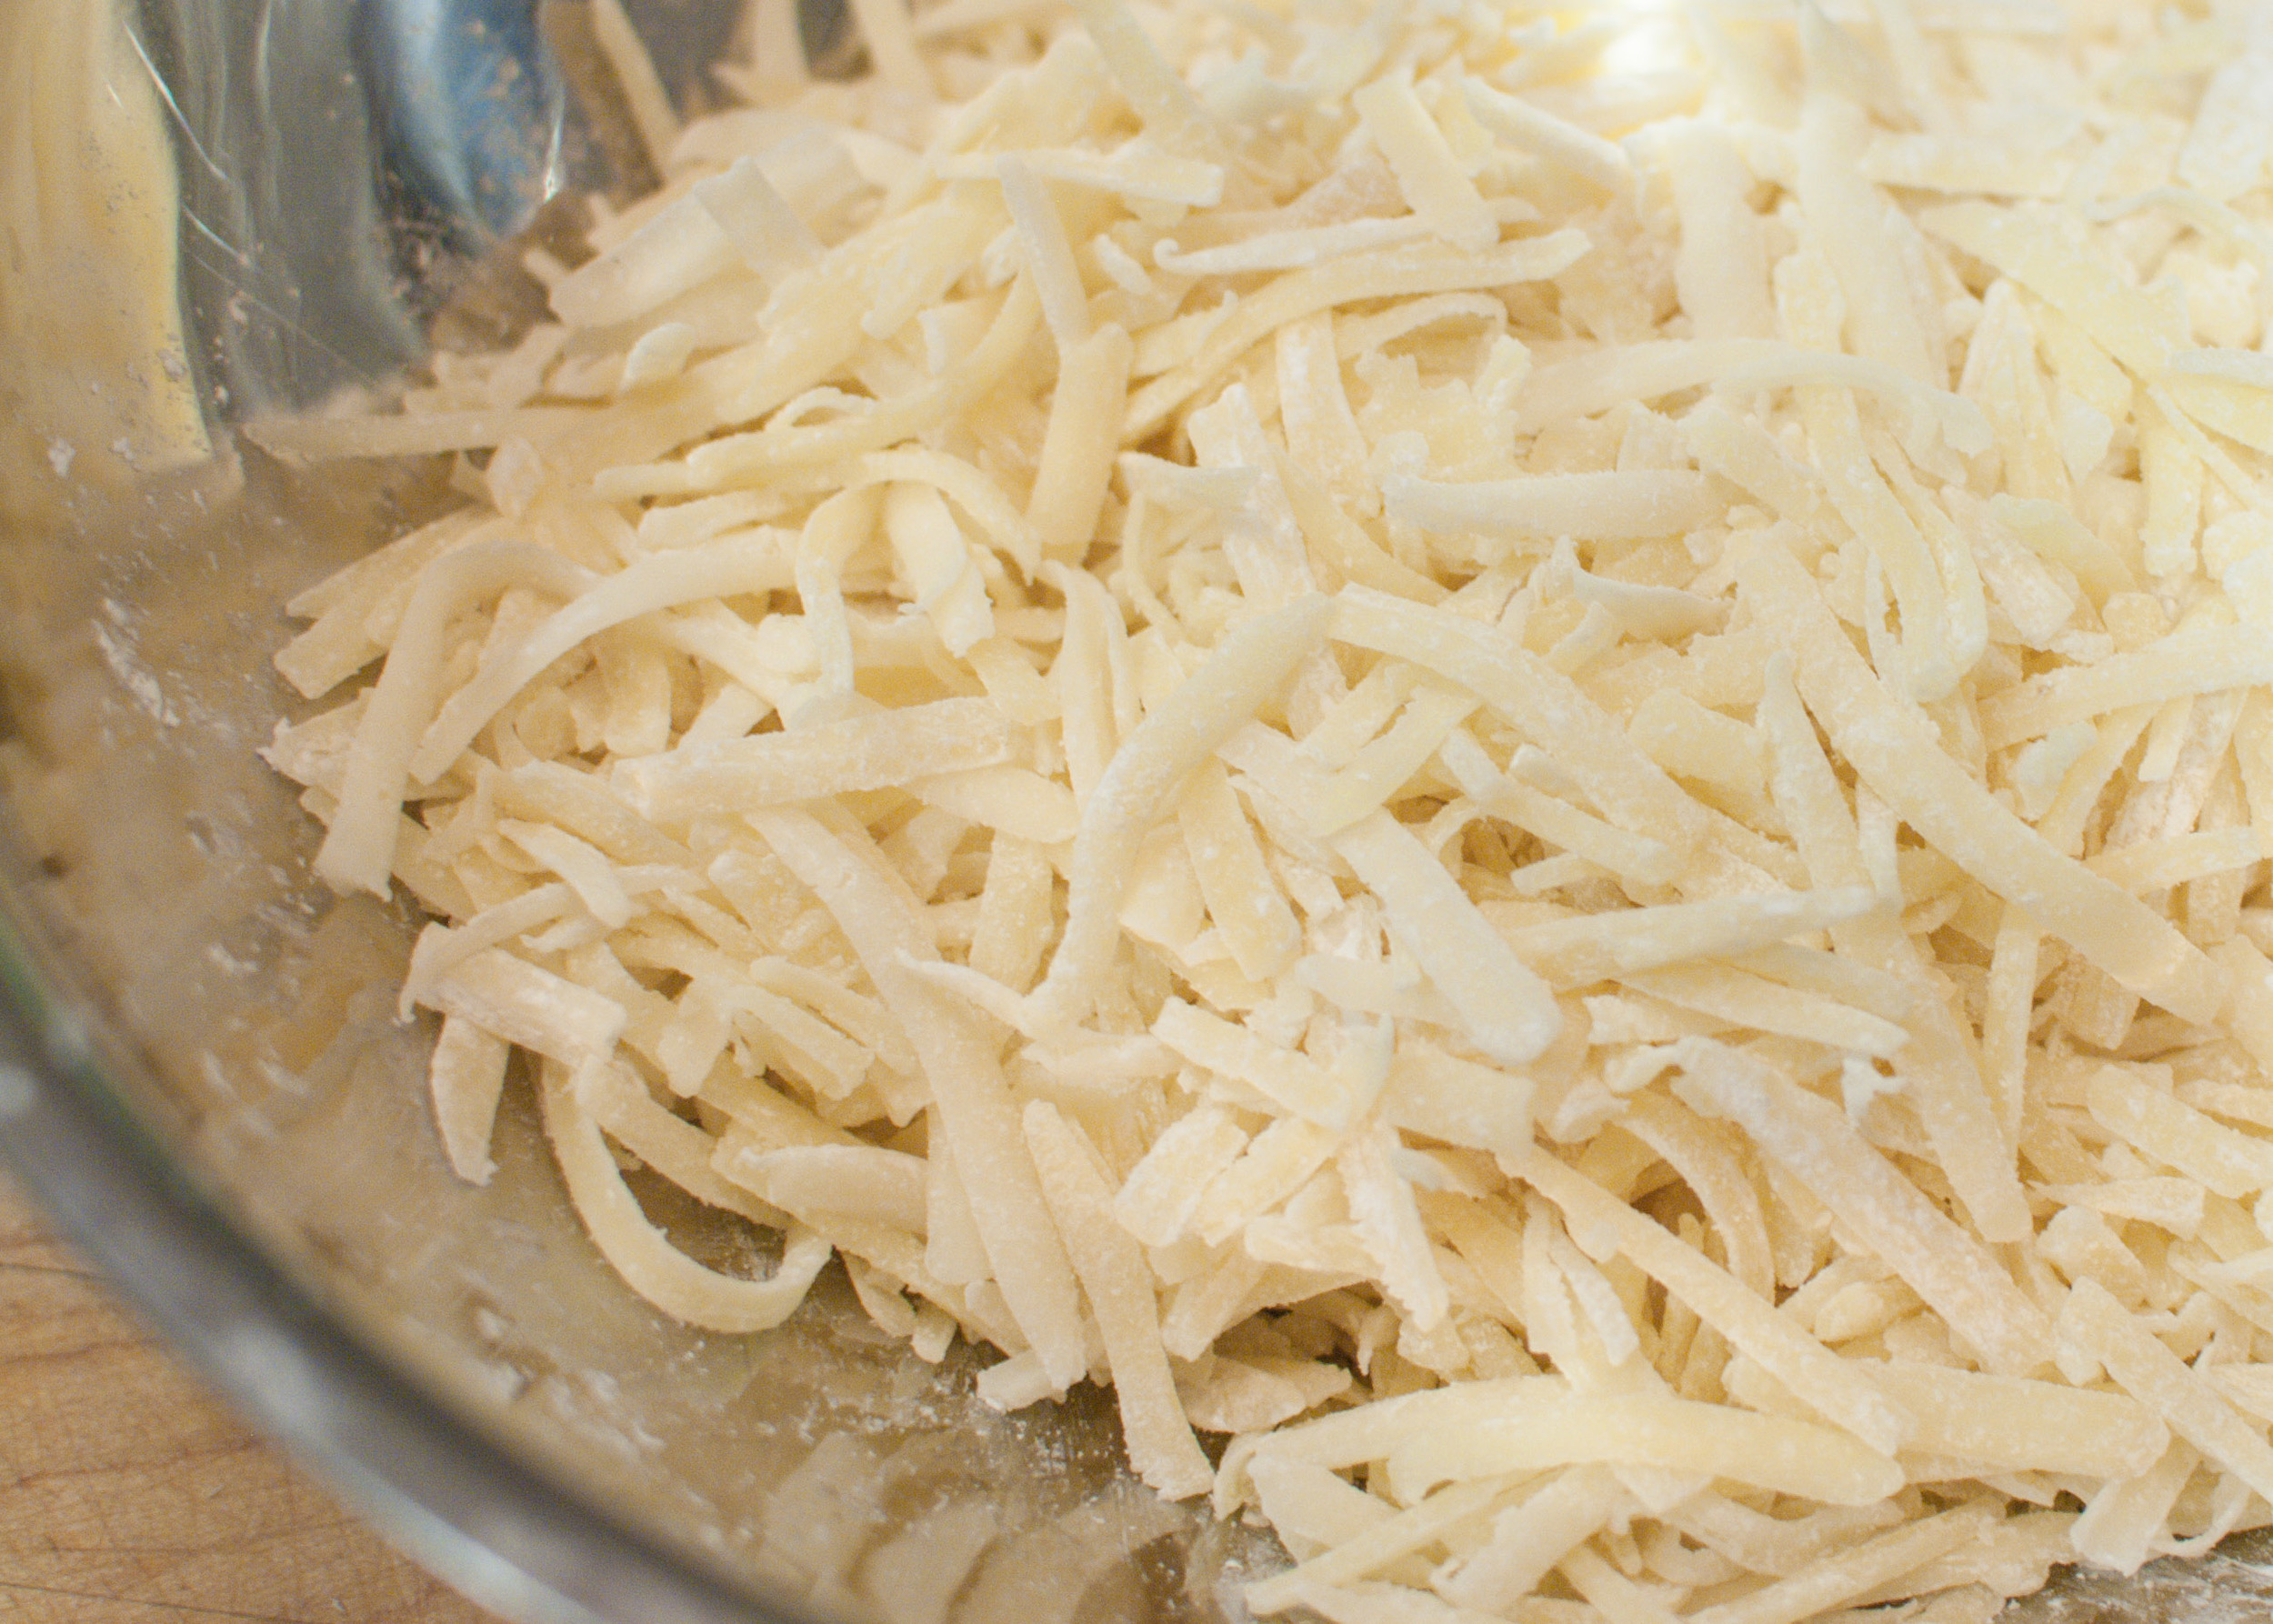
In a medium bowl, evenly coat the cheeses with cornstarch.

Rub the cut sides of garlic around the inside of a double boiler or stainless steel mixing bowl set over a pot of simmering water on low heat. The bowl should not touch the water. Pour in the wine and heat until hot. (You should see wisps of steam.)

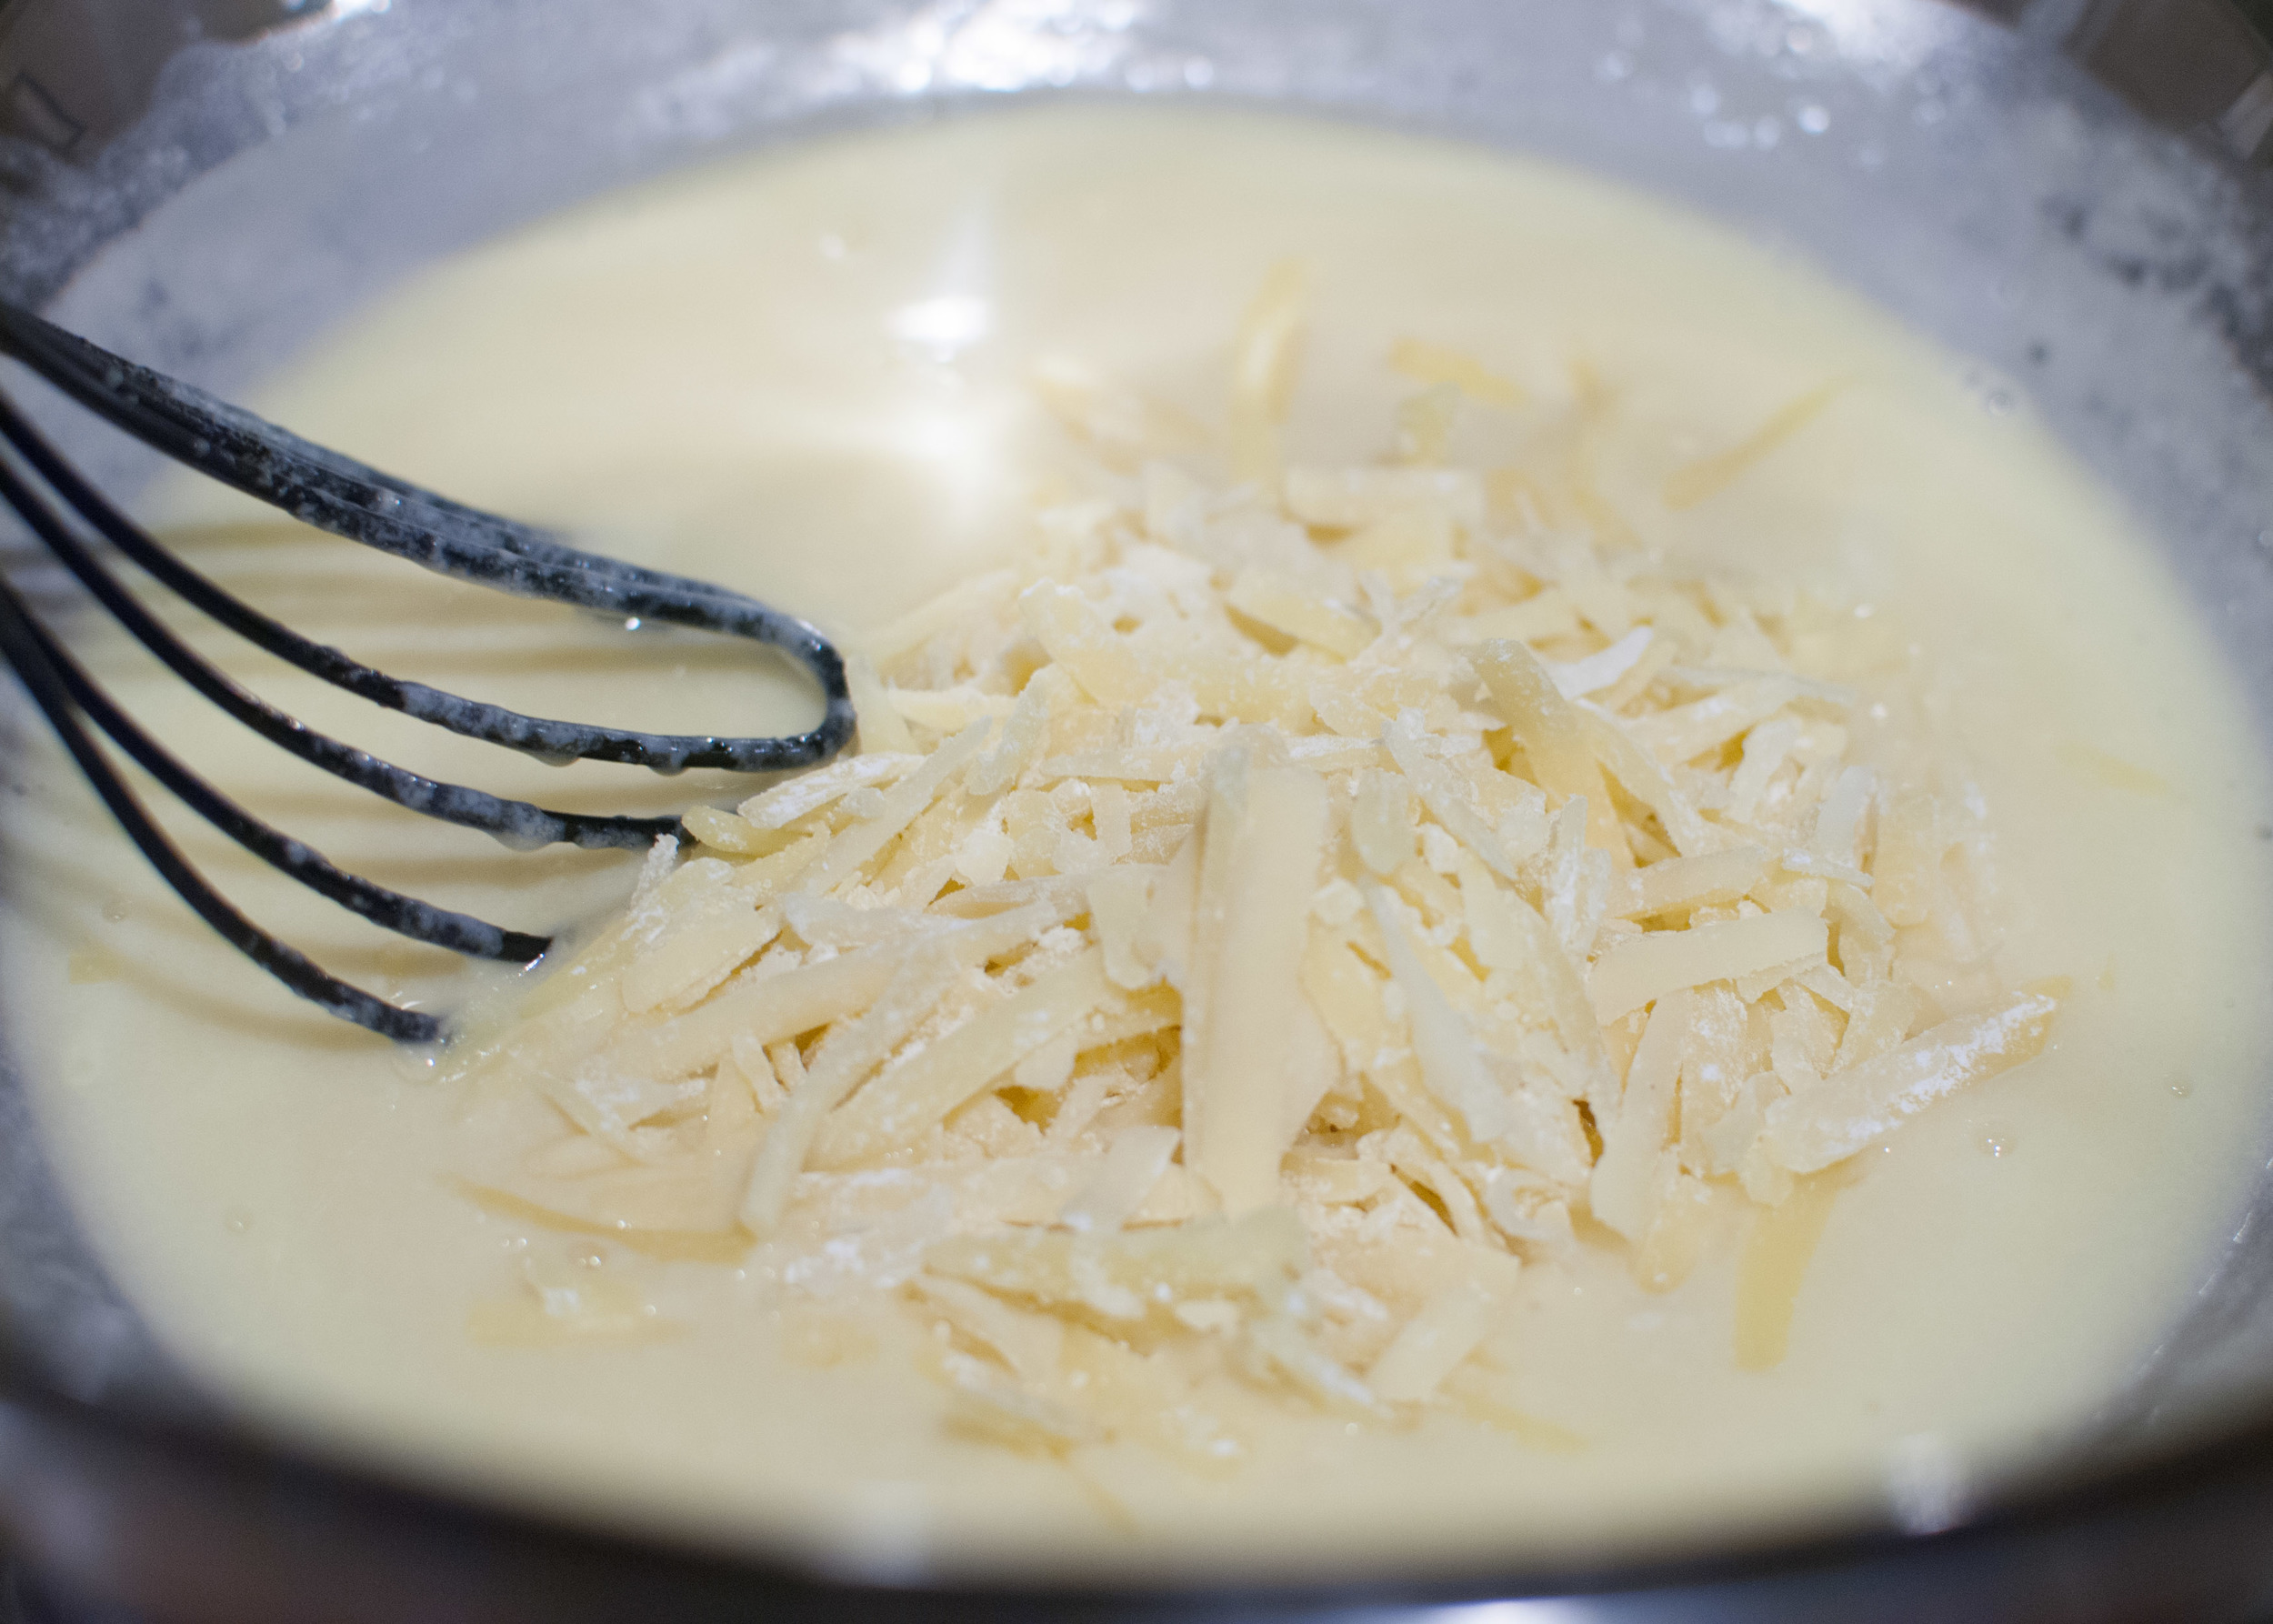
Gradually stir in the cheese, one handful at a time. Stir each handful of cheese until it is completely melted, before adding another handful. Do not allow the cheese to come to a simmer. Once you have a smooth, glossy cheese sauce, stir in the lemon juice and kirsch, if using. Season with freshly ground pepper. Pour fondue into a fondue pot to keep it warm.

Choose your dippers, dunk and swirl into the cheesy goodness, and enjoy!

Lemon Ricotta Pancakes by Amy Cantu

Print Friendly and PDF
Lemon Ricotta Pancakes-0284.jpg


Recipe adapted from The Kitchn.

Time: 35 minutes
Serves: 4 (8-10 pancakes)

1 cup whole milk ricotta cheese
1 cup flour
1/2 teaspoon baking powder
1 1/2 tablespoons sugar
1/8 teaspoon salt
1 tablespoon lemon zest, finely grated (from 2 lemons)
3/4 cup milk
3 eggs, separated into yolks and whites
1/2 teaspoon vanilla
Butter, for the pan

Whisk together flour, baking powder, sugar, salt, and lemon zest in a small bowl. Combine ricotta, milk, egg yolks, and vanilla in a separate, larger mixing bowl. Add the dry ingredients to the ricotta and milk mixture, stirring gently until just combined.

Beat the egg whites with a handheld electric mixer until stiff. Fold the whites into the batter with a spatula.

Heat a griddle over medium-high heat. Melt a small bit of butter in the pan, just enough to coat the surface. Use a 1/3-cup measure to pour batter onto the hot griddle. Cook the pancakes for about 3 or 4 minutes, until the undersides are golden and you see a few bubbles popping through the pancakes. Flip the pancakes and cook another 2 to 3 minutes, until golden. Repeat with the remaining pancakes.

Serve the pancakes immediately, with maple syrup, fruit jam, lemon curd, or powdered sugar and a squeeze of lemon.

Mango and Coconut Sticky Rice by Amy Cantu

Print Friendly and PDF


Time: 1 hour (plus soaking time)
Servings: 4-6

2 cups glutinous (sweet) rice
1 13.5-ounce can unsweetened coconut milk, well-stirred
1/3 cup sugar
1/2 teaspoon kosher salt
1 tablespoon sesame seeds, roasted
4 small mangos, peeled, pitted, and cut into 1/2" cubes (The smaller Ataulfos or Manila mangos are sweeter than the larger Tommy Atkins mangos, and are worth seeking out at Asian supermarkets or well-stocked grocery/specialty stores.)

cheesecloth for steaming (optional)

Rinse the rice in a bowl, using a few changes of cold water until the water is clear. Cover the rice in cold water and let soak at least 1 hour, but preferably overnight.

Drain the rice. Pour 1 cup of water into a saucepan. Add rice to a steamer insert (lined with cheesecloth, if using,) and place inside the saucepan. Cover tightly and steam over low to medium heat for 20-30 minutes, or until the rice is tender and shiny. (Add extra water to the saucepan, if it seems like you need extra time.)

While rice is cooking, in a saucepan bring coconut milk to a boil with sugar and salt, stirring until sugar is dissolved, and remove from heat. Keep mixture warm.

Transfer hot cooked rice to a bowl and stir in coconut-milk mixture. Let rice stand, covered, 30 minutes, or until coconut-milk mixture is absorbed. Rice may be prepared up to this point 2 hours ahead and kept covered at room temperature.
To serve, spoon sticky rice on dessert plates. Top with cubed mango, and sprinkle with sesame seeds.

Soba Noodle Salad by Cynthia Raub

Print Friendly and PDF
sobanoodlesalad

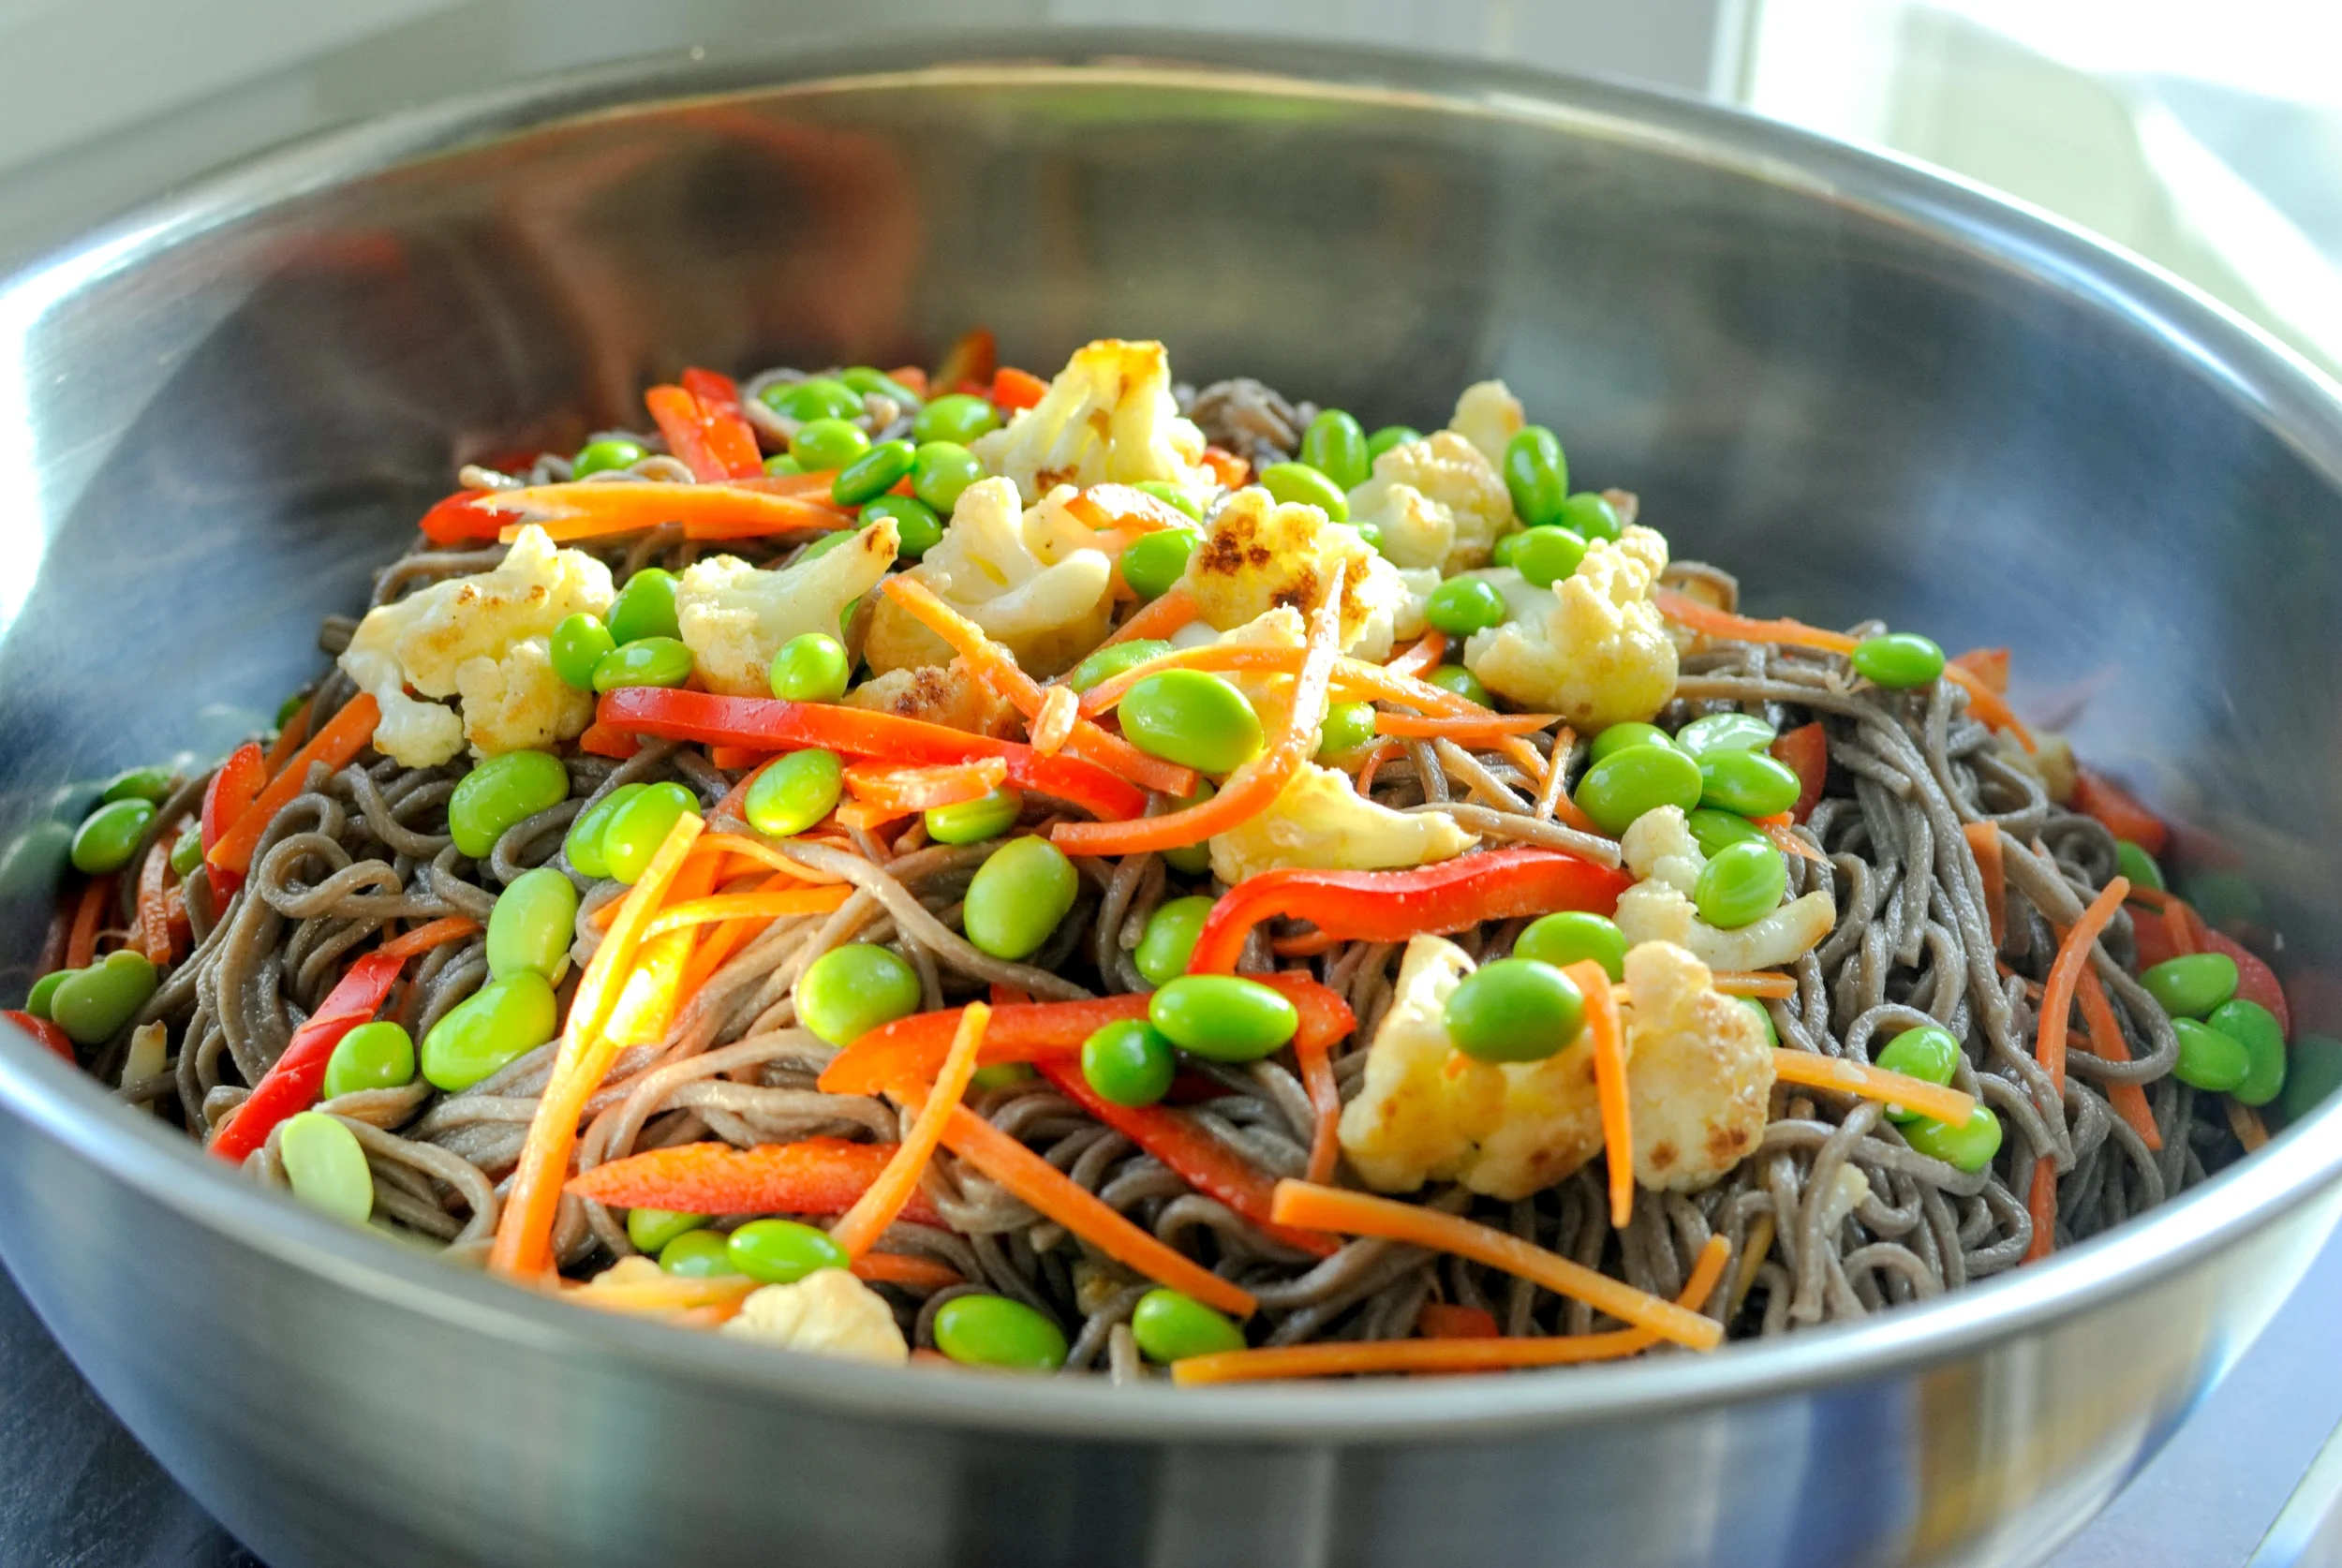
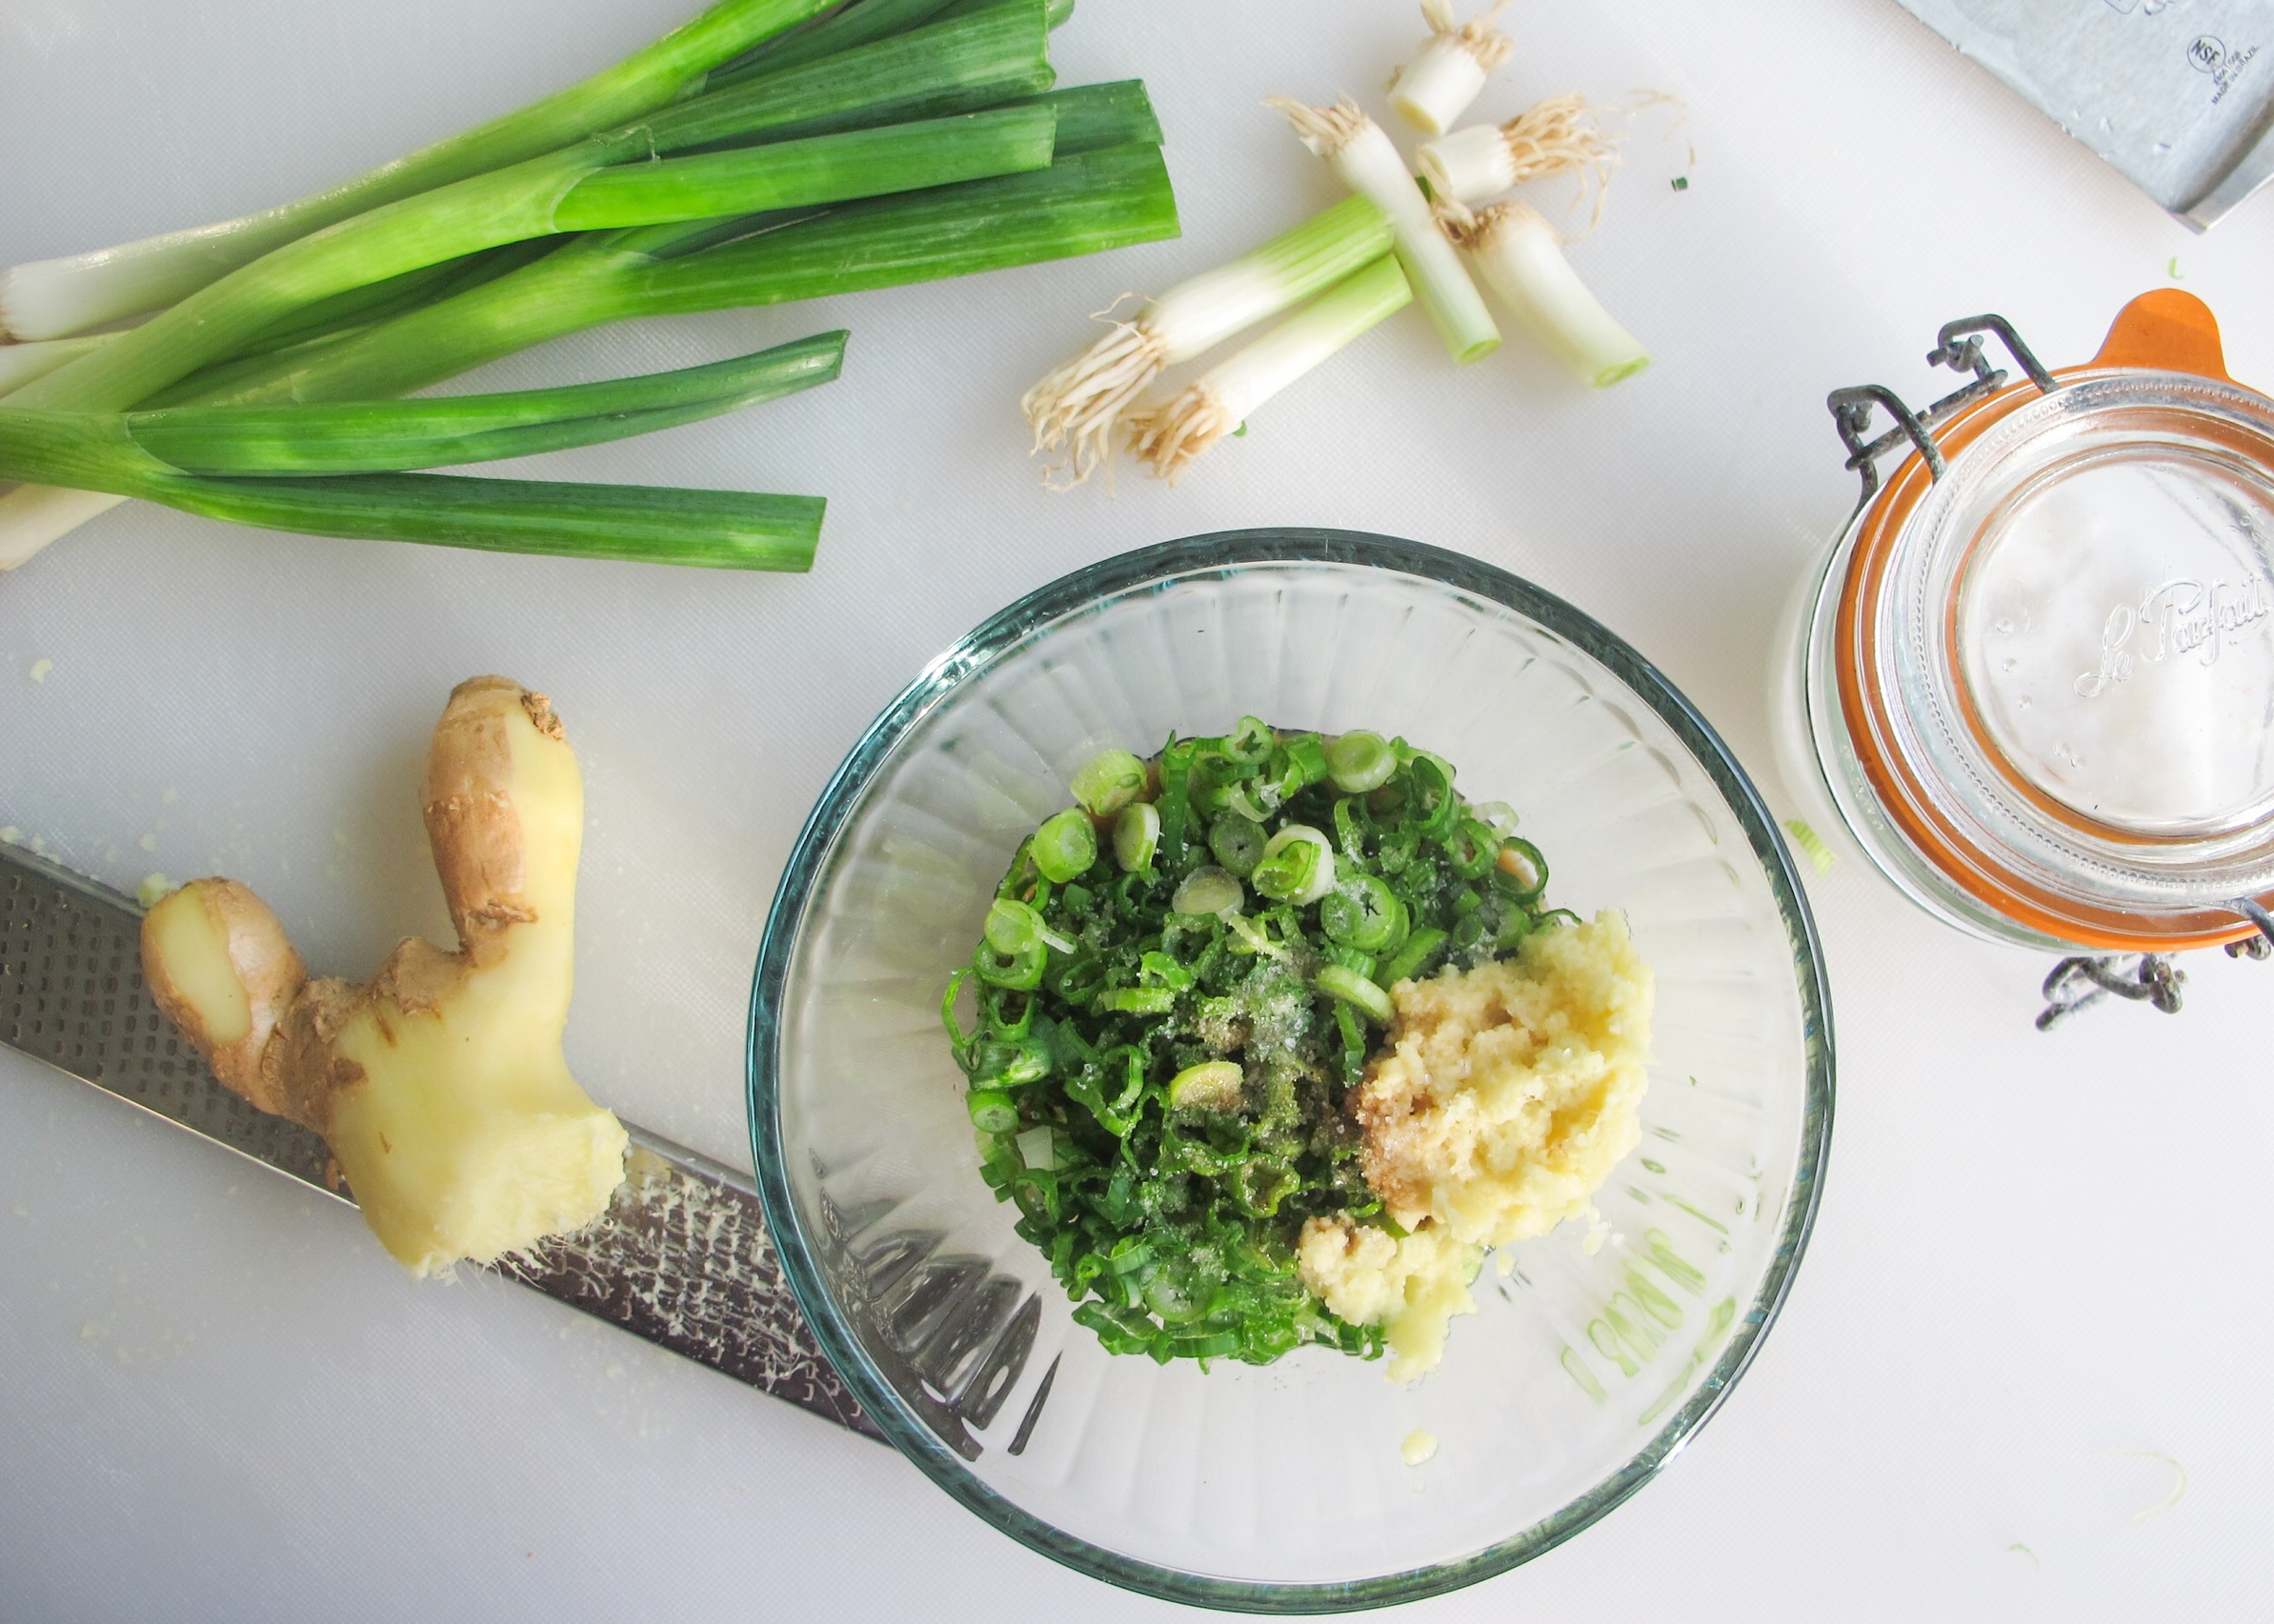
Noodles! There are thousands of different kinds, and I love them all. But I am particularly fond of soba - chewy, nutty, Japanese buckwheat noodles. When I feel health-conscious, I choose soba noodles because . . . I’m not sure! They are gluten-free, but that doesn’t matter to me. They are lower calorie than pasta made with wheat, but that doesn’t matter to me either! I think it’s because they can be dressed lightly and eaten cold that makes me *feel* they are a more healthful choice. I dressed the soba noodle salad with a Ginger Scallion Sauce, courtesy of one of my favorite chefs, David Chang. For the children, I set aside their portion and used the remaining sauce from the Crispy Chicken Wings to dress their noodles. 

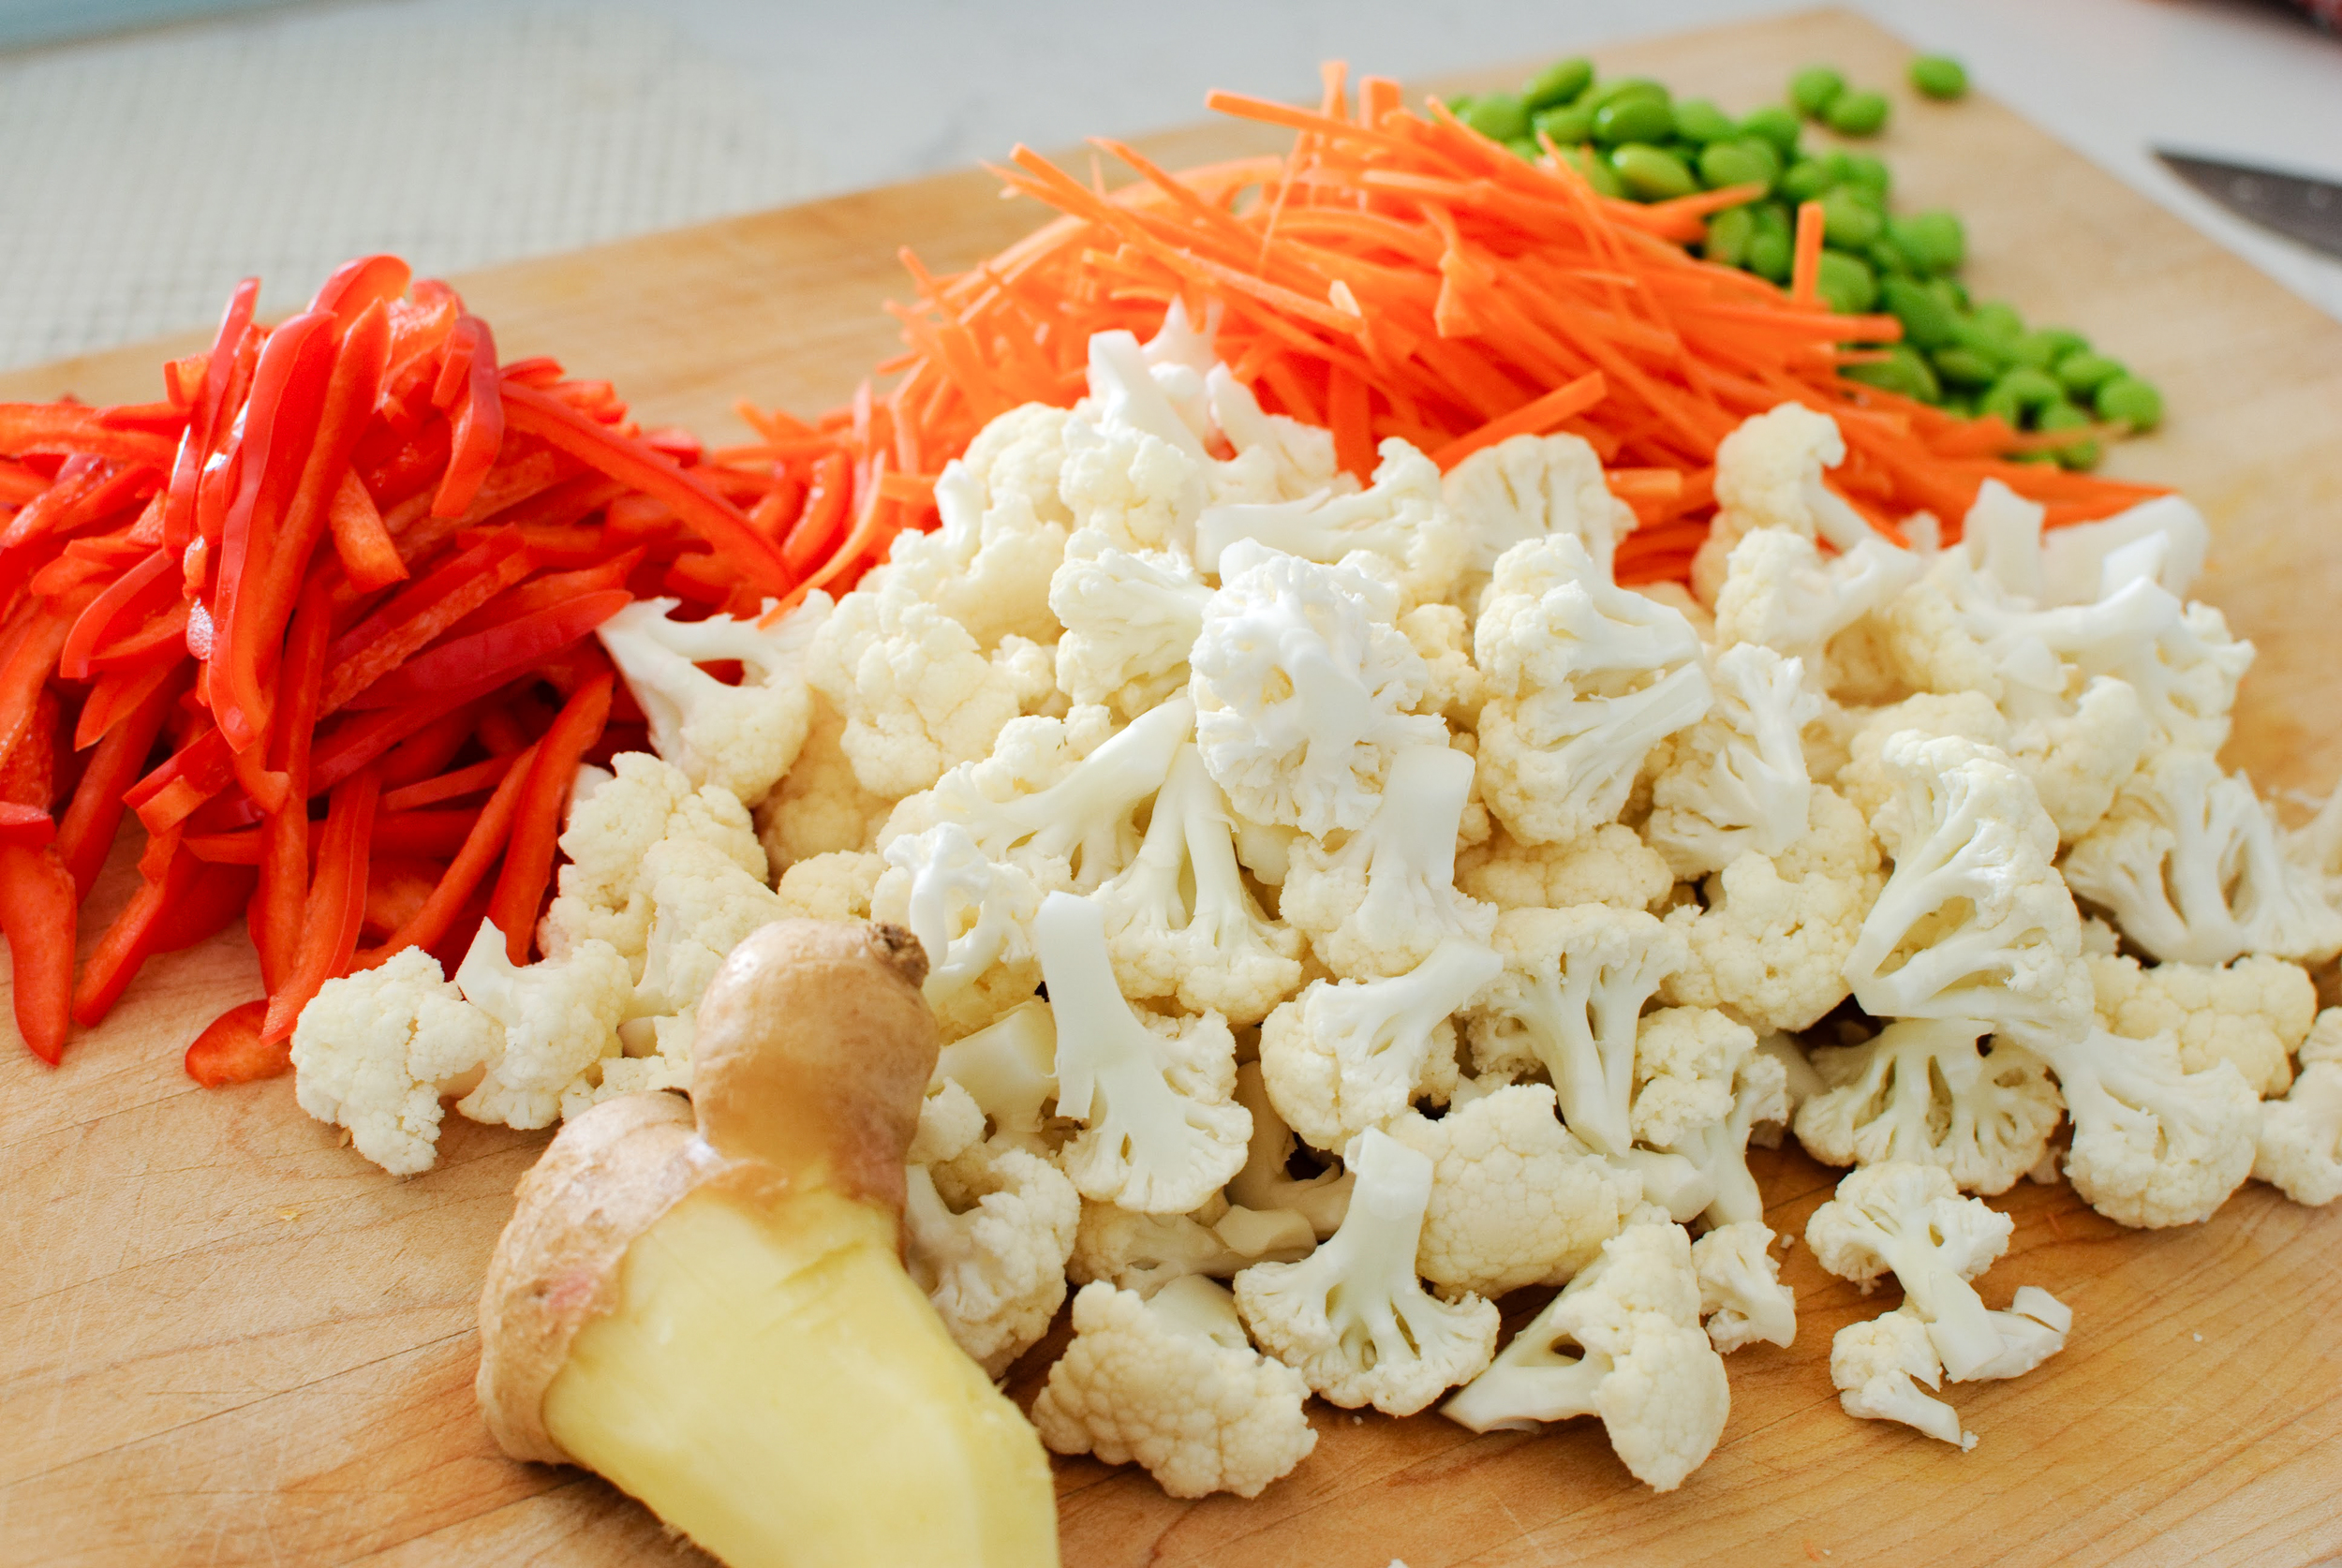
Notes: Cold noodle salads are flexible and easy to customize with different vegetables, proteins and sauces. In this recipe, I used shelled edamame, julienned carrots, roasted cauliflower, and red bell peppers; you could also use shredded cabbage, thinly sliced half-rounds of cucumber, julienne of zucchini, sautéed mushrooms, blanched baby spinach . . . really, anything! The same goes for sauces I’ll often make a rice wine vinaigrette, a carrot ginger salad dressing or a very light peanut sauce to dress soba.


Servings: 4-6
Time: 30 minutes

4 bundles (or 360 grams) soba noodles (prepared according to the package)
2 tablespoons sesame seed oil
1 cup Shelled edamame
1 cup Carrot, julienned
1 cup Cauliflower florets
1 cup Red bell pepper, julienned
1 tablespoon neutral oil (vegetable, canola, and grapeseed all work)

Cook soba noodles according to package directions. Rinse with cold water and dress lightly with sesame seed oil to prevent the noodles from sticking. Set aside.

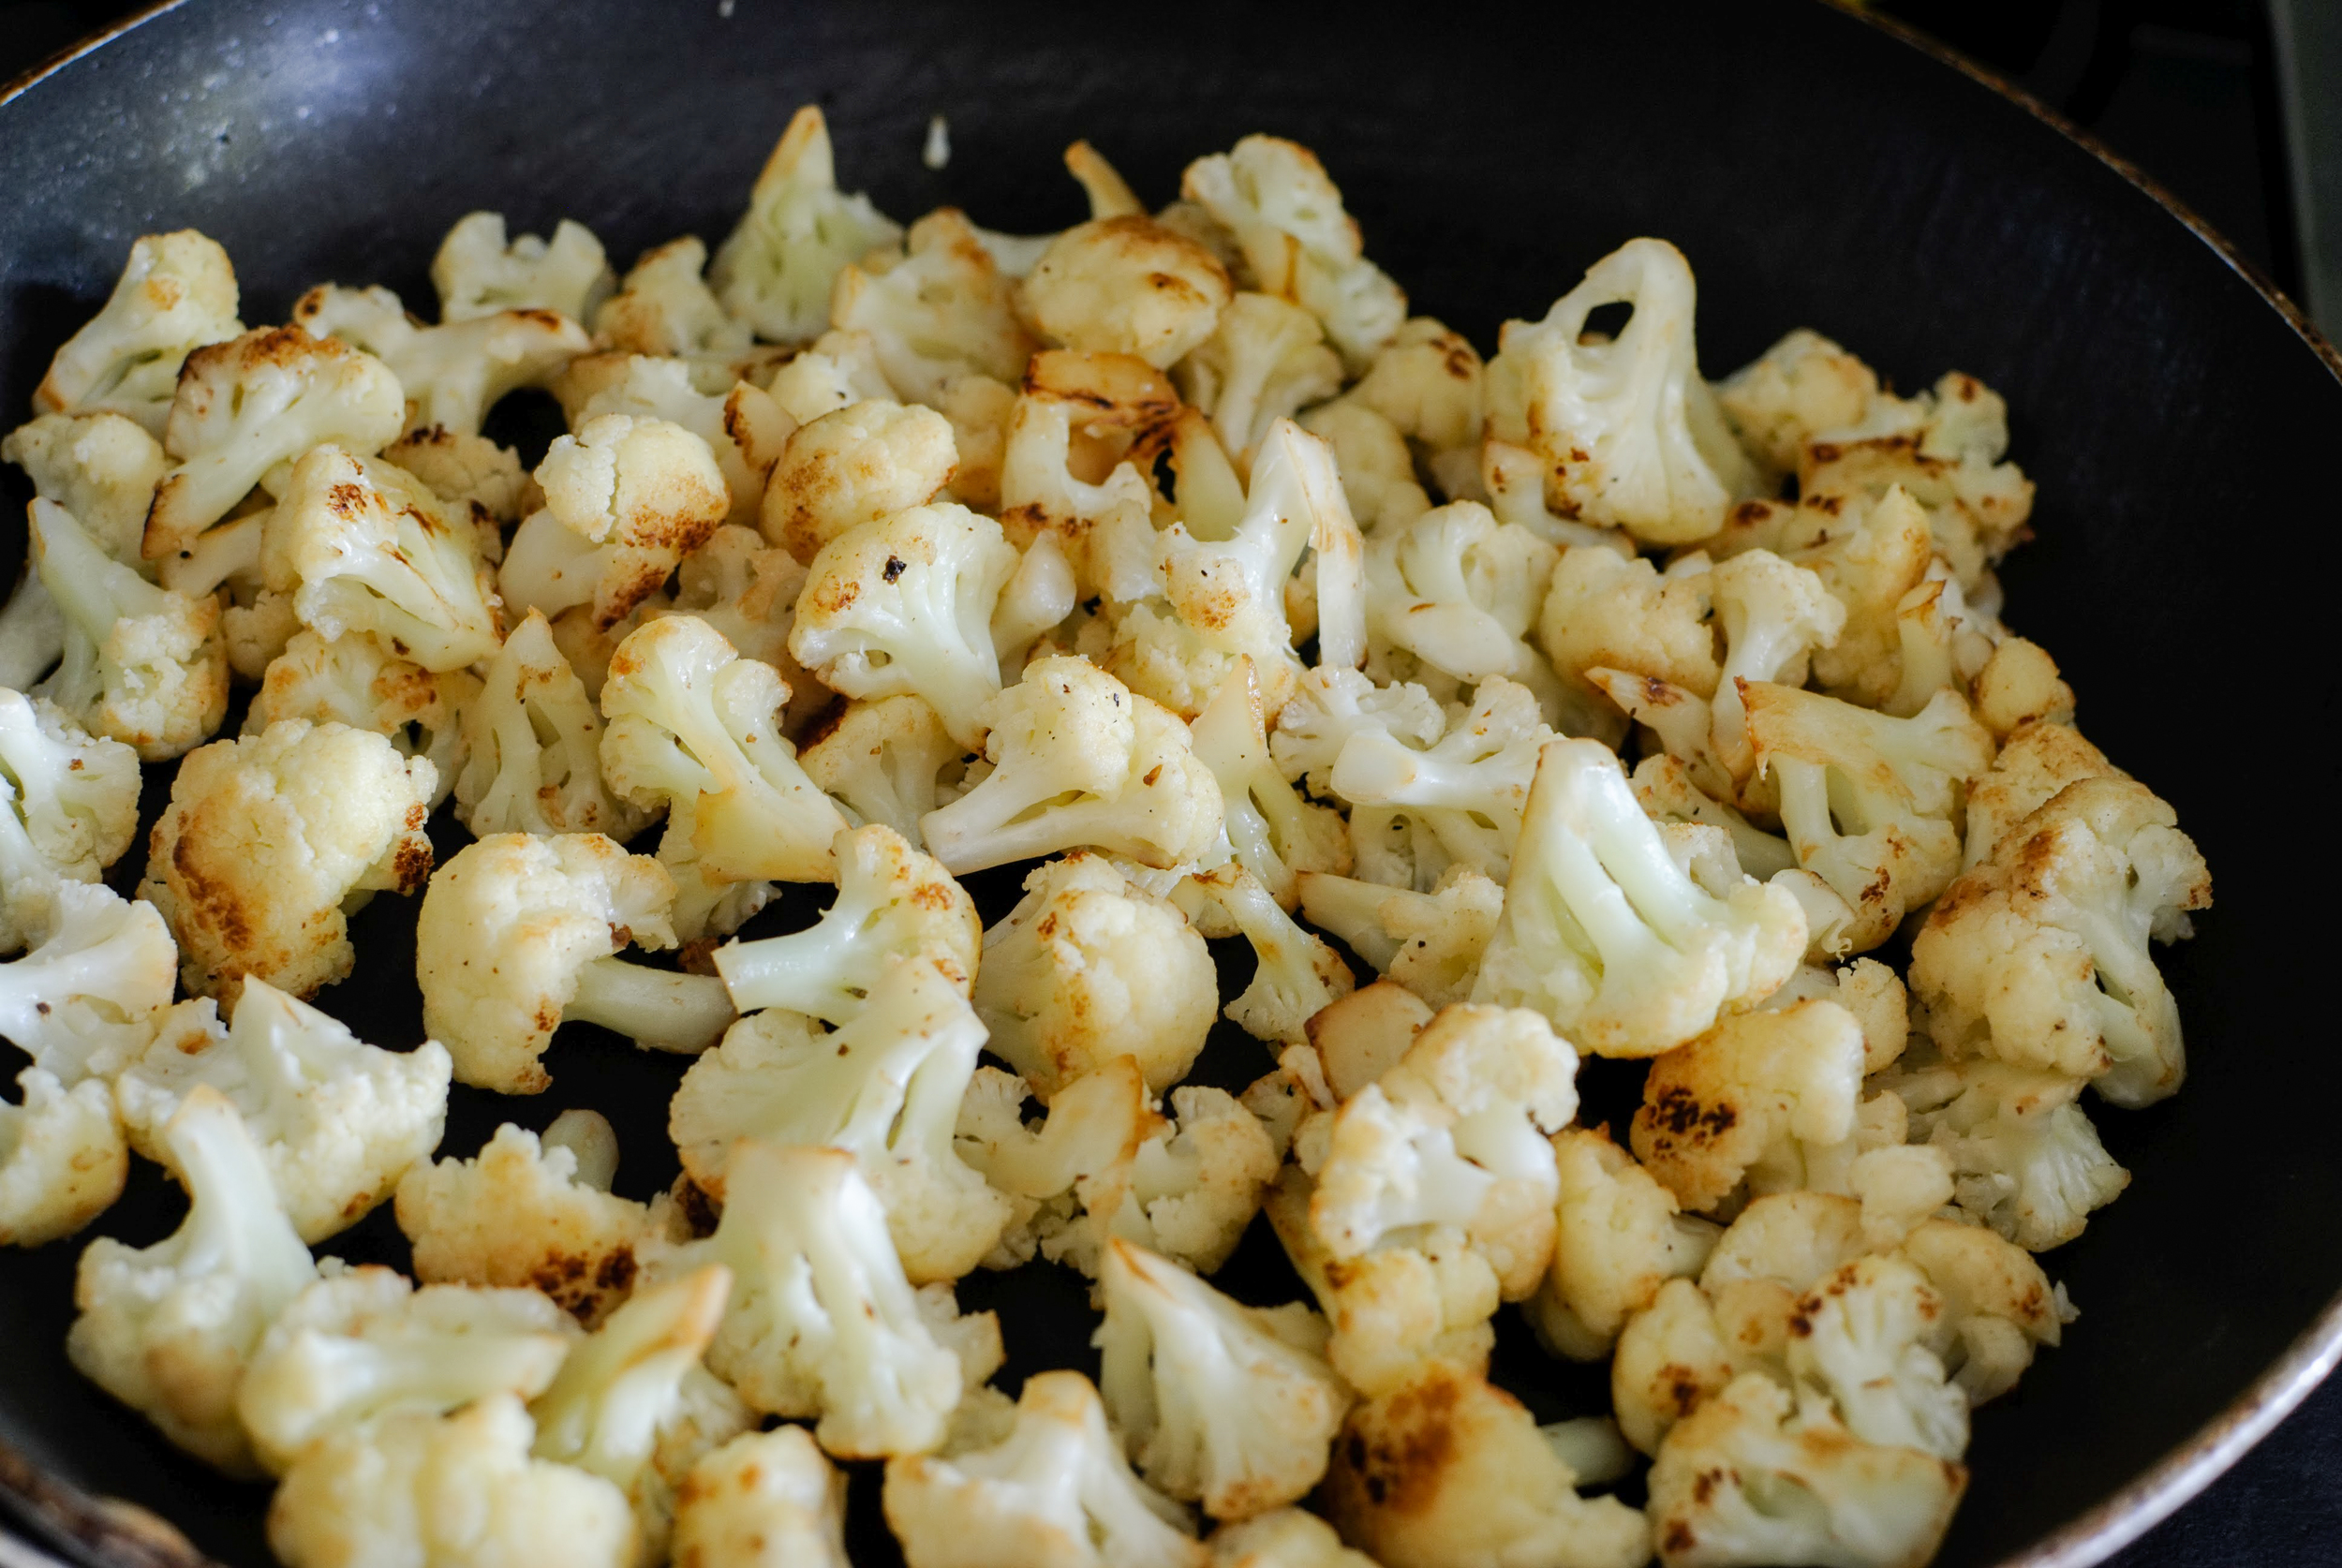
While the noodles are cooking, add 1 tablespoon oil to a medium pan, bring up to medium-high heat, until oil barely begins to smoke. Add cauliflower to the pan, and cook until the first side is brown - about 2-3 minutes. Shake pan vigorously and continue to cook until desired doneness. (I like fork-tender cruciferous vegetables, so I cooked mine for about 6 minutes). Set aside. Julienne carrots and red bell peppers, set aside with prepared edamame. Combine noodles and vegetables in a large bowl. 

Ginger Scallion Sauce
from Momofuku cookbook by David Chang

Servings: 1 cup of sauce
Time: 15 minutes

Ingredients:
2½ cups thinly sliced scallions (green and whites, from 2-3 large bunches)
½ cup finely minced fresh ginger
¼ cup grapeseed or other neutral oil
1½ teaspoons usukuchi (light soy sauce)
¾ teaspoon sherry vinegar
¾ teaspoon kosher salt, more to taste

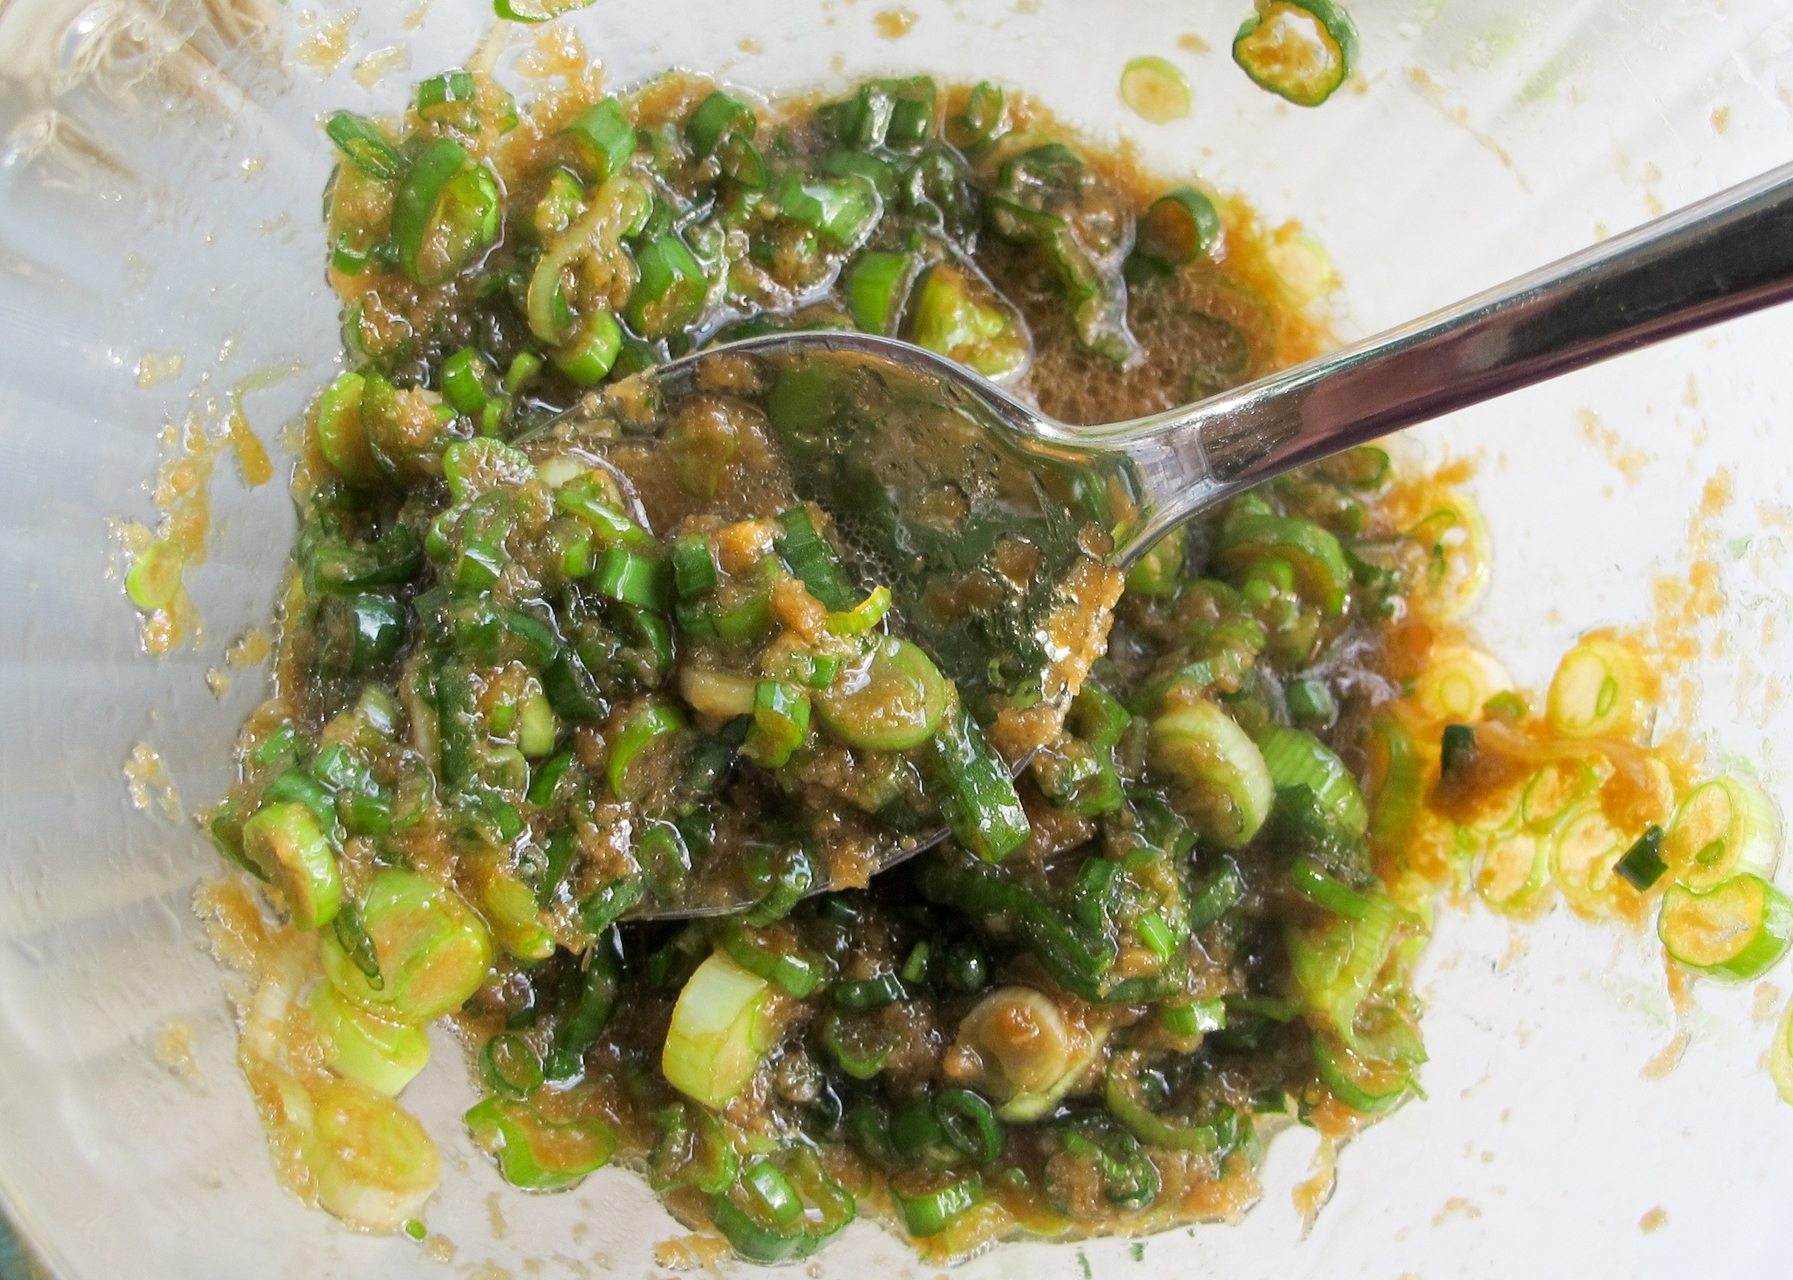
Mix together the scallions, ginger, oil, soy sauce, vinegar, and salt in a bowl. Taste and check for salt, adding more if needed. 

Crispy Chicken Wings by Cynthia Raub

Print Friendly and PDF
crispychickenwings

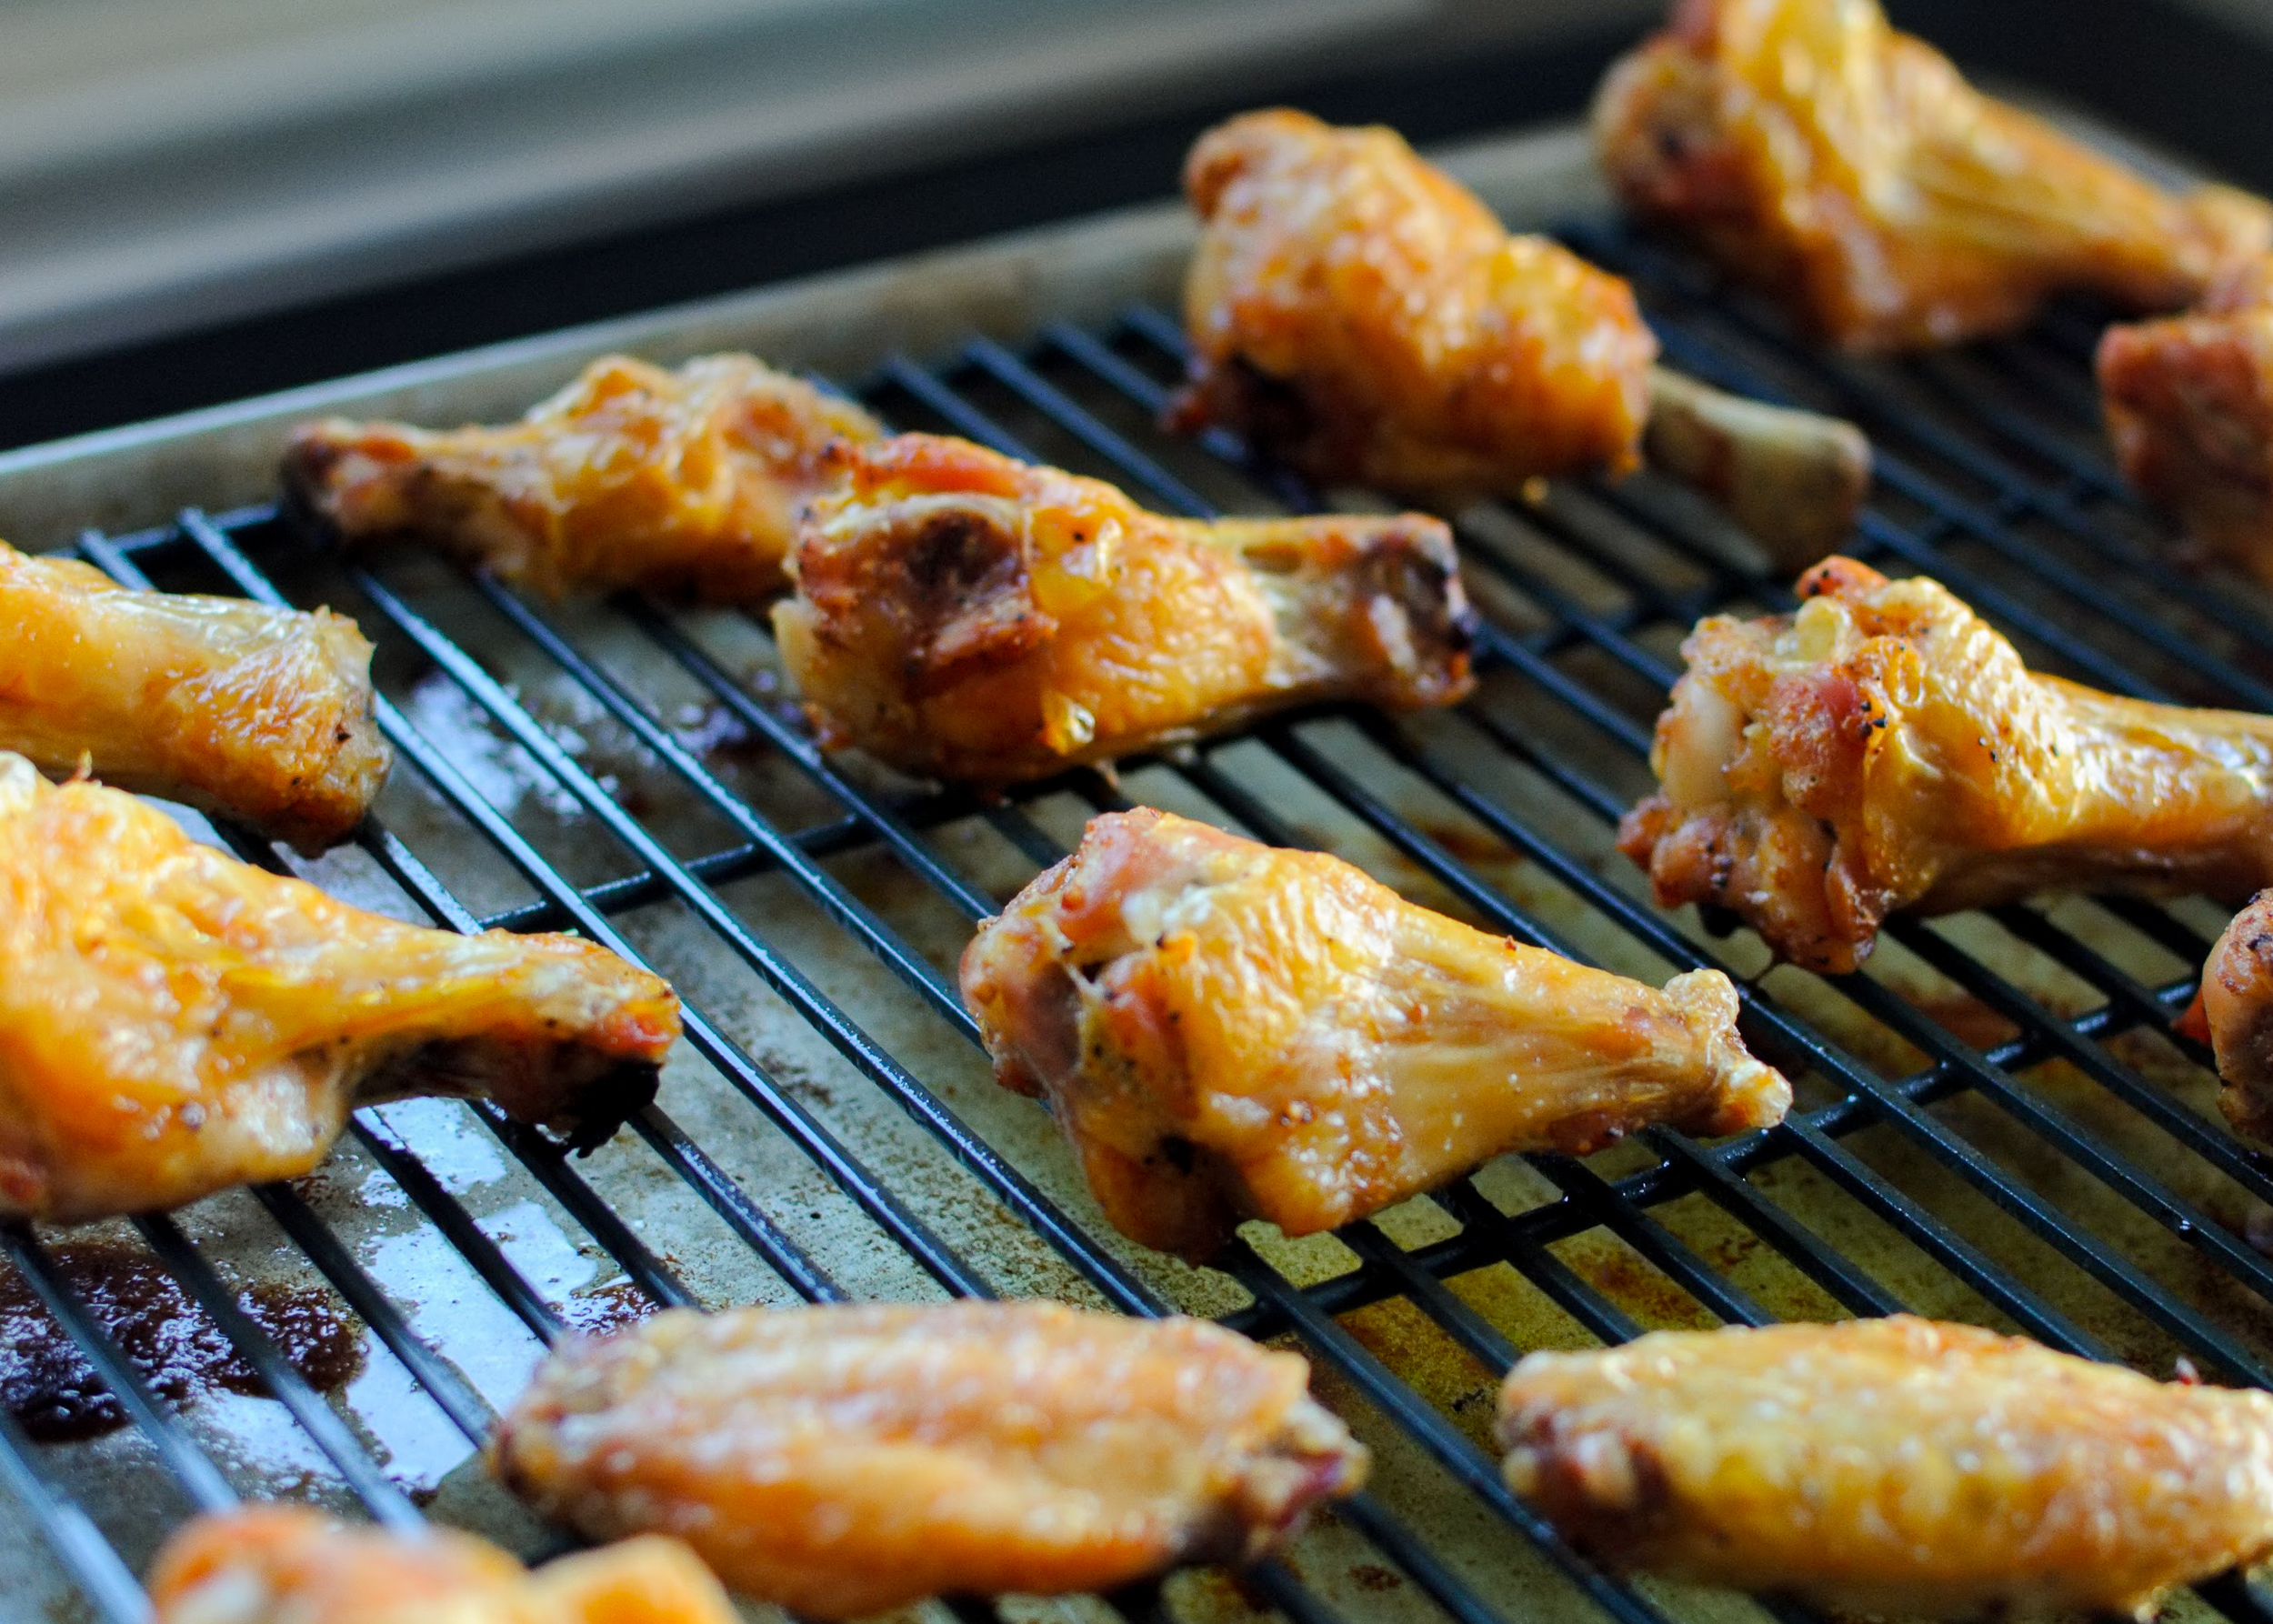
Small chicken wings are 33% meat, 33% skin and 33% bone - the best part being the skin. When chicken skin is rendered down from it’s pale, dotted and limp original state, it transforms into a golden and crunchy treat from the heavens. If you are #blessed enough, the fat from the skin might pool at the bottom of your baking pan to produce schmaltz. (Have you ever dipped a bland and dry veggie sandwich in warm schmaltz to make it palatable? I have, and it was glorious.) Chicken wings are a crowd pleaser and can be enjoyed hot and cold, which is why I thought they’d be a wonderful accompaniment to the Soba Noodle Salad with Ginger Scallion Sauce. The lacquered and addictive sweet and salty glaze was especially popular with the kids who loved nibbling off of the chicken bone. 

Notes: The chicken wings I bought were smaller than what I normally encounter at the store. But because of my love of chicken skin (see above) this didn’t bother me. The size of your chicken wings will change the amount of time you bake them. The meat on my small chicken wings were a little dry but the skin was incredibly crisp and was not compromised and didn’t get soggy when dressed with the glaze. This was worthwhile to me, but your mileage may vary.


Yield: About 50 wings
Time: 1 hour, 10 minutes

Ginger-soy glaze:
1/4 cup water
1/4 cup honey
4 tablespoons soy sauce
3 large garlic cloves, crushed
1 2 x 1-inch piece of ginger, peeled, sliced
1 teaspoon kosher salt
1 teaspoon lime juice
Red pepper flakes (optional)

Wings:
5 pounds chicken wings (tips removed, drumettes and flats separated - sometimes you can find "party wings" where this has already been done for you)
2 tablespoons vegetable oil
1 tablespoon kosher salt
1/2 teaspoon freshly ground black pepper

For ginger-soy glaze:
Bring all ingredients to a boil in a small saucepan, stirring to dissolve honey. Reduce heat to low; simmer, stirring occasionally, until reduced to 1/4 cup, 7–8 minutes. Strain into a small bowl. Let sit for 15 minutes to thicken slightly. Add a pinch of red pepper flakes, if desired and squeeze 1 teaspoon of lime juice into sauce, mix and reserve.
For wings:
Preheat oven to 400°F. Set a wire rack inside each of 2 large rimmed baking sheets. Place all ingredients in a large bowl; toss to coat. Divide wings between prepared racks and spread out in a single layer. Bake wings until cooked through and skin is crispy, 45–50 minutes.

Line another rimmed baking sheet with foil; top with a wire rack. Add wings to ginger-soy glaze and toss to evenly coat. Place wings in a single layer on prepared rack and bake until glaze is glossy and lightly caramelized, 4–6 minutes. Garnish with scallions and sesame seeds if desired.

Adapted From: http://www.epicurious.com/recipes/food/views/crispy-baked-chicken-wings-388693

Lemon-Berry Muffins by Amy Cantu

Print Friendly and PDF
Lemon-Berry Muffins


Total time: 30 minutes
Servings: 12

2 cups all-purpose flour, spooned and leveled
2 teaspoons baking powder
1/2 teaspoon kosher salt
Zest from 1 lemon
2/3 cup granulated sugar
1/2 cup (1 stick) unsalted butter, melted and cooled
1/2 cup whole milk
2 large eggs
1 1/2 cups mixed berries (blueberries, strawberries, blackberries, etc.)
2 tablespoons turbinado sugar, optional

Preheat oven to 375° F. Line 12 muffin cups with paper liners or coat with nonstick cooking spray. 
In a large bowl, whisk together the flour, baking powder, lemon zest and salt.

In a medium bowl, whisk together the granulated sugar, butter, milk, and eggs. Add to the flour mixture and stir until just combined (a few flecks of flour is OK). Fold in the berries (do not overmix).

Spoon the batter into the prepared muffin cups and sprinkle with turbinado sugar, if using.
Bake until a toothpick inserted in the center of a muffin comes out clean, 20 to 25 minutes. Let cool in the pan for 5 minutes. Transfer to a wire rack to cool completely or serve warm.

Cucumber and Beet Salad by Cynthia Raub

Print Friendly and PDF
beet and cucumber salad

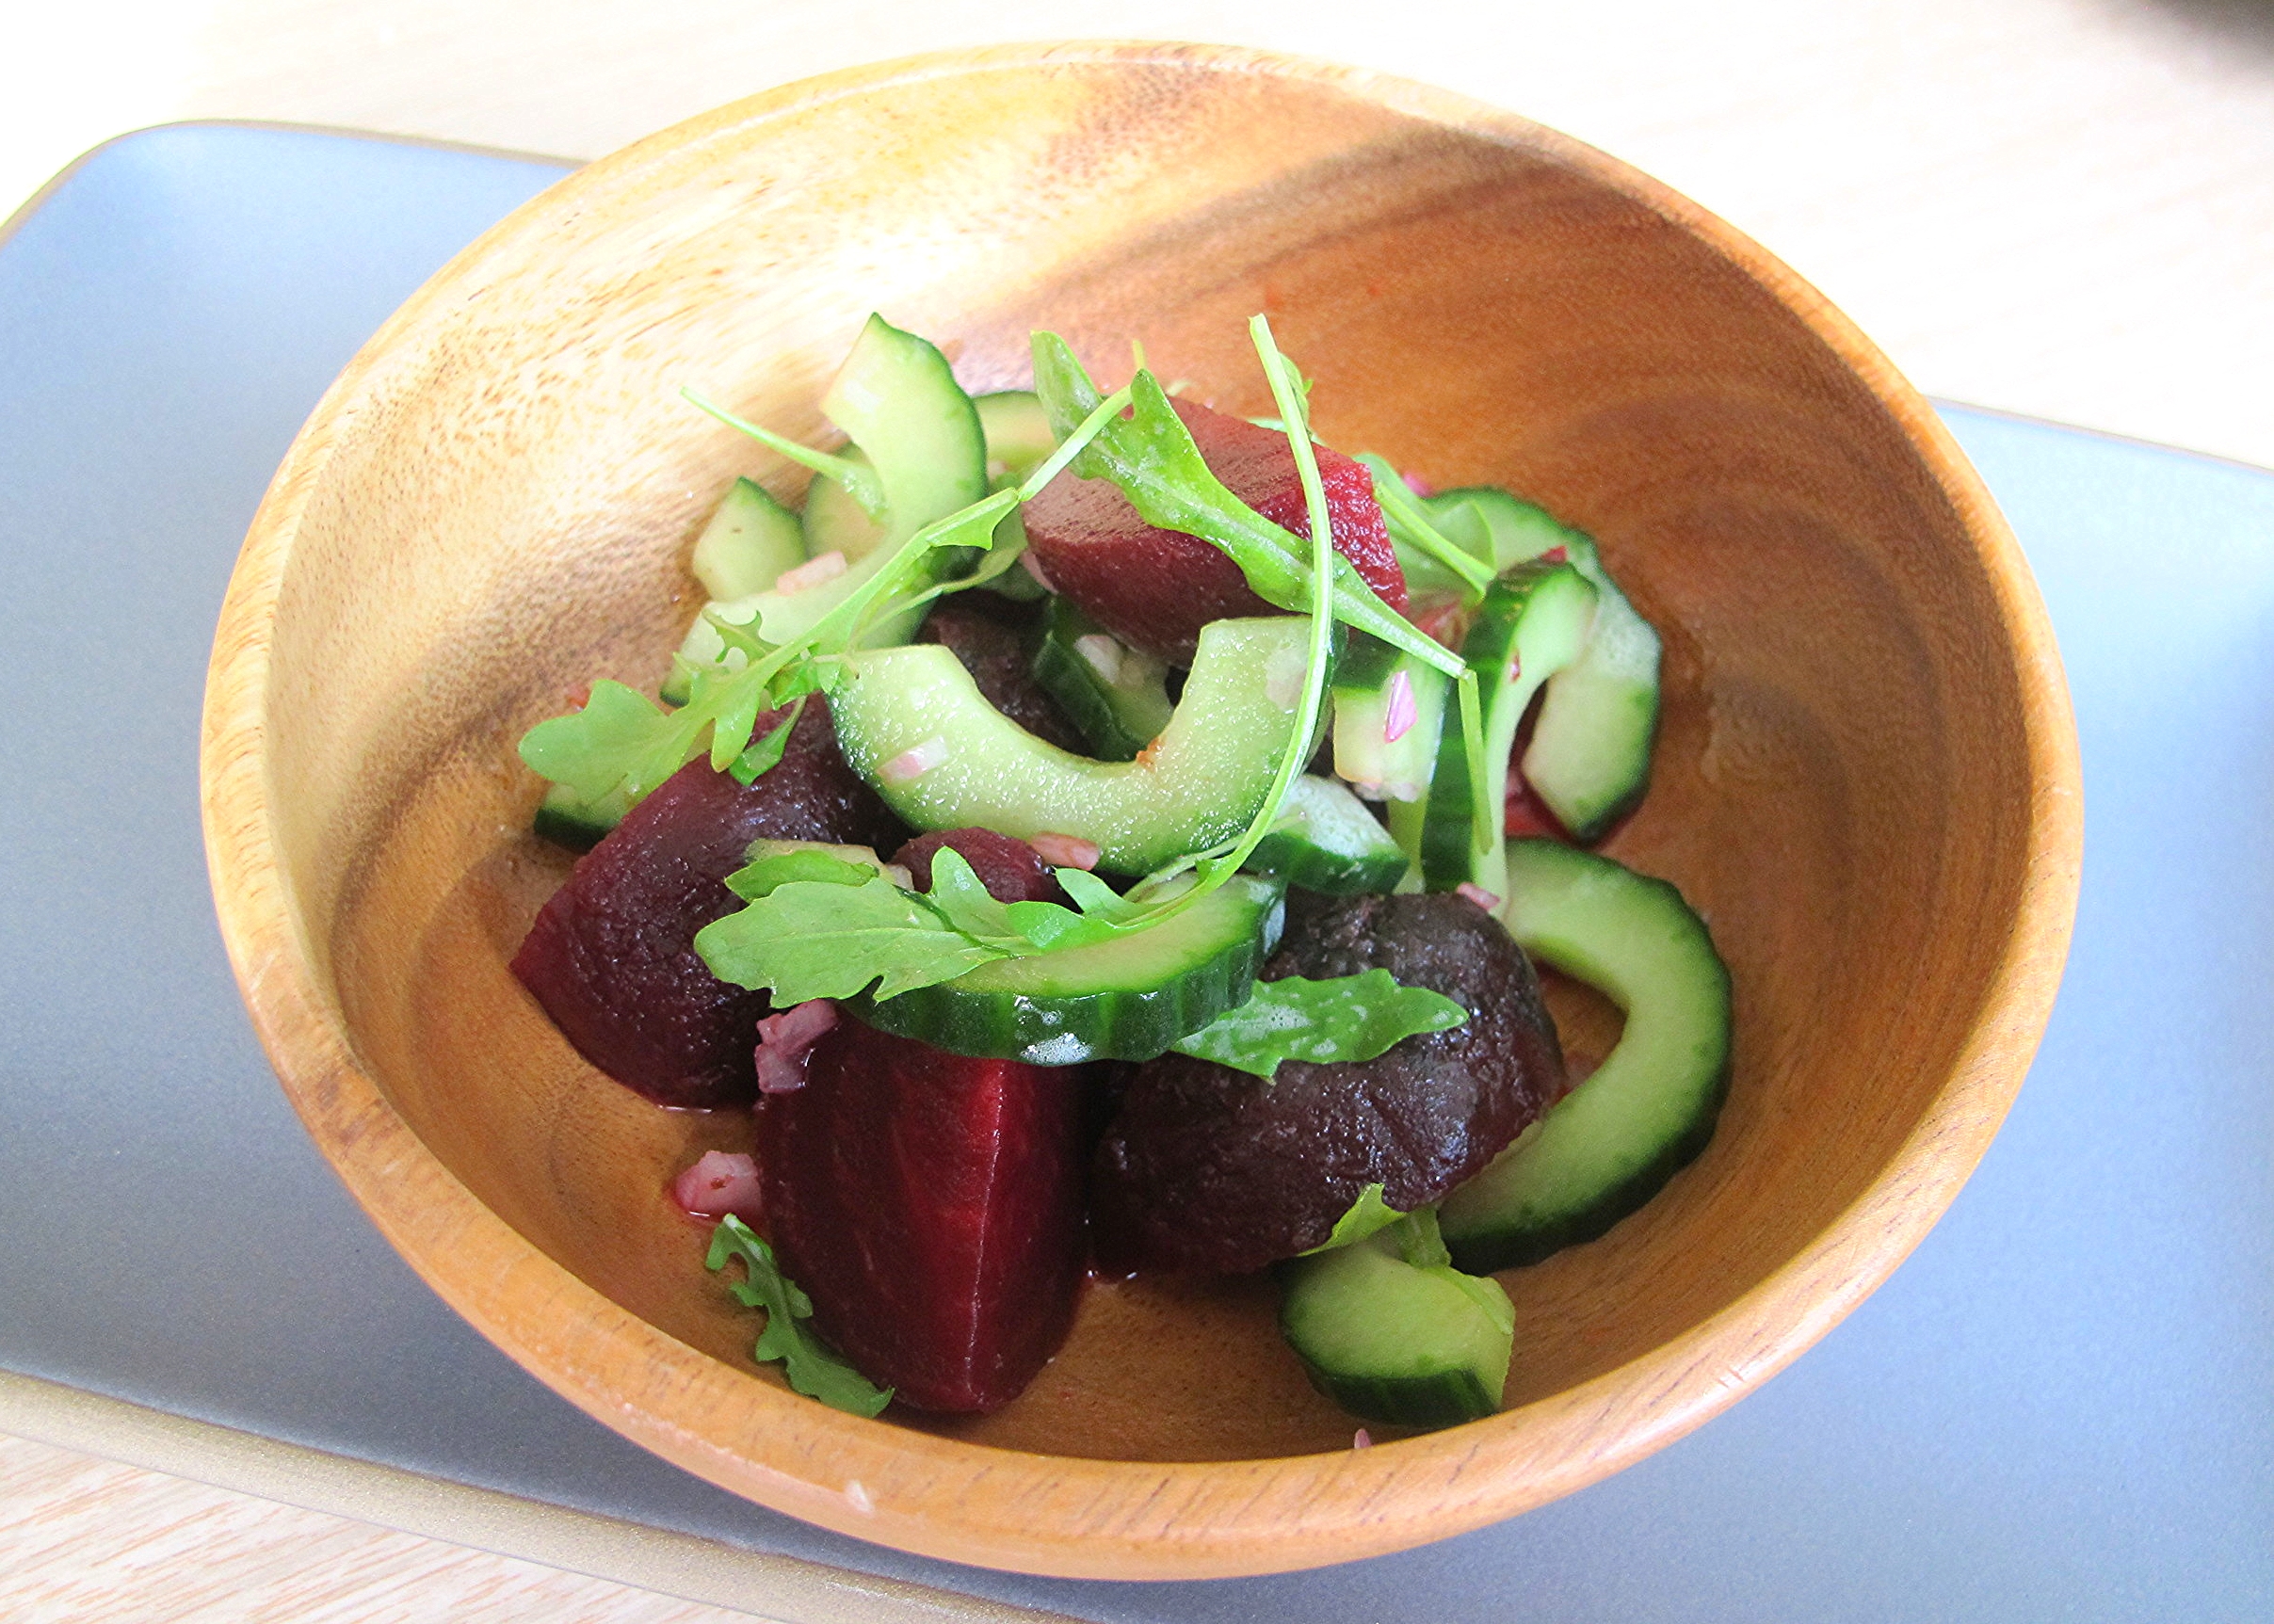
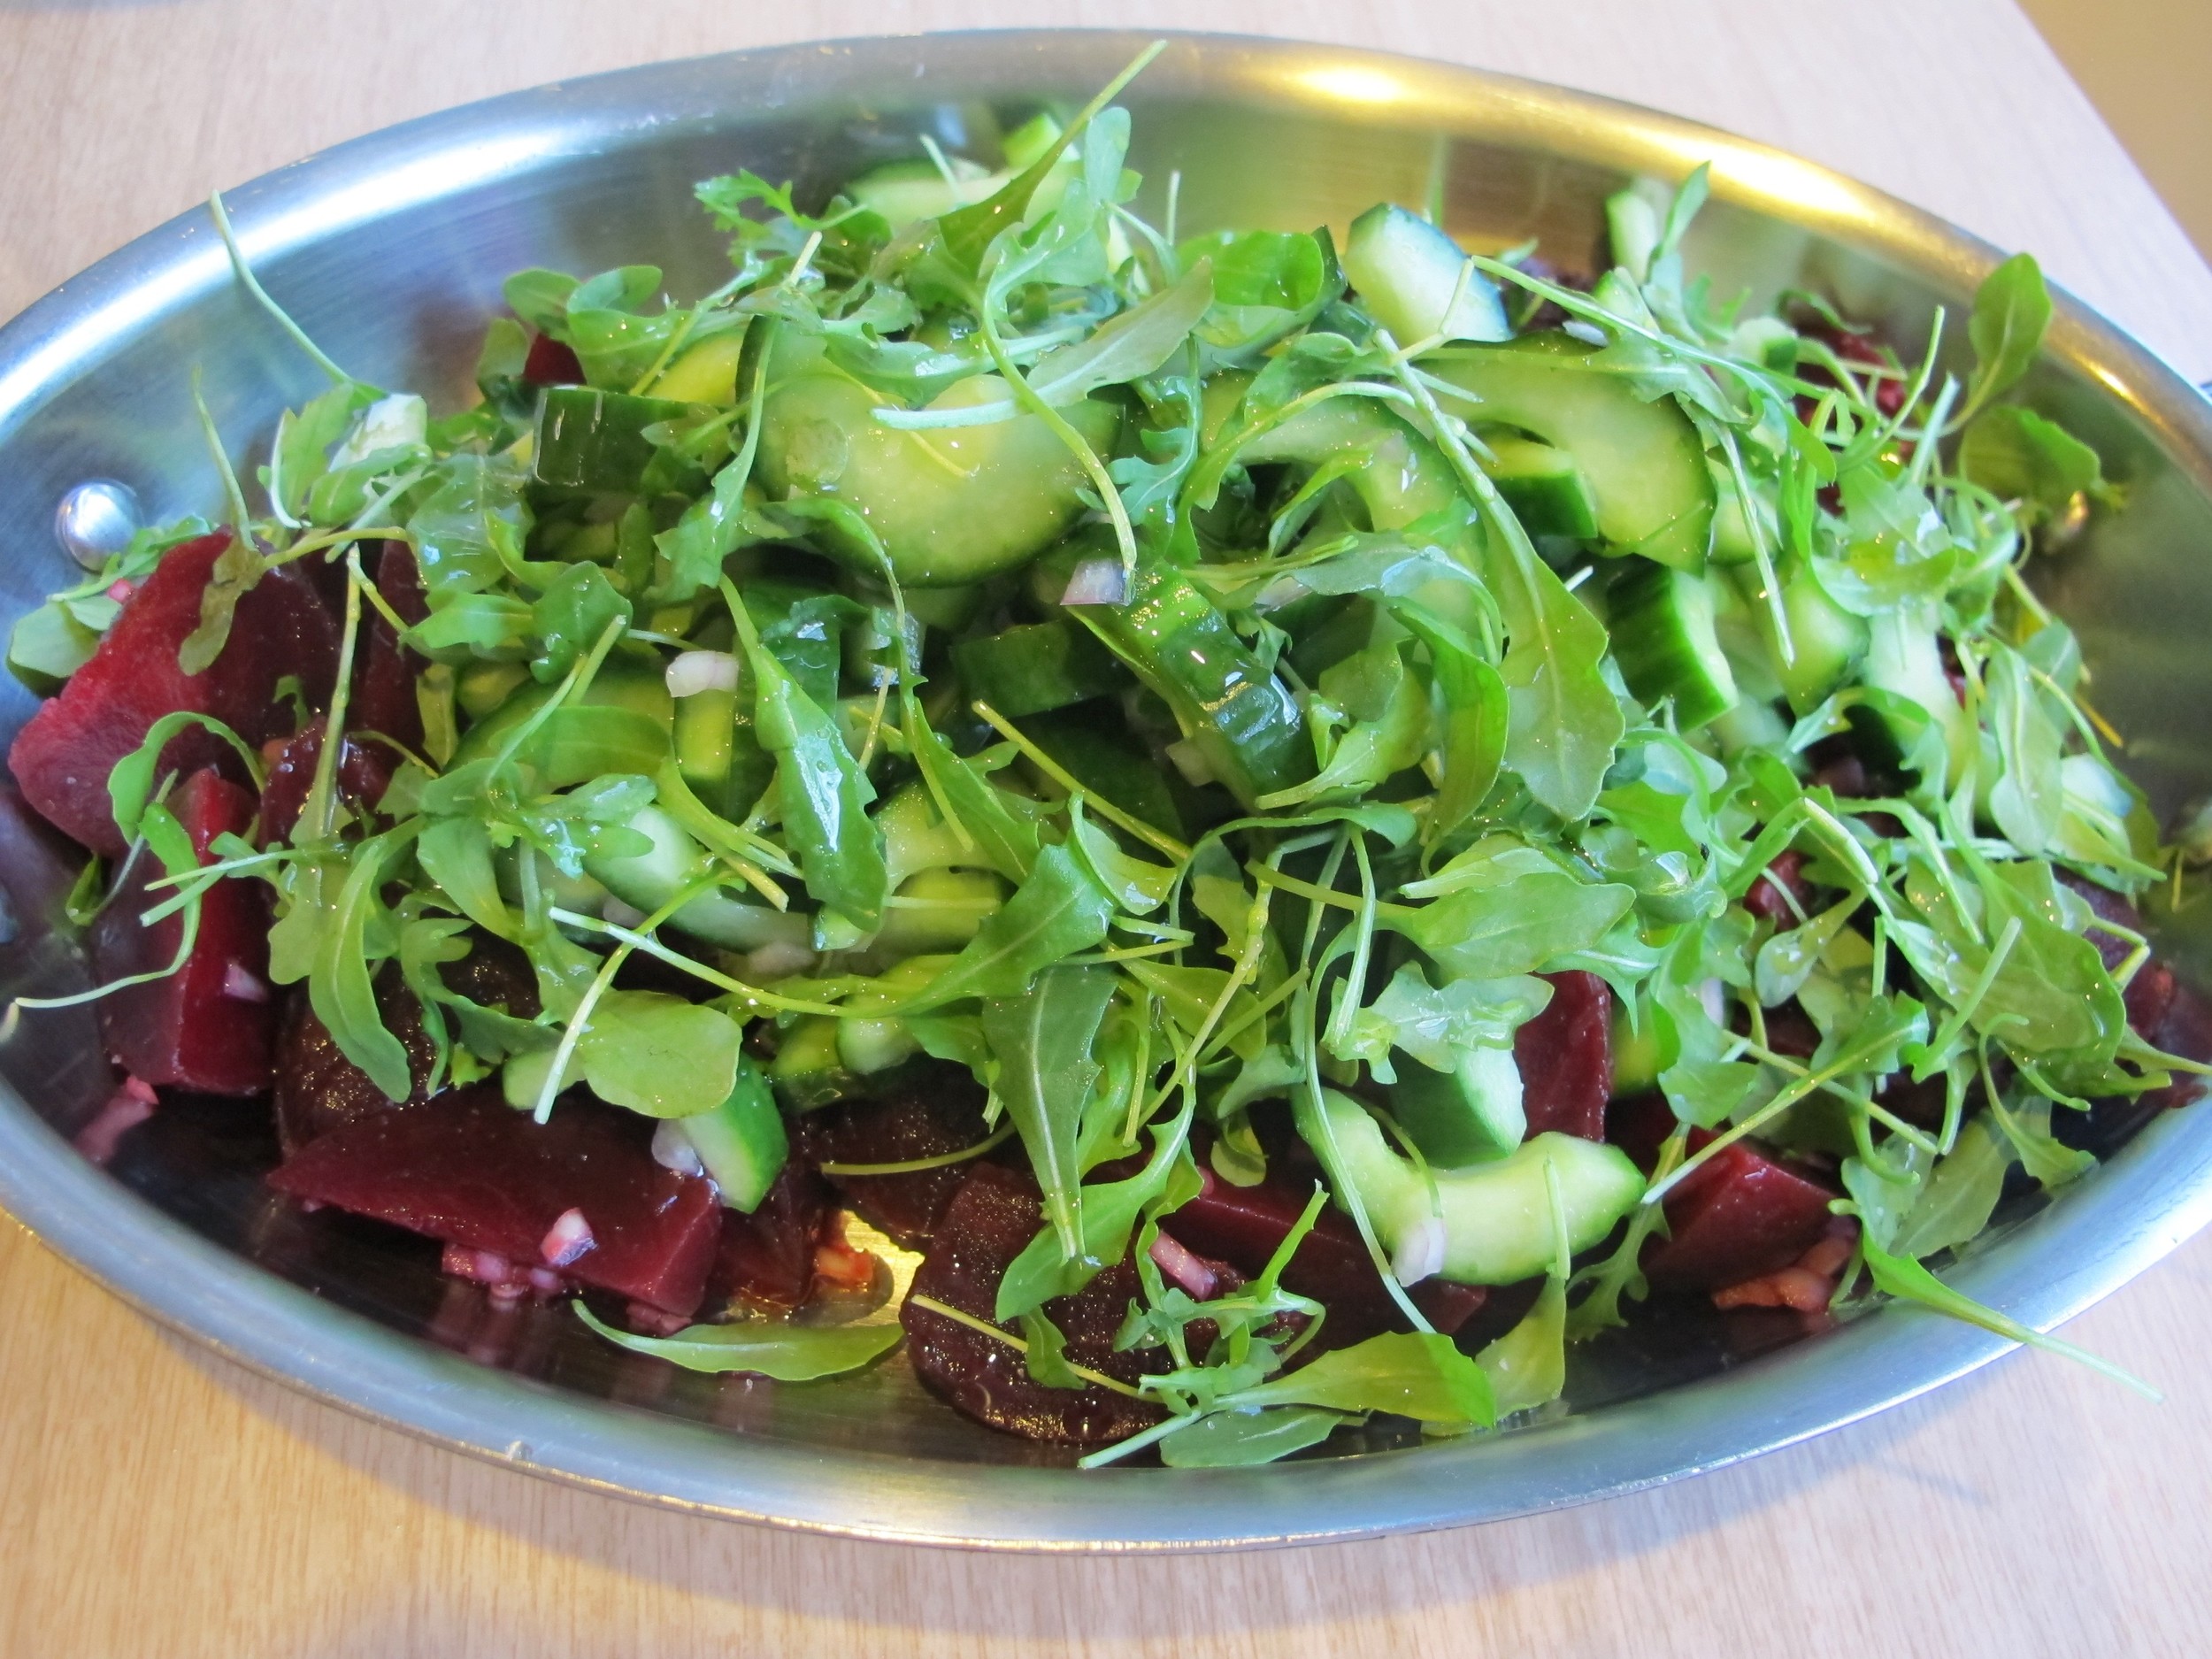
In and of itself, grilled cheese is a perfect meal. It combines the three food groups: bread, butter and cheese. But because I added *bacon* in the Bacon Jam and Cheddar Grilled Cheese Sandwich, I thought I would lighten up the meal with a salad. This Beet and Cucumber Salad is simple and straightforward - you don't even have to make a vinaigrette! The crispy crunch from the cucumber and the velvety, sweet beets are a great accompaniment to the slightly spicy baby arugula. Don't be deceived - the recipe is very simple, but the salad turned out to be tasty and balanced.

Notes: Letting the salad sit for a minimum of 30 minutes after being dressed is a must. Let the cucumbers and beets marinate separately to avoid beet-stained cucumbers. I used prepared and packaged beets for this recipe, but you can roast your own if you have the time and patience. 


Time: 15 minutes
Servings: 8

1/2 cup rice vinegar
1/4 cup chopped shallots
1/4 cup sugar
1 pounds beets, trimmed
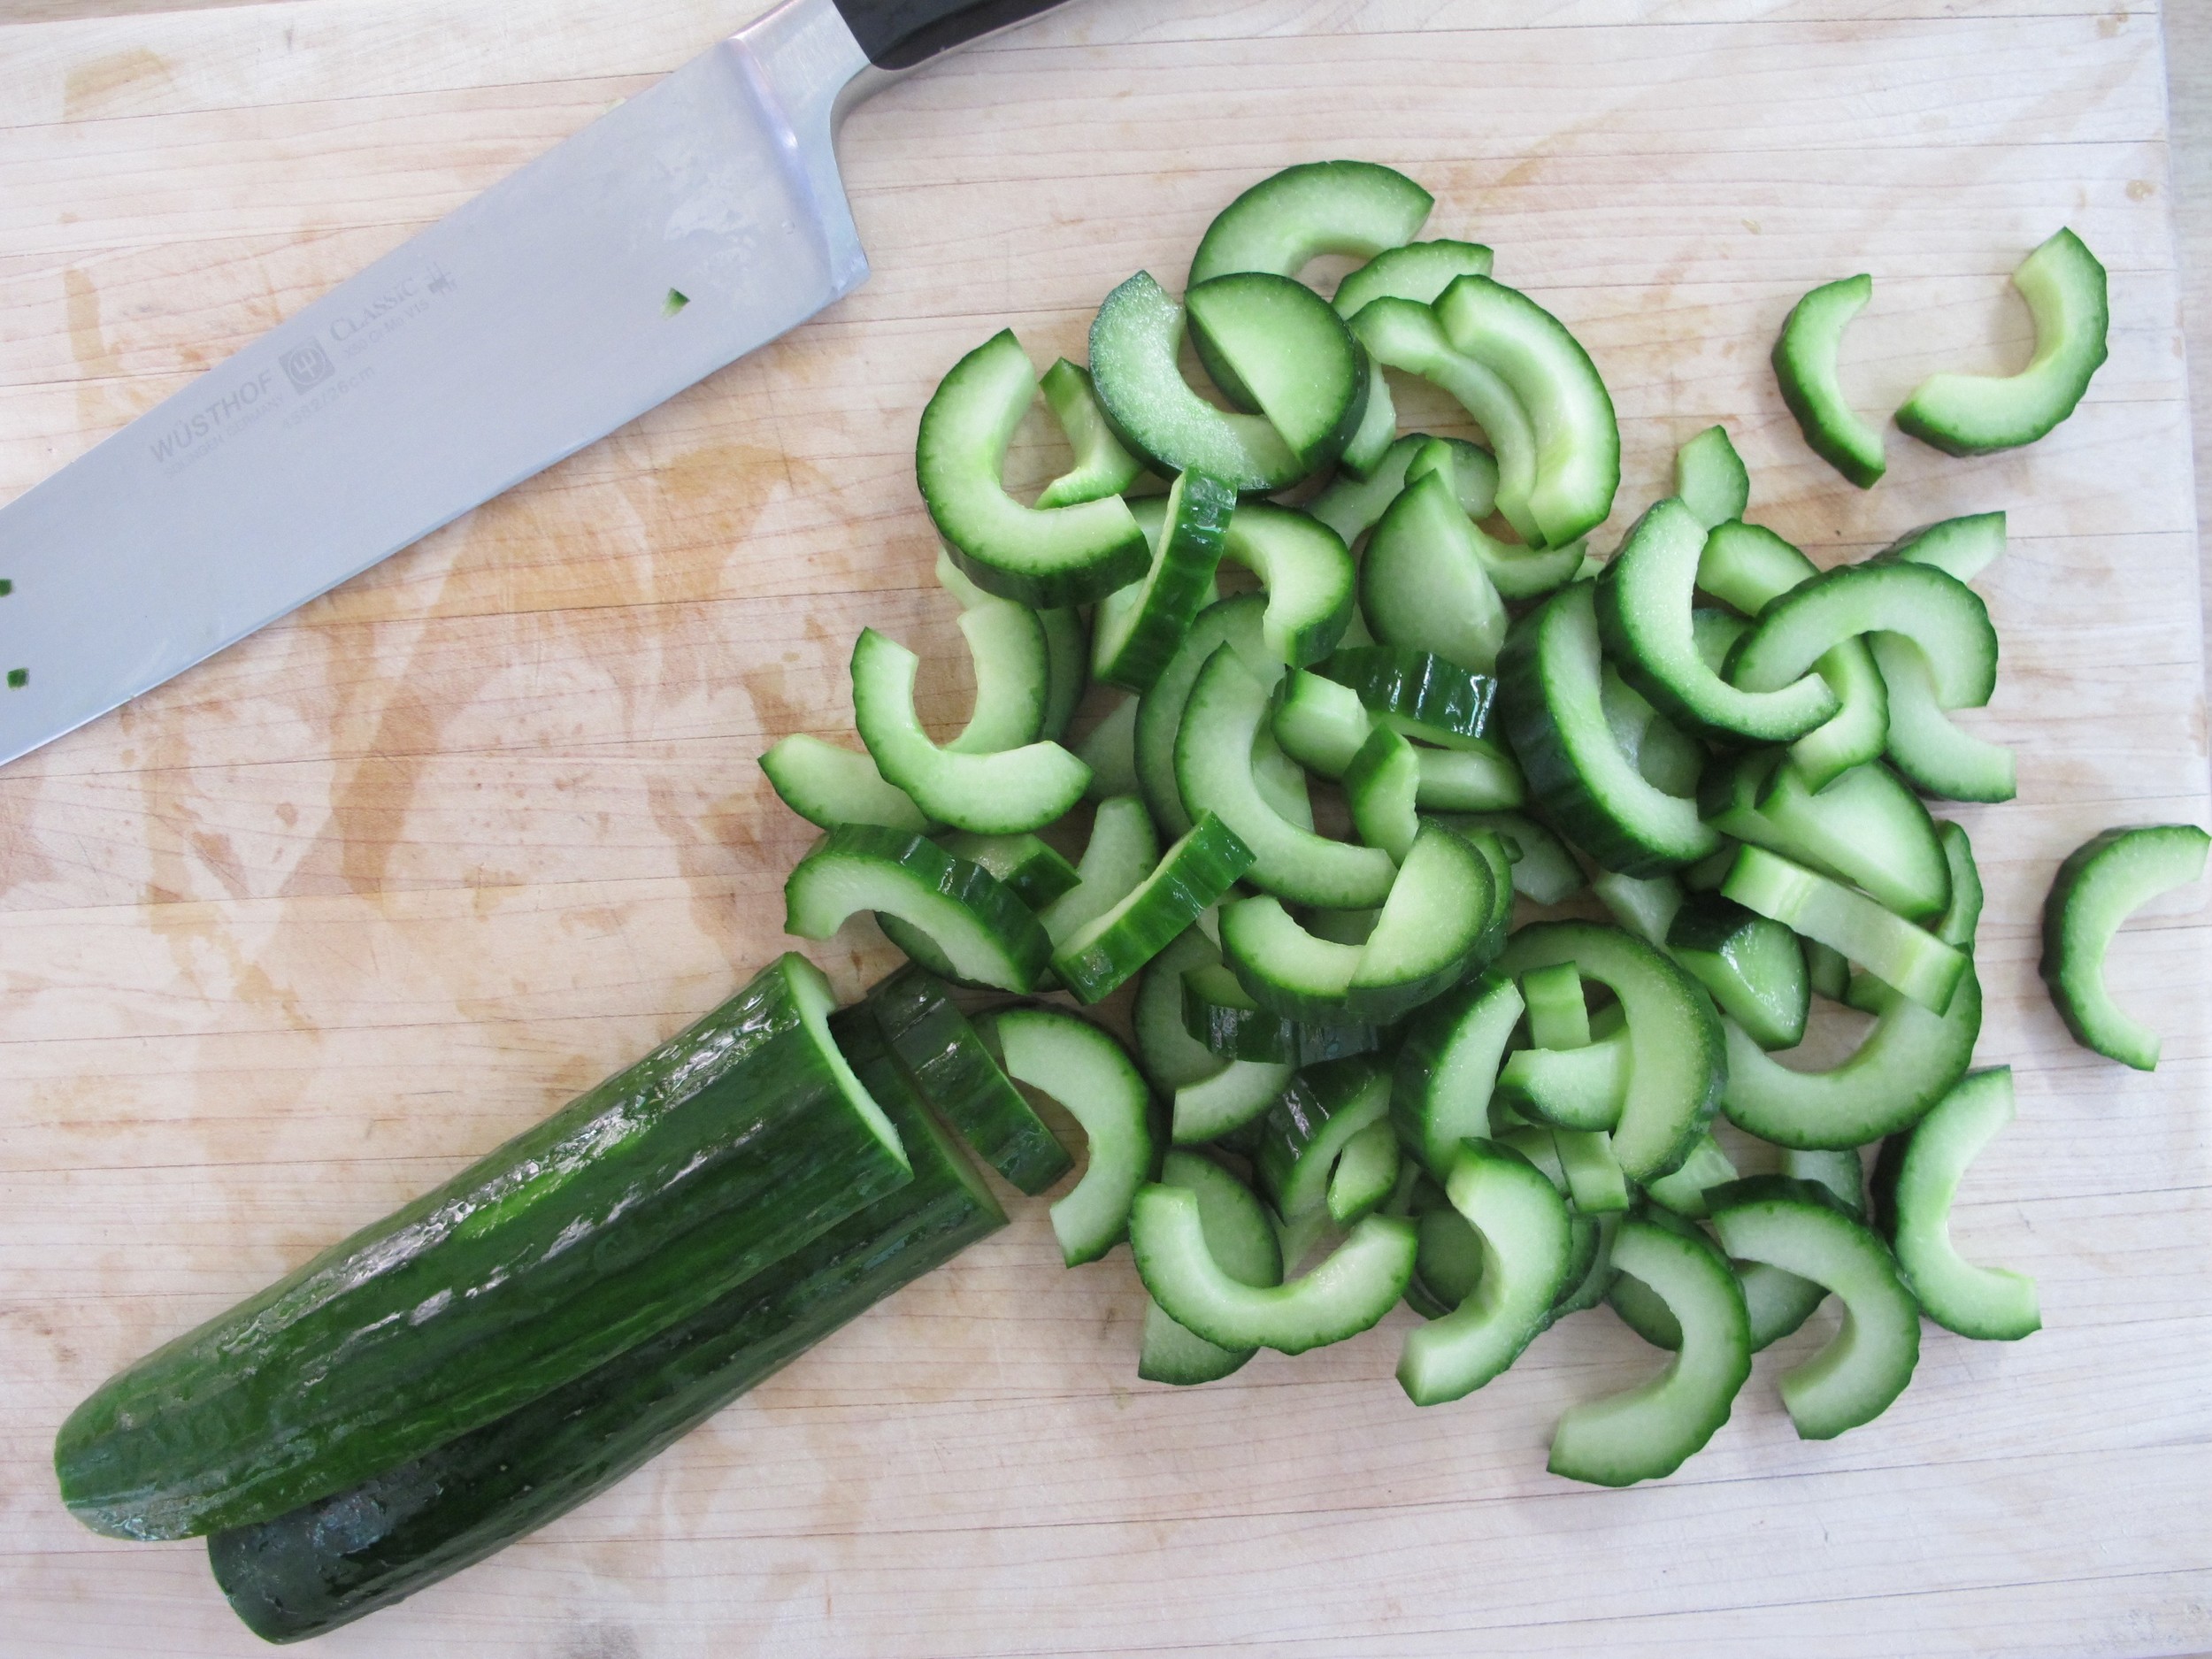
1 large English hothouse cucumbers (about 1 pound), halved lengthwise, seeded, cut crosswise into 1/4-inch-thick pieces
2 tablespoons chopped fresh chives or parsley
Baby Arugula (optional)
Extra Virgin Olive Oil
Kosher salt and pepper to taste

Combine vinegar, shallots and sugar in small bowl to make a marinade. Set aside while preparing vegetables.

Cut beets into wedges. Toss with 1/2 cup of marinade to coat.

Place cucumbers in large bowl and toss with remaining marinade. Season salads to taste with salt and pepper. Cover separately and chill for at least 30 minutes or up to one day.

Drain beets of liquid and arrange on platter towards the outer edges; rinse colander clean, drain cucumbers and arrange in the middle of the platter. Scatter a handful of arugula on top, garnish with herbs.

Adapted from: http://www.epicurious.com/recipes/food/views/pickled-beet-and-cucumber-salads-5409

Roasted Jalapeno Grilled Cheese Sandwich by Cynthia Raub

Print Friendly and PDF
jalapeno grilled cheese sandwich

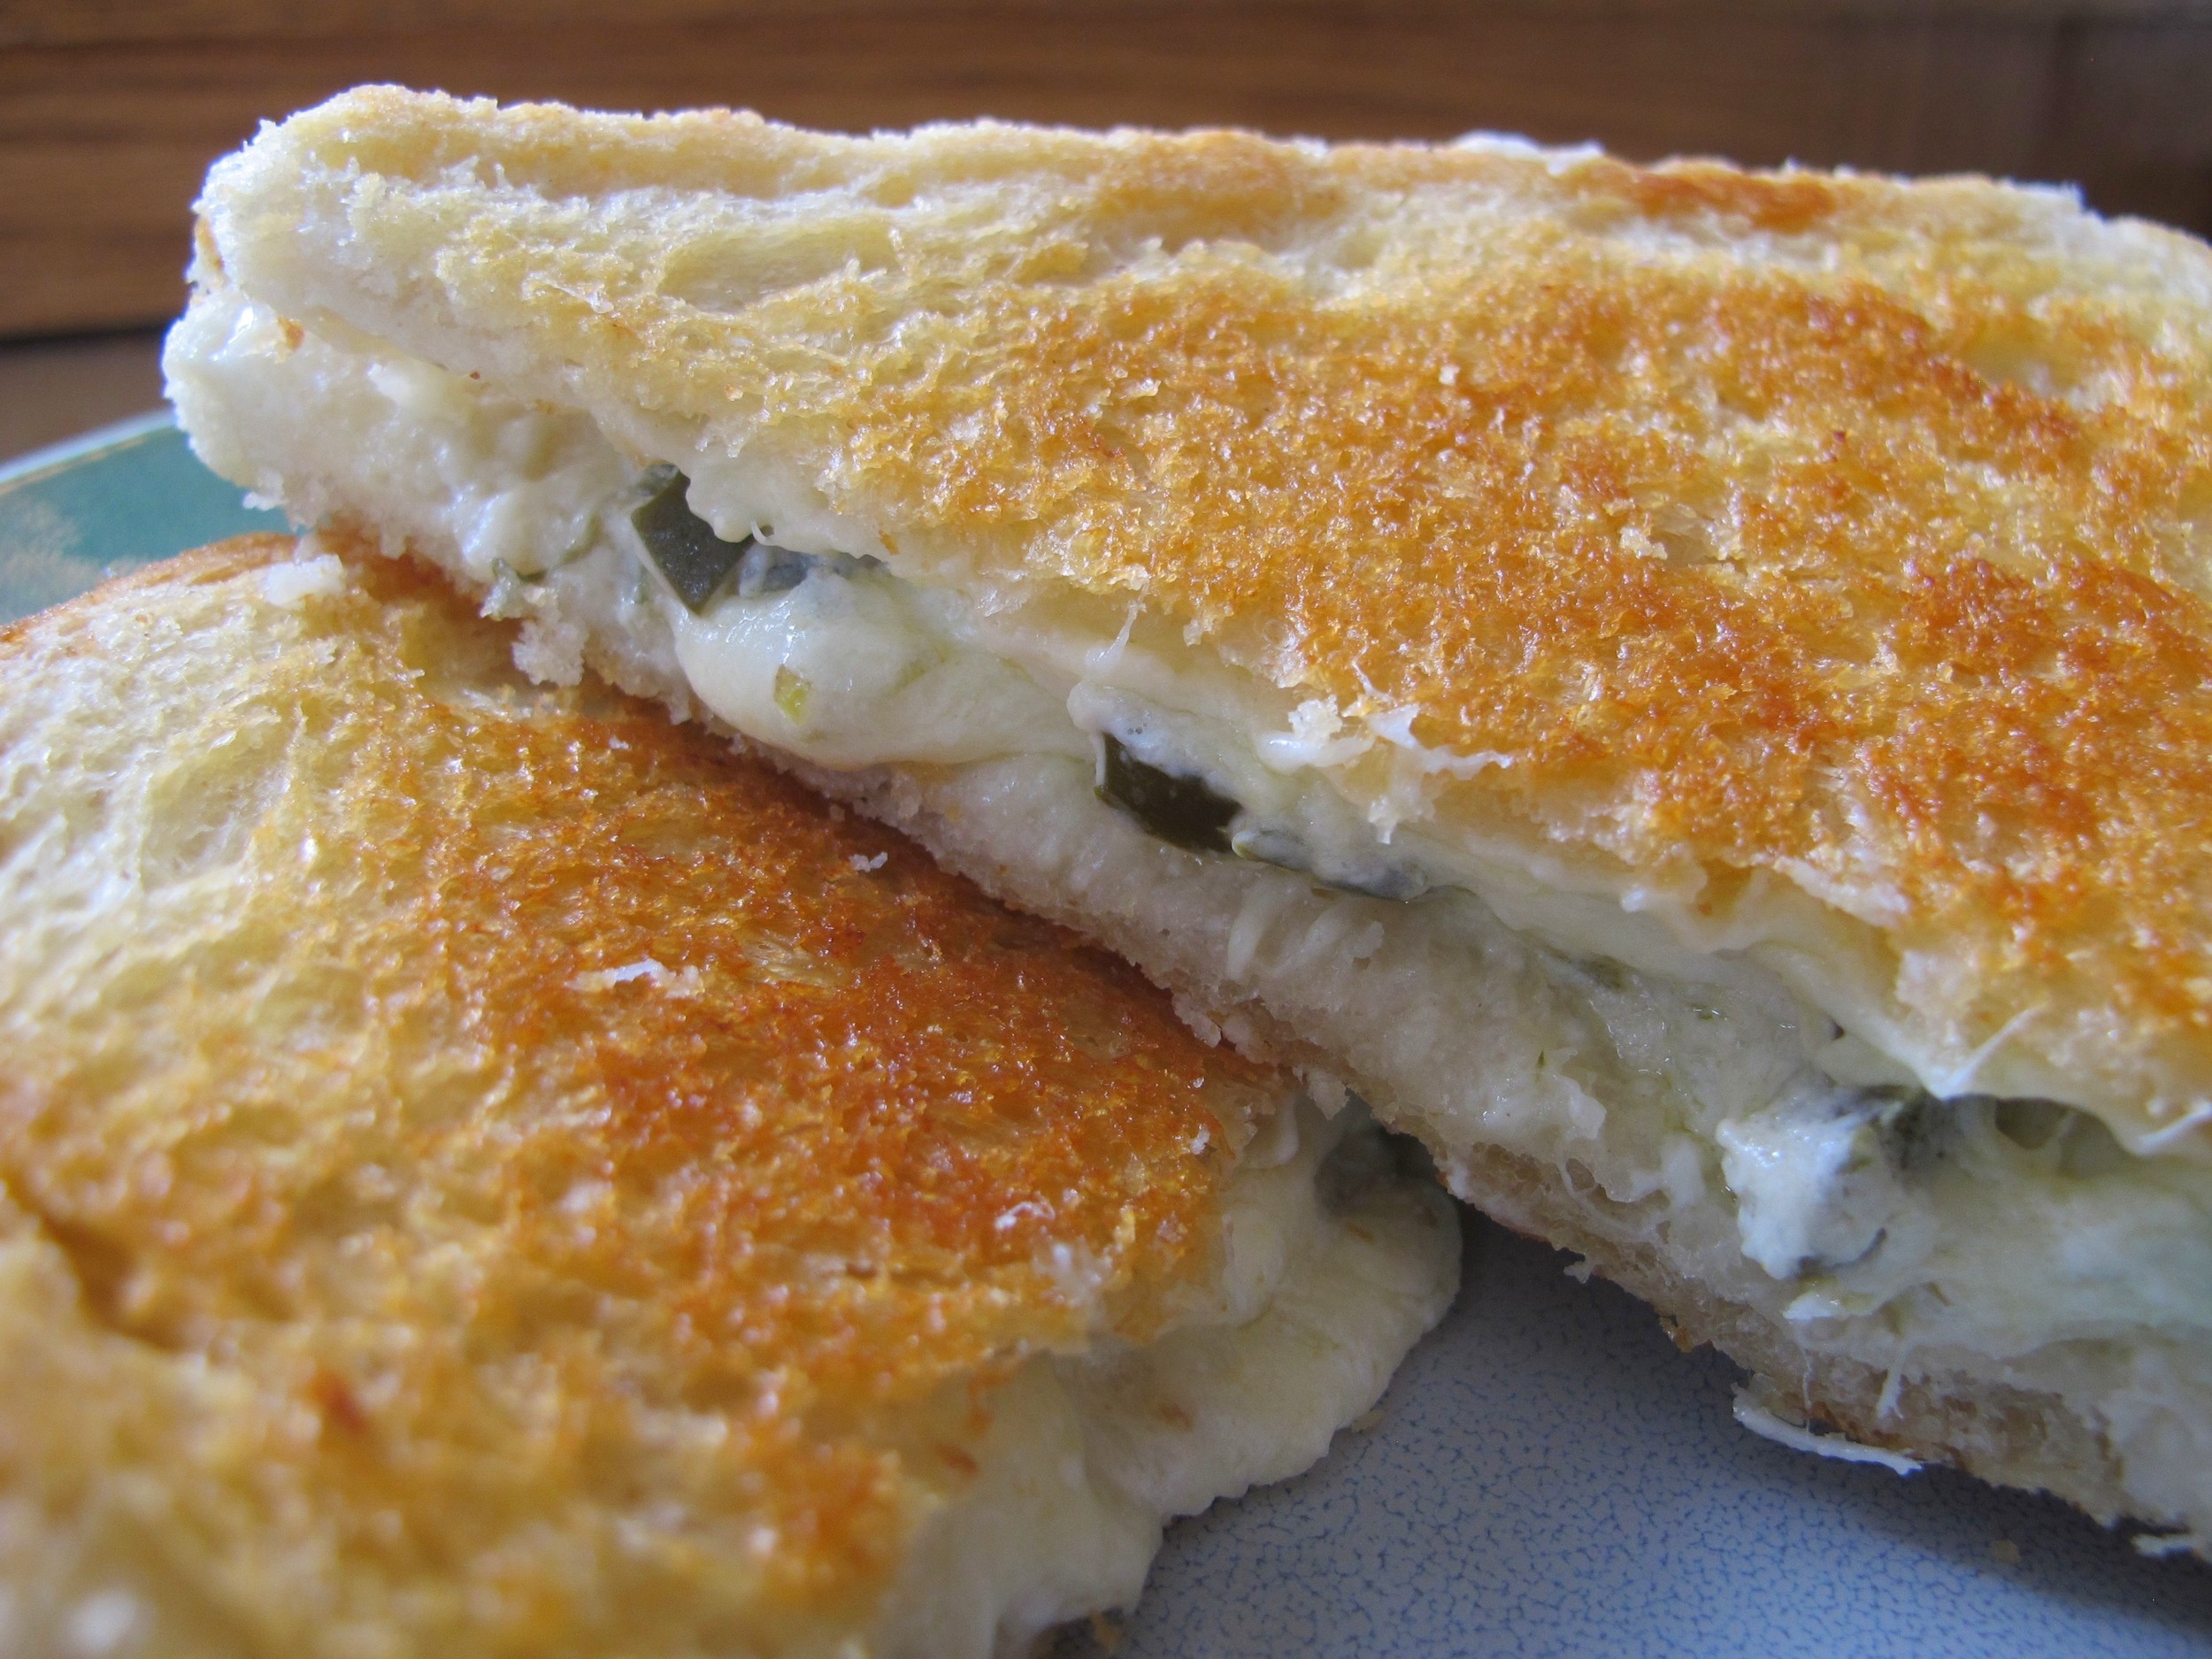
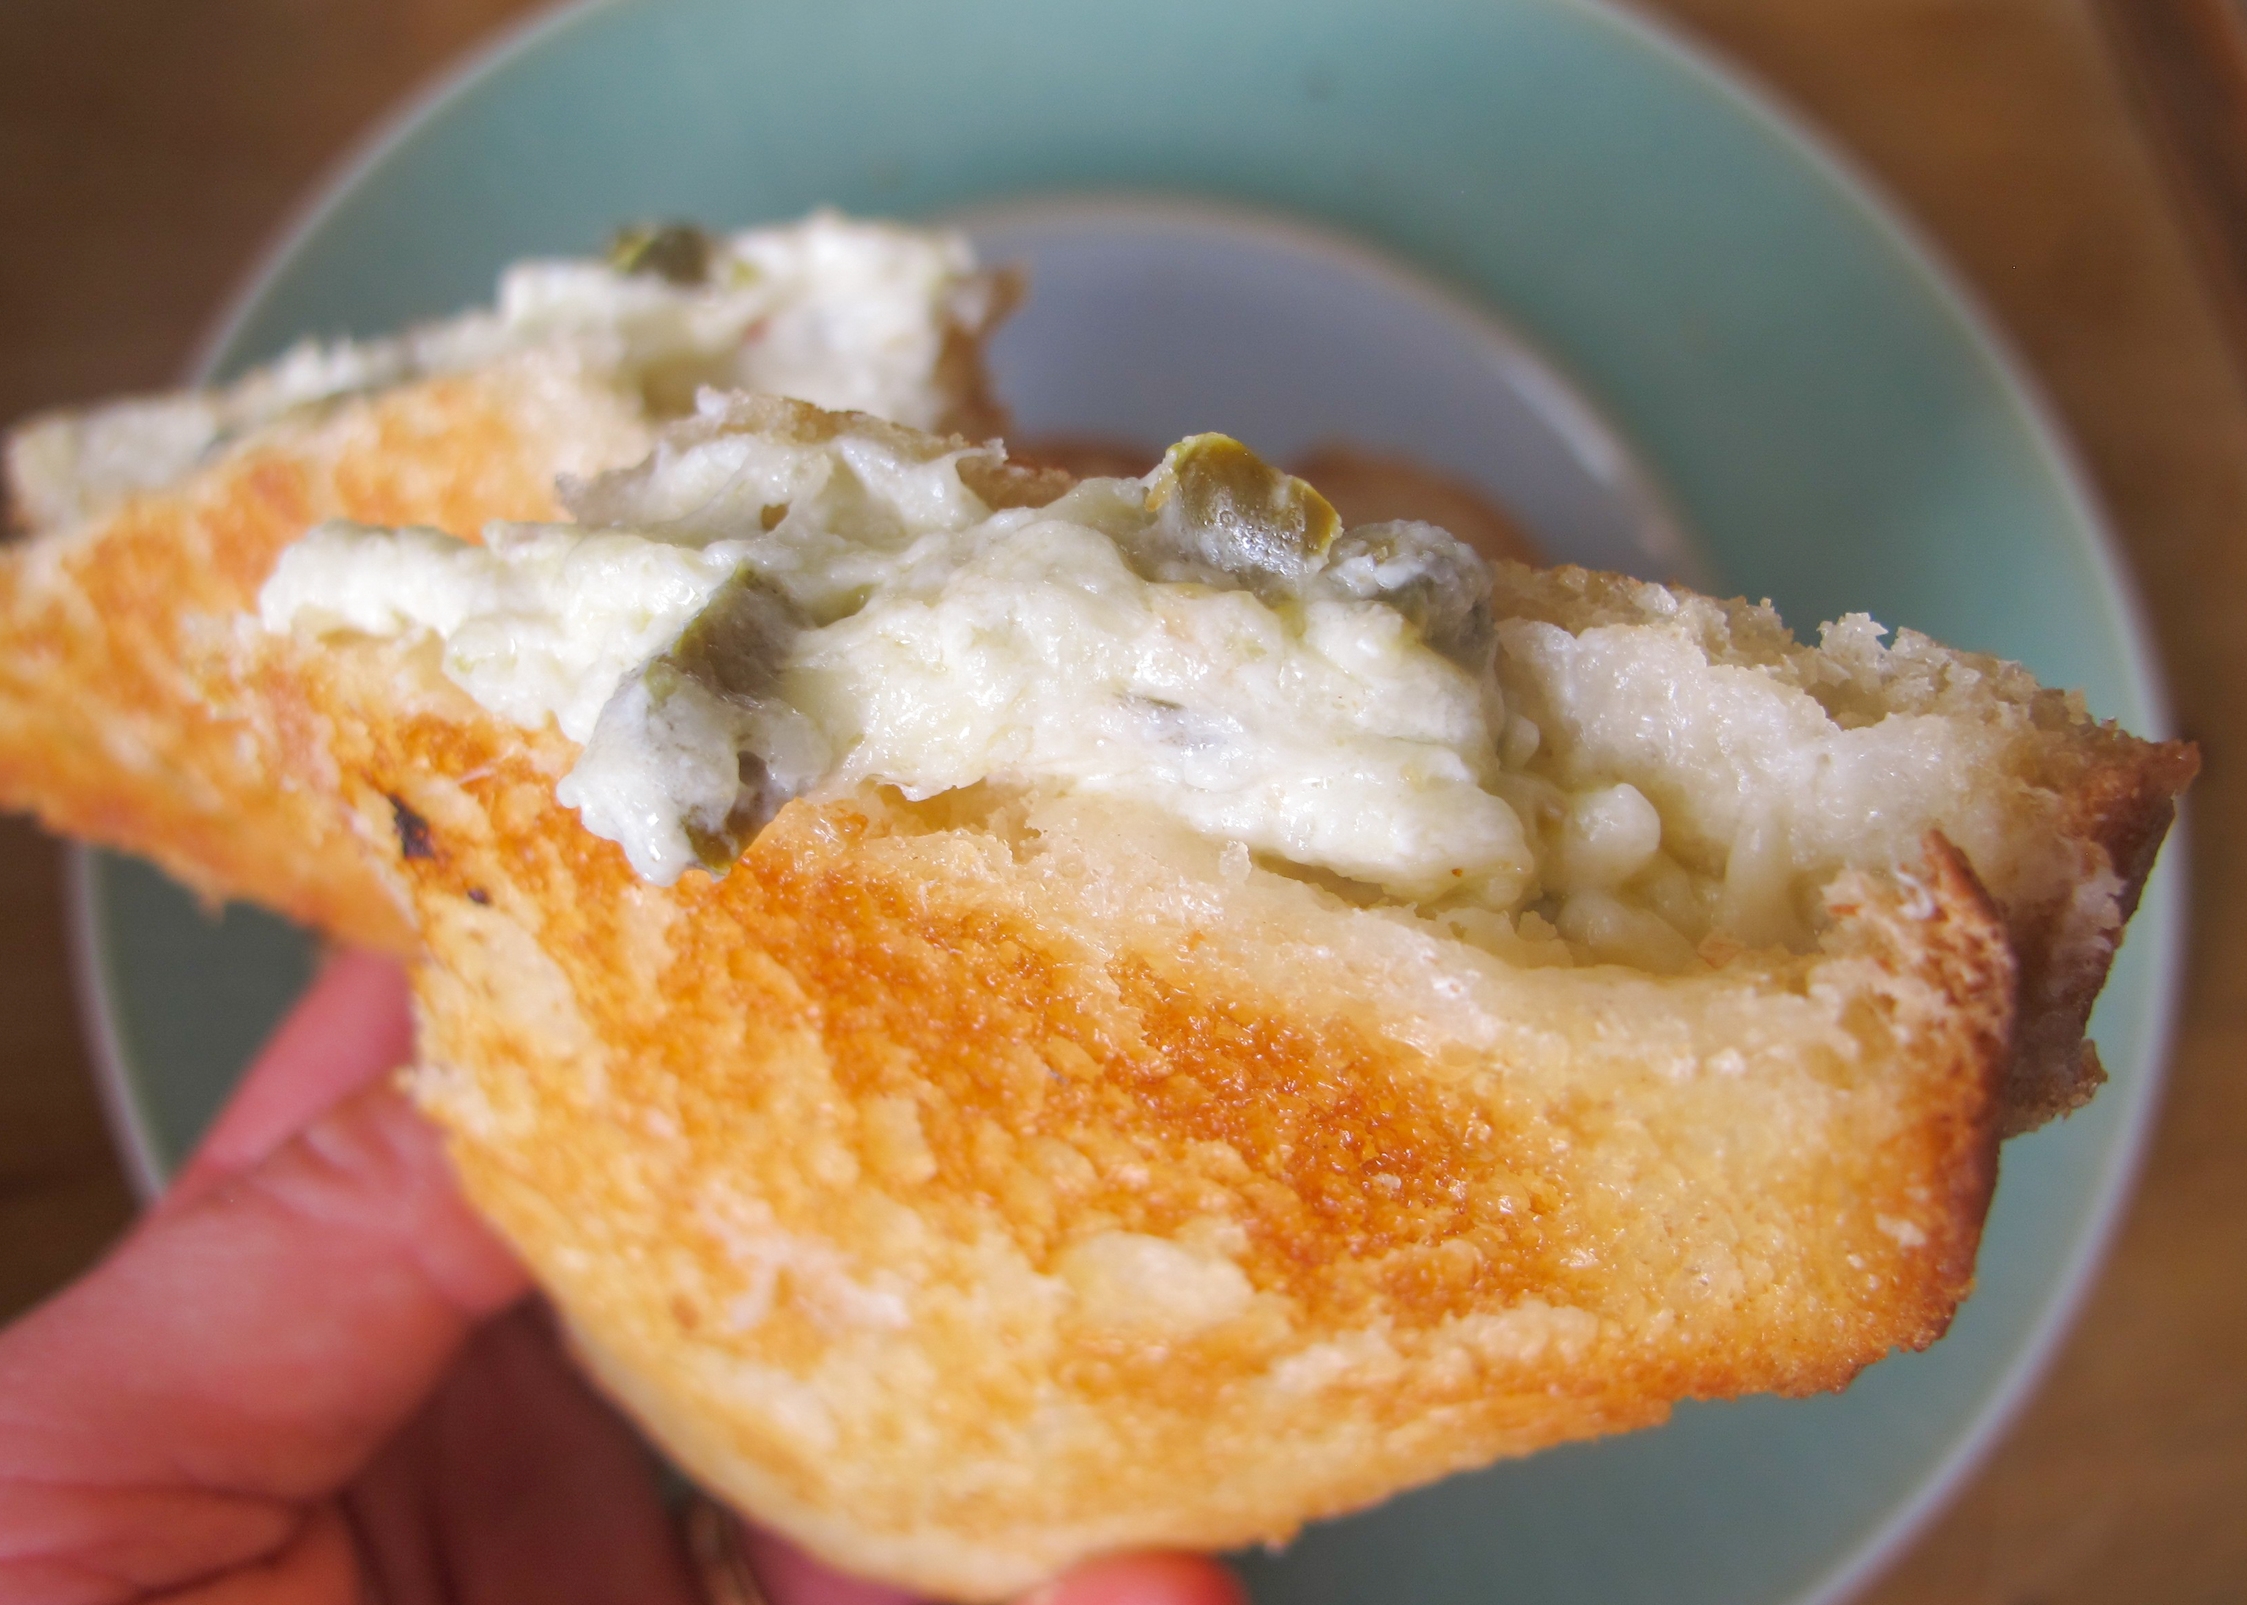
The magic of grilled cheese is found between the two slices of golden and toasted buttered bread - when the cheese oozes from the sides from each bite. Because I was serving these sandwiches an hour after they were cooked on the griddle, I wanted them to have a gooey texture, even when they were room temperature. Thanks to the combination of cream cheese and Monterey Jack cheese these maintained a melty and creamy texture when they were no longer hot. Served alongside the Bacon Jam and Cheddar Grilled Cheese Sandwiches and a refreshing Beet and Cucumber Salad, this slightly spicy, gooey sandwich was richly satisfying for a group of dedicated preschool parents. 

Notes: My jalapeños were extraordinarily spicy, so I deseeded them after roasting. When cooking for a group of people, I like to offer something a dish with a little bit of heat, but nothing too overwhelming. Be sure to taste your spicy peppers to gauge how much to add and what would be appropriate for your crowd.


Time: 1 hour
Servings: 4

1 8-oz package cream cheese
1 cup shredded Monterey Jack cheese
2 jalapeños
1 bunch green onions
1 tablespoon olive oil
1 teaspoon black pepper
Salt to taste
8 slices of white bread
Butter, room temperature

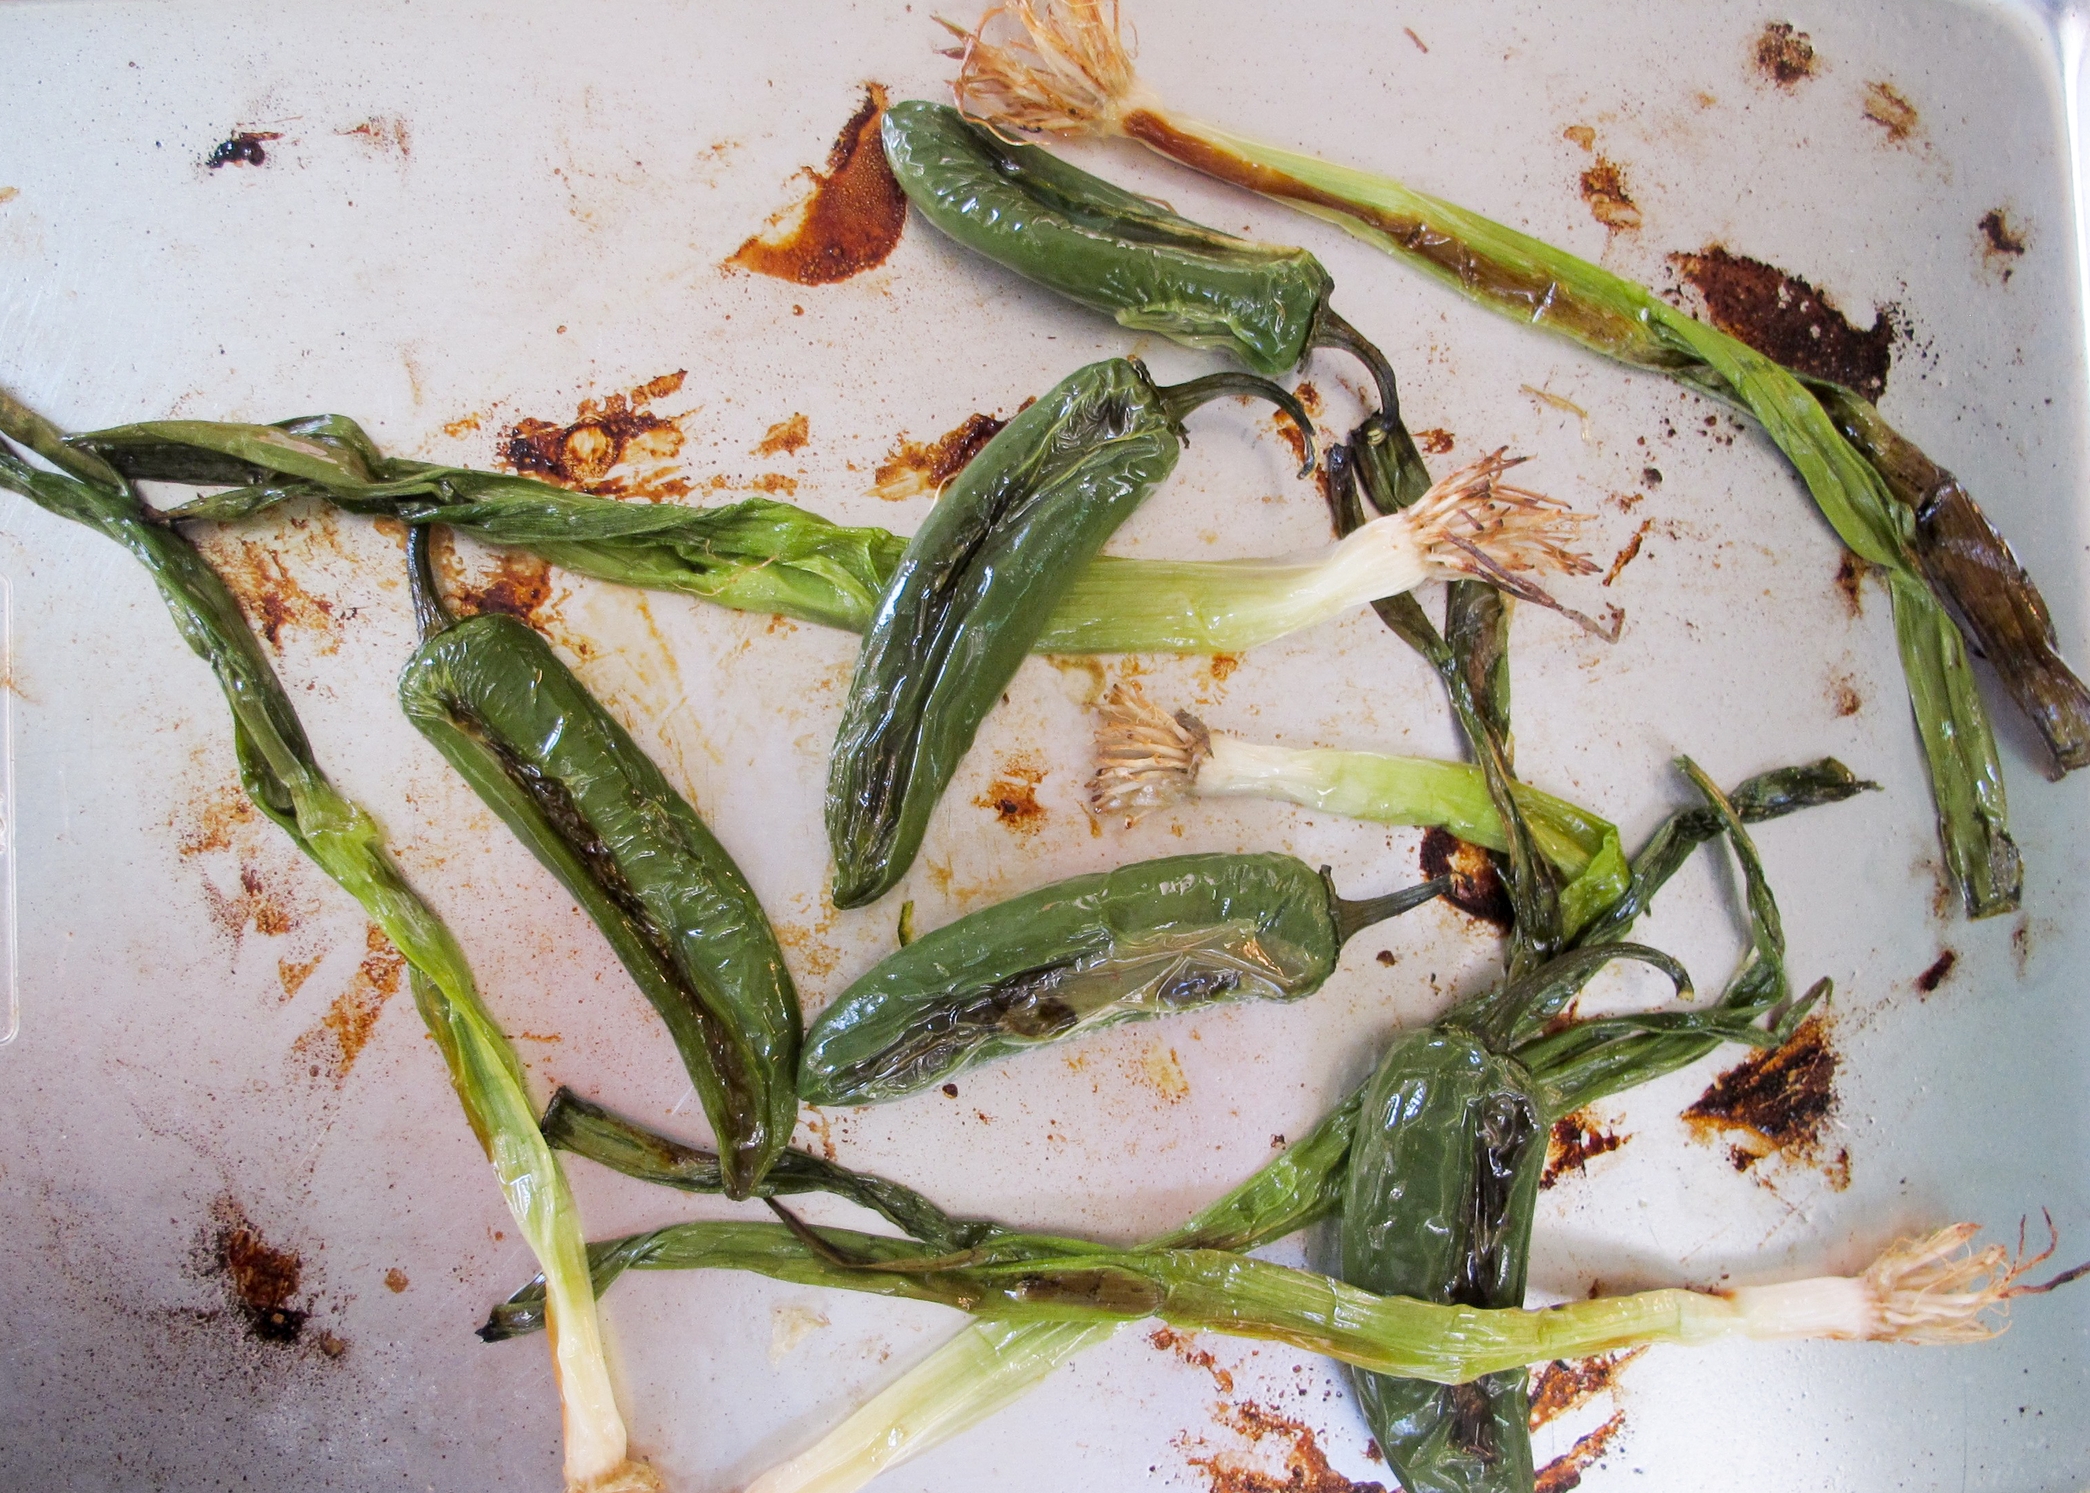
Preheat oven to 350 degrees. Coat jalapeños and green onions in olive oil and a sprinkling of salt and place on a baking pan. Roast jalapeños and green onions for 15-20 minutes until charred and softened. Set aside and allow to cool.

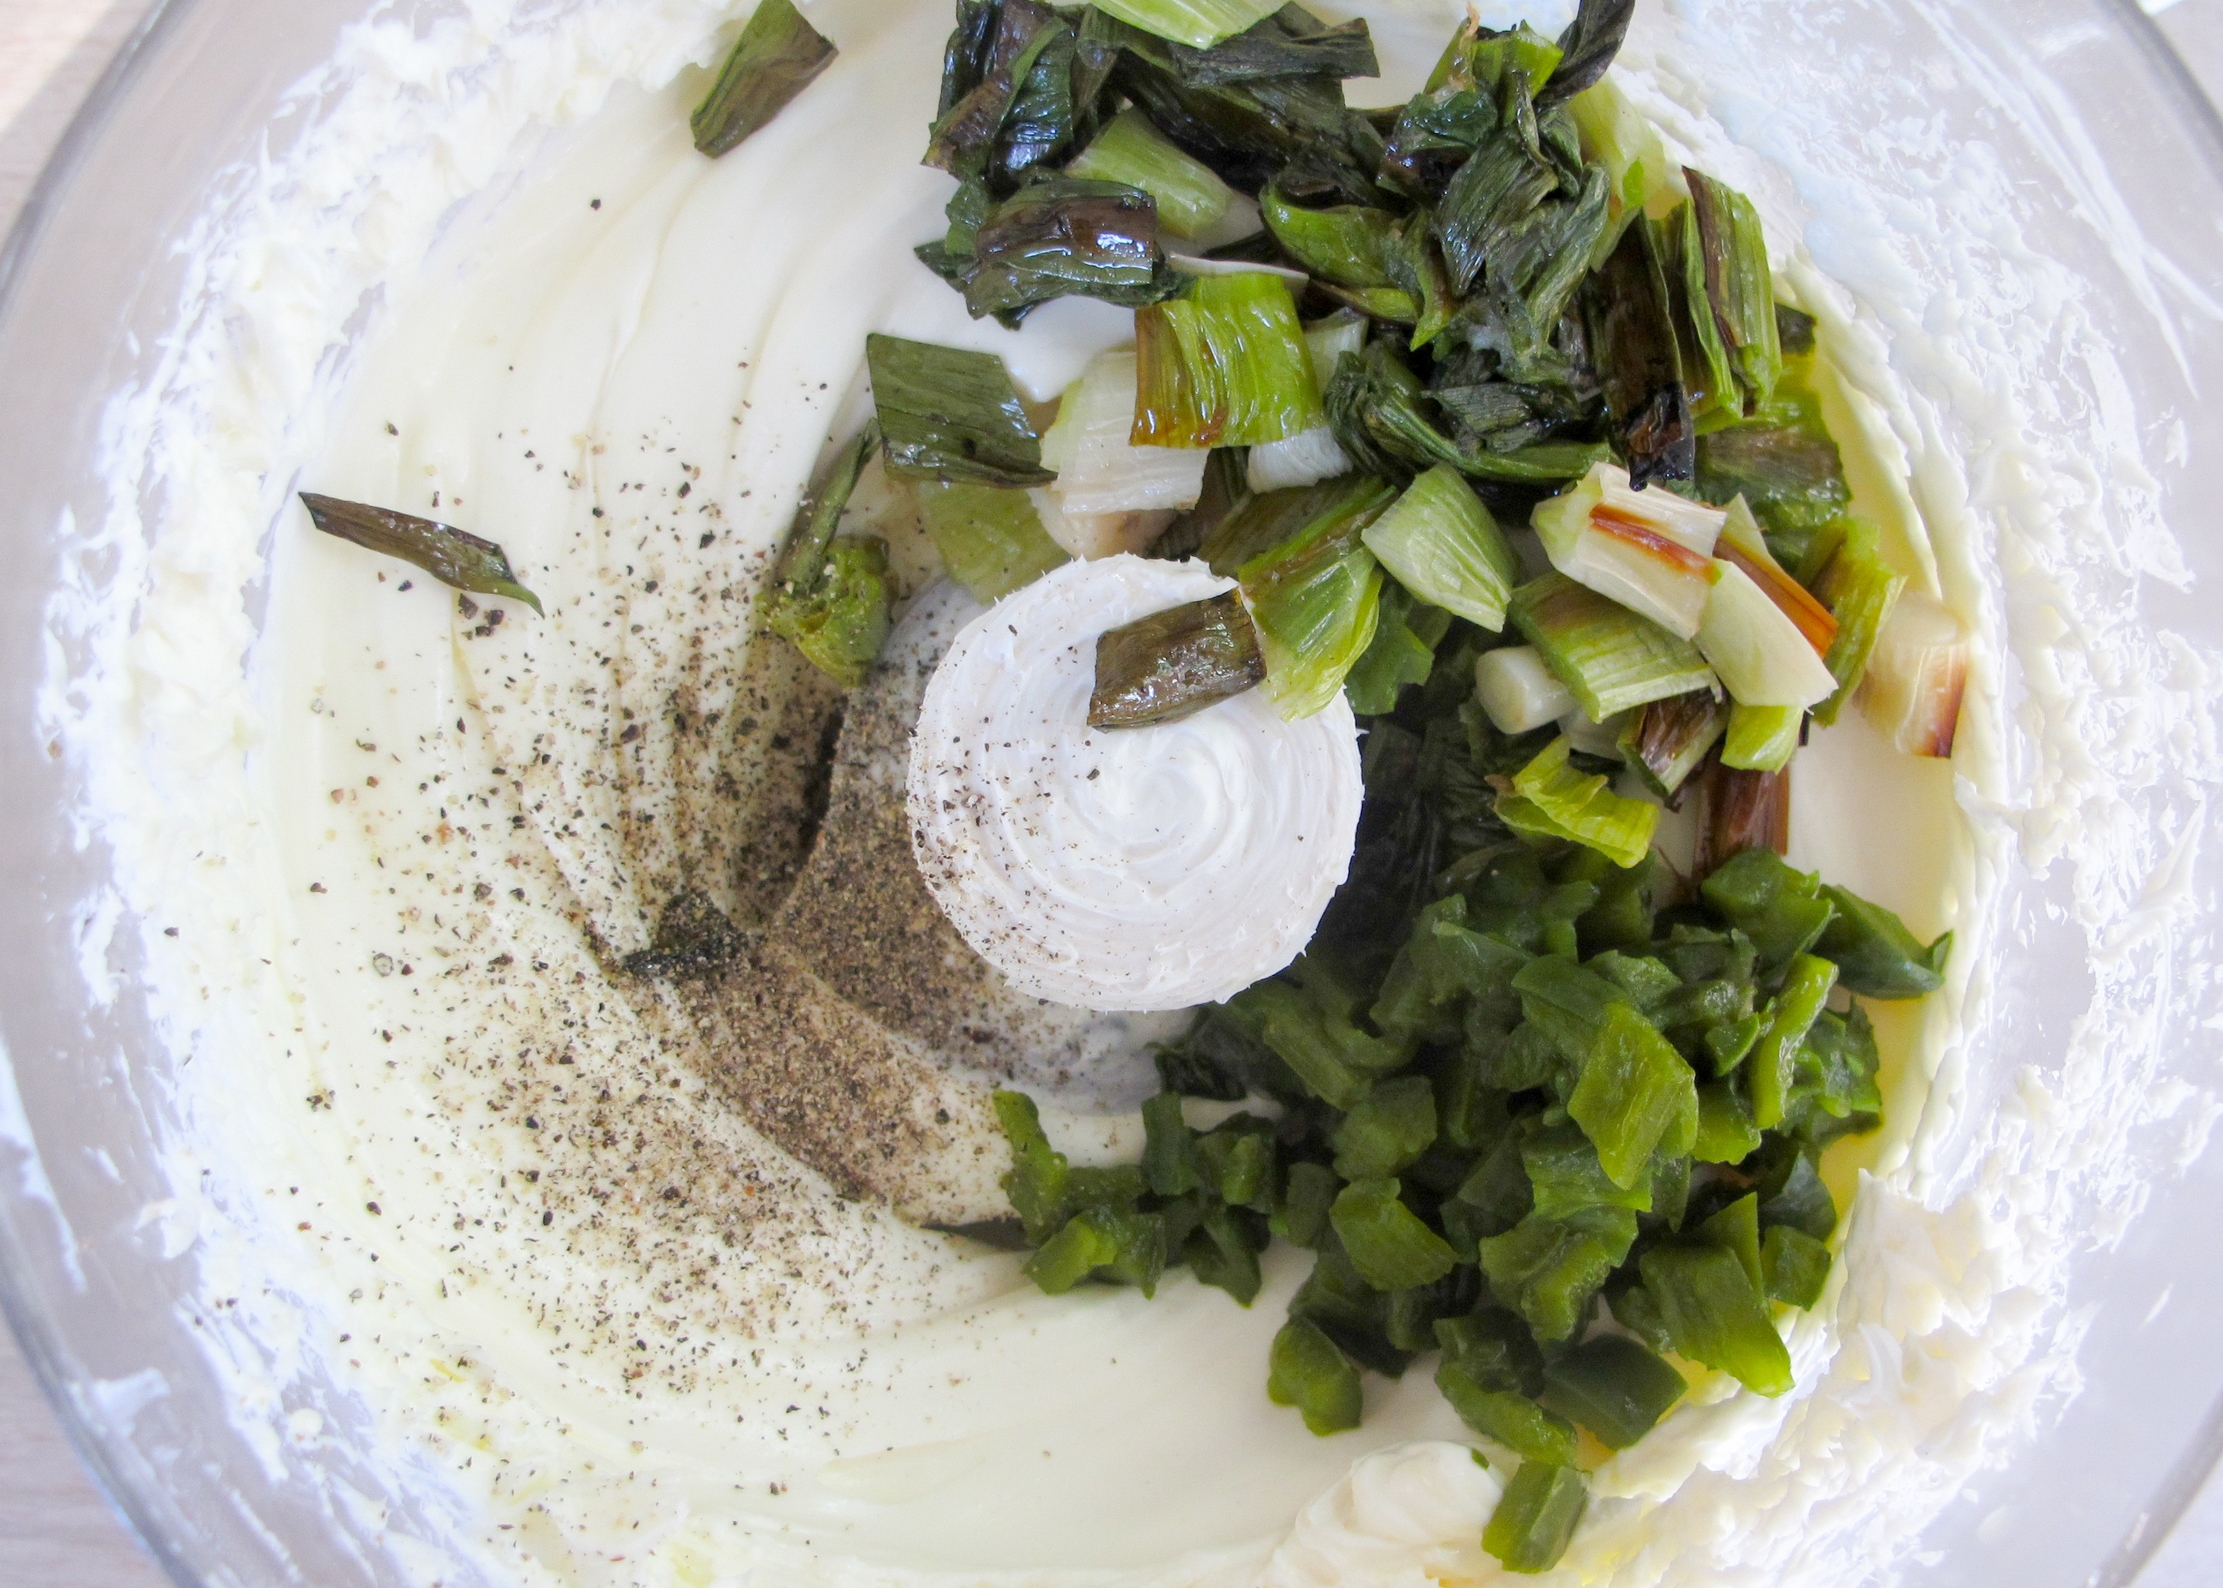
Meanwhile, shred cheese and set aside. Place cream cheese in a food processor with cooled and roughly chopped jalapeños and green onions, and black pepper. Pulse 10 times to combine and until jalapeños and green onions are finely minced. Add shredded cheese and pulse 5 times until combined but not paste-like.

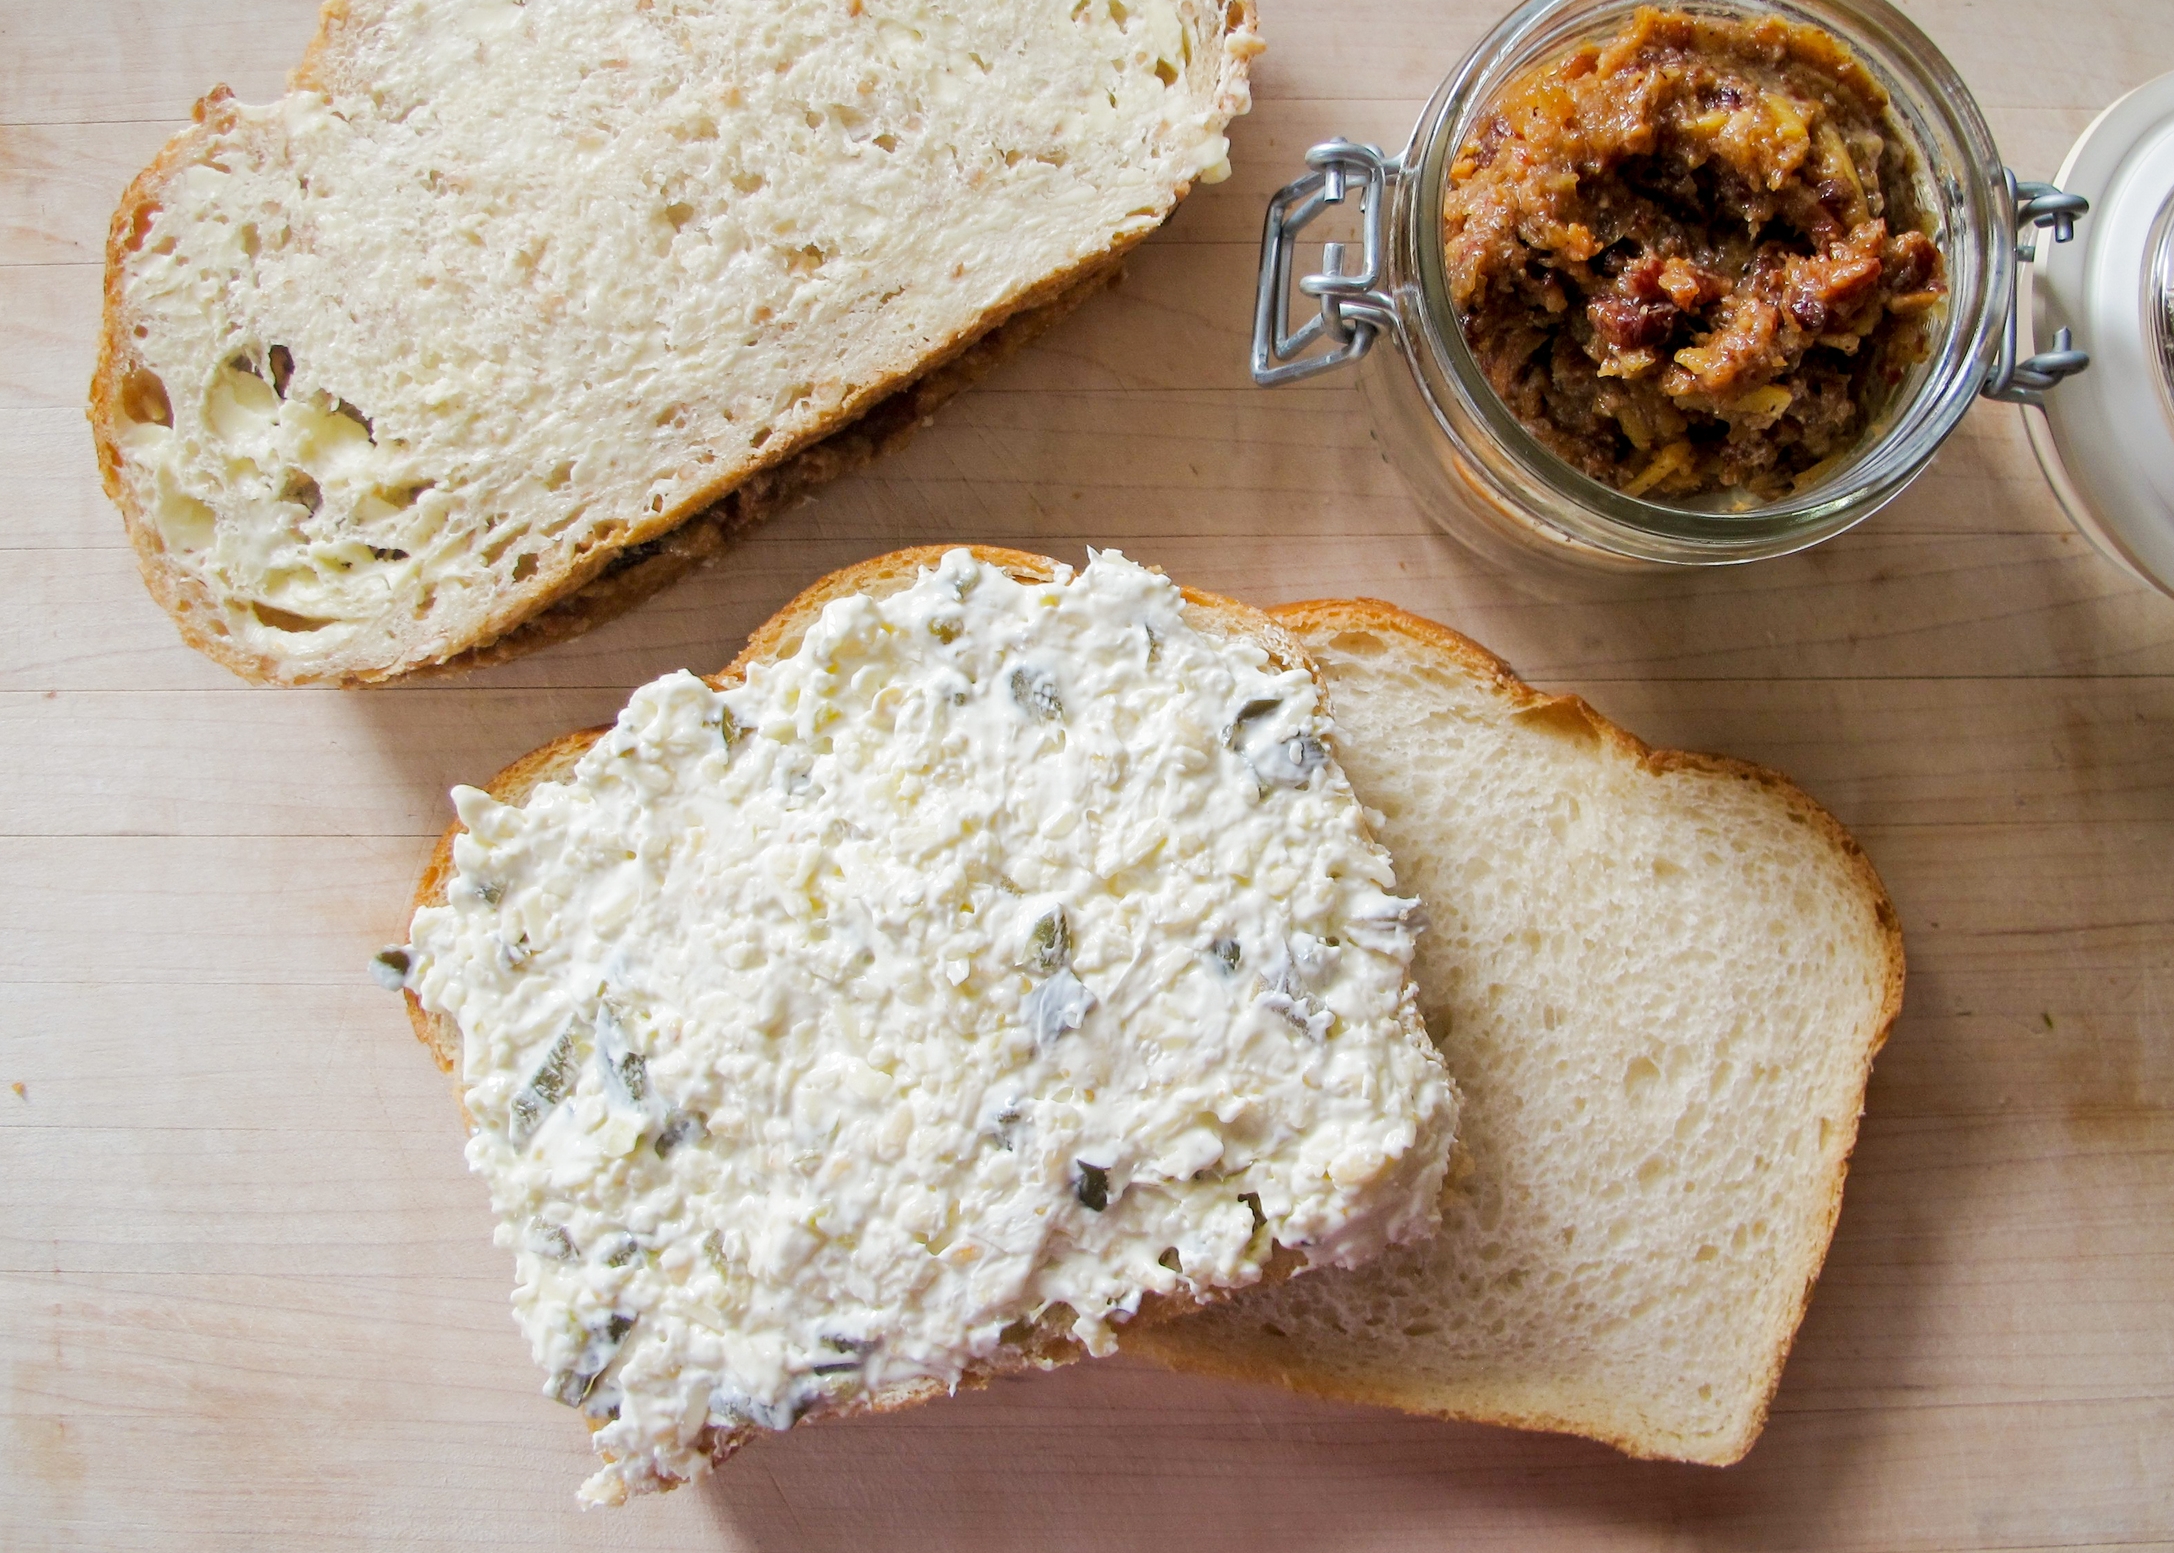
Heat a non-stick griddle to medium-high heat. Spread cheese mixture on a slice of bread, close with another piece of bread. Spread room temperature butter on both sides of the sandwich. Slap the sandwich down onto the griddle and wait for the heavens to sing, cooking about 4-6 minutes per side.

Bacon Jam and Cheddar Grilled Cheese Sandwich by Cynthia Raub

Print Friendly and PDF
bacon jam grilled cheese sandwich

There's something about the winter that makes me want to make bacon jam. Last year, I threw a grilled cheese and nighttime zoo excursion birthday party for my New Years baby. We had our family come over for dinner to enjoy gooey grilled cheese sandwiches and cupcakes before heading out to the zoo at 7 p.m. I wanted to serve a variety of grilled cheese sandwiches that would be satisfying and hearty enough to be a meal, so I made these sandwiches along with the Roasted Jalapeño Grilled Cheese Sandwich and served them with a tomato soup. When I volunteered to bring savory refreshments for a preschool board meeting, I wanted to bring something a little bit sinful for the parents who work so hard to maintain our cooperative preschool. The combination of the sweet, rich, and tart bacon jam with a sharp cheddar cheese on sliced sourdough is decadent and a novel twist on a grilled cheese. 

Notes: The bacon jam is an involved recipe that requires an hour, a watchful eye, and a considerable amount of chopping. It's a worthwhile commitment. You'll find a number of uses for the bacon jam - including giving it away to friends and neighbors. Make a batch and share it with your loved ones, or you'll find yourself putting it in your eggs, spreading it on bagels, or even eating it off of a spoon at midnight for weeks.


Time: 1 hour
Yield: 3 cups

For The Bacon Jam

1.5 lbs smoked bacon
3 cups of sweet onions, sliced
4 cloves of garlic, minced
1/3 cup packed dark brown sugar
1/3 cup cider vinegar
1 cup low-sodium chicken broth or stock
1 teaspoon kosher salt, plus more as needed
1 teaspoon freshly ground black pepper
1 teaspoon paprika
1 tablespoon unsalted butter

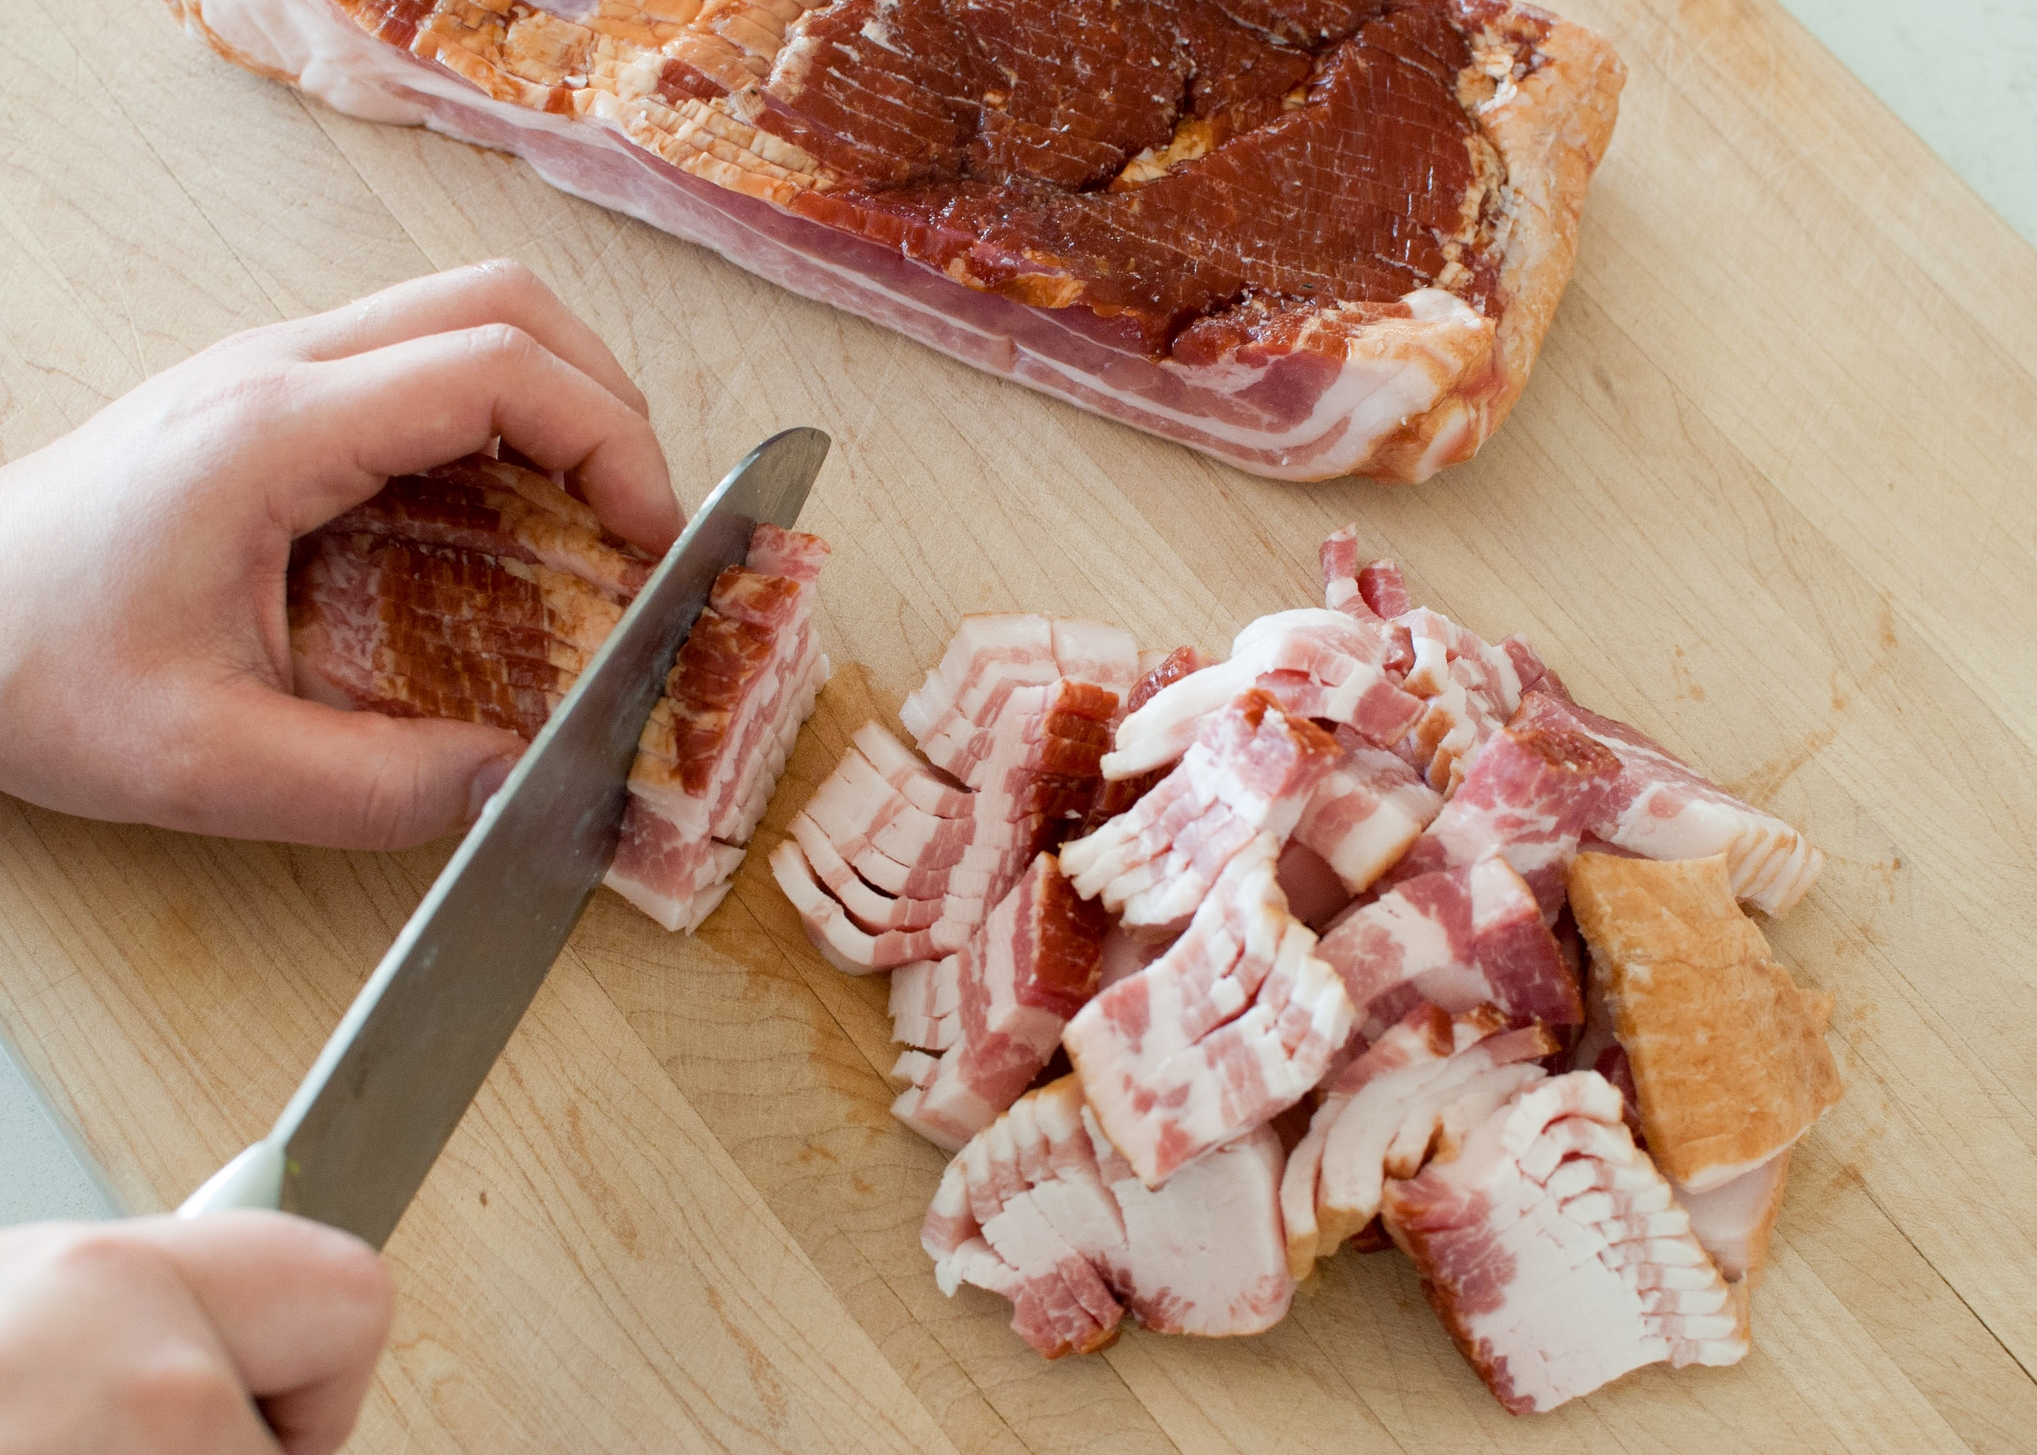
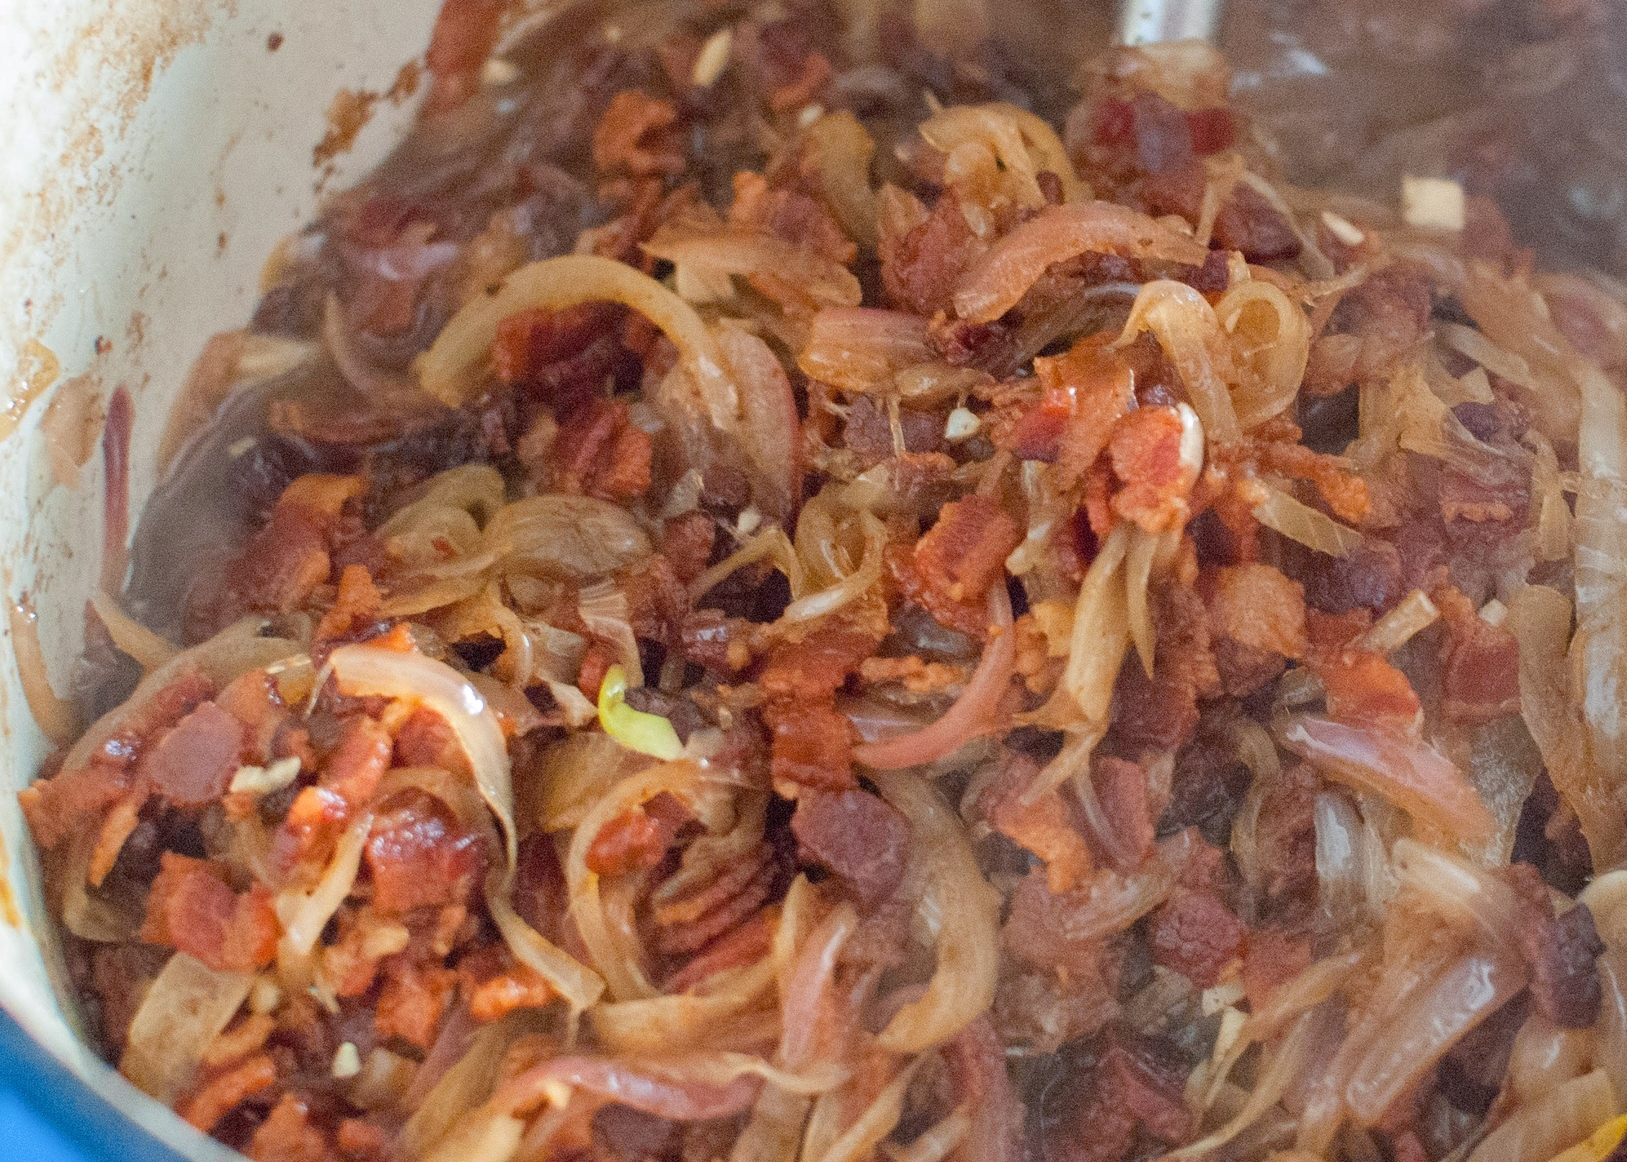
Place the bacon in a large heavy-bottomed pot or Dutch oven over medium heat and cook, stirring occasionally, until the fat has rendered and the bacon is starting to brown, about 10 to 20 minutes. Remove bacon with a slotted spoon onto a paper towel lined plate. Safely pour off bacon fat into a heatproof container, reserving browned bits and 2 tablespoons of bacon fat in the pot.

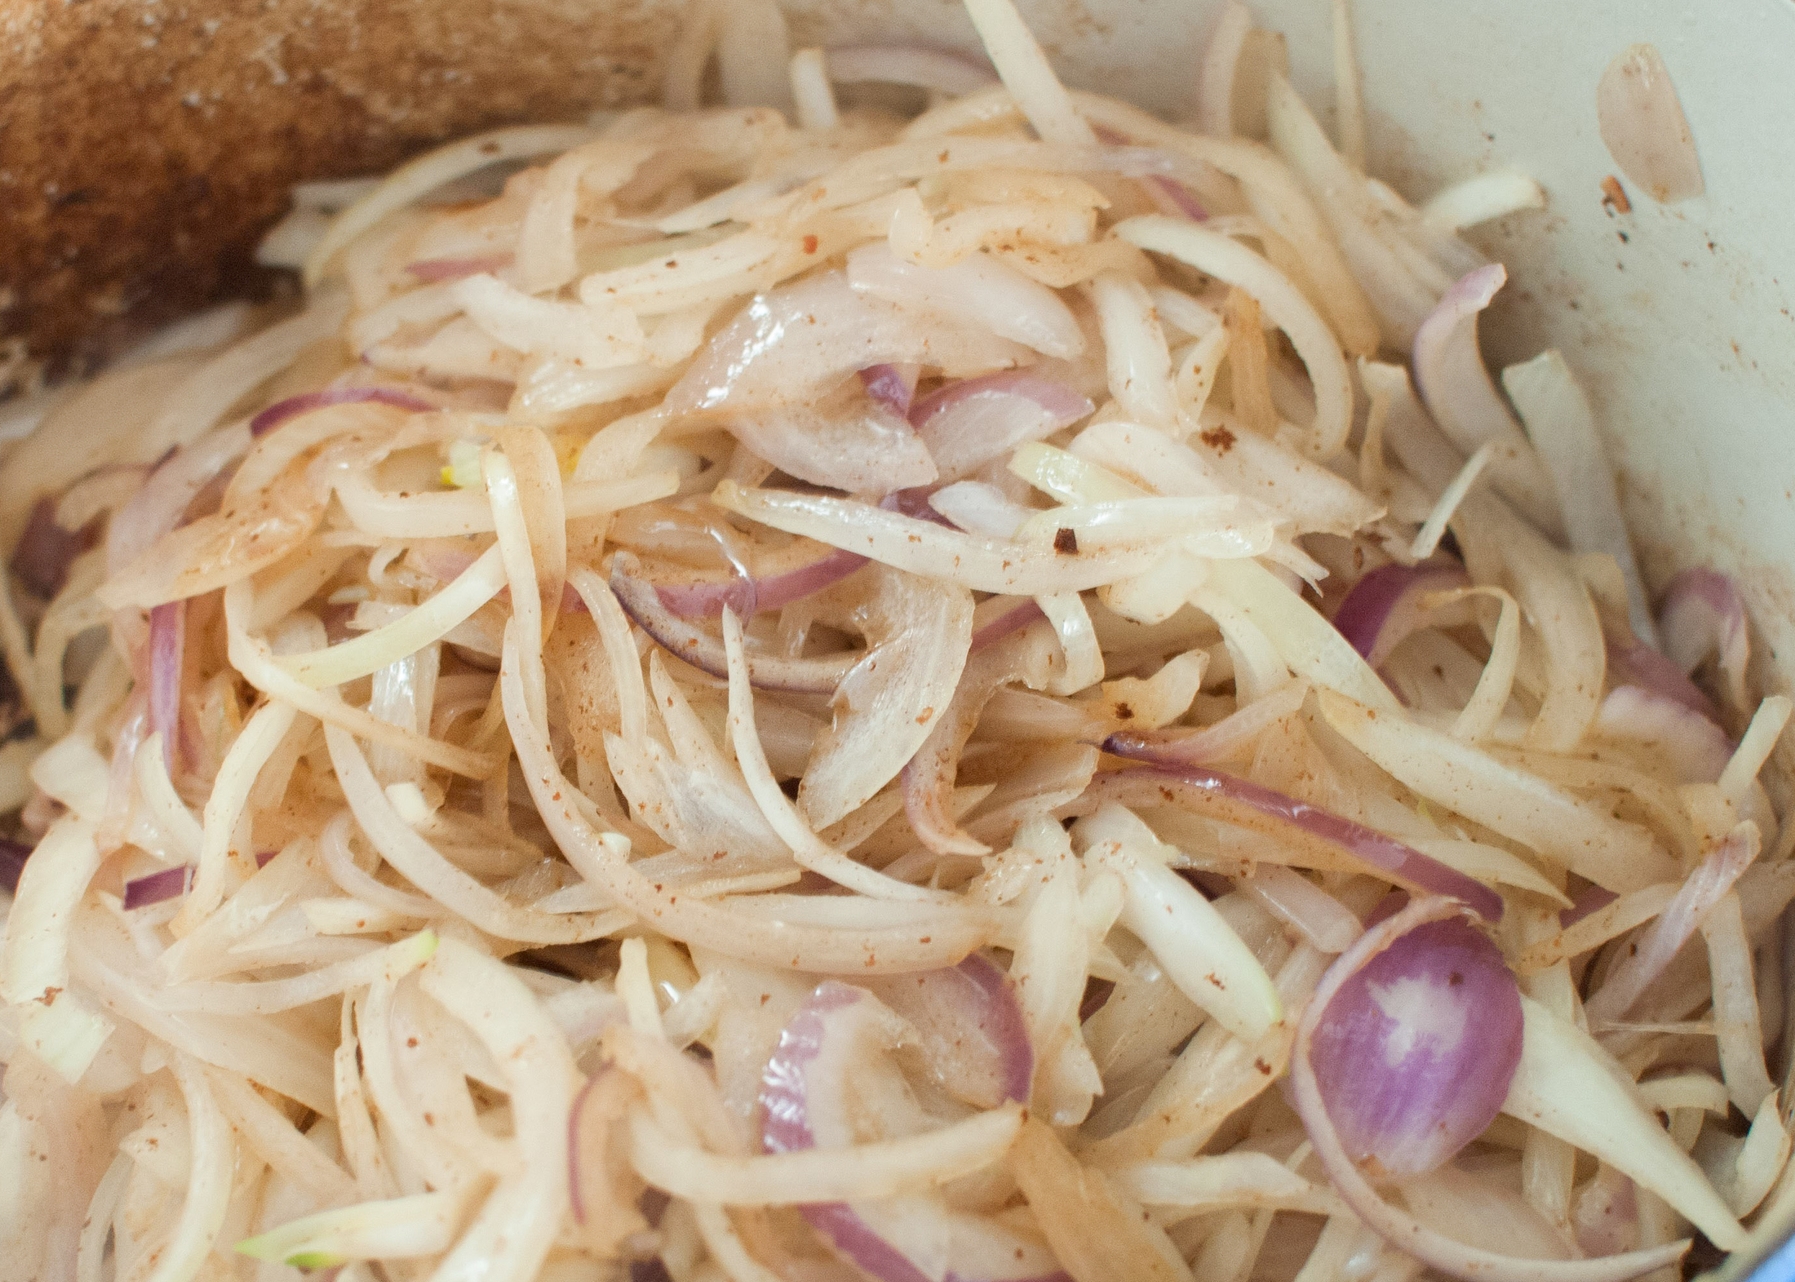
Bring the pot back to the stove, turn heat up to medium high - add the onion, season with salt, and cook, stirring occasionally, until the onion has browned, about 5-10 minutes. Add the sugar, garlic, and cider vinegar, stirring to combine.

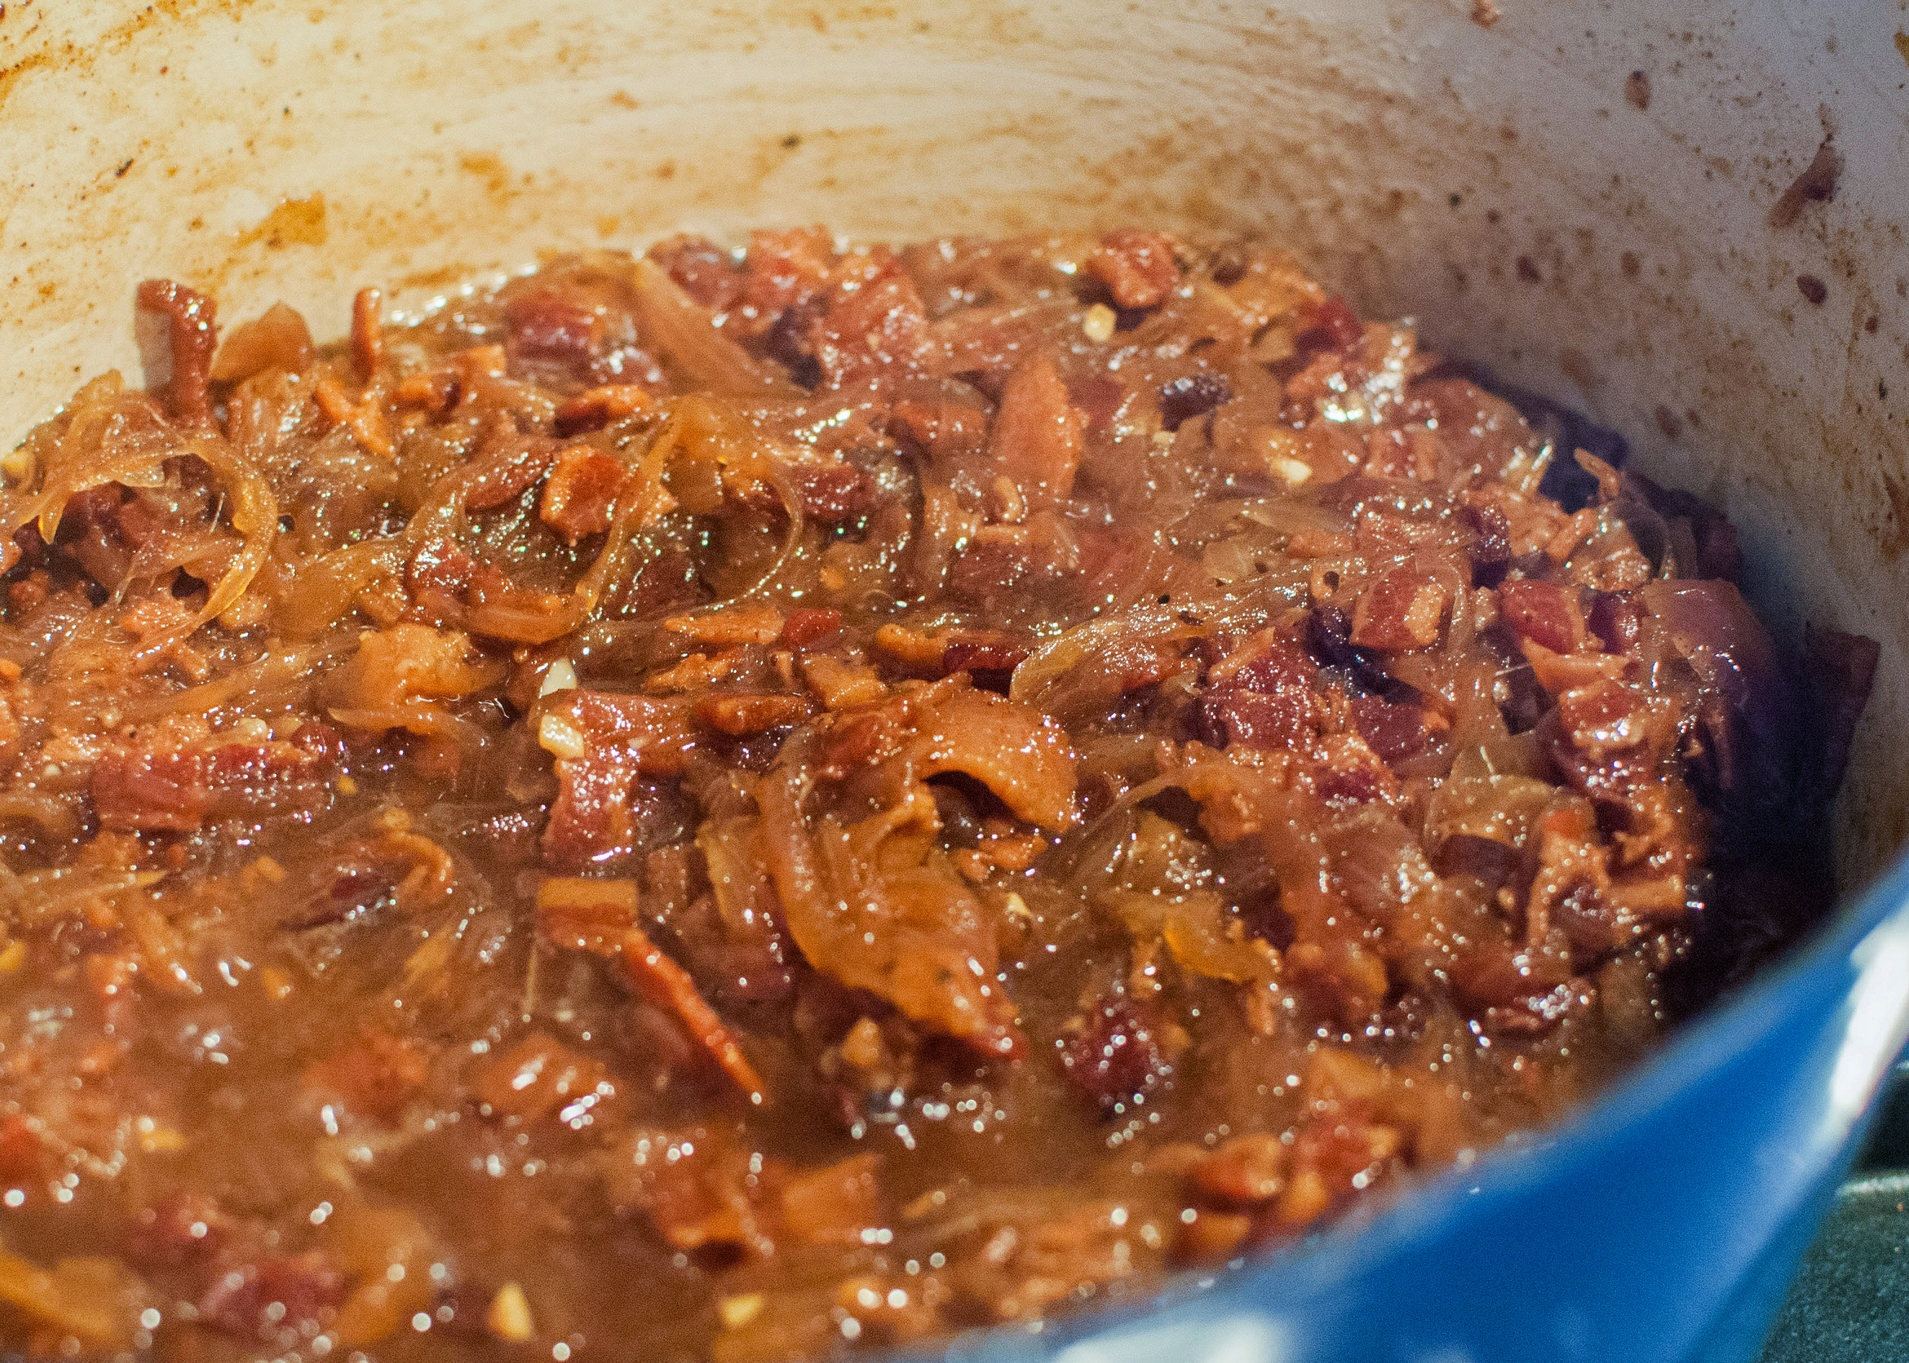
Add 1/2 cup of the broth or stock and bring it to a simmer, scraping up the browned bits from the bottom of the pot. Continue to simmer, stirring occasionally, until the mixture has thickened and almost all of the liquid has evaporated, about 5-8 minutes.

Add 1/2 more cup of the broth or stock and simmer, stirring occasionally, until the mixture has thickened and almost all of the liquid has evaporated, about 5-8 minutes.

Season with kosher salt, black pepper and paprika and combine.

Transfer the mixture to a food processor and reserve the pot. Process until desired texture. (I like a little bit of texture, so I pulsed mine 20 times- which minced the bacon and onion, but did not make a smooth paste).

Return the mixture to the reserved pot, place it over medium heat, and rewarm, stirring occasionally. Remove from the heat and stir in the butter. (At this point, the bacon jam can be cooled to room temperature and refrigerated in an airtight container for up to 2 weeks. Rewarm before using.)

Adapted from "Fire in My Belly: Real Cooking" by Kevin Gillespie with David Joachim


For The Bacon Jam and Cheddar Grilled Cheese Sandwich

1 cup bacon jam
1 cup shredded sharp cheddar cheese (I used Tillamook)
12 slices sourdough bread
Unsalted butter, room temperature

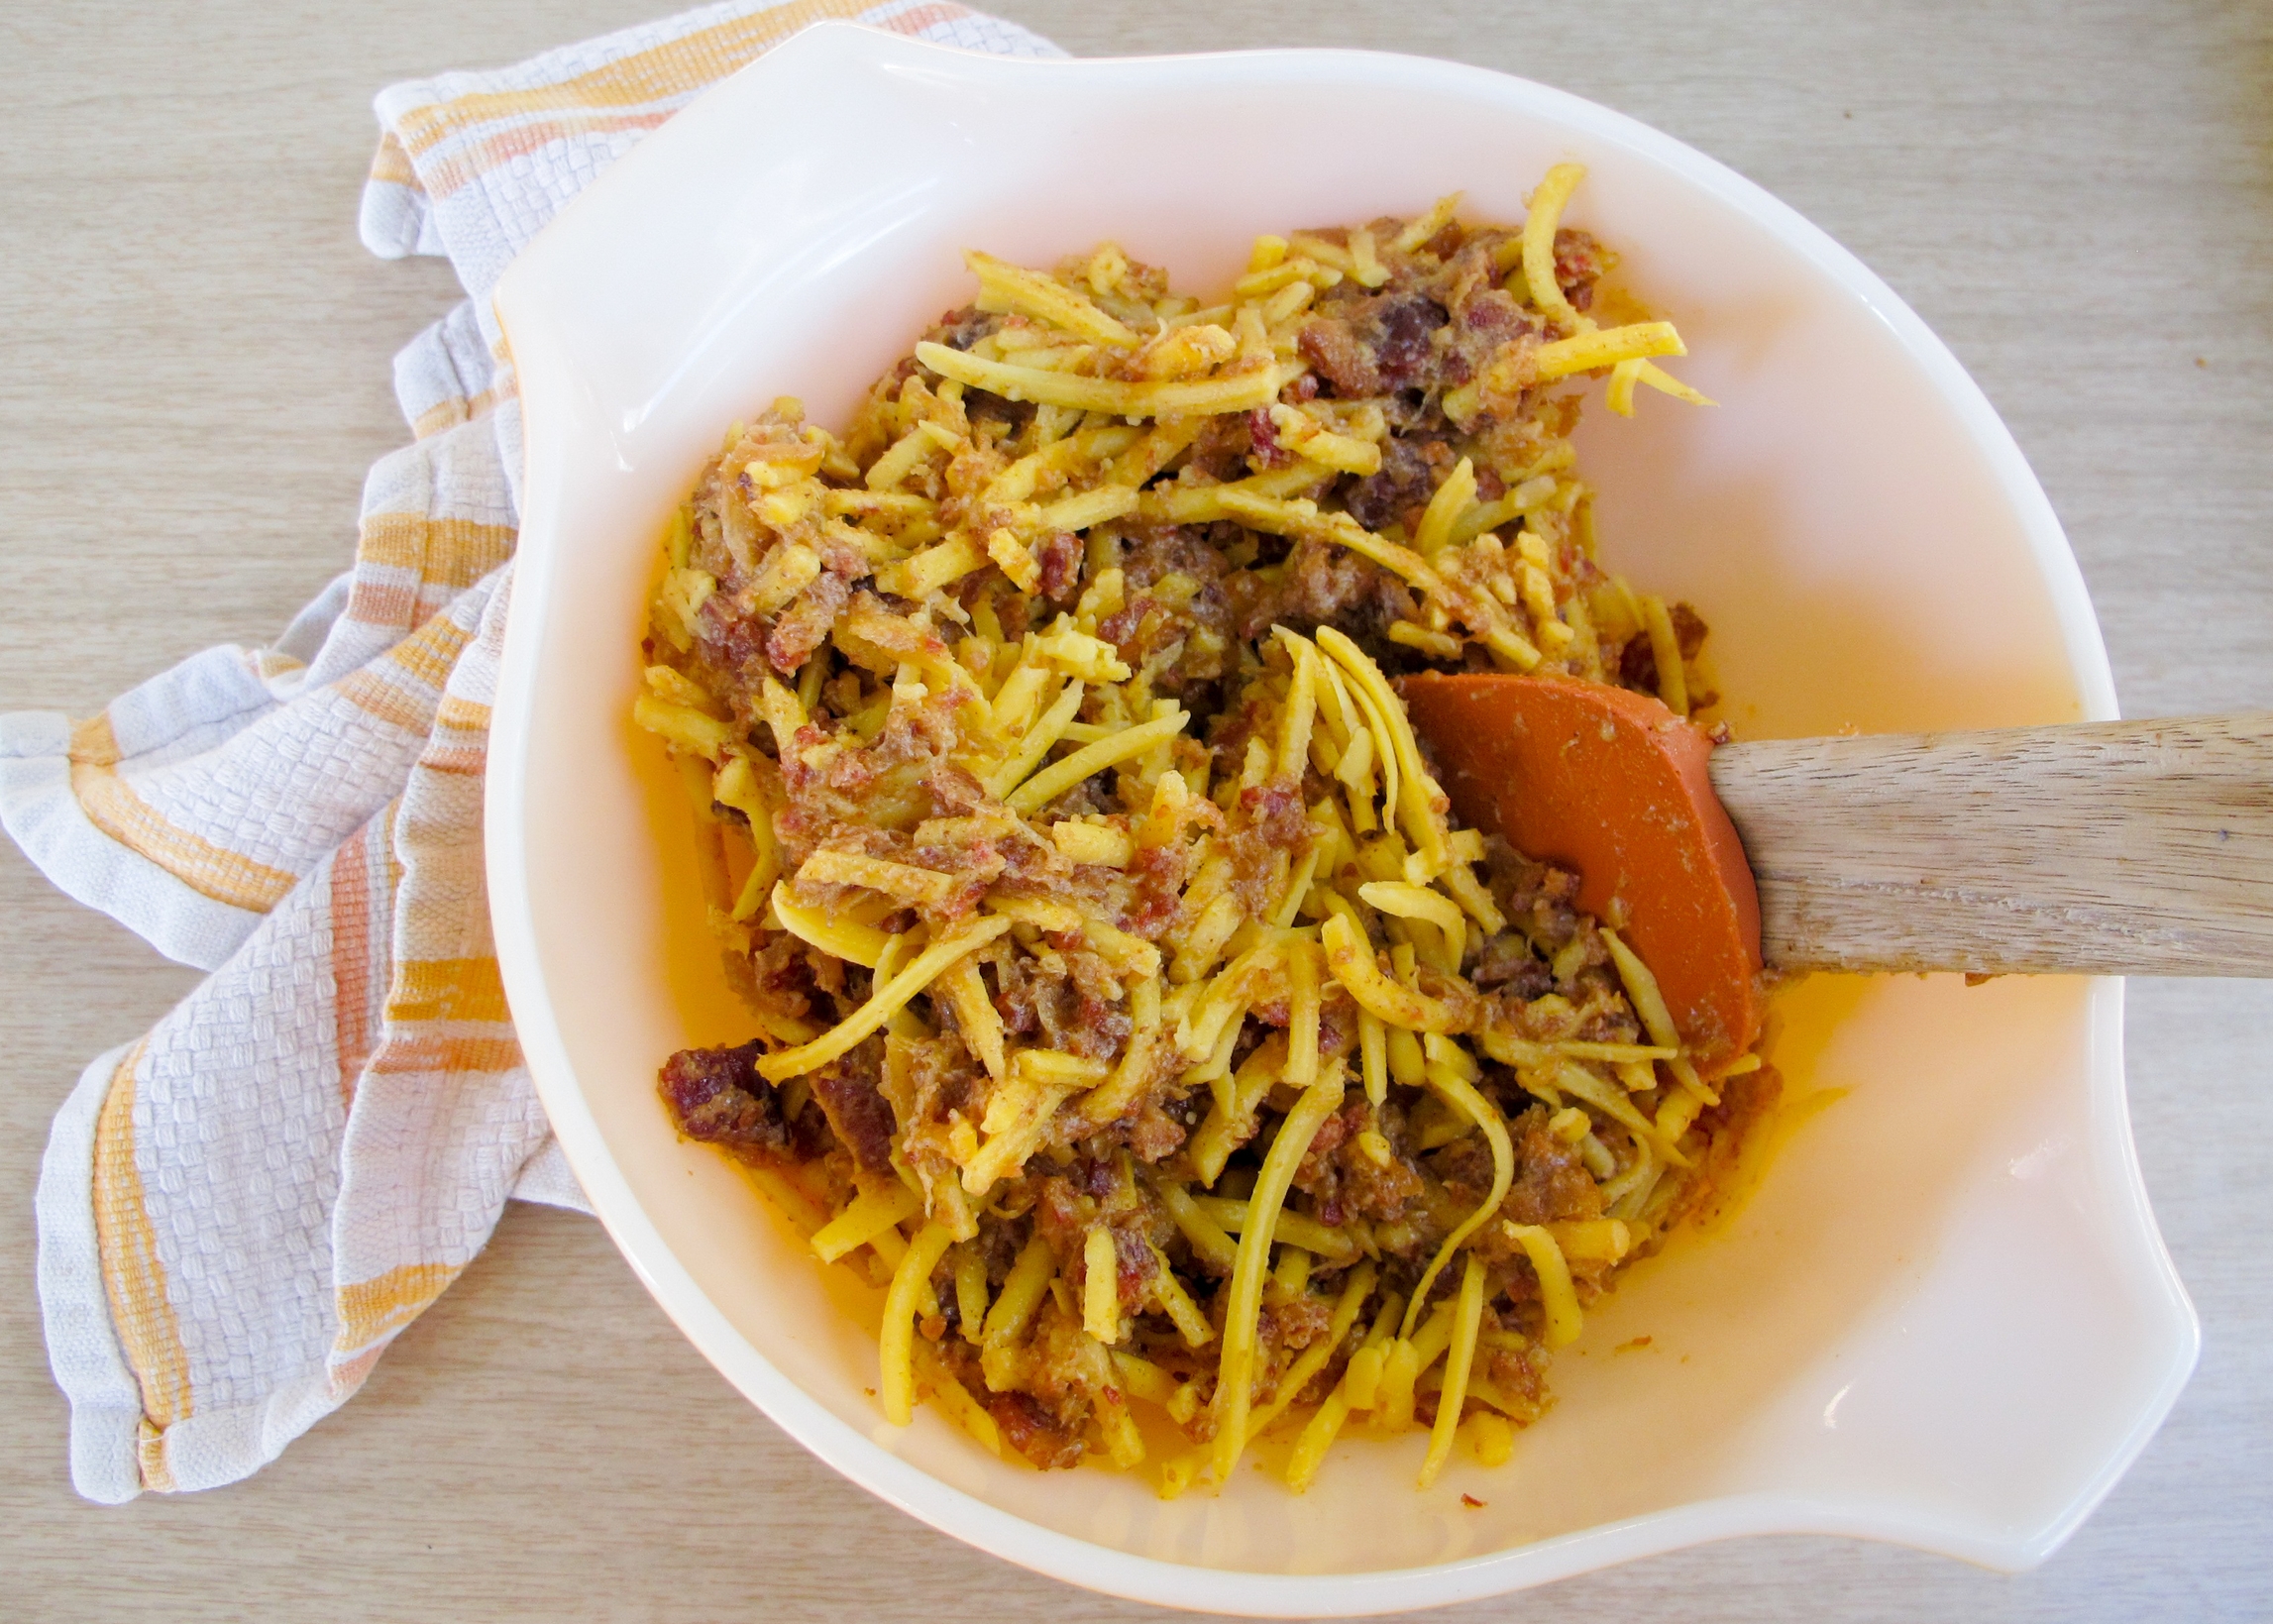
Preheat a non-stick griddle to medium-high heat. In a medium mixing bowl, mix to combine bacon jam and shredded cheese. Spread a generous layer of the bacon and cheese mixture on a slice of bread. Close the sandwich up with a second slice of bread, butter outsides of the sandwich generously. Slap the sandwich down on the preheated grilled and cook until the bread is golden and crusty, the cheese is melted and the bacon jam is hot- about 5-7 minutes per side.

Red Velvet Cheesecake Brownies by Amy Cantu

Print Friendly and PDF
red velvet cheesecake brownies

Cynthia and I knew we wanted to make something “red velvet” for Valentine’s Day, but we weren’t sure what exactly. We brainstormed a long list of “red velvet” baked goods - cakes, cupcakes, mini bundt cakes, cookies, and moon pies - to name a few. The thought of these Red Velvet Cheesecake Brownies made us both simultaneously release a deep sigh and a moan. We knew immediately we had to eat these. I think there is already a cult-following for these Red Velvet Cheesecake Brownies, and I can certainly see why. They are moist, decadent, and ridiculously good. Seriously. They are addictive. You can halve this recipe, but honestly, you will end up making another batch anyway. Just make a full batch and share the love with your friends, family, co-workers, neighbors, or school staff. They will love you forever. And also help yourself to a second serving because you deserve it.

Adapted from Sally’s Baking Addiction.

Notes: What makes “red velvet” red is food coloring. The original recipe called for twice as much food coloring, but I found that 1 tablespoon of red gel food coloring was more than enough for a large batch. If you don’t like the idea of using food coloring, you can leave it out, and you will still have amazing cheesecake brownies instead. I use almond extract in this recipe, because I love the nutty, sweet flavor. You could use all vanilla extract instead, and you would have a more classic red velvet flavor.


Time: 1 hour (includes bake time)
Servings: 16

1 cup (2 sticks) unsalted butter, melted, plus extra to grease pan
2 cups granulated sugar
2 teaspoons vanilla extract
2 teaspoons almond extract
½ cup unsweetened cocoa powder
¼ teaspoon kosher salt
1 tablespoon gel or liquid red food coloring
1 ½ teaspoons white vinegar
4 large eggs, lightly beaten
1 ½ cups all-purpose flour
16 ounces cream cheese, softened
½ cup granulated sugar
2 egg yolks
1 teaspoon almond extract


Preheat the oven to 350 degrees F. Grease a 9x13 baking pan with butter or nonstick spray.

To make the brownie layer, whisk together melted butter, 2 cups sugar, 2 teaspoons vanilla extract, and 2 teaspoons almond extract in a medium mixing bowl, until well combined. Next add cocoa powder, salt, food coloring, and vinegar, mixing well after each addition. Whisk in the eggs, then fold in the flour until just mixed, with no dry spots - do not over beat. Pour the brownie batter into prepared baking pan, reserving ½ cup for the top.

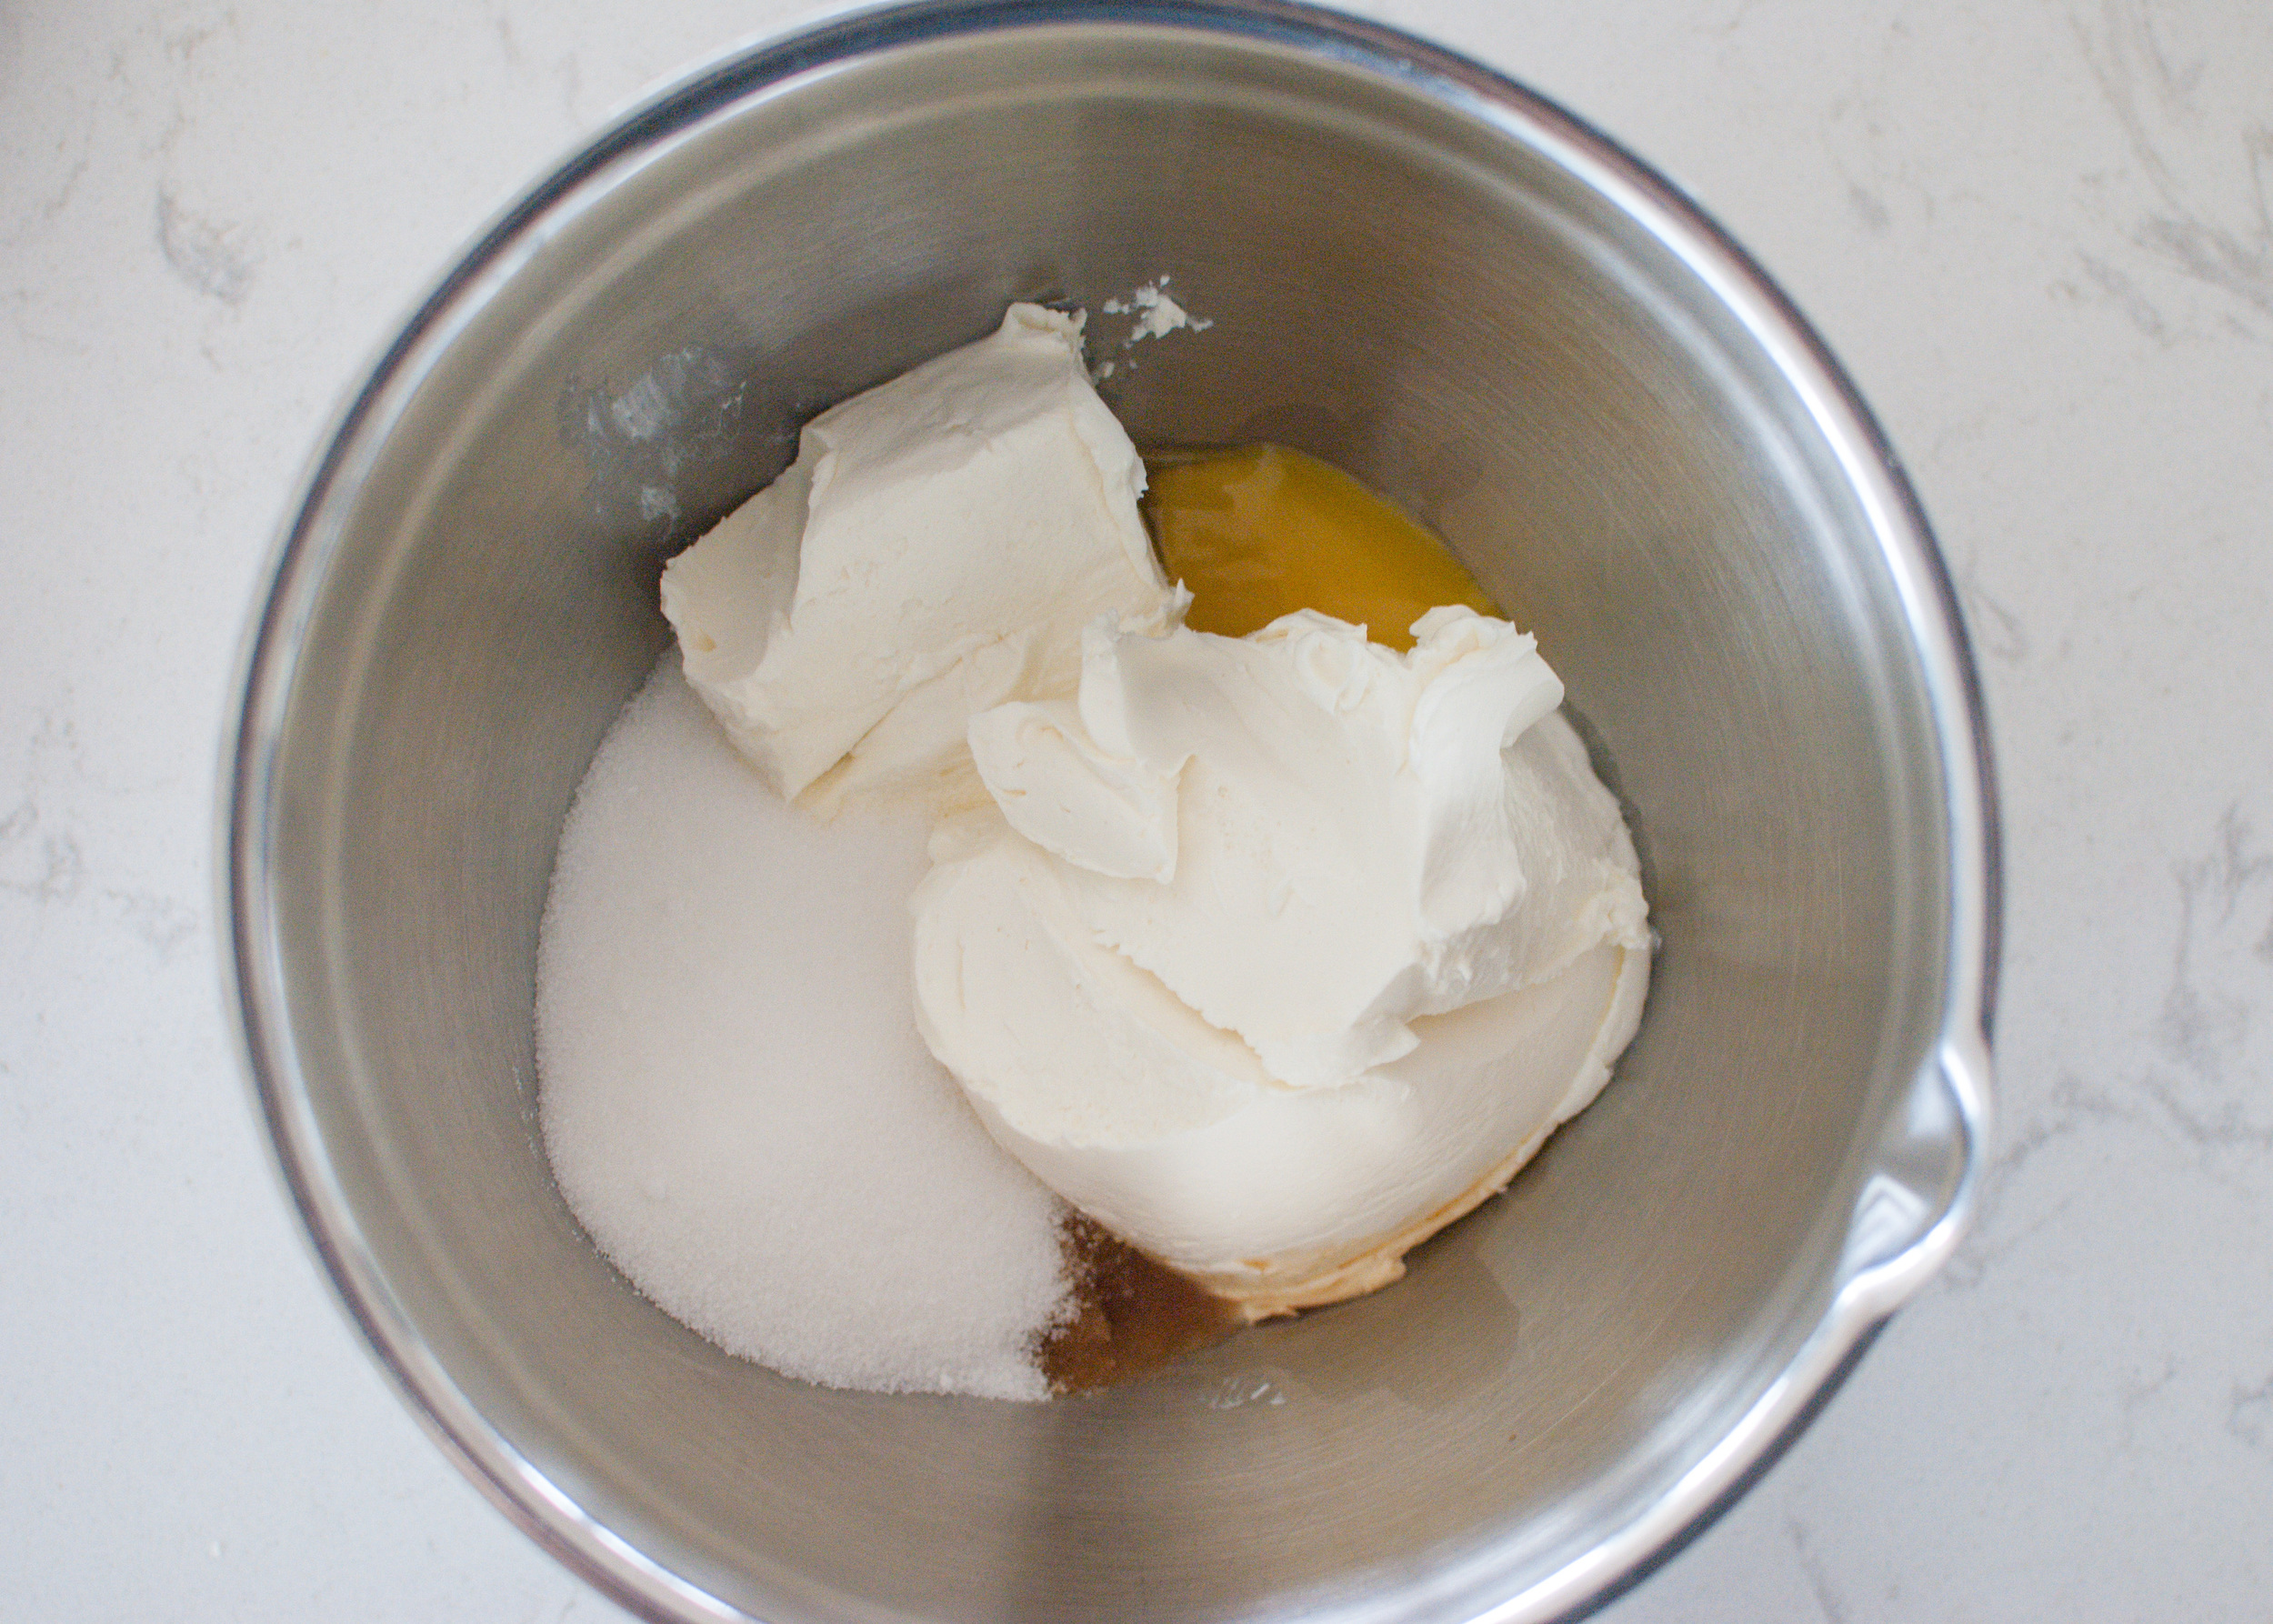
To make the cheesecake swirl, combine softened cream cheese, ½ cup sugar, egg yolks, and 1 teaspoon almond extract in a medium bowl. Use a hand-held mixer on medium speed to beat mixture until completely smooth - about 1 minute. Dollop large spoonfuls of the cream cheese mixture on top of the prepared brownie batter. Cover the cream cheese mixture with the remaining ½ cup brownie batter. Drag a knife through the layers, creating a swirl pattern.

Bake the brownies for about 40 minutes or until a toothpick inserted in the middle comes out clean. Allow the brownies to cool completely before cutting into squares. Cover brownies and store at room temperature for 3 days or in the refrigerator for up to 6 days. Brownies will freeze well, up to 2 months. Thaw overnight in the refrigerator.

Chocolate-Covered Strawberries by Amy Cantu

Print Friendly and PDF
chocolate dipped strawberries

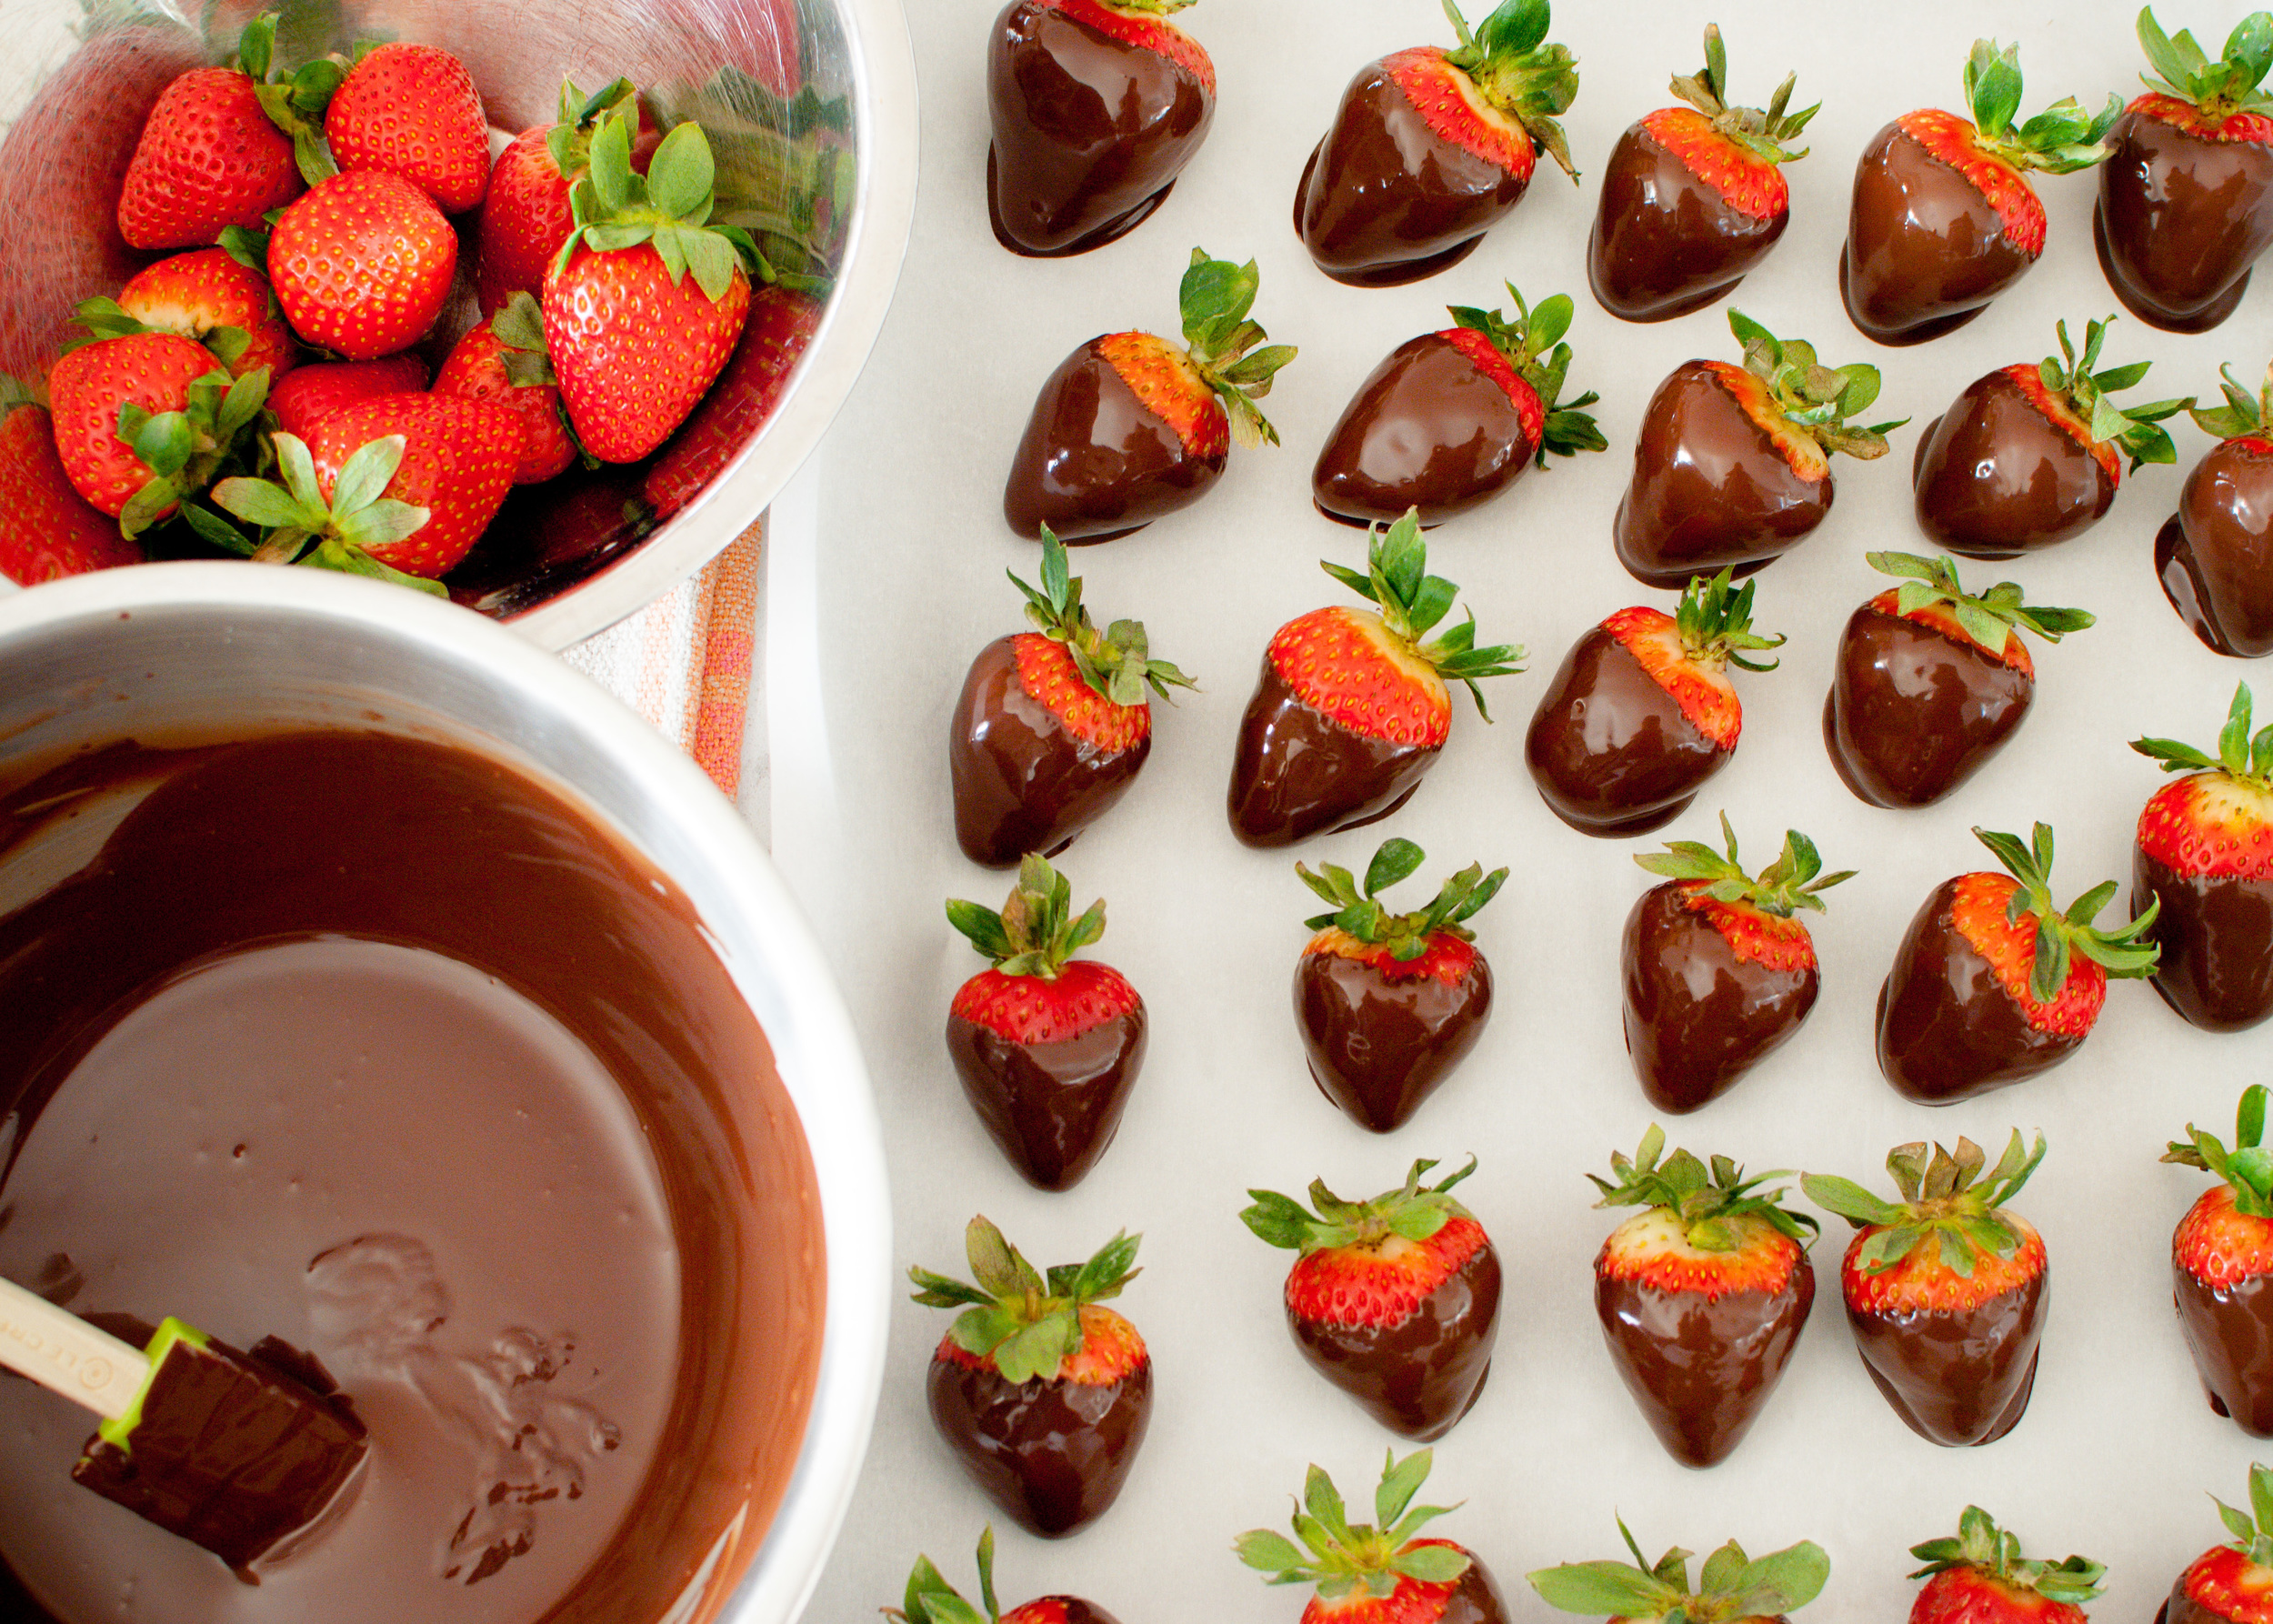
Chocolate-Covered Strawberries are a romantic classic. Also, my 4-year-old loves holding the strawberry by its tiny leaves, and dangling it in front of his mouth before attempting to shove in the entire thing. Dainty, I know. Dressing them up in white chocolate drizzles, nuts, or sprinkles are fun, but there’s something appealing about the simplicity of a perfect, red strawberry coated lovingly with nothing but glossy, crisp chocolate. Cynthia and I enjoyed them, just as much as the kids did - they’re a classic for a reason.

Adapted from The Kitchn.

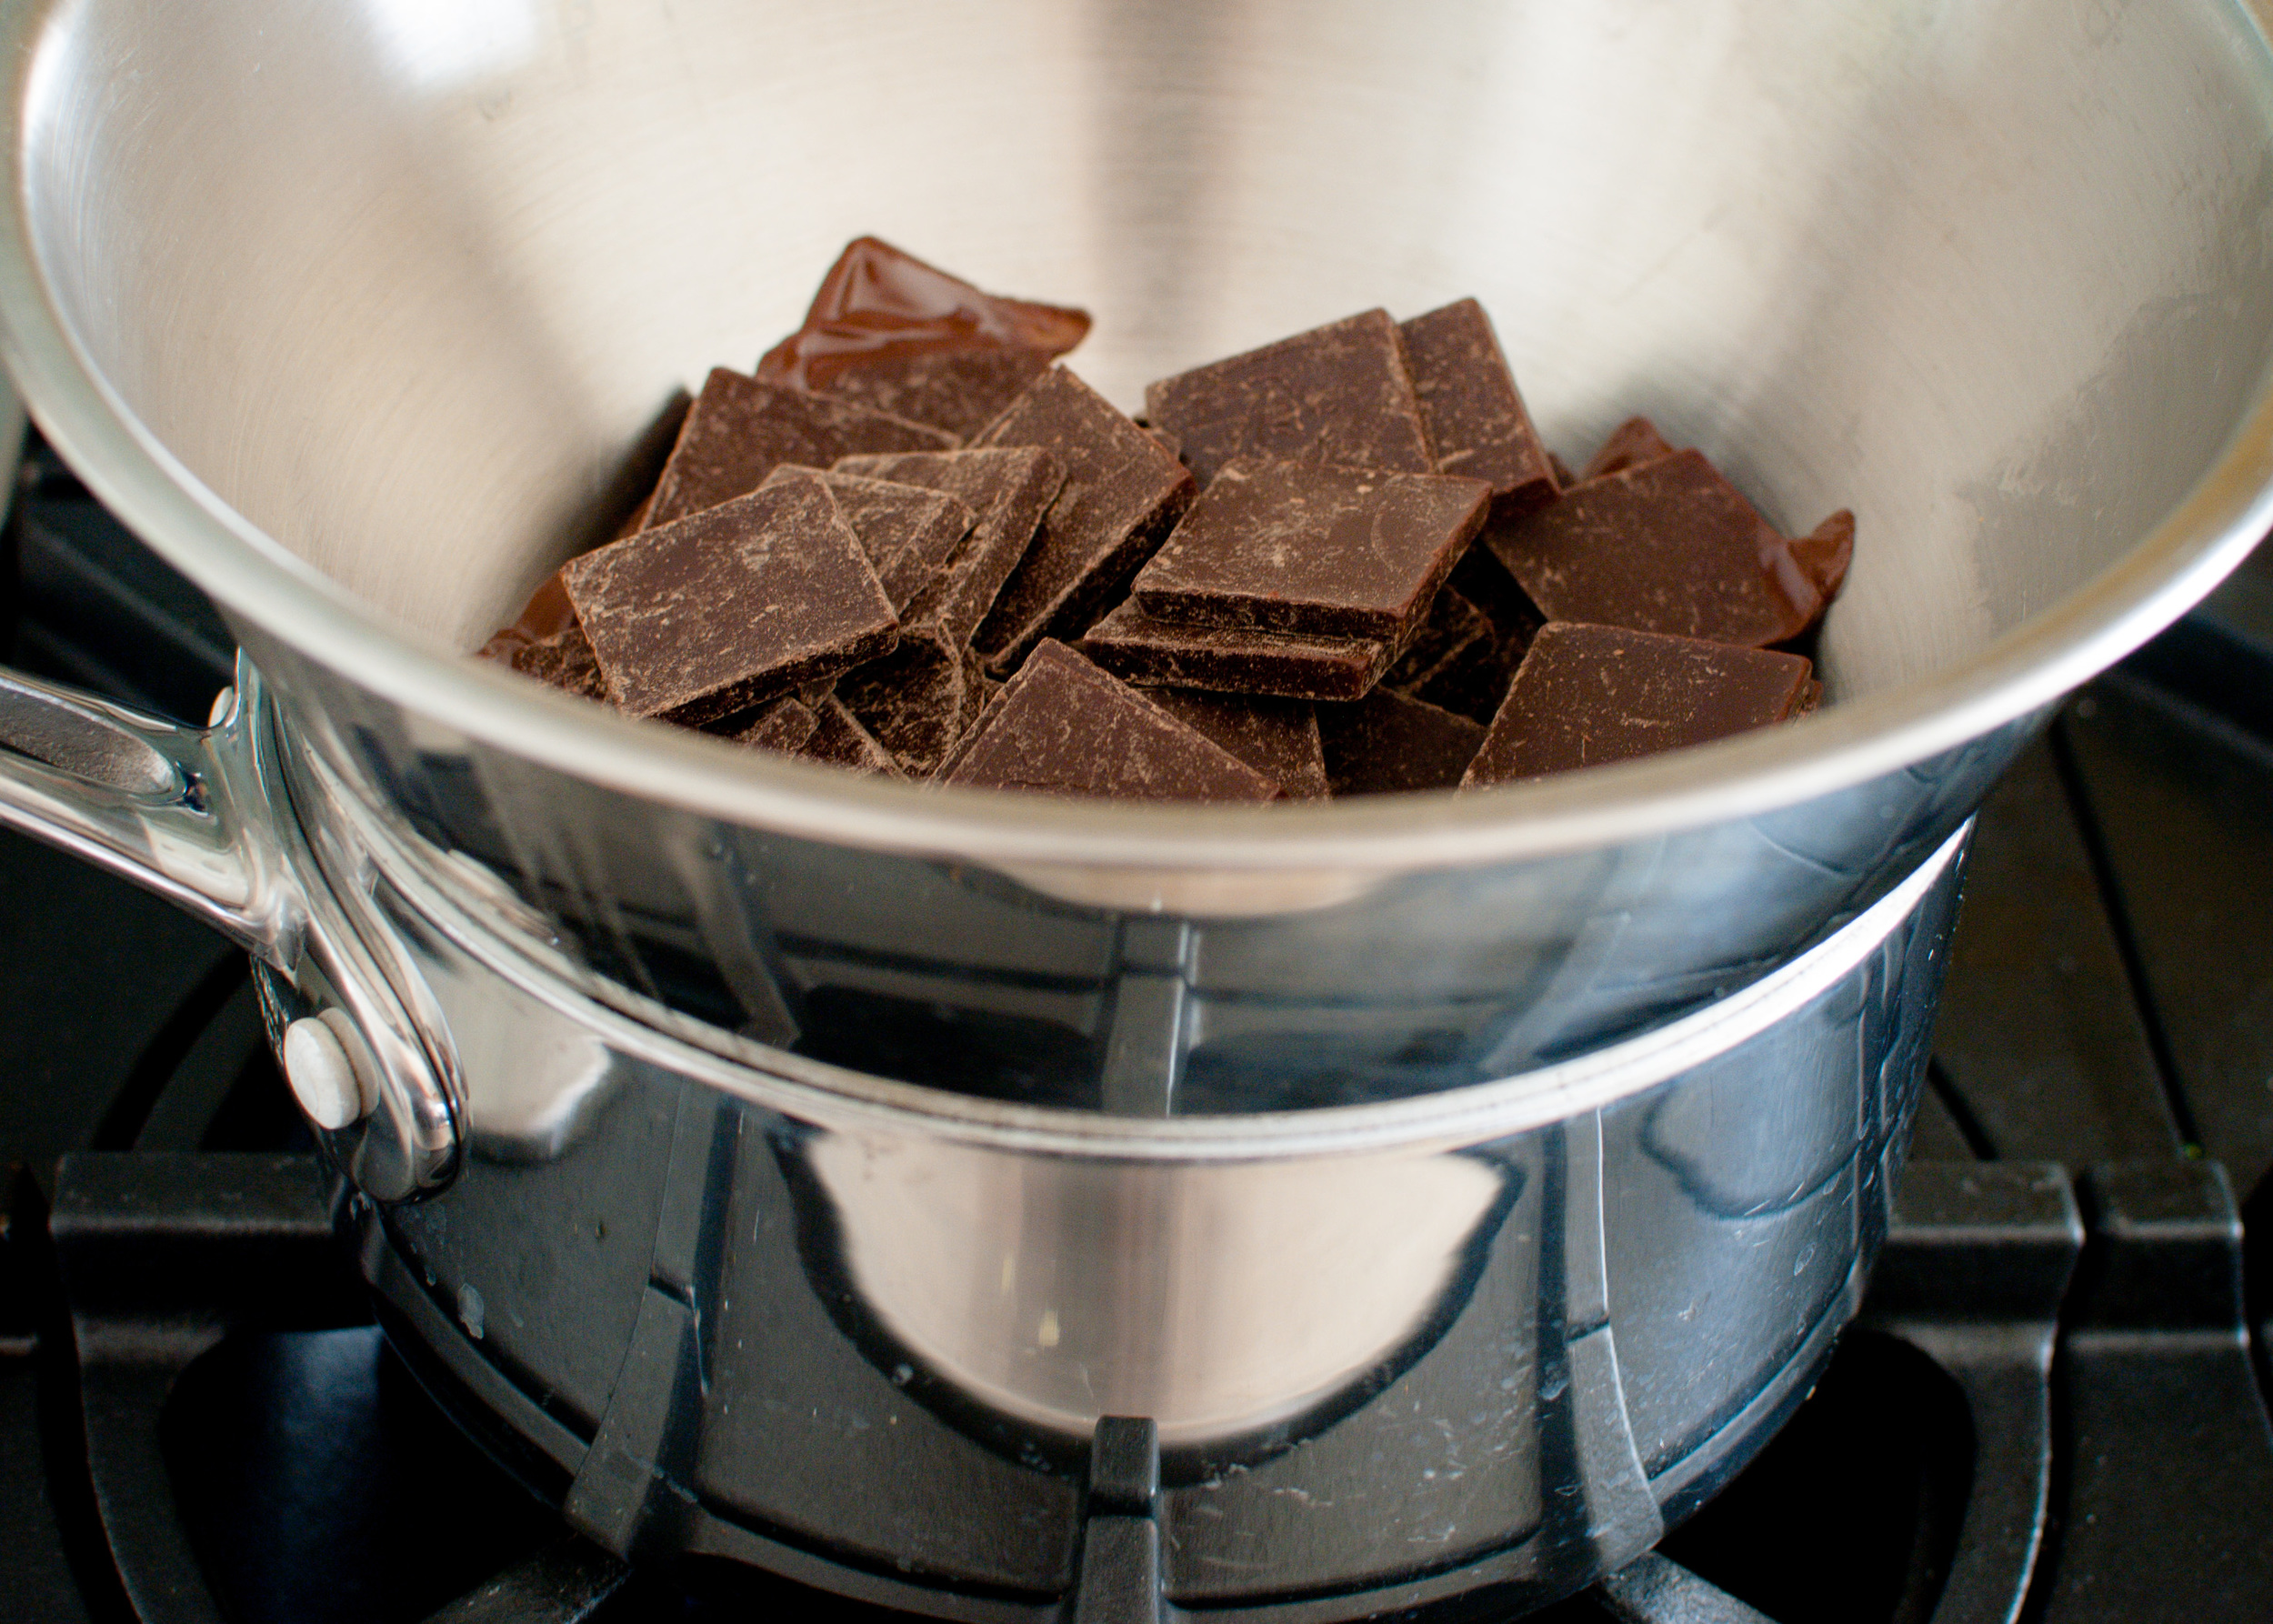
Notes: Chocolate strawberries are easy to make, but it helps to be precise in each step. The strawberries need to be really dry, or the chocolate coating won’t adhere properly. If you don’t have a double boiler to melt the chocolate, just use a heat safe bowl (like a metal or Pyrex mixing bowl) set over a saucepan of water. Don’t try to melt the chocolate with direct heat because the chocolate will scorch. The directions in this recipe encourages the chocolate to temper, and the addition of coconut oil gives it a glossier sheen and a crisp bite. (The Kitchn has additional information on tempering chocolate without a thermometer.) Don’t let the tempering process intimidate you. Even if the chocolate isn’t tempered correctly, the chocolate dipped strawberries will still be delicious, and I promise no one will complain!


Time: 20 minutes (plus 30 minutes to cool)
Yield: 1 pound chocolate-covered strawberries

1 pint-basket (1 pound) fresh strawberries
1 ⅓ cups (8 ounces) plus ⅔ cup (4 ounces) good quality dark chocolate, chopped
1 teaspoon coconut oil (optional)

Double-boiler or heatproof bowl and saucepan
Heatproof spatula
Parchment, wax paper, or Silpat
Baking sheet

Rinse the strawberries under cool running water and gently pat dry. The strawberries need to be completely dry before dipping, so spread them out and let them air-dry if necessary.

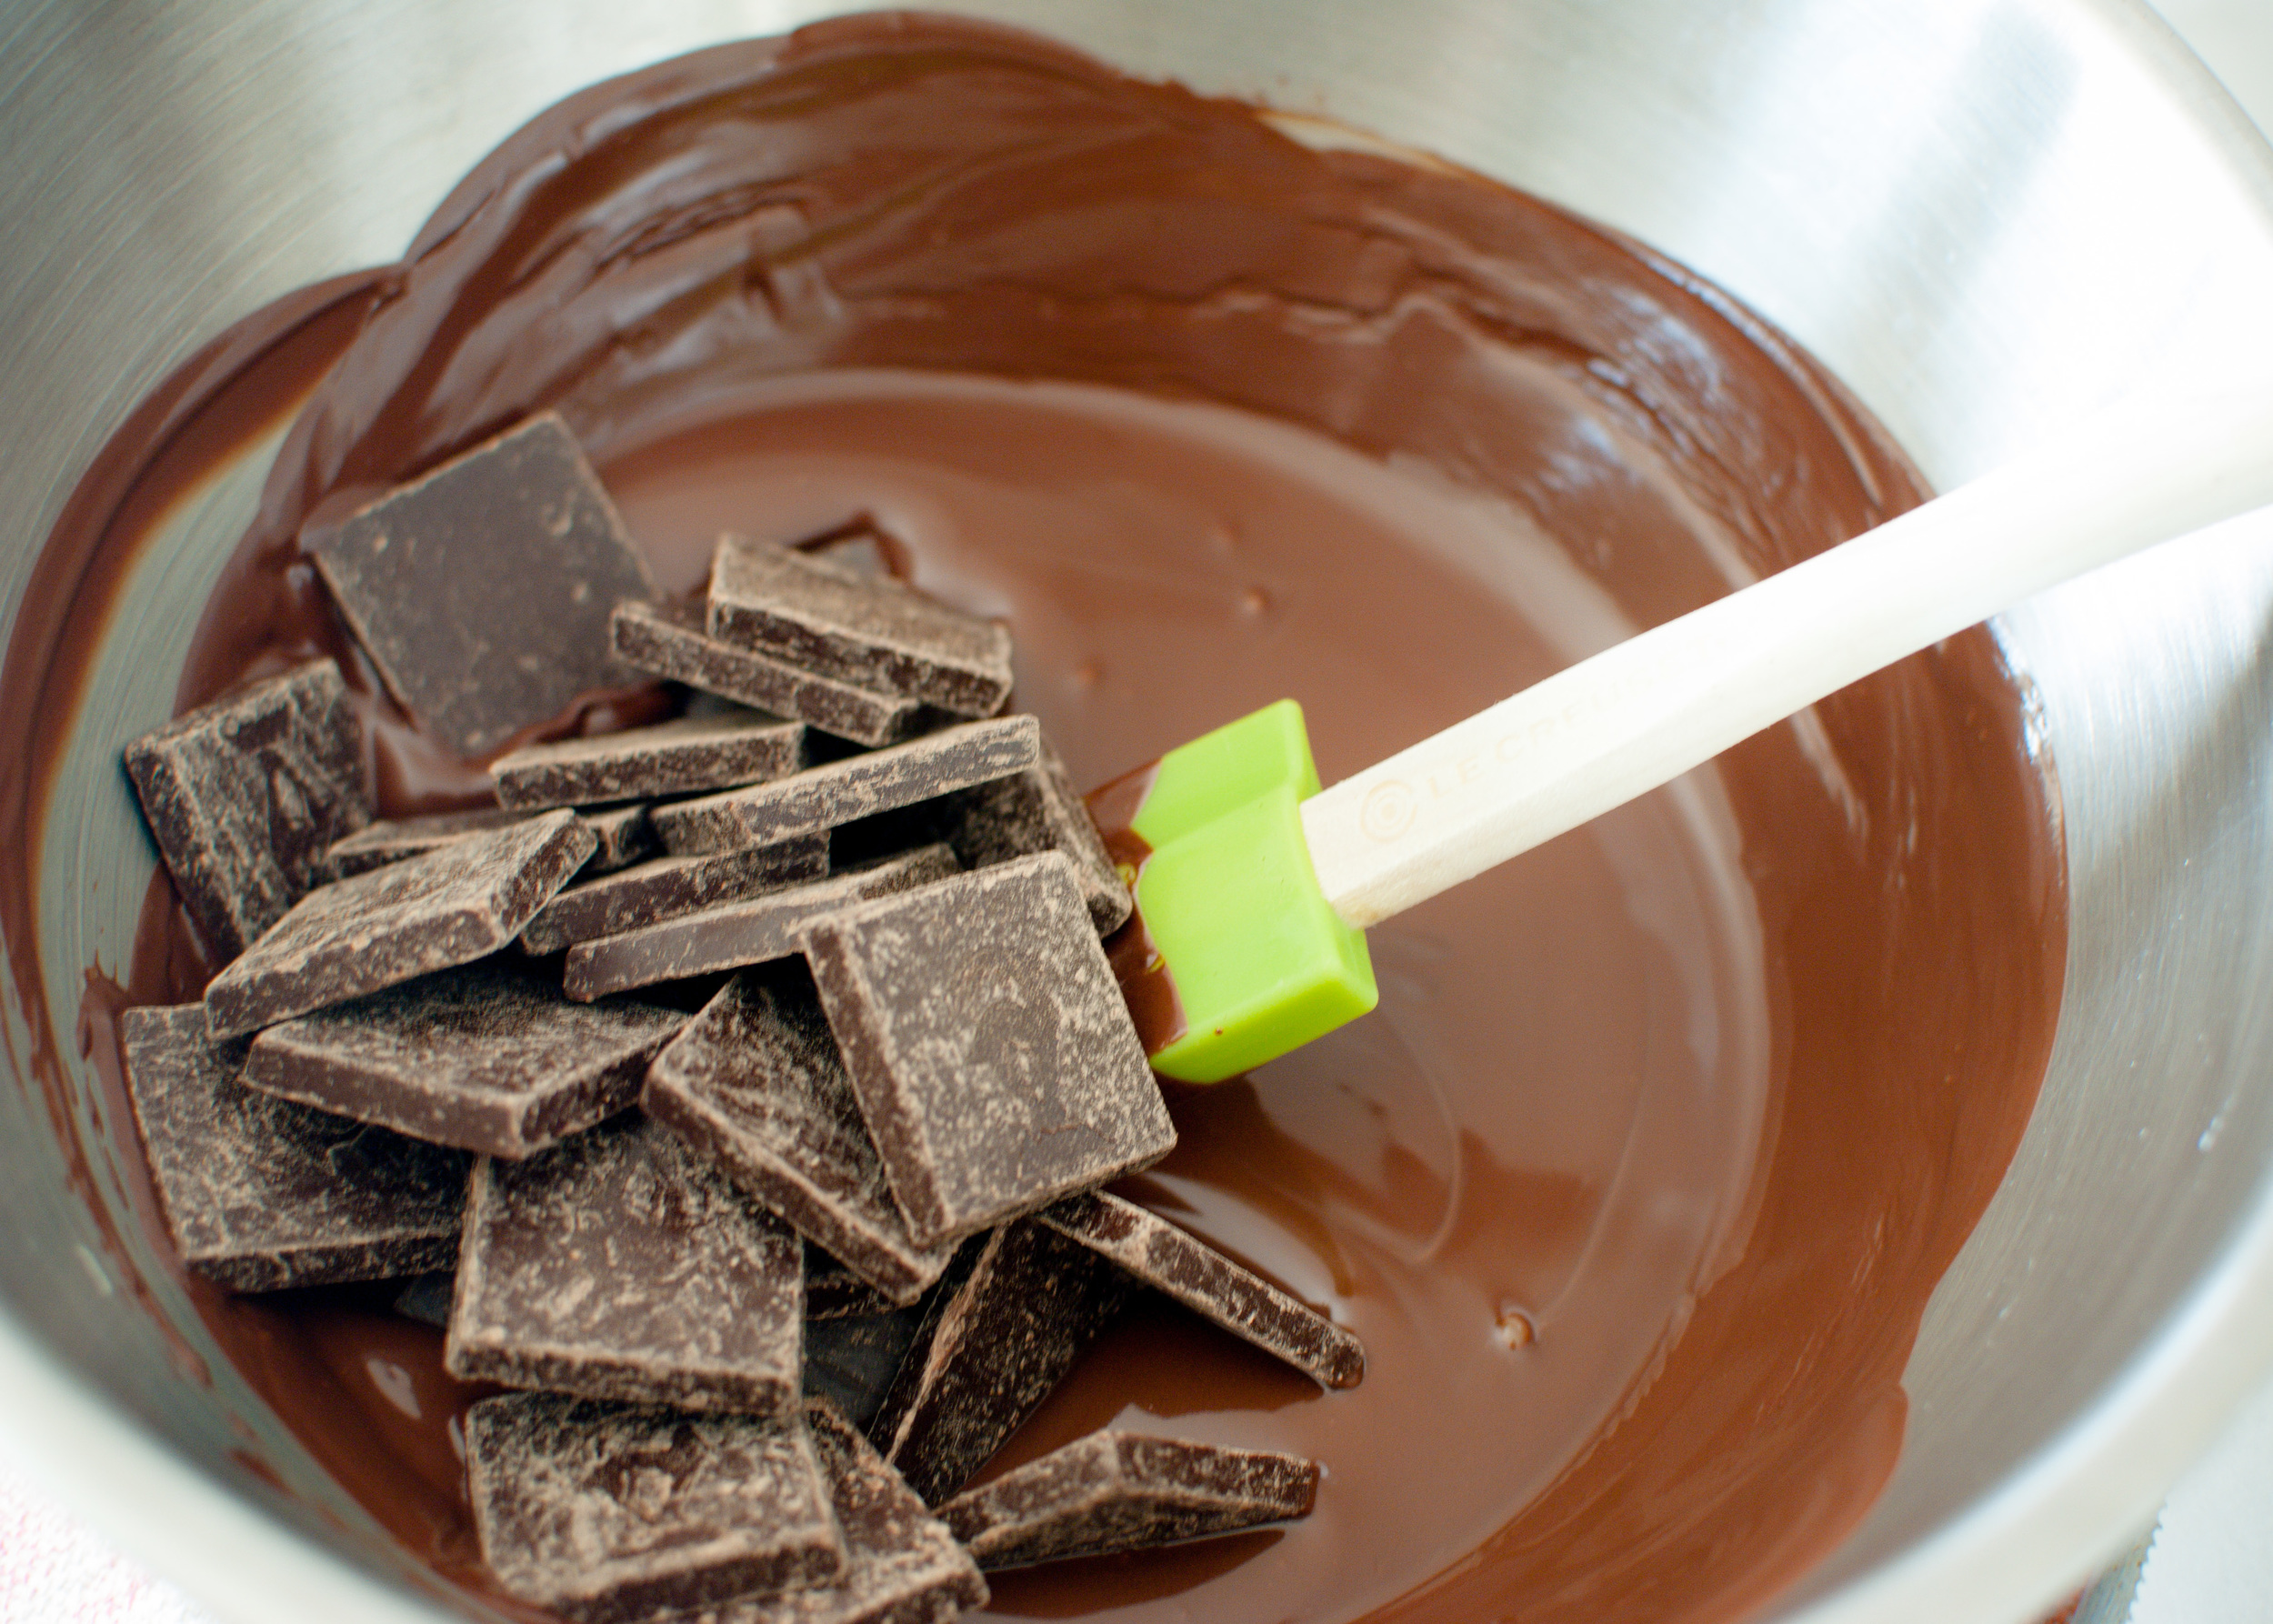
Fill the bottom of the double-boiler or saucepan with an inch or two of water and bring the water to a simmer over medium-high heat. Transfer 1 ⅓ cup chocolate into the top of the double-boiler or the heatproof bowl and set this over the simmering water. Let the chocolate melt, stirring occasionally, until no more lumps remain. Remove the bowl with the chocolate from heat. Stir in the remaining ⅔ cup chocolate, until all the chocolate has melted. Let slightly cool for 2 minutes. Stir in the coconut oil, if using.

Set the bowl of melted chocolate in front of you on a towel. Line a baking sheet with parchment.

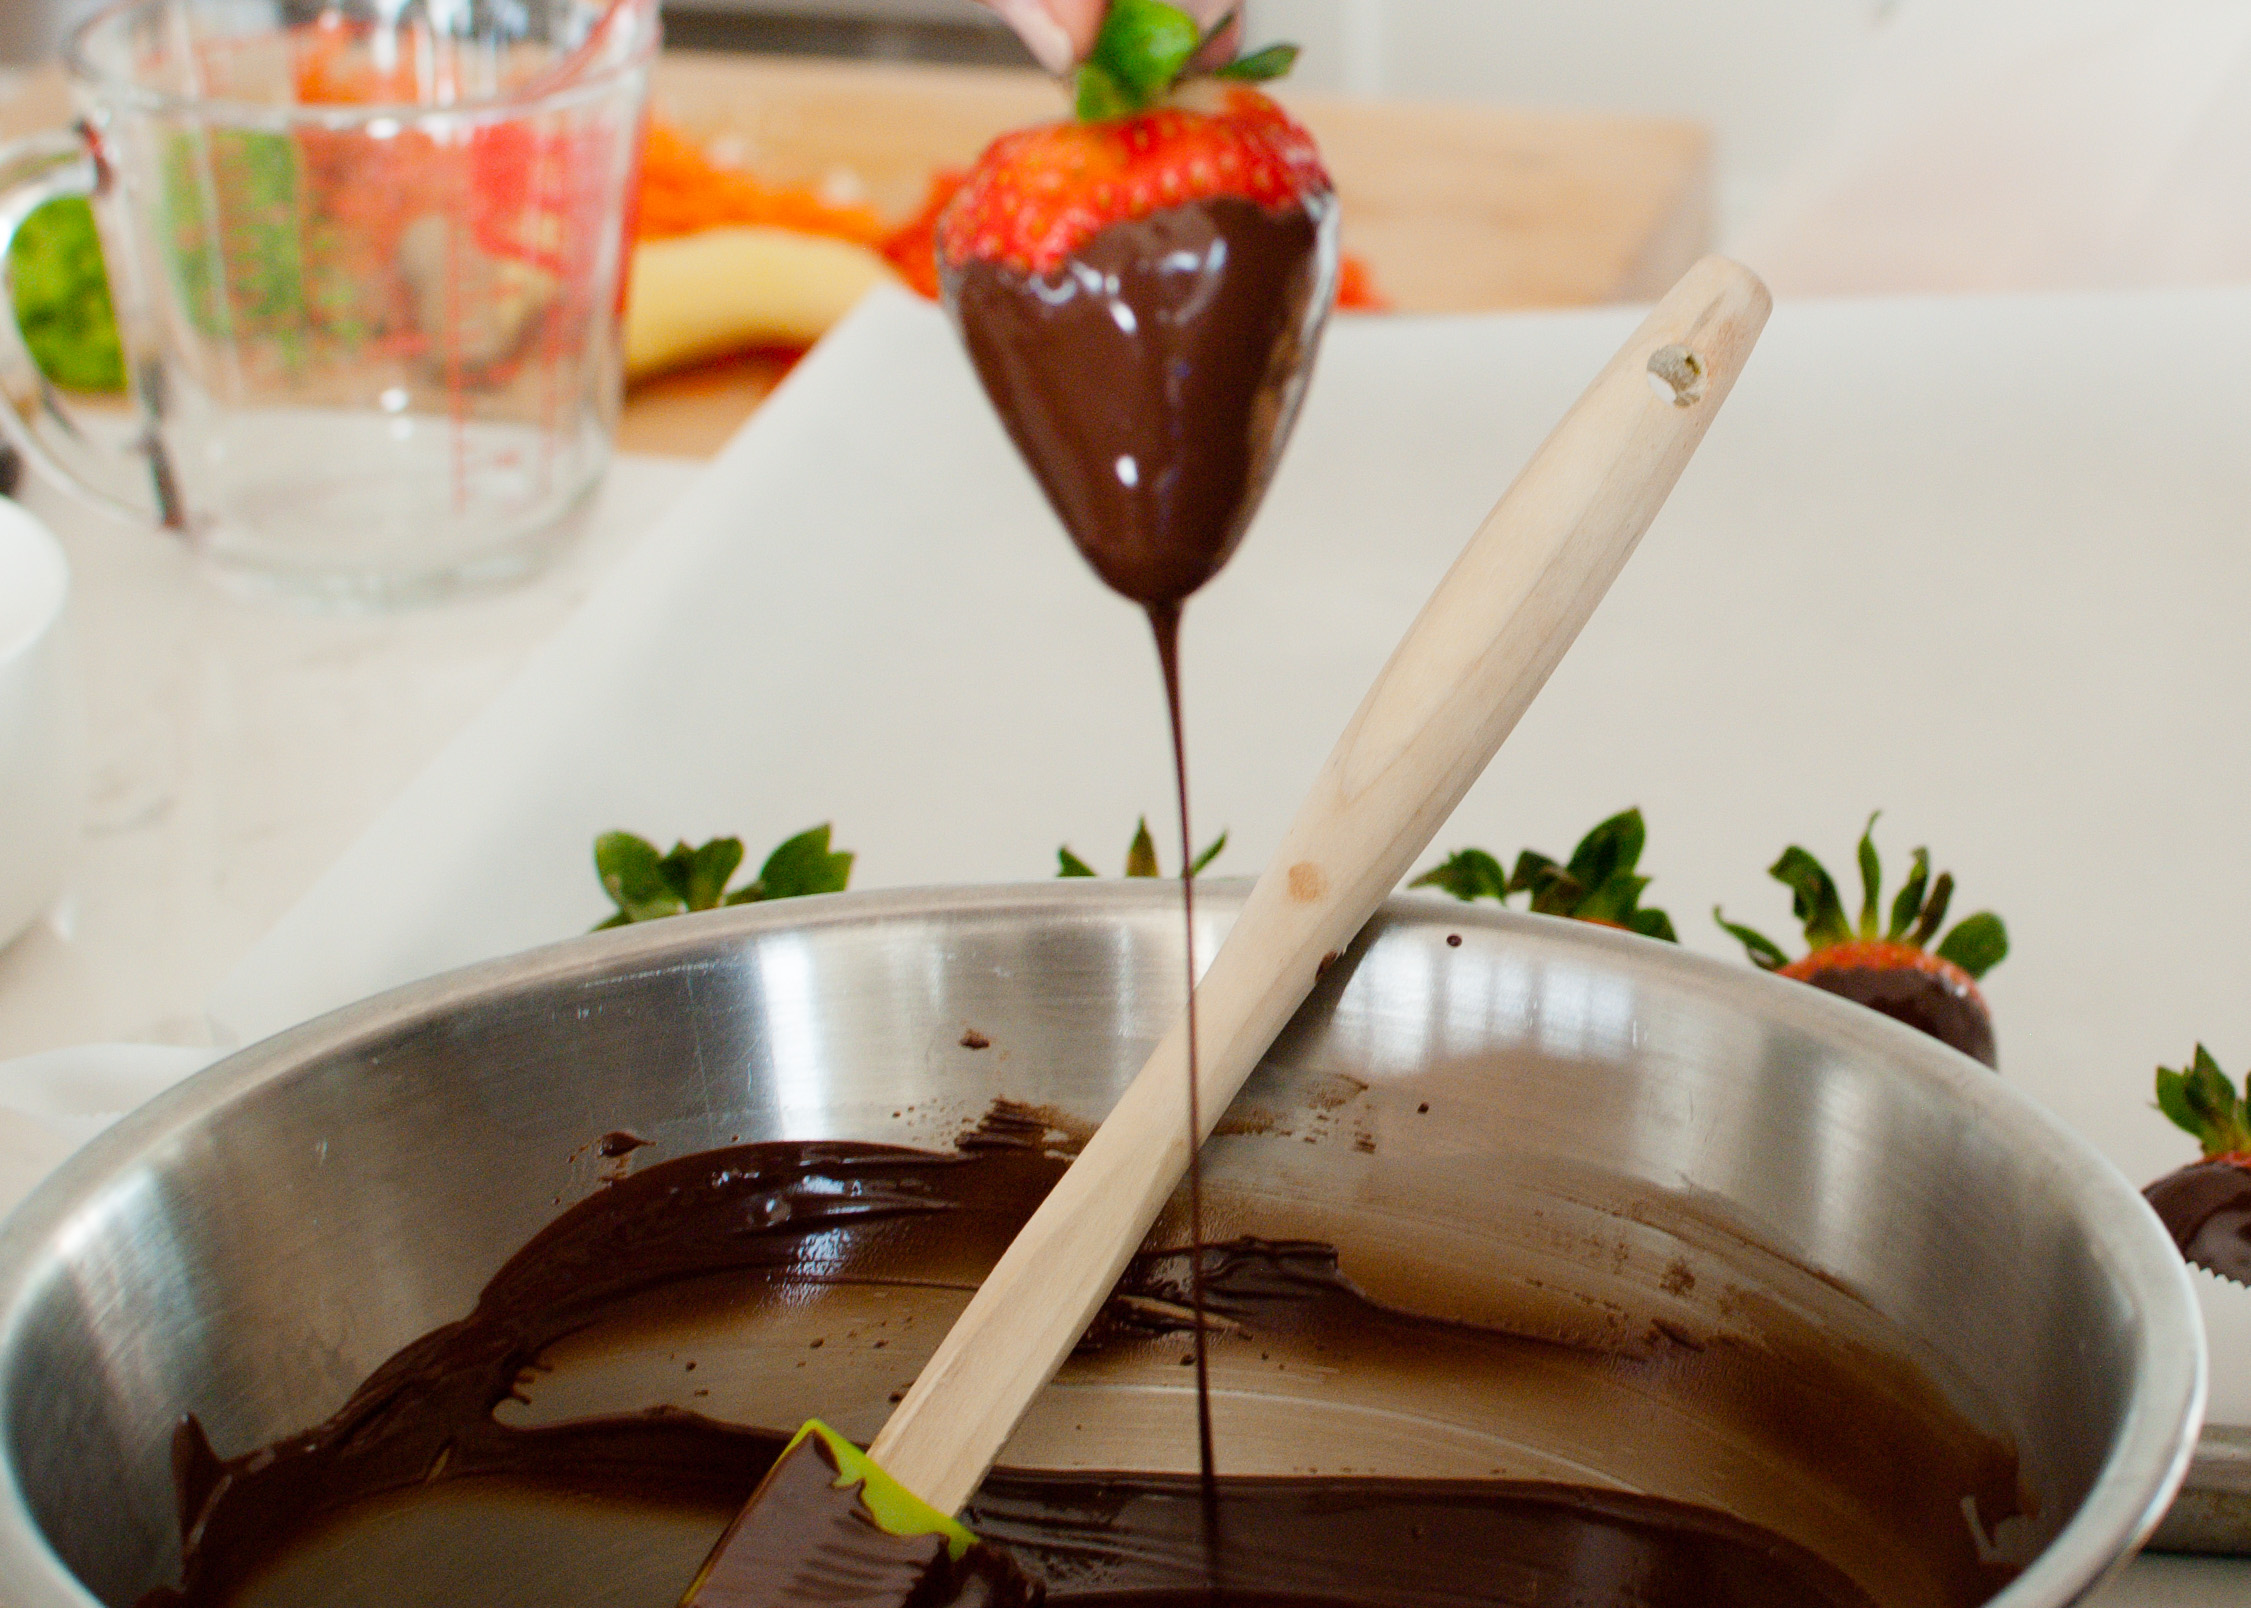
Grasp the strawberry by the top leaves and dip it into the chocolate. Turn or swirl the strawberry as needed to completely coat it in chocolate. Lift the strawberry out and shake gently to remove excess chocolate. Carefully lay the dipped strawberry on its side on the baking sheet. Repeat with dipping the remaining strawberries.

Let the strawberries sit until the chocolate coating is set and dry to the touch. You can put the baking sheet in the fridge to speed this along. Dipped strawberries can be kept for a few hours at room temperature. They can also be refrigerated for a few days, though they don't look as pretty.

All-Purpose Cornbread by Cynthia Raub

Print Friendly and PDF
cornbread

Cornbread is what happens when my two favorite things: corn and bread, get a little crazy - one thing leads to another, and 25 minutes later . . . they make a baby. A crumbly, slightly sweet, and aromatic baby. A cornbread baby that begs for a pat of butter or a drizzle of honey on it’s warm browned top. The variations in cornbread can make one dizzy. People get crazed and lose their minds when it comes to the “right” or “best” way to make it. Street brawls, wars, divorces . . . sadly, all started by disagreements over cornbread. And if I’ve learned anything in life, it’s to avoid the following topics for the sake of polite conversation: religion, politics, and you guess it, cornbread. When Amy said she was making Chicken Chili, I grabbed the basic pantry items for this recipe, got pants on my kids, and drove to her house to cook and eat. This cornbread was the perfect unfussy accompaniment to her tomato-y chili.

Notes: This is a solid recipe for a basic and uncomplicated cornbread that will not let you down. Pureeing (fresh, frozen or canned) corn kernels into the wet ingredients will give you the distinct flavor you won’t get from cornmeal alone, and a sweetness that honey cannot replicate. According to Cook’s Illustrated, this recipe calls for the cornbread to be cooked at a high temperature in a regular baking pan to produce a crunchy, toasted crust. If you’re a cast-iron skillet for everything (especially cornbread) type, you can ratchet down the temperature for this recipe since the skillet will produce a golden crust with less heat.

Yes, this recipe calls for a stick of butter. But it’s not like you’re going to eat the whole pan by yourself, right? Right . . . ? OK, even if you do eat the whole pan by yourself, (Go you! Now THAT’S commitment!) just remember that chewing and breathing burns calories too. You're a winner and don't let anyone tell you otherwise.


SEE MORE: The Shared Chili


Servings: 8"x8" pan
Time: 45 minutes

Cook's Illustrated All-Purpose Cornbread

Ingredients:
1 1/2 cups unbleached all-purpose flour
1 cup yellow cornmeal
2 teaspoon baking powder
1/4 teaspoon baking soda
3/4 teaspoon table salt
1/4 cup packed light brown sugar
3/4 cup frozen corn kernels, thawed
1 cup buttermilk
2 large eggs
8 tablespoons (1 stick) unsalted butter, melted and cooled slightly

Directions:
Preheat oven to 400 degrees, adjust oven rack to the middle position. Butter an 8-inch square baking dish or cake round, set aside.

Whisk flour, cornmeal, baking powder, baking soda, and salt in a large bowl until combined.

In a food processor or blender, process brown sugar, thawed corn kernels, and buttermilk until combined, about 5 pulses. Add eggs to the wet mixture and process until combined (corn pieces will remain), about 5 more pulses.

Make a well in the center of the dry ingredients; pour wet ingredients into the well. Fold dry ingredients into wet, mixing until barely incorporated. Add melted butter and continue folding until the dry ingredients are moistened.

Pour batter into prepared baking dish, smooth surface with a rubber spatula.

Bake for 25-35 minutes until golden brown, and toothpick inserted in the center comes out clean. Slice and enjoy!

Adapted From: Cook's Illustrated

Chicken Chili by Amy Cantu

Print Friendly and PDF
chicken chili

I love all versions of chili - beef or chicken (ground or chunky), with or without beans, all beans no meat, added veggies, or just tomatoes - it all has a place in my heart (and my belly). I was having a rough day, when I decided to make this chili. You know, one of those days where you are jolted awake from a deep sleep, realize you are late, and then the universe throws in a few obstacles to keep you on your toes - cranky kids, a stubbed toe, and some rain for good measure. I needed some comfort food, and I also was not about to make another trip to the grocery store. Who knows what could happen to me between here and there? I had boneless, skinless chicken breast in the house, so that’s what I used to make this chili. Because it’s made with chicken, the chili is much lighter than traditional beef chilis, but it still packs in a lot of flavor from the extra tomatoes, onions, and bell peppers. The best thing about this chicken chili is that it tastes amazing on the day you make it, and even better the next day, after all the flavors have had a chance to meld together. Cynthia added a pan of perfect, buttery cornbread, and suddenly all felt right in the world again.

Notes: I served this to four small children (who ate it enthusiastically), so I omitted the red pepper flakes and cayenne. If you like a lot of spices in your food, you may find that you want to add additional chili powder. Make sure to taste it and adjust to fit your tastebuds!

This is also delicious with chipotle peppers, which add a smoky flavor and some heat. Add 2-3 canned chipotle peppers in adobo sauce, chopped, and omit the dried pepper flakes and cayenne. To make it vegetarian or vegan, omit the chicken and use four cans of beans (different types), and choose your toppings accordingly.


Read More: The Shared Chili


Developed from Ina Garten’s recipe.

Time: 2 hours
Servings: 8

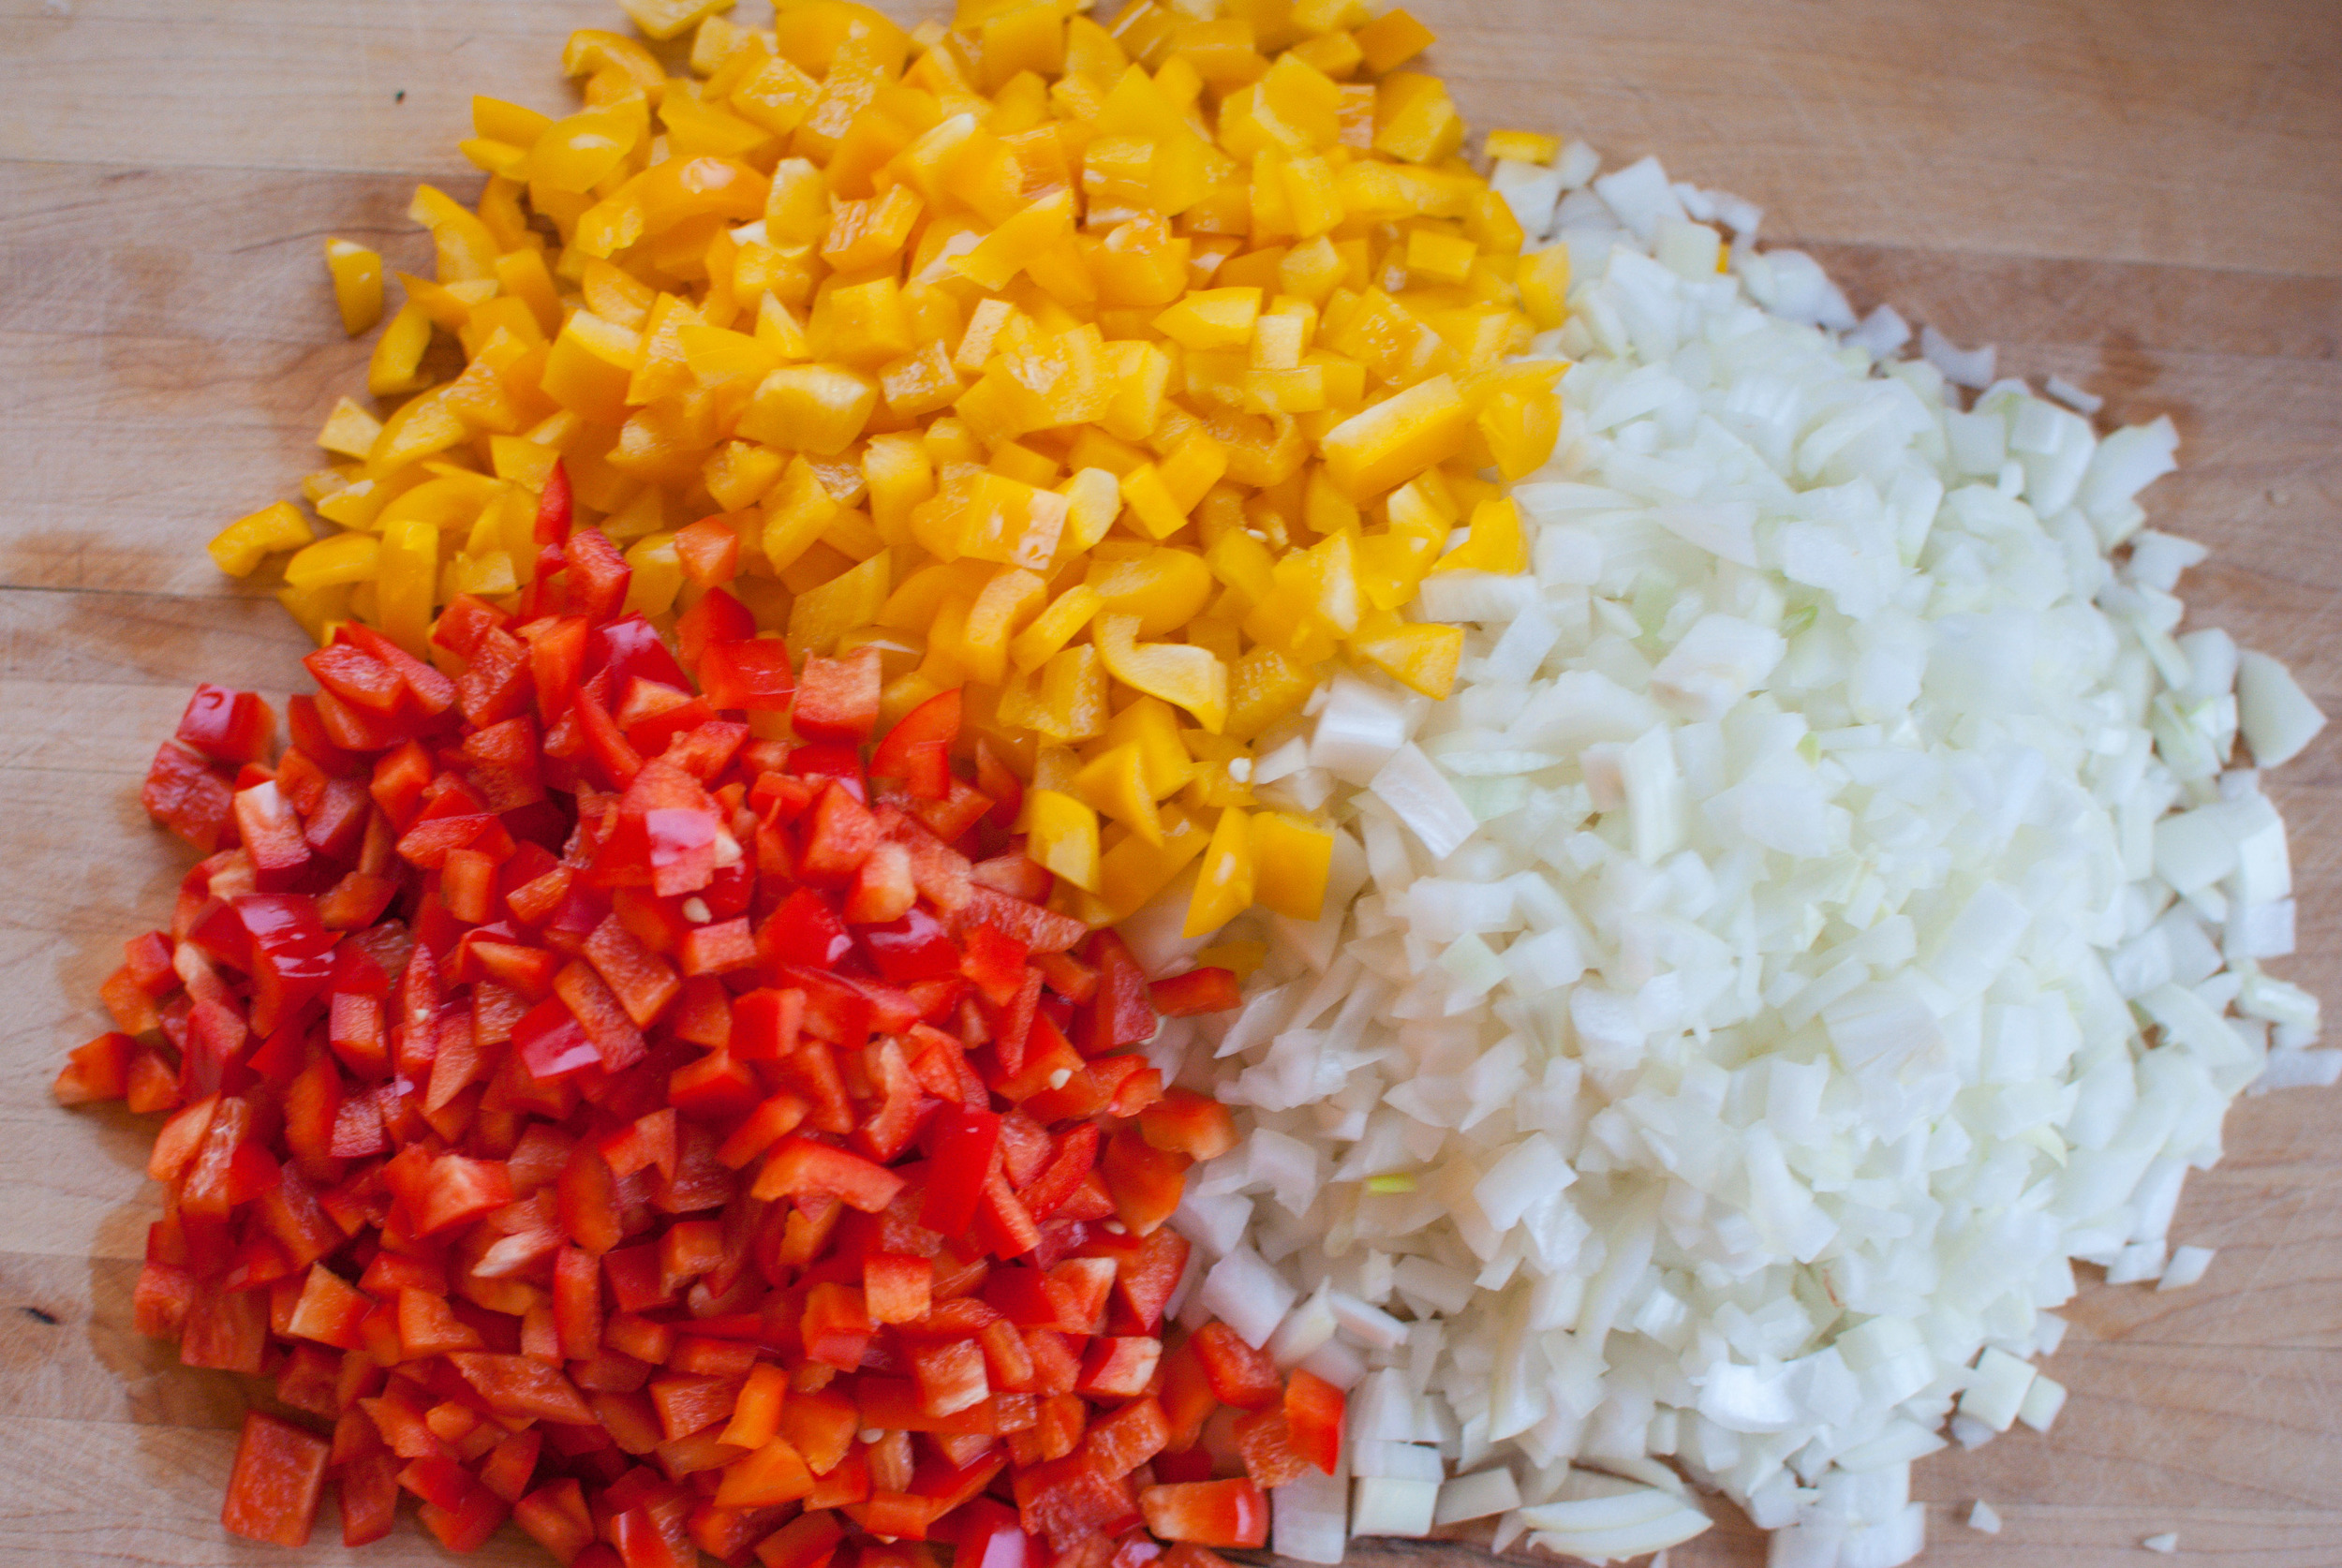
4 cups chopped yellow onions (3 onions)
1/8 cup good olive oil, plus extra for chicken
4 cloves minced garlic
2 red bell peppers, cored, seeded, and large-diced
2 yellow bell peppers, cored, seeded, and large-diced
1 tablespoon chili powder (or more to taste)
2 teaspoons ground cumin
1/4 teaspoon dried red pepper flakes (optional, to taste)
1/4 teaspoon cayenne pepper (optional, to taste)
2 teaspoons kosher salt, plus more for chicken
2 (28-ounce) cans whole peeled plum tomatoes in puree, undrained
1/4 cup minced fresh basil leaves or 2 teaspoons dried Mexican oregano
3 chicken breasts, boneless, skinless
2 15-ounce cans beans, rinsed and drained (any variety - red kidney, cannelini, pinto, or black beans)
Freshly ground black pepper

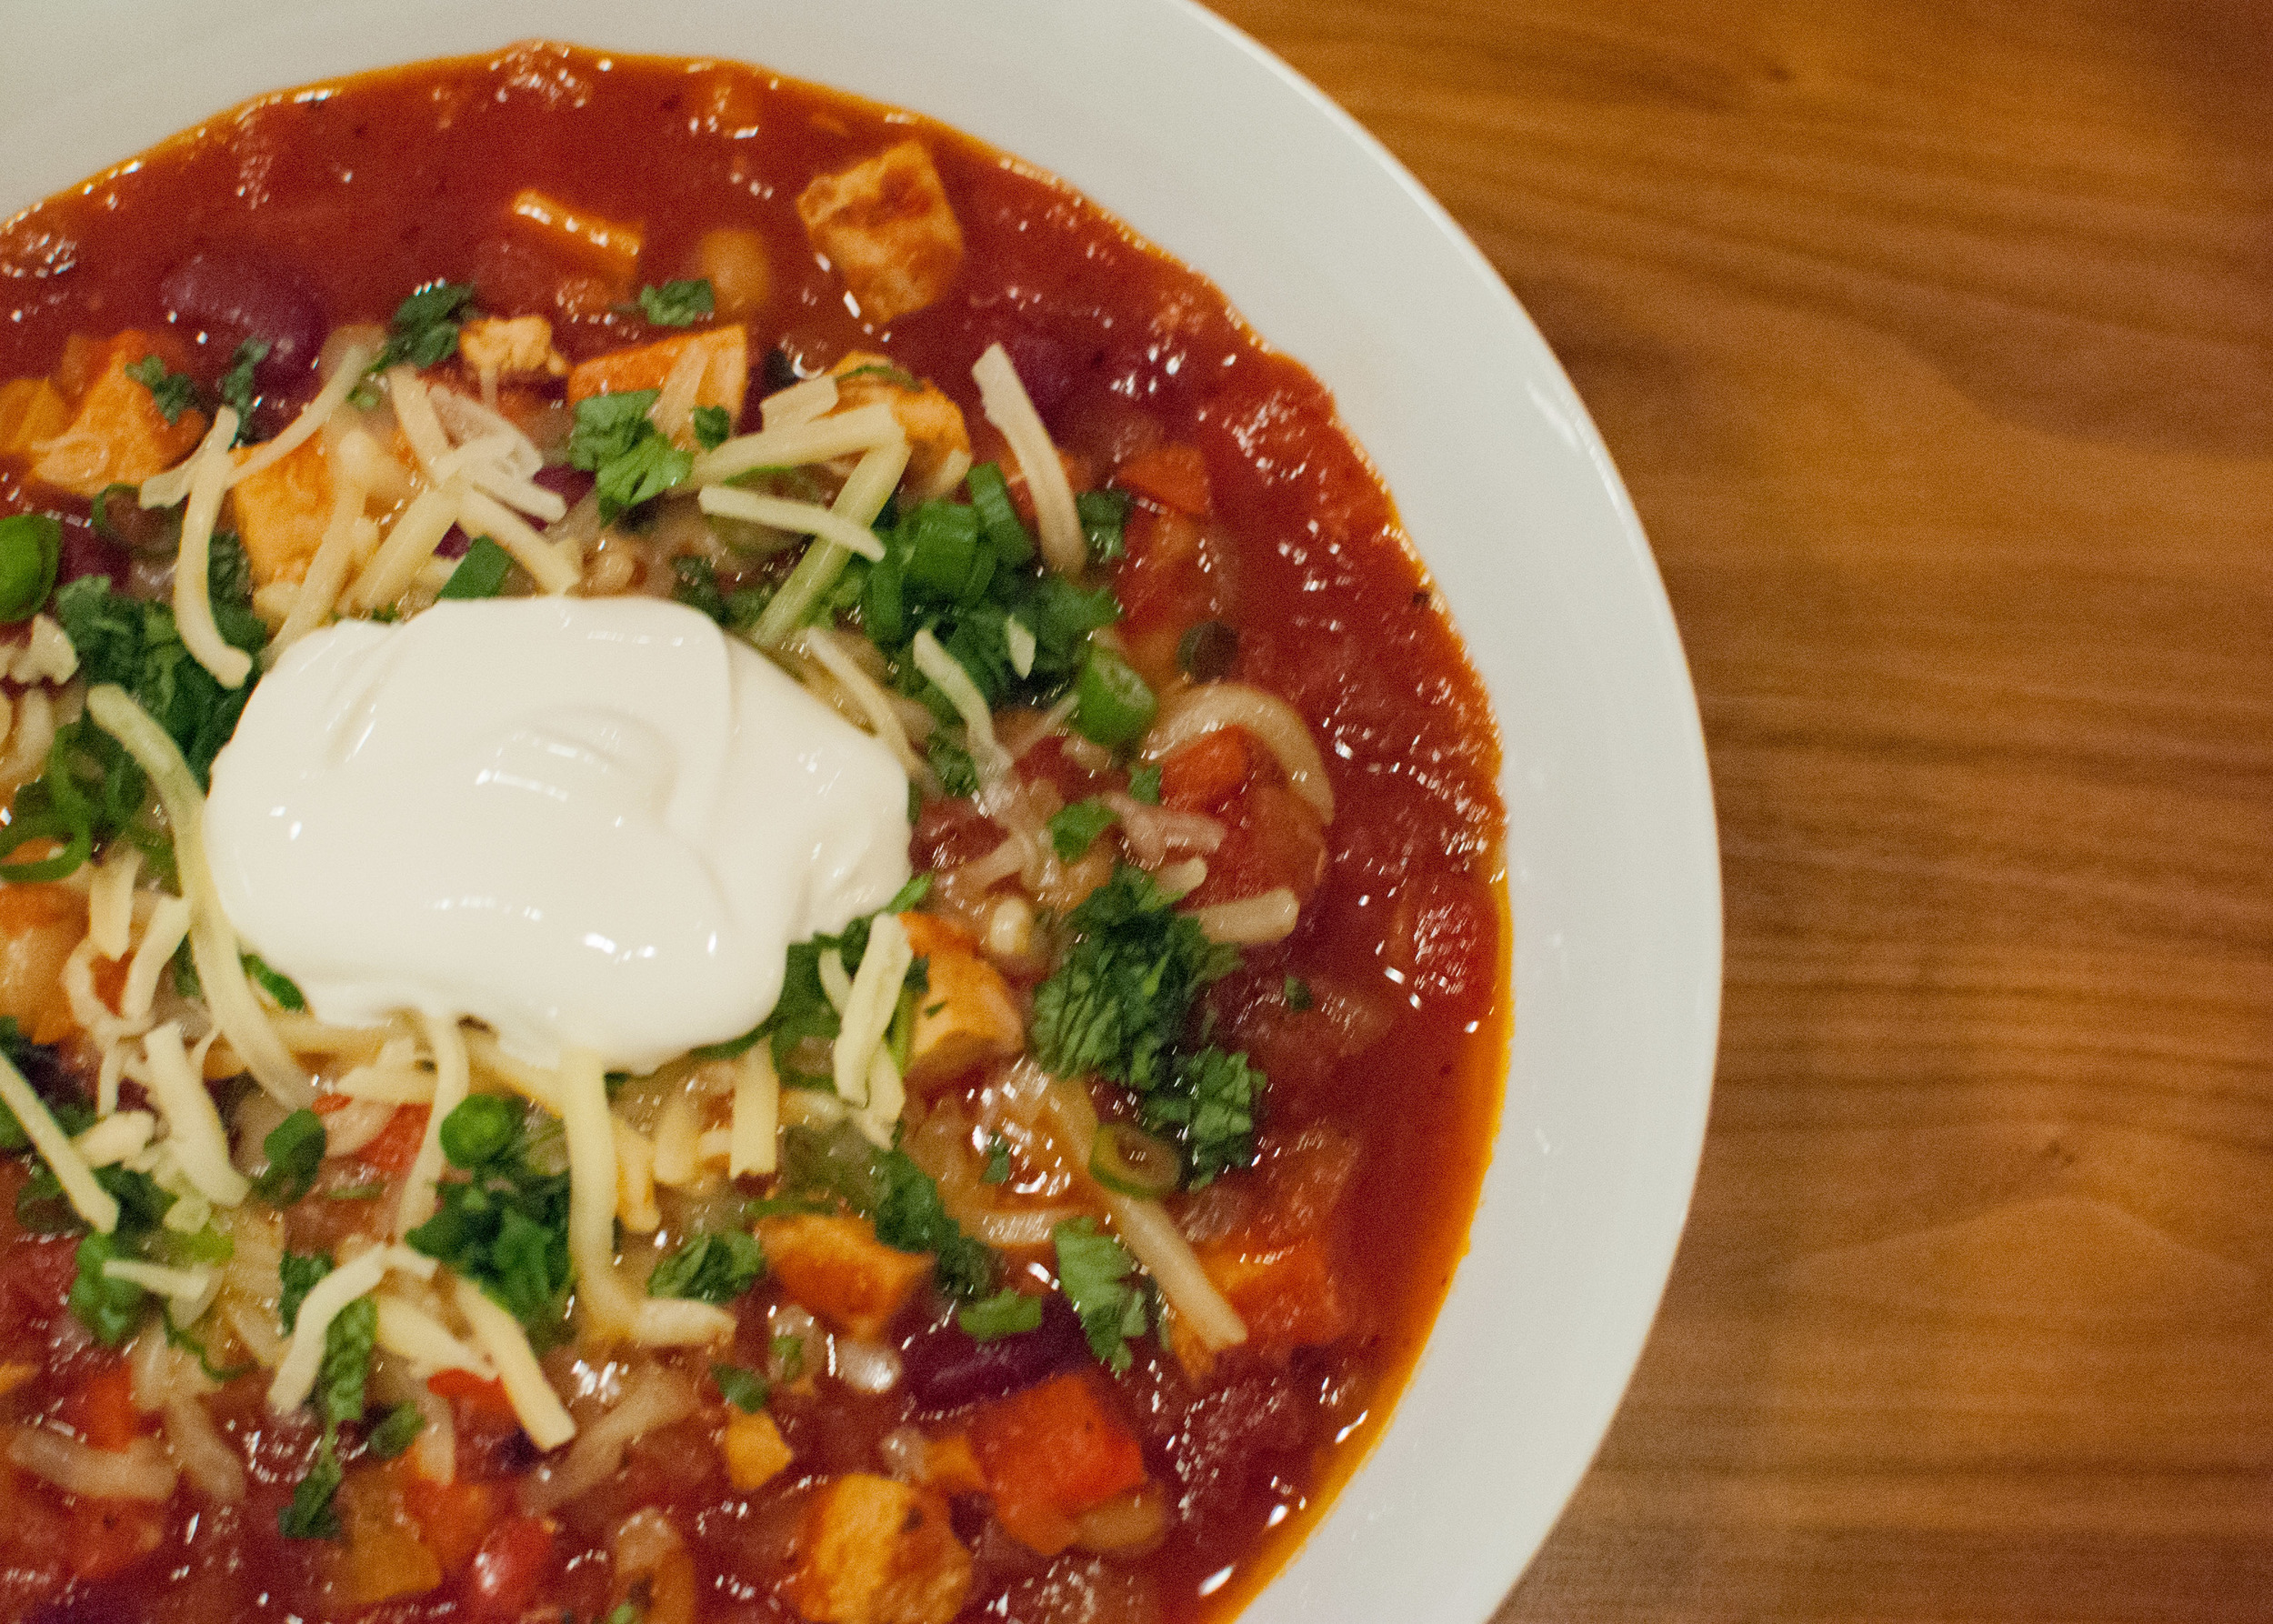
Toppings: Grated cheese (Monterey Jack, Cheddar, etc.), chopped cilantro, chopped onions (any type - I used green onions), sour cream, lime wedges, and/or tortilla chips

Crush the tomatoes by hand into small pieces or in batches in a food processor fitted with a steel blade (pulse 6 to 8 times). Reserve.

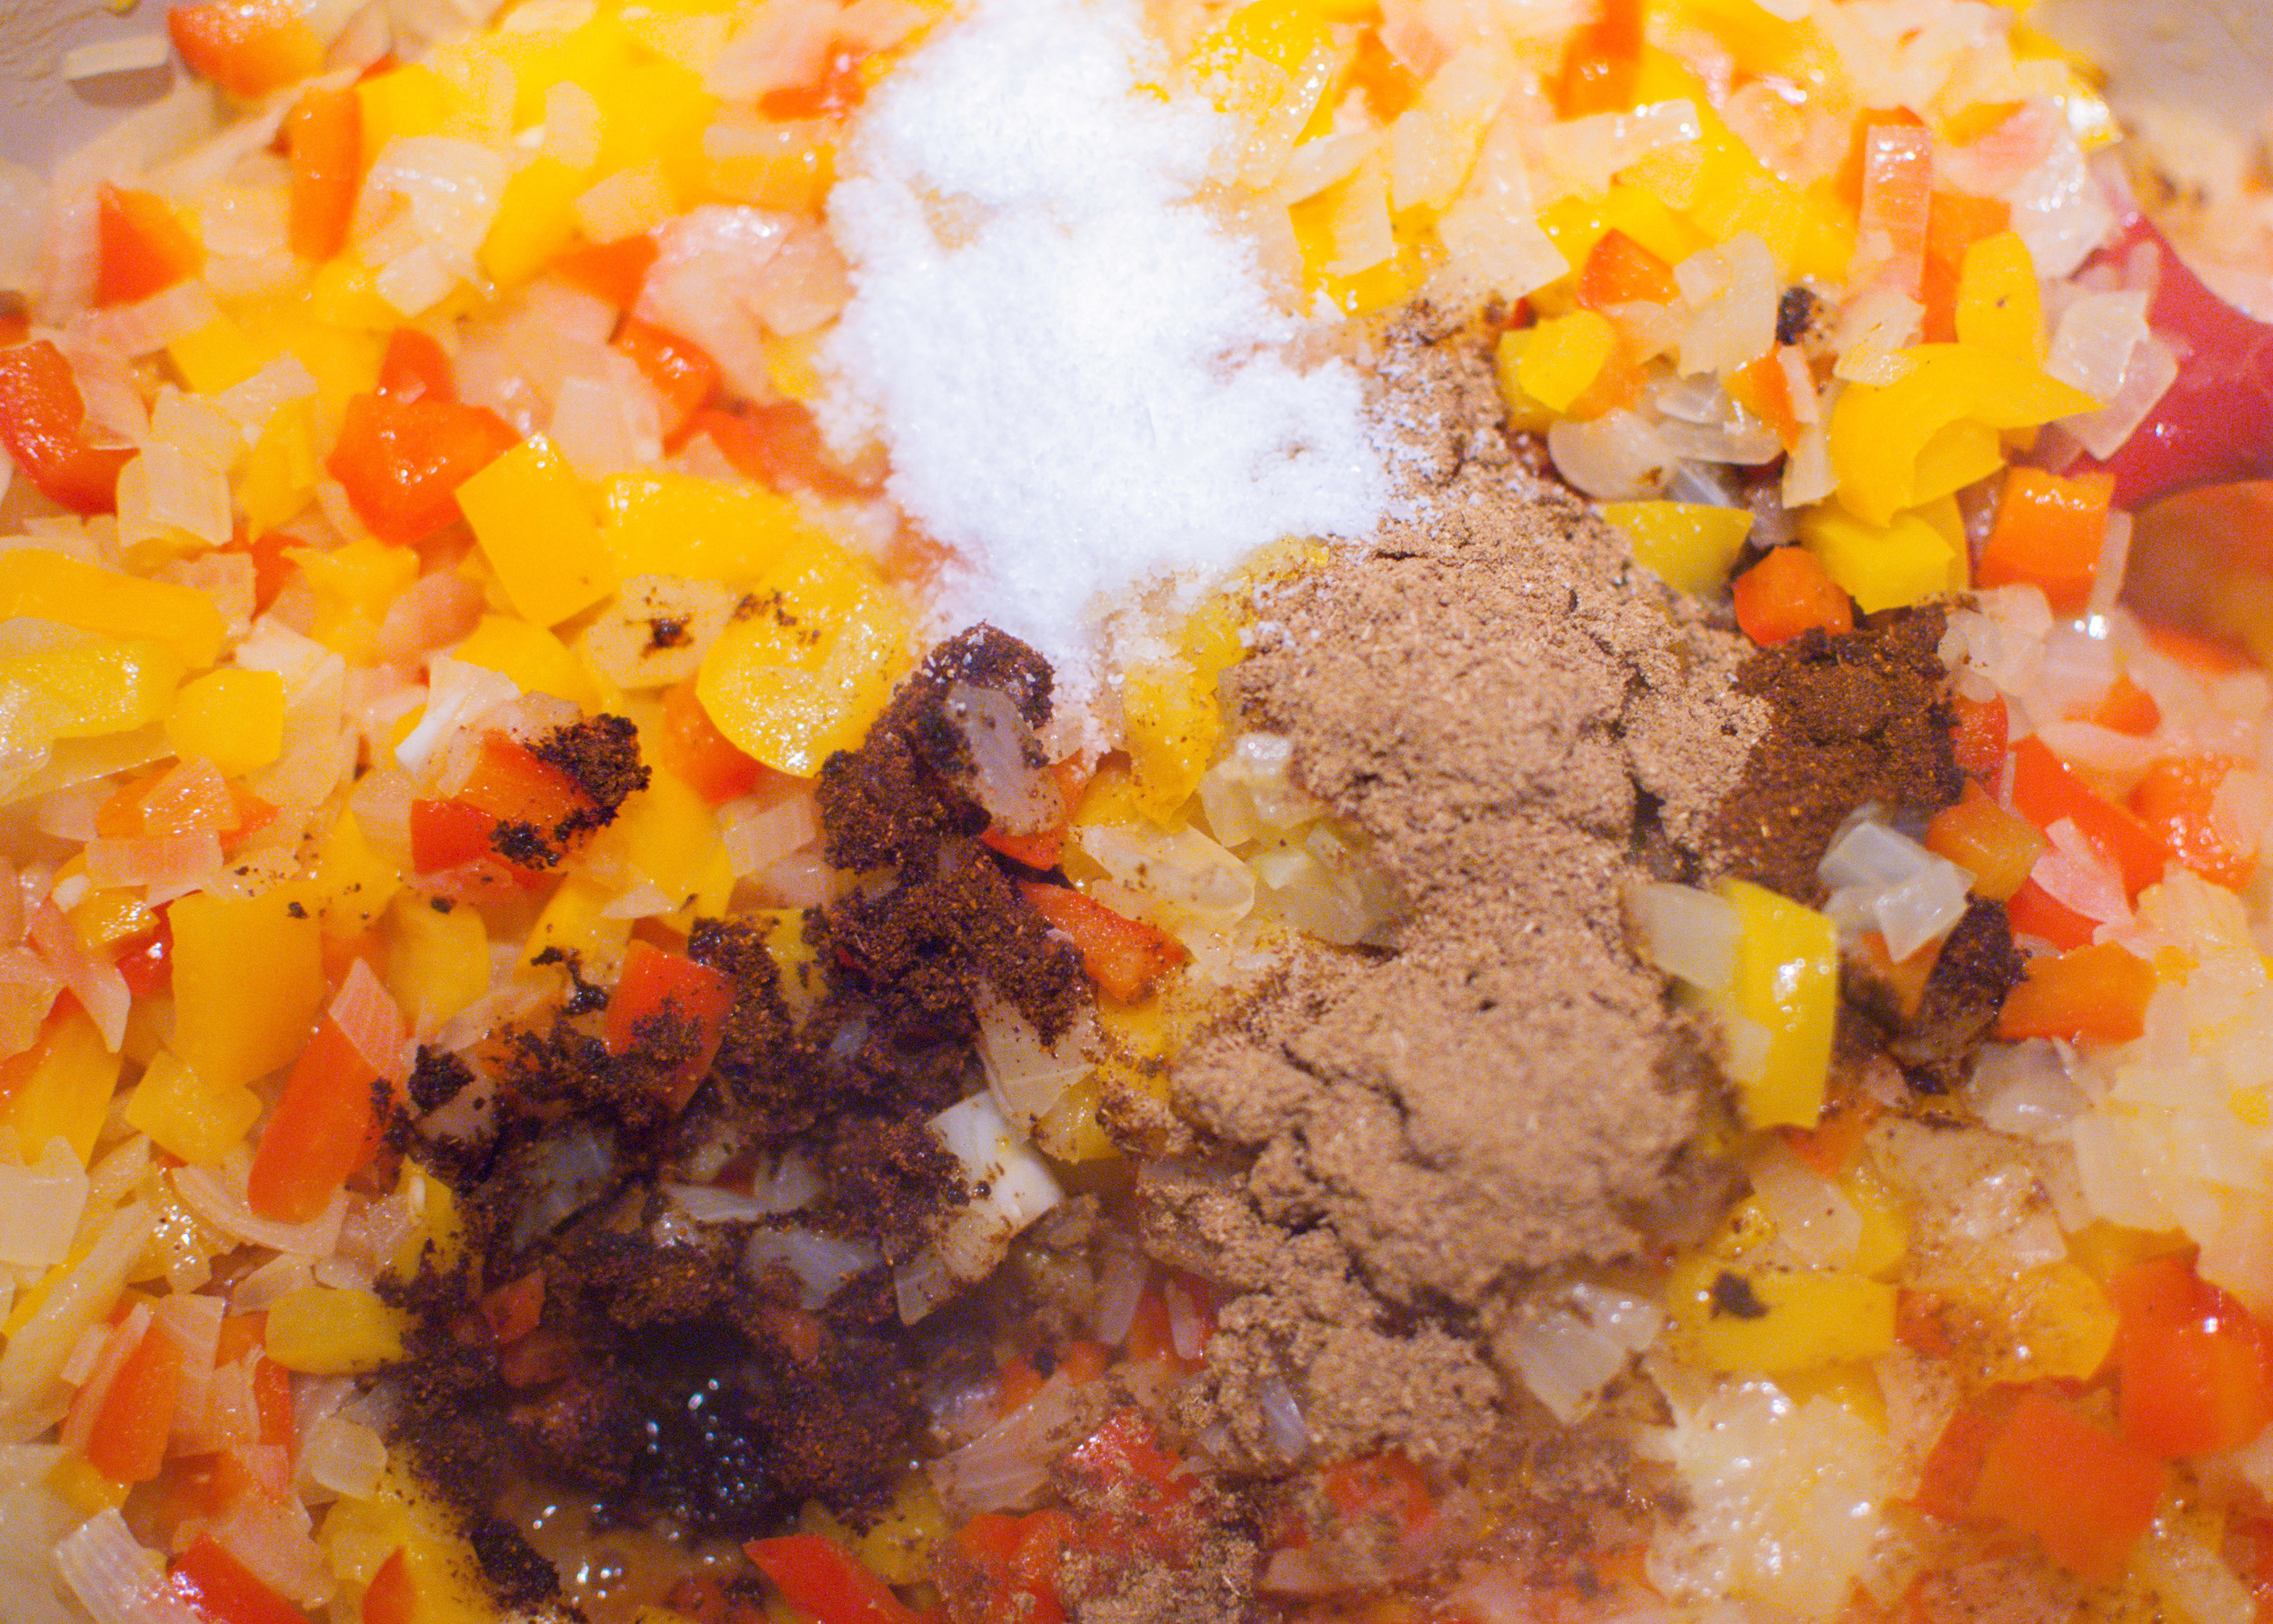
In a large dutch oven or pot, cook the onions in the oil over medium-low heat for 10 to 15 minutes, until translucent. Add the garlic and cook for 1 more minute. Add the bell peppers, chili powder, cumin, red pepper flakes and cayenne (if using), and salt. Cook for 1 minute. Add the reserved tomatoes and basil to the pot. Bring to a boil, then reduce the heat and simmer, uncovered, for 30 minutes, stirring occasionally.

Preheat the oven to 400 degrees F.

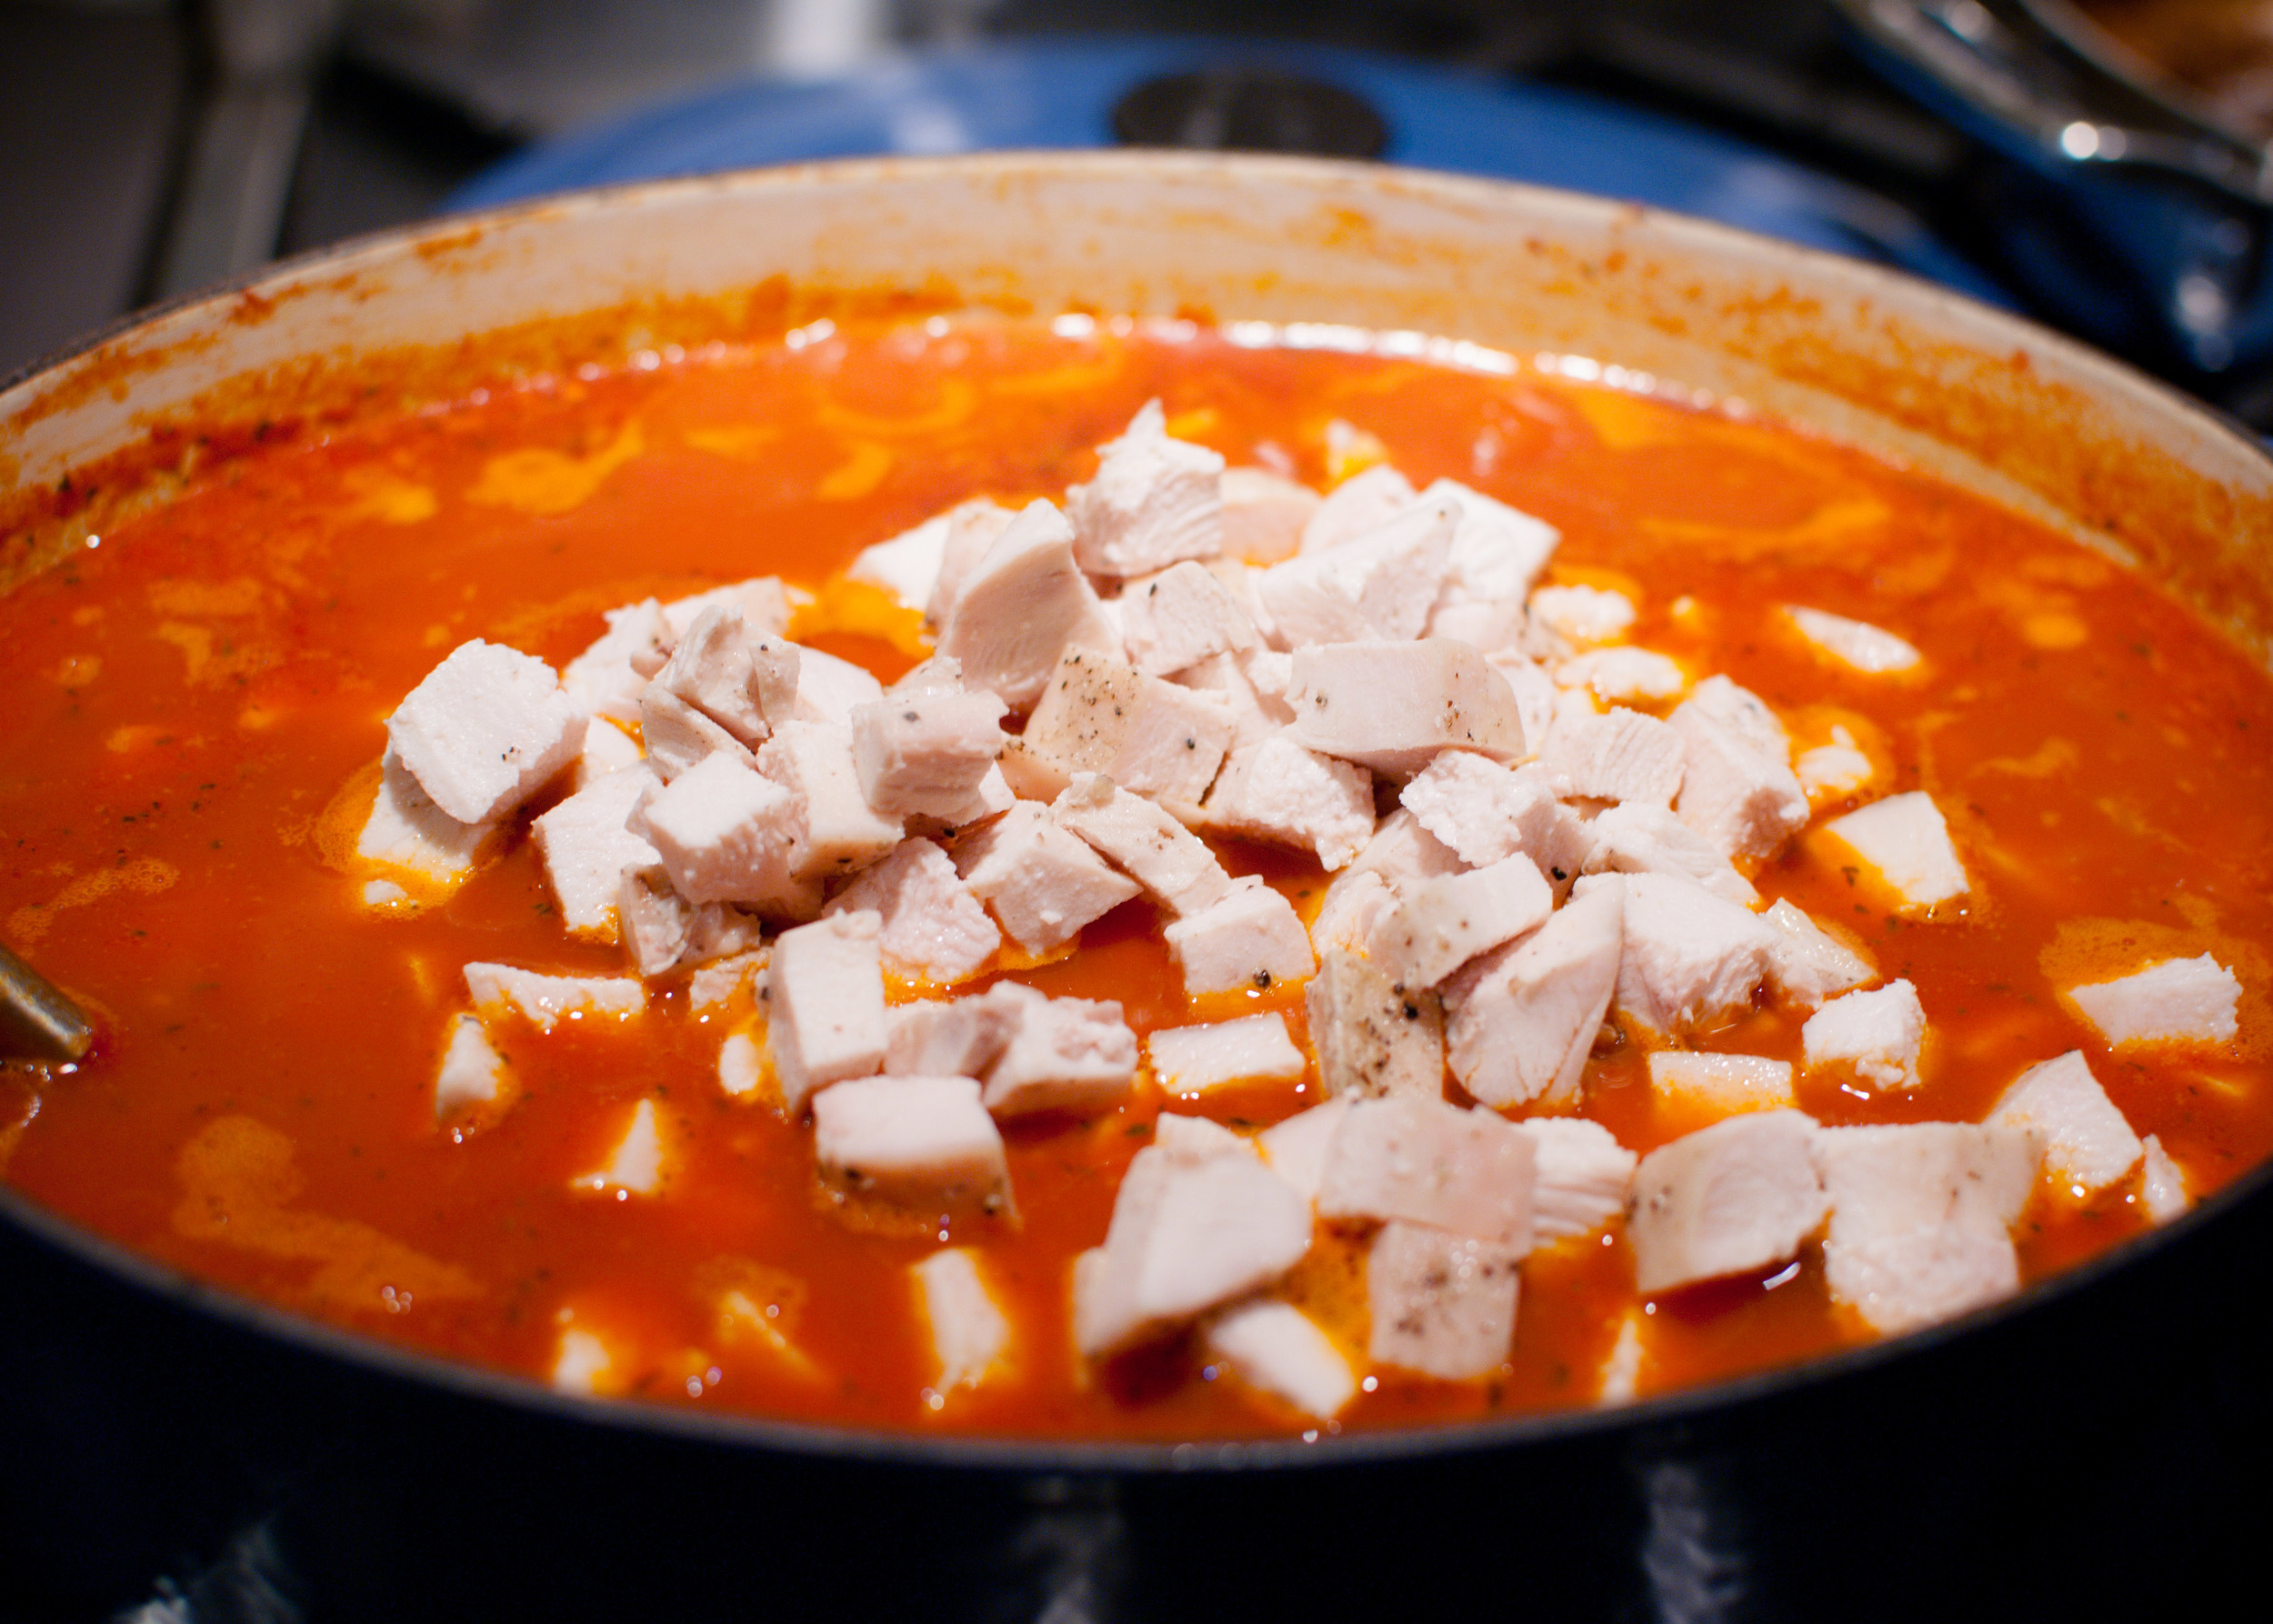
Rub the chicken breasts with olive oil and place them on a baking sheet. Sprinkle generously with salt and pepper. Roast the chicken for 20 minutes, until just cooked. Let cool slightly. Cut chicken into 1/2-inch chunks. Add to the chili along with the rinsed beans and simmer, uncovered, for another 20 minutes.

Serve with the toppings, or refrigerate and reheat gently before serving.