chocolate

Chocolate Birthday Cake with Chocolate Frosting by Amy Cantu

Print Friendly and PDF

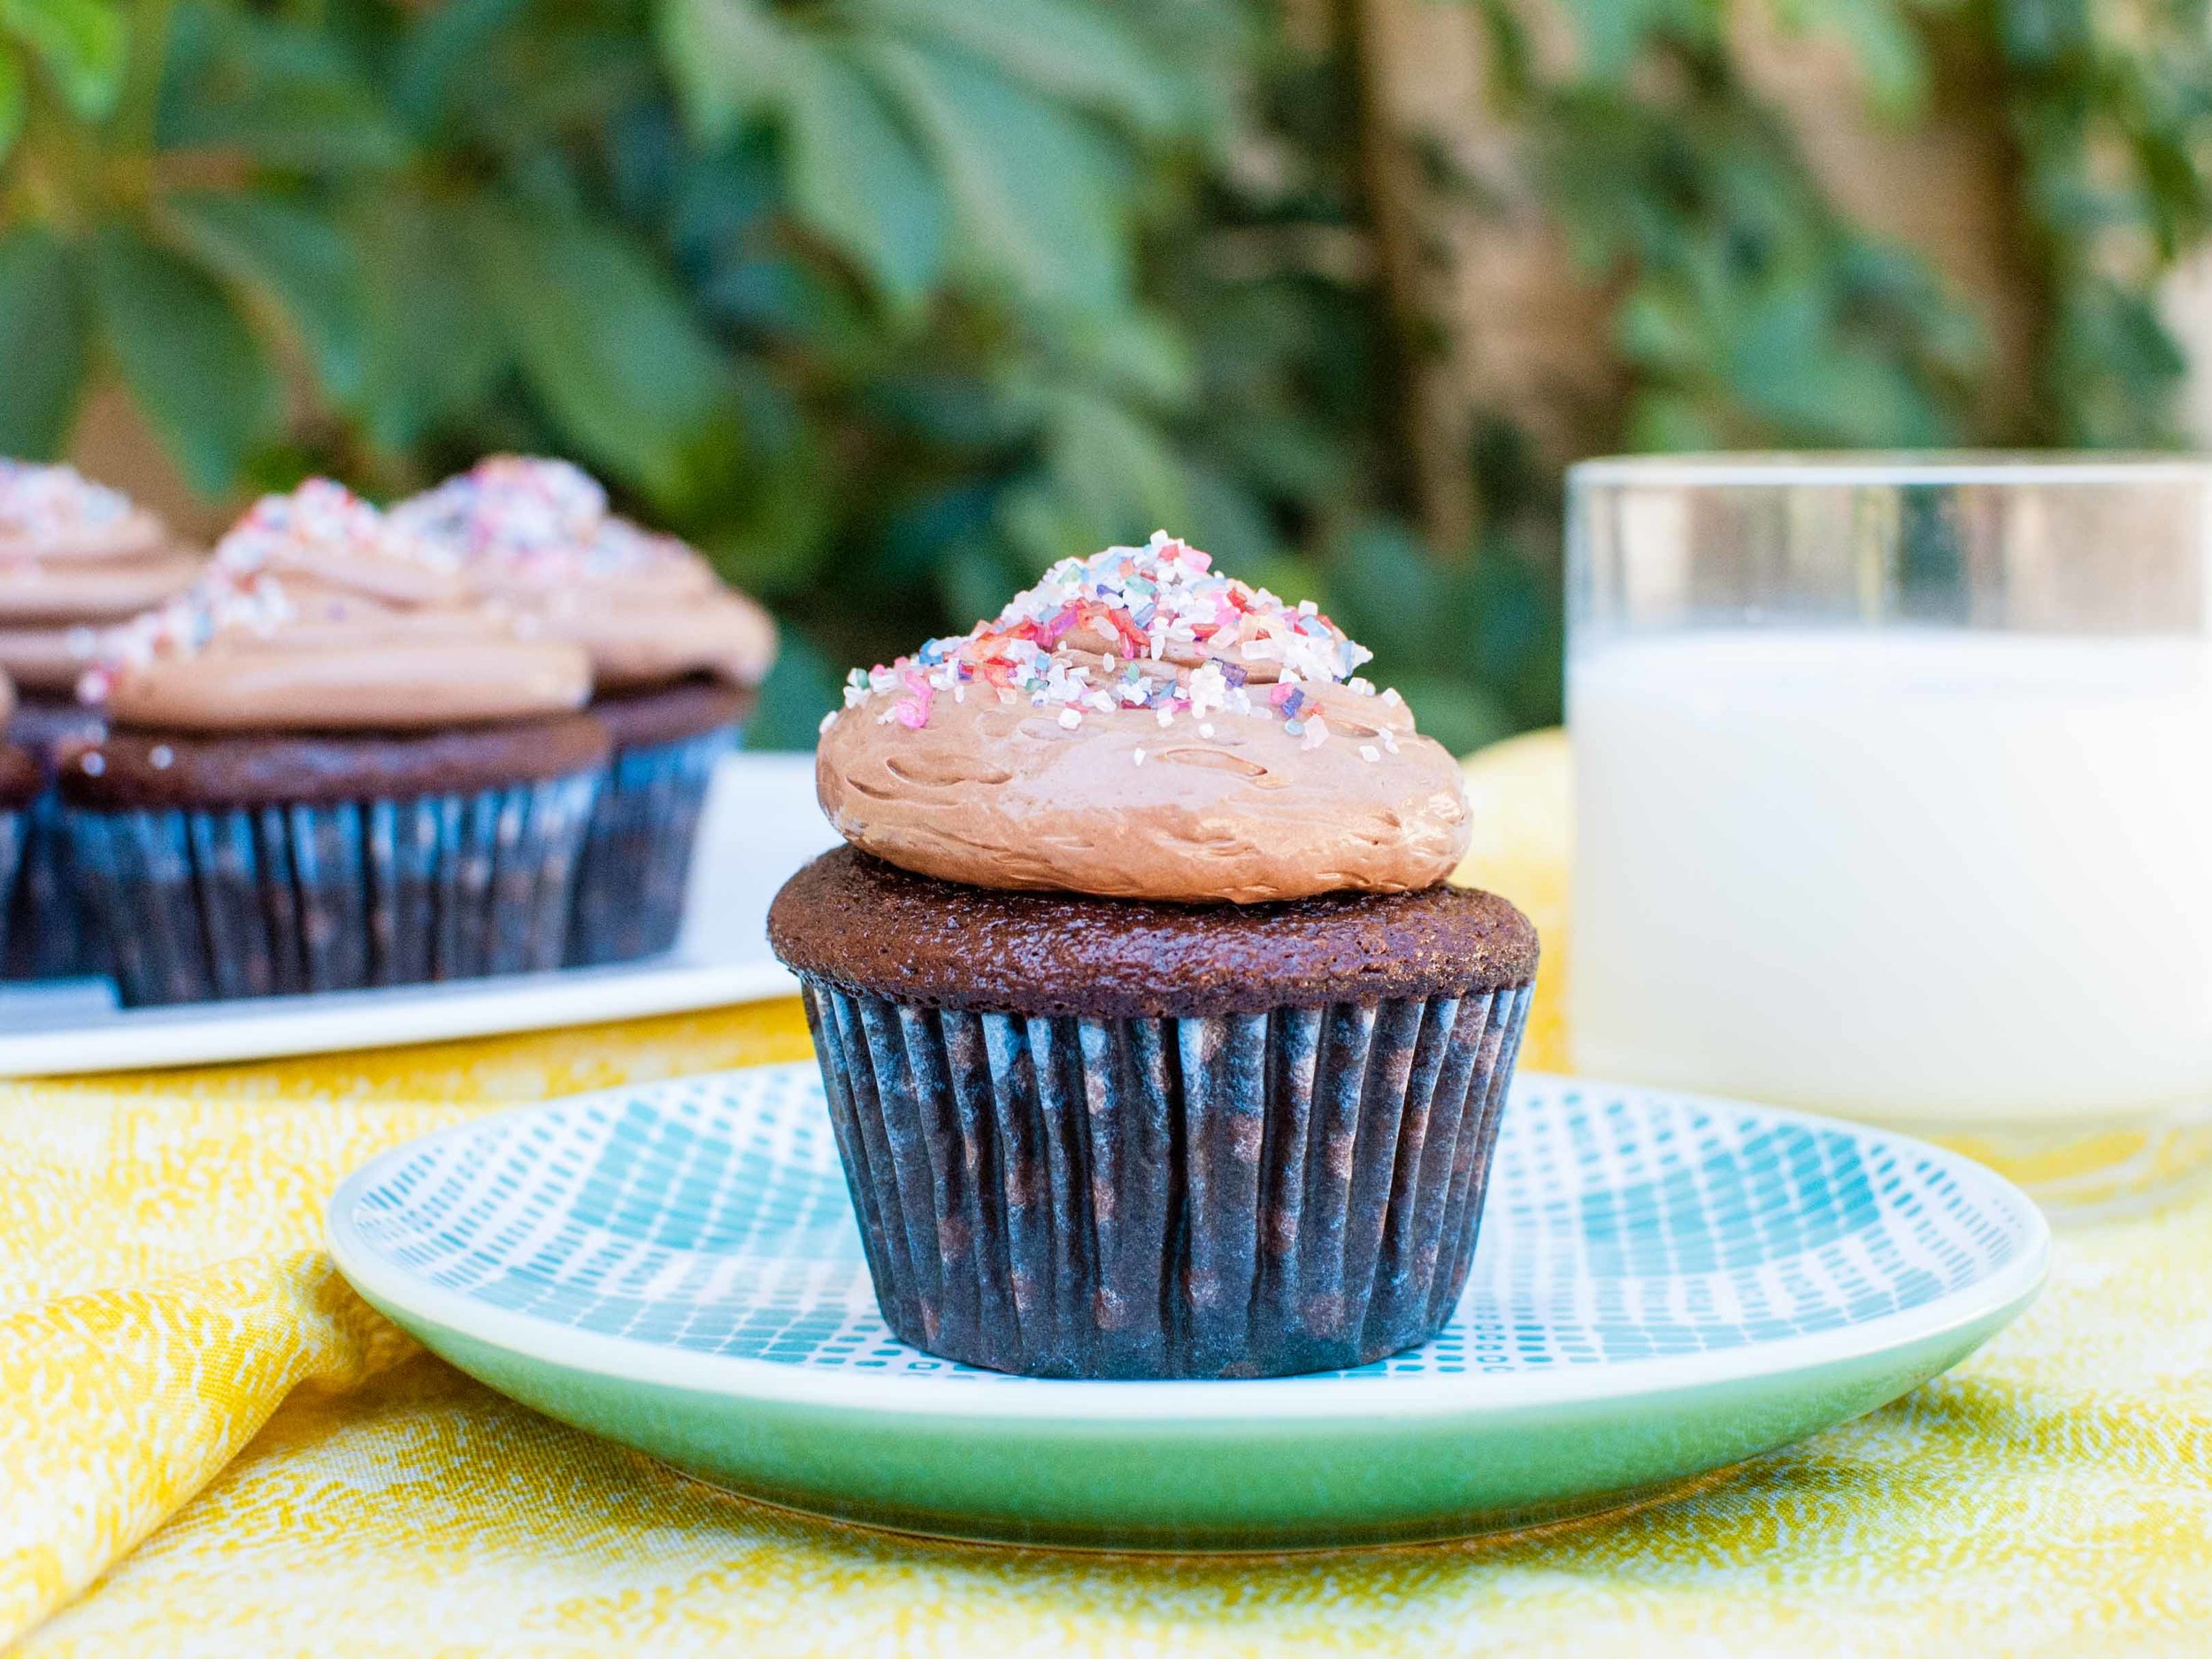
If you didn't know already, I have an absolute obsession with cake. Coconut Cake, Ice Cream Cake, Polenta Cake . . . it doesn't matter—I love it all! But sometimes nothing will do except rich, moist chocolate cake slathered with creamy, chocolate buttercream frosting, and this cake is exactly that. It's at once homey, impressive, and deeply satisfying to eat. Adults and kids both love it because . . . chocolate. It's the cake that strikes that nostalgic pang in my heart when I think of childhood birthday celebrations with balloons and streamers in primary colors. So go ahead: Make the time investment, bake this Chocolate Birthday Cake with Chocolate Frosting and eat your heart out, even if it's only your un-birthday.

Notes: I used the cake batter to make 12 cupcakes, (for a birthday play-date with a few besties,) and a small 6-inch double layer cake to enjoy with the family. I've also included instructions for using the batter to make all cupcakes, a 9x13 cake, or an 8-inch 3-Layer cake: Don't be scared off by all the text! I love the included recipe for Chocolate Buttercream Frosting because it stays beautifully shiny and creamy even as it sits out, and it's not cloyingly sweet. If the frosting begins to curdle as you are beating it, switch to high speed and keep whipping it until it looks smooth again. Don't worry, just keep whipping, and I promise it will come together. The cake is best at room temperature and will keep for 3 days without refrigeration . . . if it lasts that long!


Time: 2 hours
Yield: 12 cupcakes + 6-inch double-layer cake (I used a 6x3" round pan), 30 cupcakes, 13x9x2-inch baking pan, or 3-layer cake (8" rounds)

2 cups sugar
1 3/4 cups all-purpose flour
3/4 cup cocoa (natural, not dutch process)
1 teaspoon baking powder
1 1/2 teaspoons baking soda
1 1/2 teaspoons kosher salt (3/4 teaspoon table salt)
2 eggs
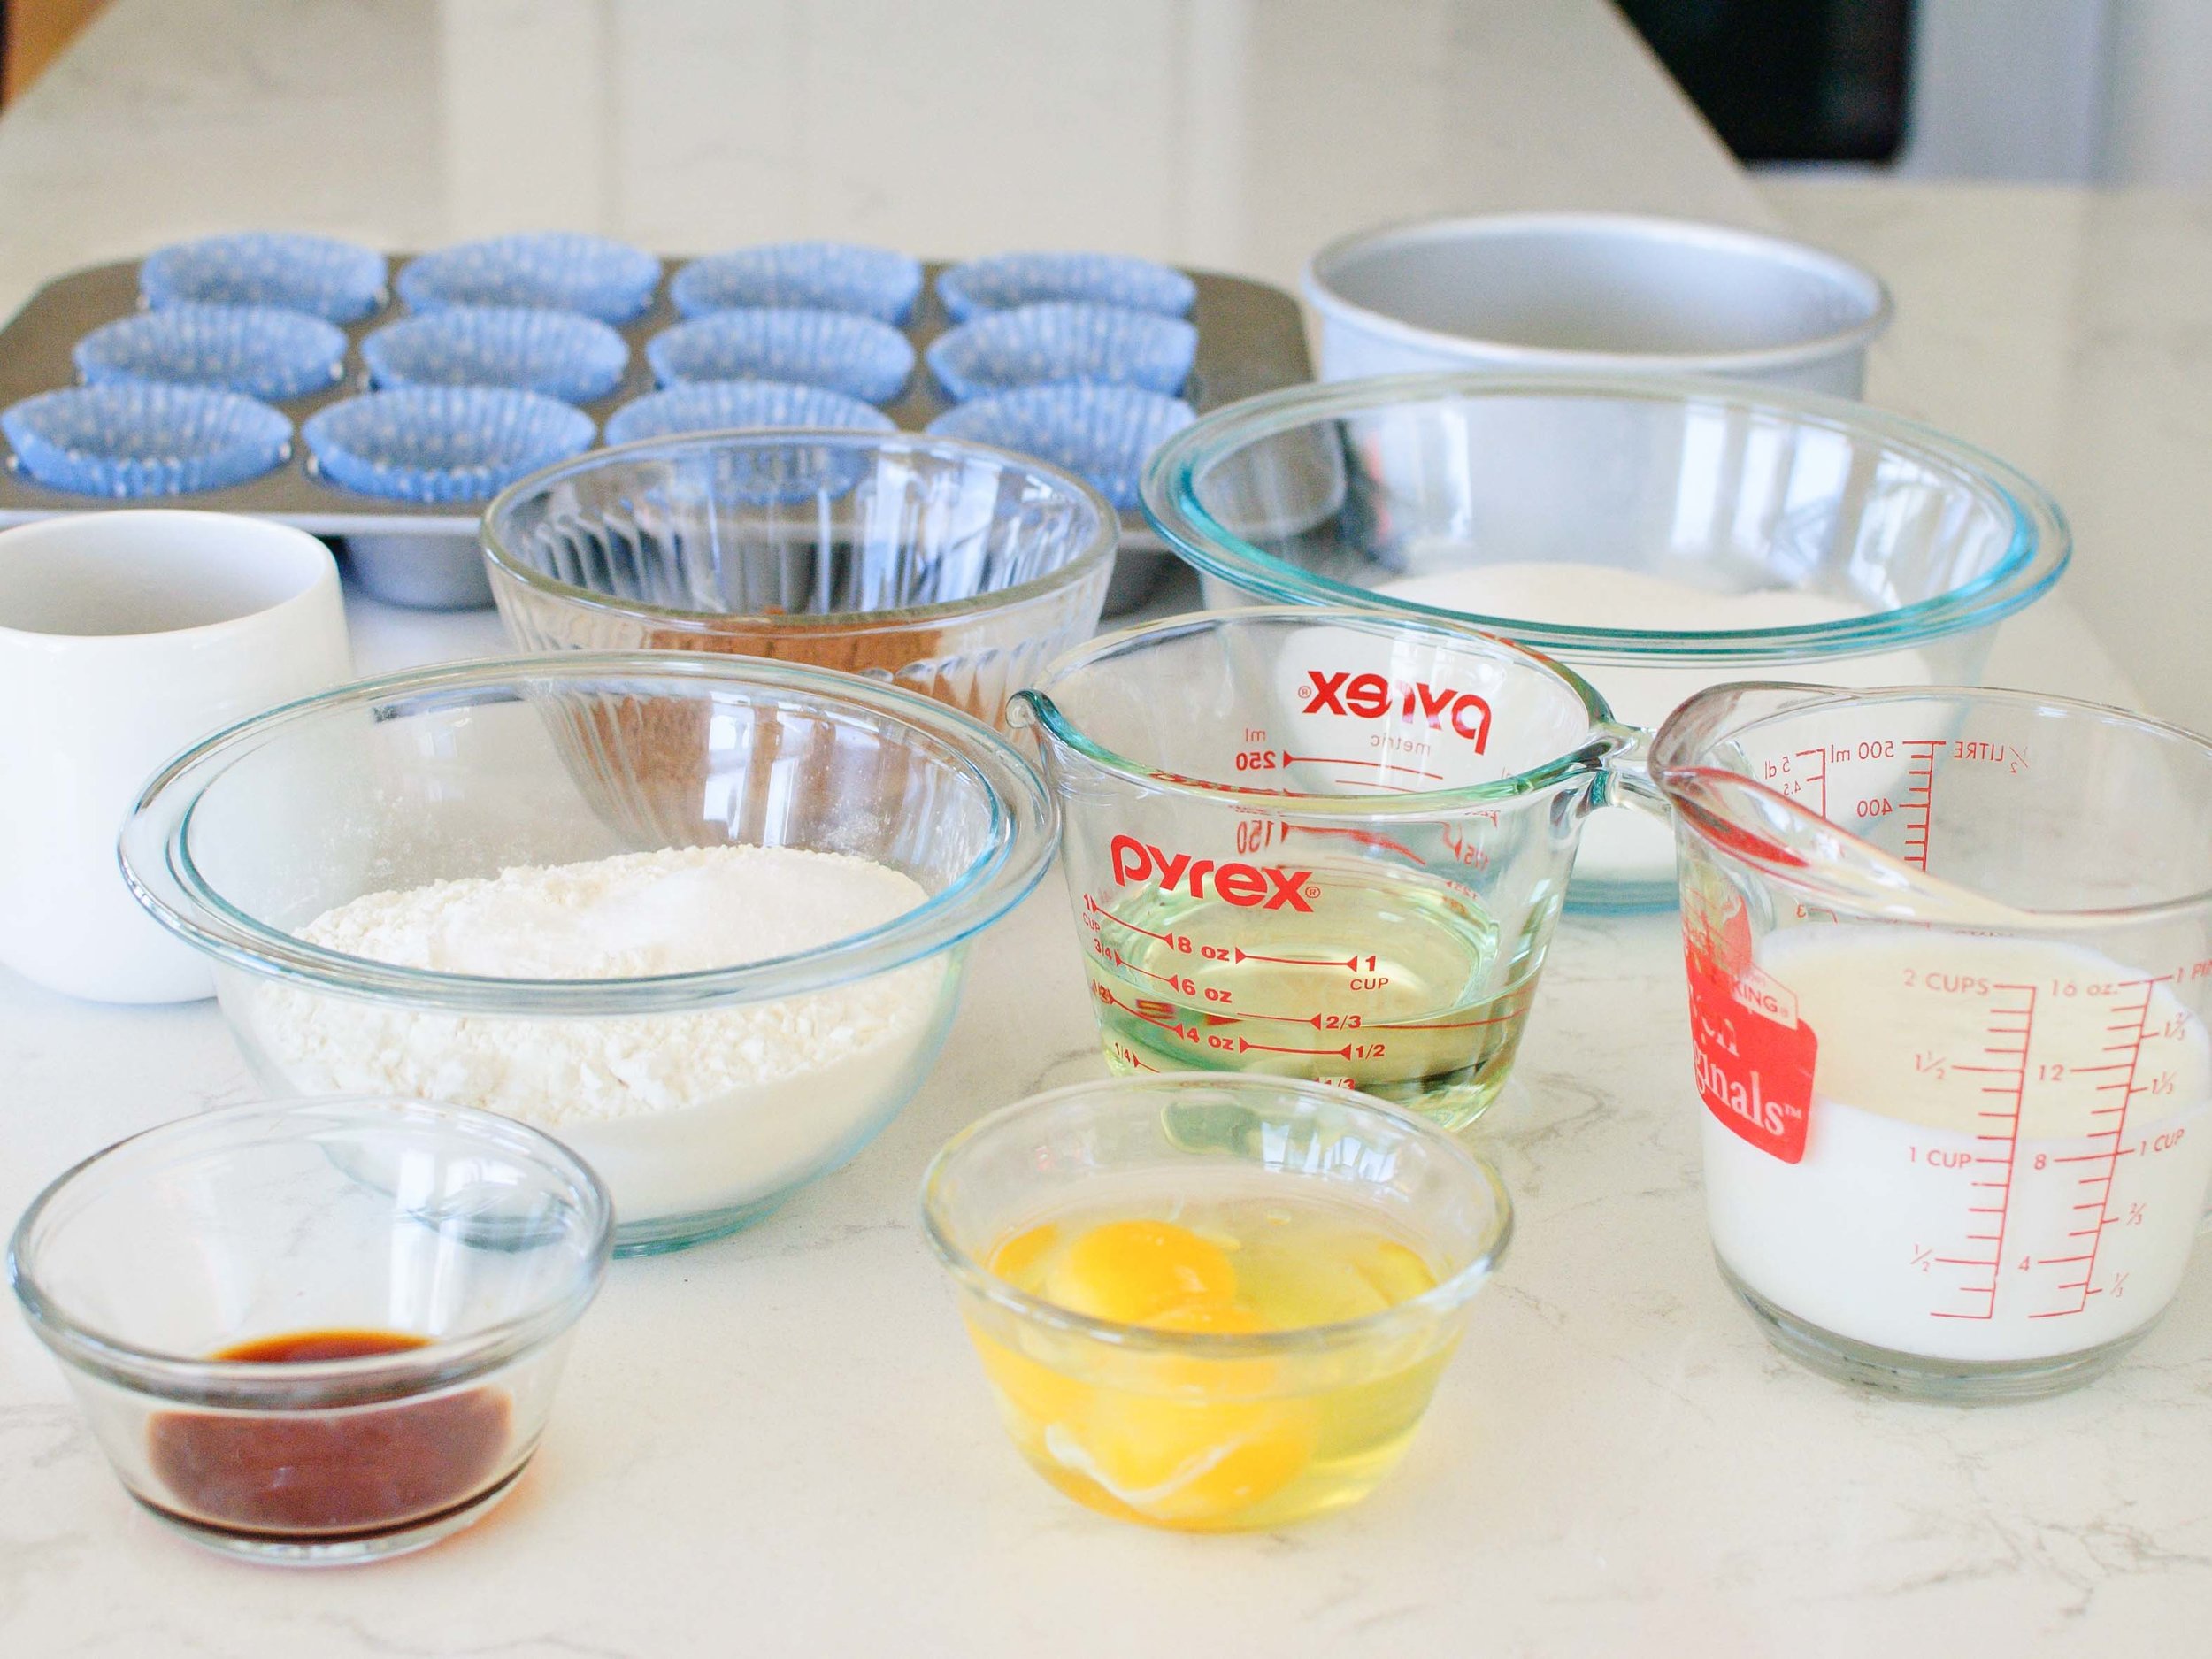
1 cup shaken buttermilk
1/2 cup vegetable oil
2 teaspoons vanilla extract
1 cup very hot brewed coffee
1 recipe Chocolate Buttercream Frosting (See recipe below.)
Loads of sprinkles

Preheat oven to 350 degrees F. Cupcakes: Line with cupcake liners. Cake pans: Cut parchment paper to fit the bottom of the pans. (I trace the bottom of the pan onto the parchment paper, then cut it out for a perfect fit.) Grease the bottoms and sides of the pan(s), line with the parchment paper, then grease the top of the parchment paper. (The extra parchment paper step ensures no wasted effort from the cake sticking to the pan!)

In a large bowl (or stand-mixer bowl fitted with a flat beater), stir together sugar, flour, cocoa, baking soda, baking powder, and salt. Beat in eggs, buttermilk, oil, and vanilla at medium speed for 2 minutes, until well-combined. Stir in very hot coffee - batter will be runny. Pour batter into prepared pans, filling them 2/3 full.

Bake until a wooden toothpick poked into the middle of the cake comes out clean. (Cupcakes: 22 to 25 minutes, 6x3-inch round: 30-35 minutes, 9x13-inch cake: 35-40 minutes, three 8-inch round cake pans: 30-35 minutes.) Cool 10 minutes, then remove from pans to wire racks. Cool completely. 

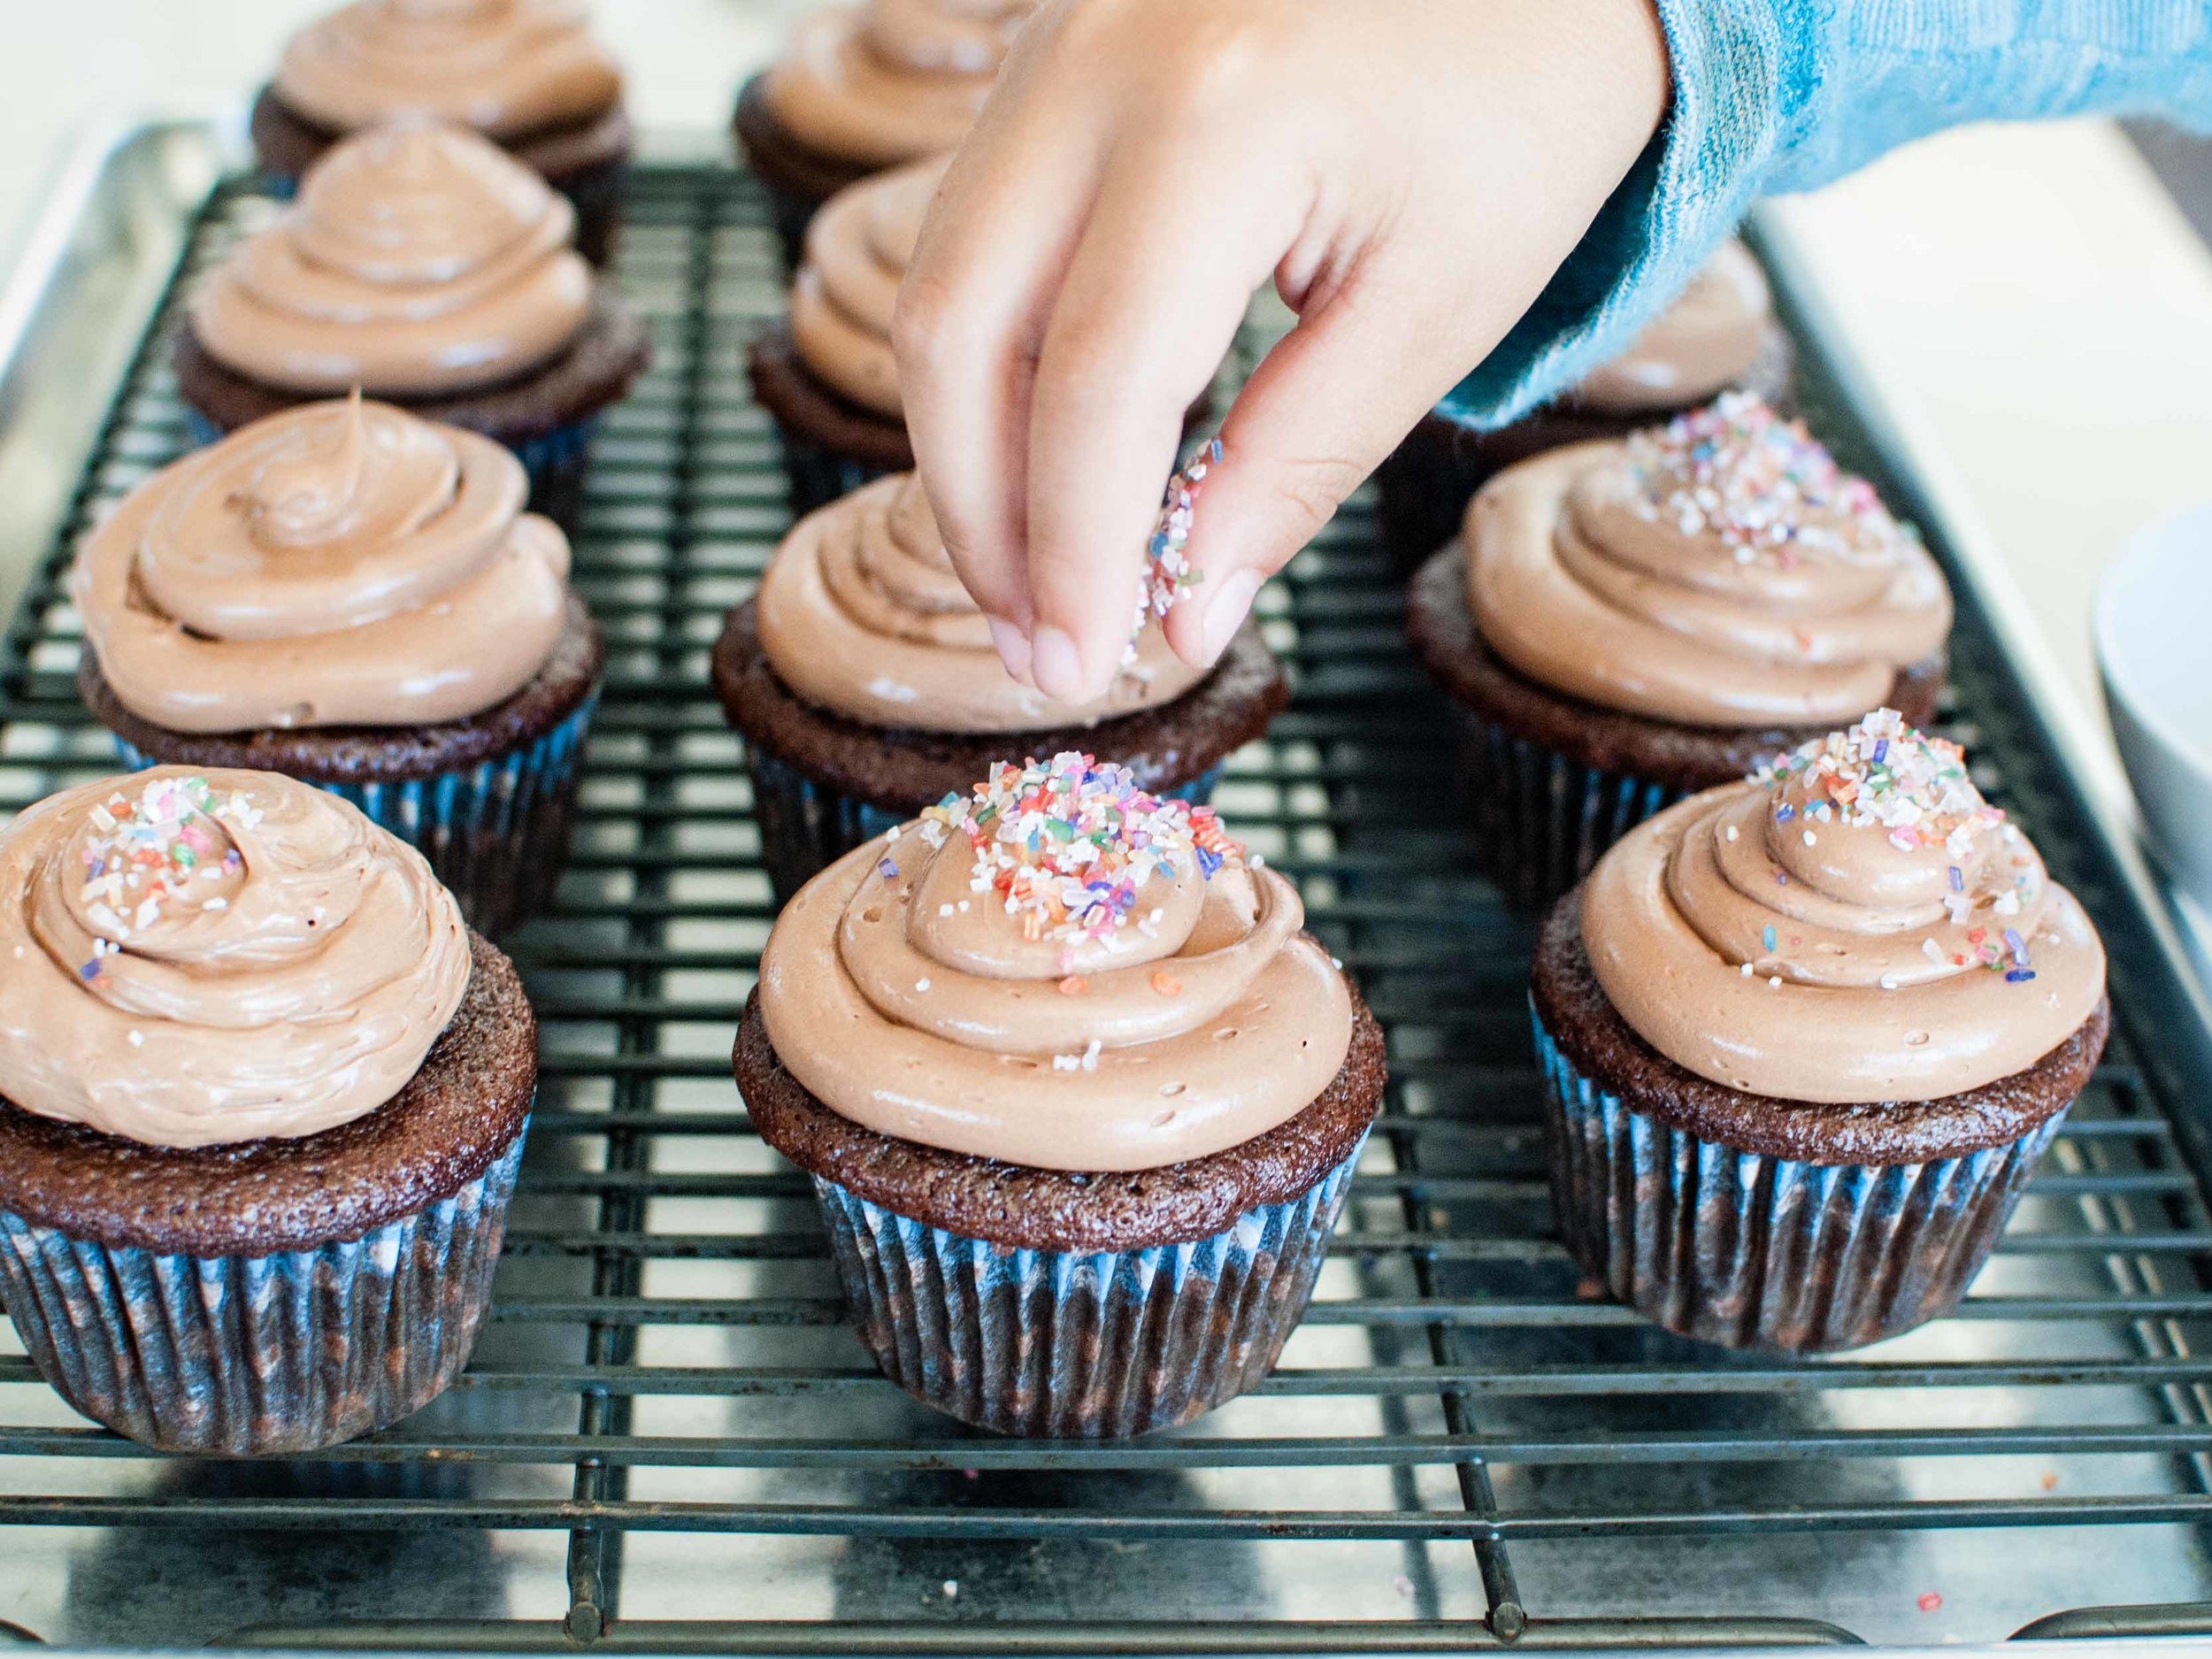
Cupcakes: Frost with Chocolate Buttercream Frosting and decorate judiciously with sprinkles!

6-inch Double Layer Cake: If necessary, lightly trim the top of the cake to create a flat top. Using a serrated bread knife, slice the cake horizontally to create two round layers of equal thickness. Place one layer on a flat plate or cake stand. Using a knife or offset spatula, spread the top with frosting. Top with the second layer, and spread frosting all over the top and sides, creating pretty swirls as you go, if you like. Decorate with plenty of sprinkles!

13x9 Single-Layer Cake: Spread Chocolate Buttercream Frosting over the top and sides. (There will be extra frosting.) Then sprinkle, sprinkle, sprinkle with sprinkles!

3-Layer Cake: Lightly trim the top of each 8" round cake to create a flat top. Place one layer on a plate or cake stand. Using a knife or offset spatula, spread the top with frosting leaving a 1/4" border. Top with the second layer, and spread the top with frosting leaving a 1/4" border. Place the final layer on top, and spread frosting evenly over the top and sides, creating pretty swirls as you go, if you like. Then, go crazy with those sprinkles!

Chocolate Buttercream Frosting

Recipe adapted from The Cake Bible by Rose Levy Bernanbaum

10 ounces bittersweet or semisweet chocolate, roughly chopped or chips
2 cups unsalted butter, room temperature (softened)
4 large egg whites, room temperature*
1 cup granulated sugar

Using a double-boiler to melt chocolate: Improvise a double-boiler, (if you don't have one,) by filling a saucepan 1/4 full with water and placing a heat-safe bowl over the pot. (The bowl should not touch the water.) Bring the water to a boil, then reduce the heat to low to keep a steady simmer. Place the chocolate into the bowl and stir frequently, until the chocolate begins to melt. Remove from heat when half the chocolate is melted, and continue to stir, using residual heat to complete the melting. The chocolate should be completely smooth. (If the chocolate is not completely melted, return the chocolate to the double-boiler for 30 seconds and continue stirring.)

Using a microwave to melt chocolate: Microwave chocolate in a microwave-safe bowl on high for 15 seconds. Stir well. Repeat until chocolate is half-melted and stir, using residual heat to complete the melting. If chocolate cools before chocolate is completely smooth, return to the microwave for another 15 seconds and continue to stir until chocolate is fully melted.

In a mixing bowl beat the butter on medium speed until smooth and creamy.

In the bowl of an electric mixer, beat the egg whites using the whisk attachment, (if you have one,) using a high speed setting, until soft peaks form when the beater is raised. Gradually beat in the sugar until stiff peaks form when the beater is raised slowly. Beat in the butter by the tablespoon. If the mixture looks slightly curdled, increase the speed a little and beat until smooth before continuing to add more butter. Add the melted and cooled chocolate all at once and beat until smooth and uniform in color. Use immediately or place in an airtight bowl. Re-beat frosting at room temperature to restore texture.

*Contains raw egg: Please be aware that consuming raw and lightly cooked eggs exposes a slight risk of salmonella or other food-borne illness. To reduce this risk, use fresh, properly refrigerated, clean grade A or AA eggs with intact shells, and avoid contact between the yolks or whites and the shell.

Easy Chocolate Pudding by Cynthia Raub

Print Friendly and PDF

I vacillate between having absolutely no self control to annoyingly smug and proud for my saint-like restraint. It's black or white and there is no grey. I either have self control or I don't. This is why you normally won't find cookies, ice cream or any other sweet treat in my home. My smug self feels superior for not caving in at the store and buying yummy and delectable treats at the store. The reason I don't keep treats in the house is because if I have them, I will eat all of them. Not one, not a few - ALL. This is where my self control fails me. But after my kids go to bed, I open my sad pantry doors, and I am disappointed that there are no yummy sweets for me to indulge in. This has lead to some desperate alternatives. A handful of chocolate chips? I've done it. A spoonful of Nutella? On the reg. Cinnamon sugar toast? I'm a child, I know.

But ever since I made this easy and fast chocolate pudding from pantry staples, my late nights have been a little less sad and disappointing. This pudding comes together in 15 minutes because of the cornstarch. Cornstarch doesn't have the best reputation, but it's just as "natural" as refined flour or sugar. I love to use cornstarch in my Korean Green Onion and Seafood Pancakes (Pa Jun) to lighten the pancake batter. For this recipe, the cornstarch thickens your pudding beautifully and easily. This recipe is also very versatile, as you can switch the milk from whole to skim, or an alternative milk. You can omit the cocoa to make a vanilla pudding or omit the generous portion of butter to health-ify things a little. Chocolate pudding can be made ahead and kept for several days, or it can be made on the fly to satisfy an immediate craving. I love that it's easy to transport (especially to a picnic with a summery bean salad) and doesn't require any extraneous kitchen equipment.


Notes: Although this recipe is very straightforward, it does implement one important cooking technique: tempering. Tempering is the process in which you heat an egg mixture slowly with a hot milk mixture. Adding hot milk to eggs will heat the eggs without cooking them, in order to develop the custard. The egg in this recipe helps to thicken the pudding and brings an overall richness to each bite but must be cooked and introduced to the recipe properly. If too much heat is introduced to the eggs too quickly, the eggs will scramble and curdle, leaving the mixture inedible and unusable.

If you are looking to cool your chocolate pudding quickly, (maybe you're pressed for time or maybe you have no self control . . . ) cover a rimmed baking sheet with a piece of parchment paper or plastic wrap. Spread the chocolate pudding evenly to increase the surface area of the pudding, and cover the top of the pudding with another sheet of parchment paper or plastic wrap. Placing the parchment paper or plastic wrap directly on top of the pudding prevents the rubbery pudding skin from forming. If you find that your pudding it too firm or gelatinous for your liking once it's been cooled, you can put it in a mixer with the whisk attachment to lighten it up.


Time: 15 minutes active + cooling time
Yield: 3 cups

3 egg yolks
1/3 cup cornstarch
3 cups whole milk (divided)
3/4 sugar
1/2 cup cocoa
2 tablespoon vanilla
2 tablespoons butter
Optional: cookie crumbs and/or whipped cream for garnish

In a large bowl, combine egg yolks, cornstarch and 1/2 cup of milk. Whisk until frothy and until the cornstarch has been fully incorporated.

In a non-reactive medium pot on medium heat, combine remaining milk, sugar and cocoa. Whisk until combined and bring to a simmer, allowing to simmer for 3 minutes.

Remove pot from heat and with a ladle, slowly stream 1/4 cup of hot cocoa liquid into the large bowl containing the egg and cornstarch mixture, whisking to disperse the hot liquid. (In my photo I did not use a ladle- I poured the hot cocoa liquid directly from the pot, which I would not advise). Continue to add hot liquid in a thin stream to the egg mixture slowly, while whisking constantly, until the egg mixture has been tempered (see Notes above).

Once combined, pour back into the pot and bring to a boil over medium heat, whisking occasionally. Once thickened and glossy after coming to a boil, turn off heat and transfer to a clean, heat proof bowl and place plastic wrap or parchment paper directly onto the top of the pudding. Chill in the refrigerator and serve, garnishing with cookie crumbs and/or whipped cream. (See Notes above for a rapid cooling tip!)

Salted Tahini Chocolate Chip Cookies by Amy Cantu

Print Friendly and PDF

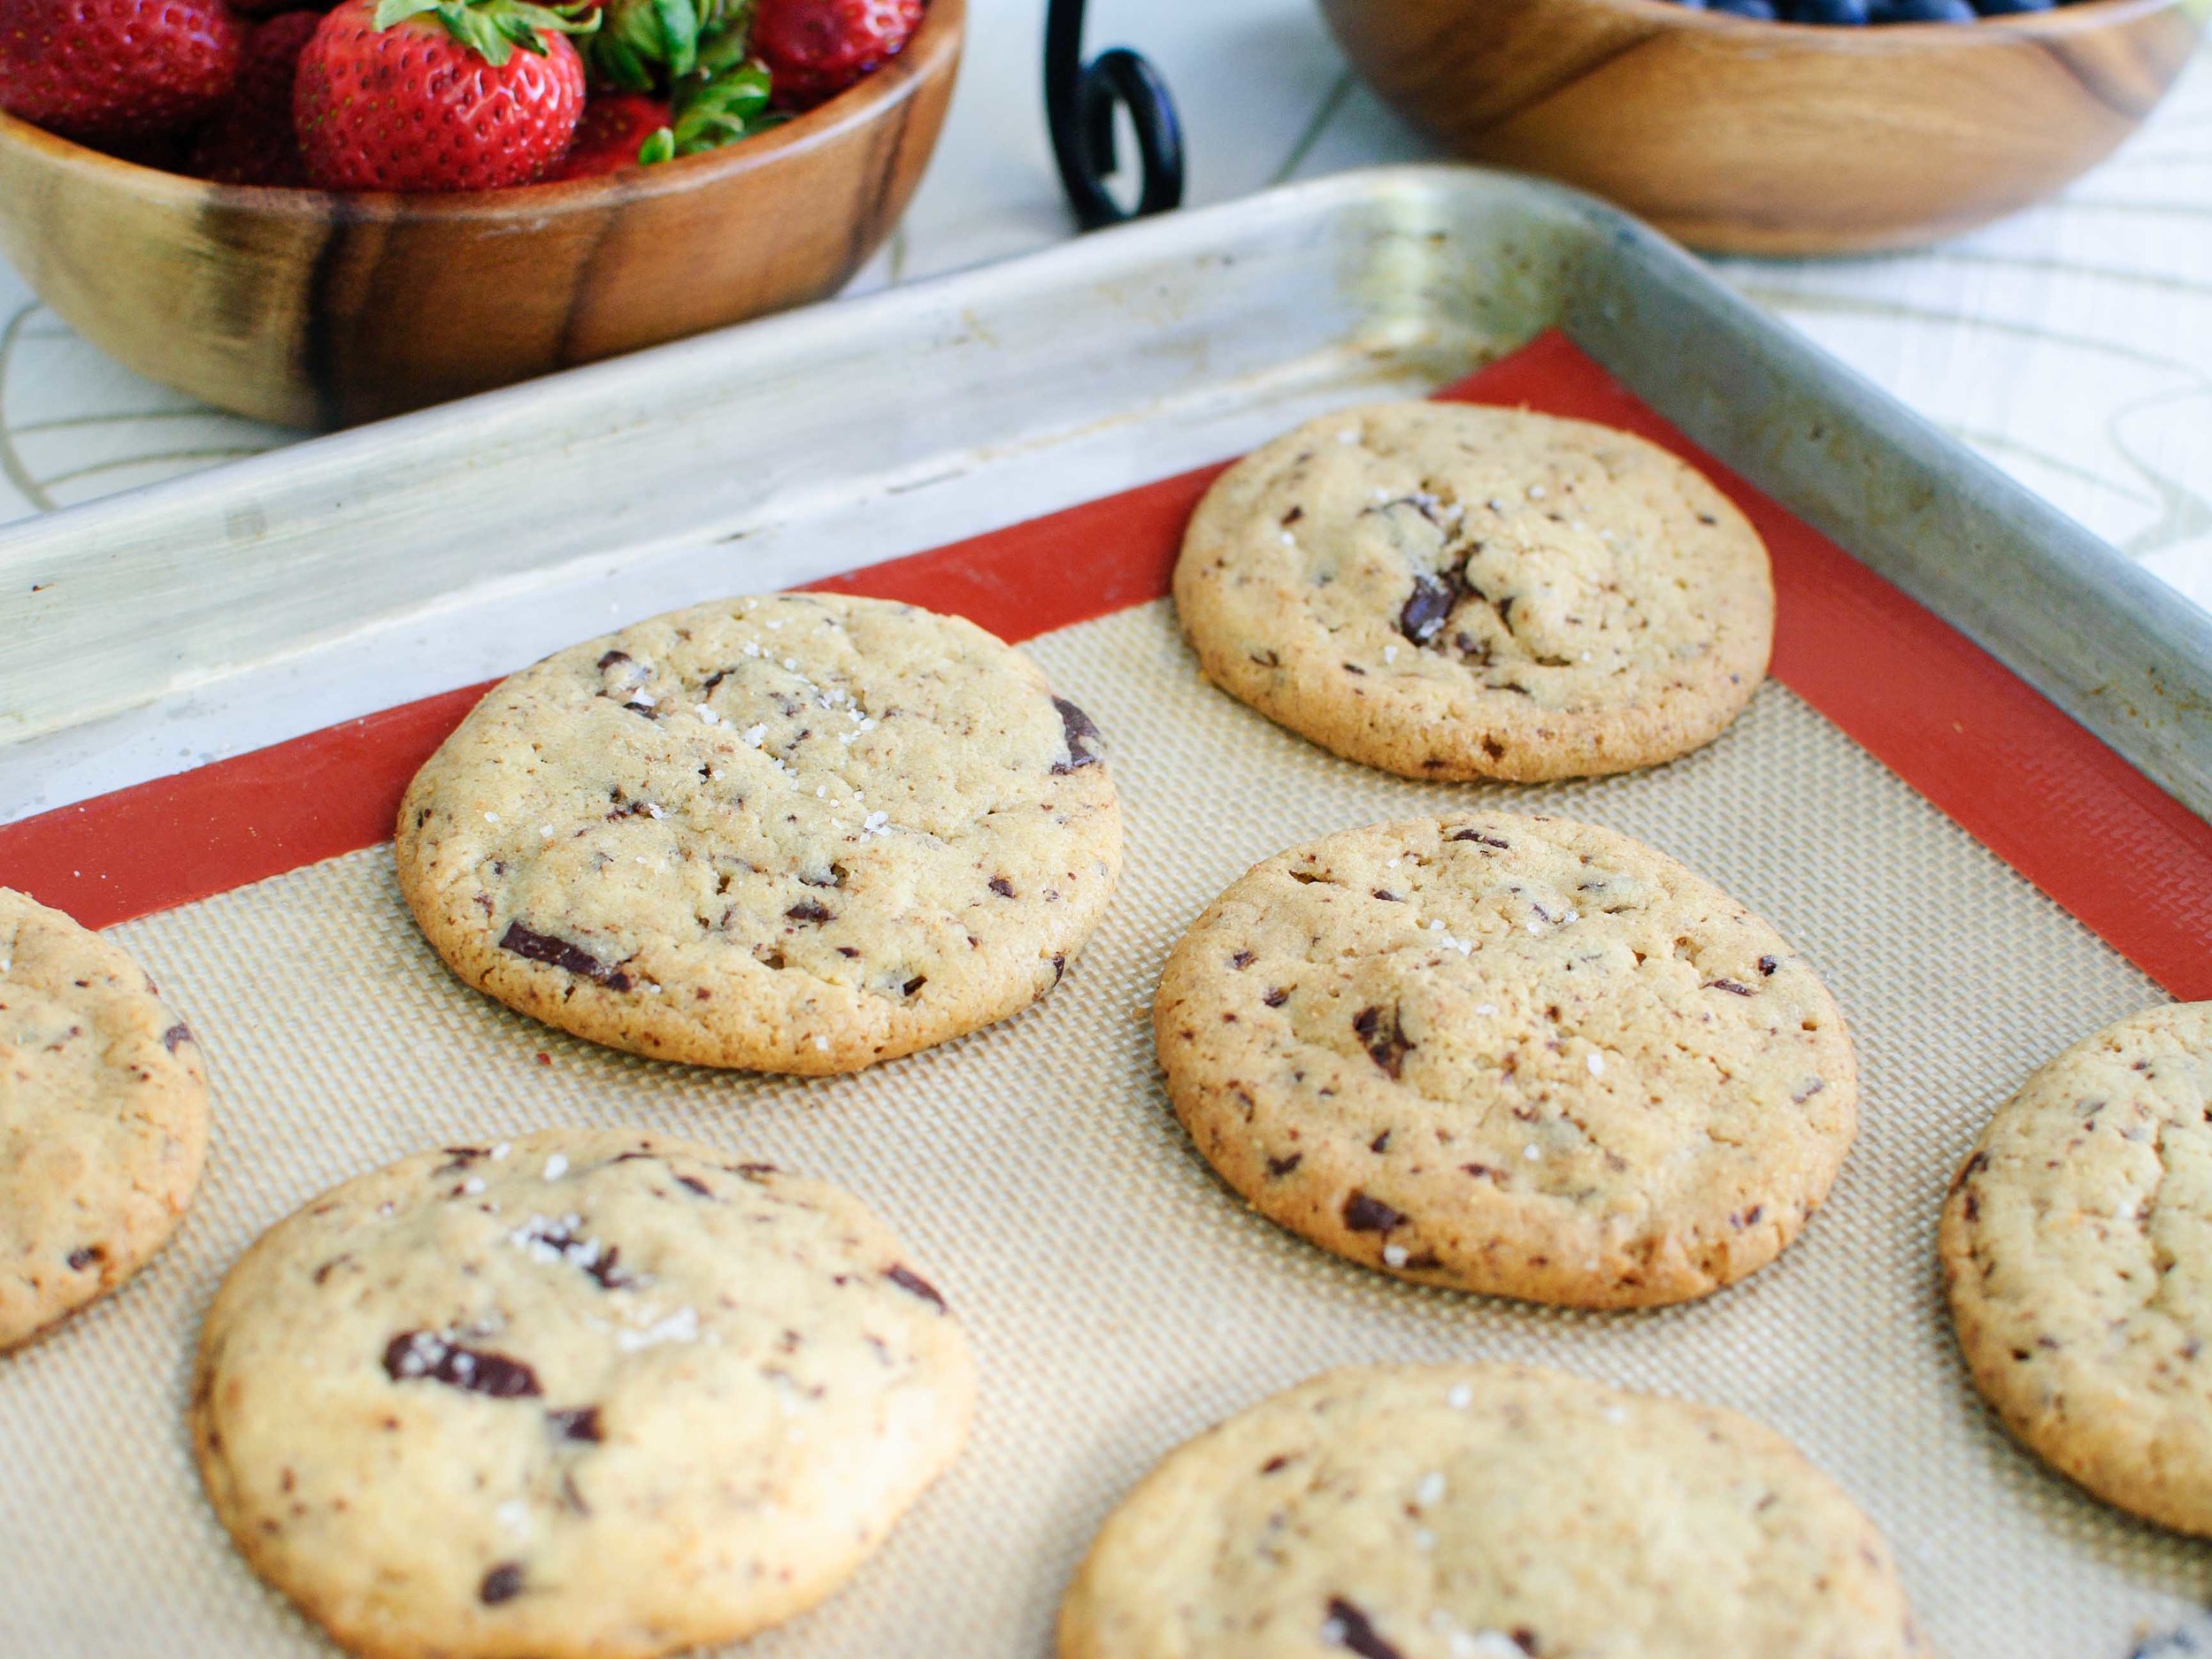
Everyone has a favorite chocolate chip cookie recipe, and everyone says theirs is the best. They are all wrong. These Salted Tahini Chocolate Chip Cookies are the best chocolate chip cookies I have ever put in my mouth, and I have for sure eaten more chocolate chip cookies than any one person should ever eat in their whole lifetime. This fact obviously makes me an expert on the matter. (This obviously does NOT make me an expert on anything, except eating too much and too frequently. I digress.) What I can say with complete accuracy is that the cookie dough and baked cookies were so delicious, that I had to make a second double batch because I (and Cynthia, and my friend Christine, and my husband AJ, and my kids) couldn't stop eating them. The smell of them baking in the oven was so intoxicating that Cynthia and I couldn't wait for them to cool, so we burnt our fingers prying them off the cookie sheet and our tongues from the hot, oozing chocolate: It was absolutely worth it. The edges of the Salted Tahini Chocolate Chip Cookie were crisp and crunchy, while the centers were soft, yielding, and chewy. The tahini flavor was subtle, but added a deep, nutty base that stood up to the velvety, rich dark chocolate. AJ (who doesn't crave sweets) couldn't stop at one cookie, while my kids speedily cleaned up their toys to share one more. I'm not saying these cookies are magical (O.K. that IS what I'm saying), but I think they might be the answer to world peace, happiness, and well-being . . . maybe.

Notes: The tahini flavor is pronounced in the cookie dough, but is much more subtle in the baked cookie. I added a tablespoon of sesame oil to play up the flavor a bit, but it does result in a more crisp cookie. 

The cookie dough really does need to rest in the fridge for 12 hours, so the flavors can mingle and the cookies don't spread too much when baked. I have doubled the quantities in the recipe included here because 25 cookies is the minimum to prevent a fist fight (or at the very least, Ro Sham Bo,) to determine who gets the last cookie. Save the angst and make enough for everyone to enjoy!

Also, the cookie dough freezes beautifully. Freeze the cookie dough balls in a single layer on a cookie sheet until hard, then transfer them to a sealed container or bag. Bake the dough balls straight from the freezer, adding a couple extra minutes to the baking time.


Read More: The Shared Cookies


Time: 20 minutes (active), 12 ½ hours (inactive)
Yield: About 25 cookies

1 cup (1/2 lb) unsalted butter at room temperature
1 cup tahini, well stirred
1 tablespoon roasted sesame oil (optional)
2 cups granulated sugar
2 large eggs
2 egg yolks
2 teaspoons vanilla extract
2 ¼ cups all-purpose flour
1 teaspoon baking soda
1 teaspoon baking powder
2 teaspoons kosher salt
2 ½ cups chocolate chunks or chips, bittersweet or semisweet
Flaky salt, like fleur de sel or Maldon

In the bowl of an electric mixer fitted with the paddle attachment, cream butter, tahini, sesame oil (if using), and sugar at medium speed until light and fluffy, about 5 minutes. Add eggs, egg yolks and vanilla and continue mixing at medium speed for another 5 minutes.

Combine flour, baking soda, baking powder and kosher salt into a large bowl and mix with a fork or whisk. Add flour mixture to butter mixture at low speed until just combined. Use a rubber spatula to fold in chocolate chunks. Dough will be soft, not stiff. Refrigerate at least 12 hours; this ensures tender cookies.

When ready to bake, preheat oven to 325 degrees and line a baking sheet with parchment paper or nonstick baking mat.  For each cookie, roll a heaping tablespoon of dough into a ball, and drop onto ungreased baking sheets, spacing 3 inches apart. (Cookies will spread while baking.)

Bake 13 to 16 minutes until just golden brown around the edges but still pale in the middle to make thick, soft cookies.  Or for crisp cookies, bake until evenly golden brown (about 1-2 minutes further). As cookies come out of the oven, sprinkle sparsely with salt. Let cool for 5 minutes on cookie sheet before transferring to a rack to cool completely.

Cookies and Cream Ice Cream Cake by Amy Cantu

Print Friendly and PDF
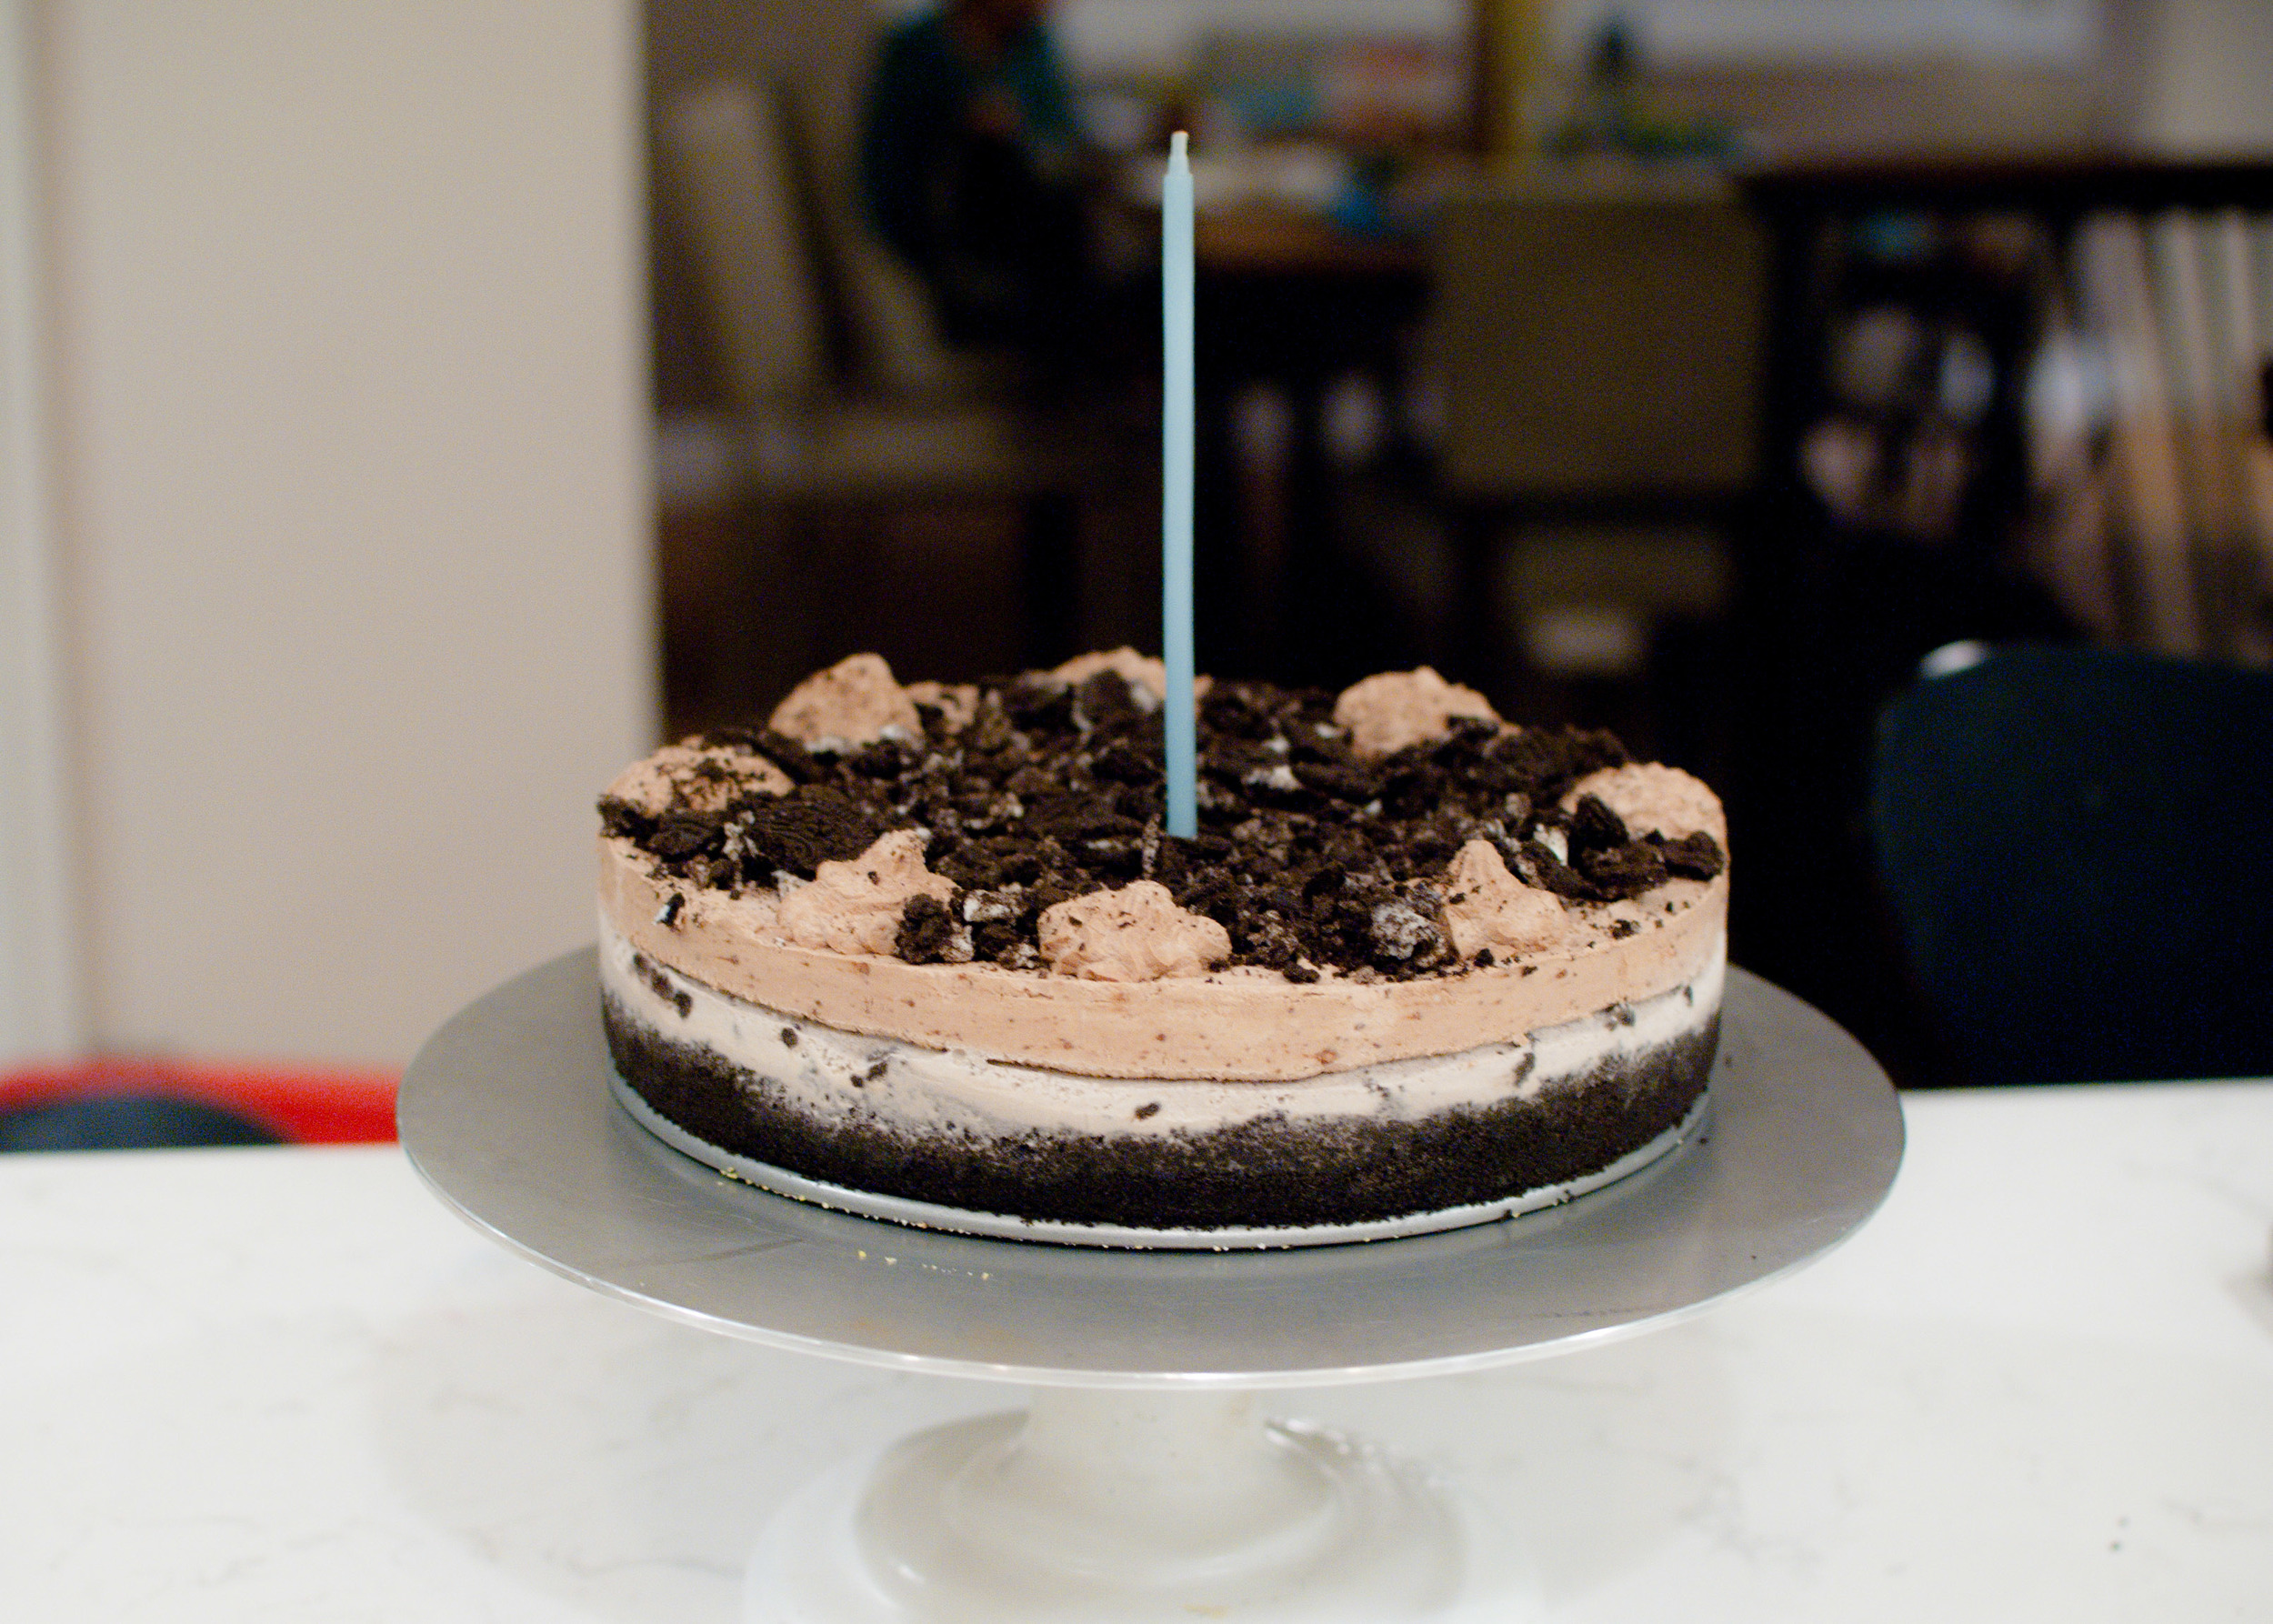
Cookies and Cream Ice Cream Cake

Ice cream cake is sooo much easier to make than a tiered cake baked in the oven. It looks impressive and tastes divine, because much like cheese, who doesn’t like ice cream? My family declared this “the best birthday cake ever”, which is almost an insult because of how little effort it took. The hardest part about this “cake” is starting at least a day in advance, so that the layers have ample time to freeze. I love the layered look of the cake, once it’s sliced. Depending on the flavor of ice cream you choose, this ice cream cake is just as comfortable at an elegant dinner party, as it is at a kid’s (or husband’s) birthday party!

Developed from Bon Appetit.

Notes: Variations of this ice cream cake are endless. You can change the ice cream flavor to just about anything that would go with chocolate. (Peanut butter ice cream topped with peanut butter cups?! A berry flavored ice cream and then top with fresh berries?! Or how about Dulce de Leche ice cream and then drizzle with caramel sauce? YUM!). You could also change the chocolate cookies to shortbread or vanilla wafer cookies and do a citrus flavored ice cream. Modify the whipped cream topping by substituting a teaspoon of lemon or orange zest for the cocoa powder. Now you have a summery dessert!


Time: 30 minutes (not including freezing time)
Servings: 12

52 chocolate wafer cookies, such as Famous Chocolate Wafers (about 12 ounces), broken into pieces, or chocolate cookie crumbs
6 tablespoons unsalted butter, melted
2 quarts Cookies and Cream ice cream, slightly softened
2 cups chilled whipping cream
1/2 teaspoon vanilla extract
3/4 cup powdered sugar
1/3 cup unsweetened cocoa powder
Chocolate sandwich cookies, crushed, for garnish

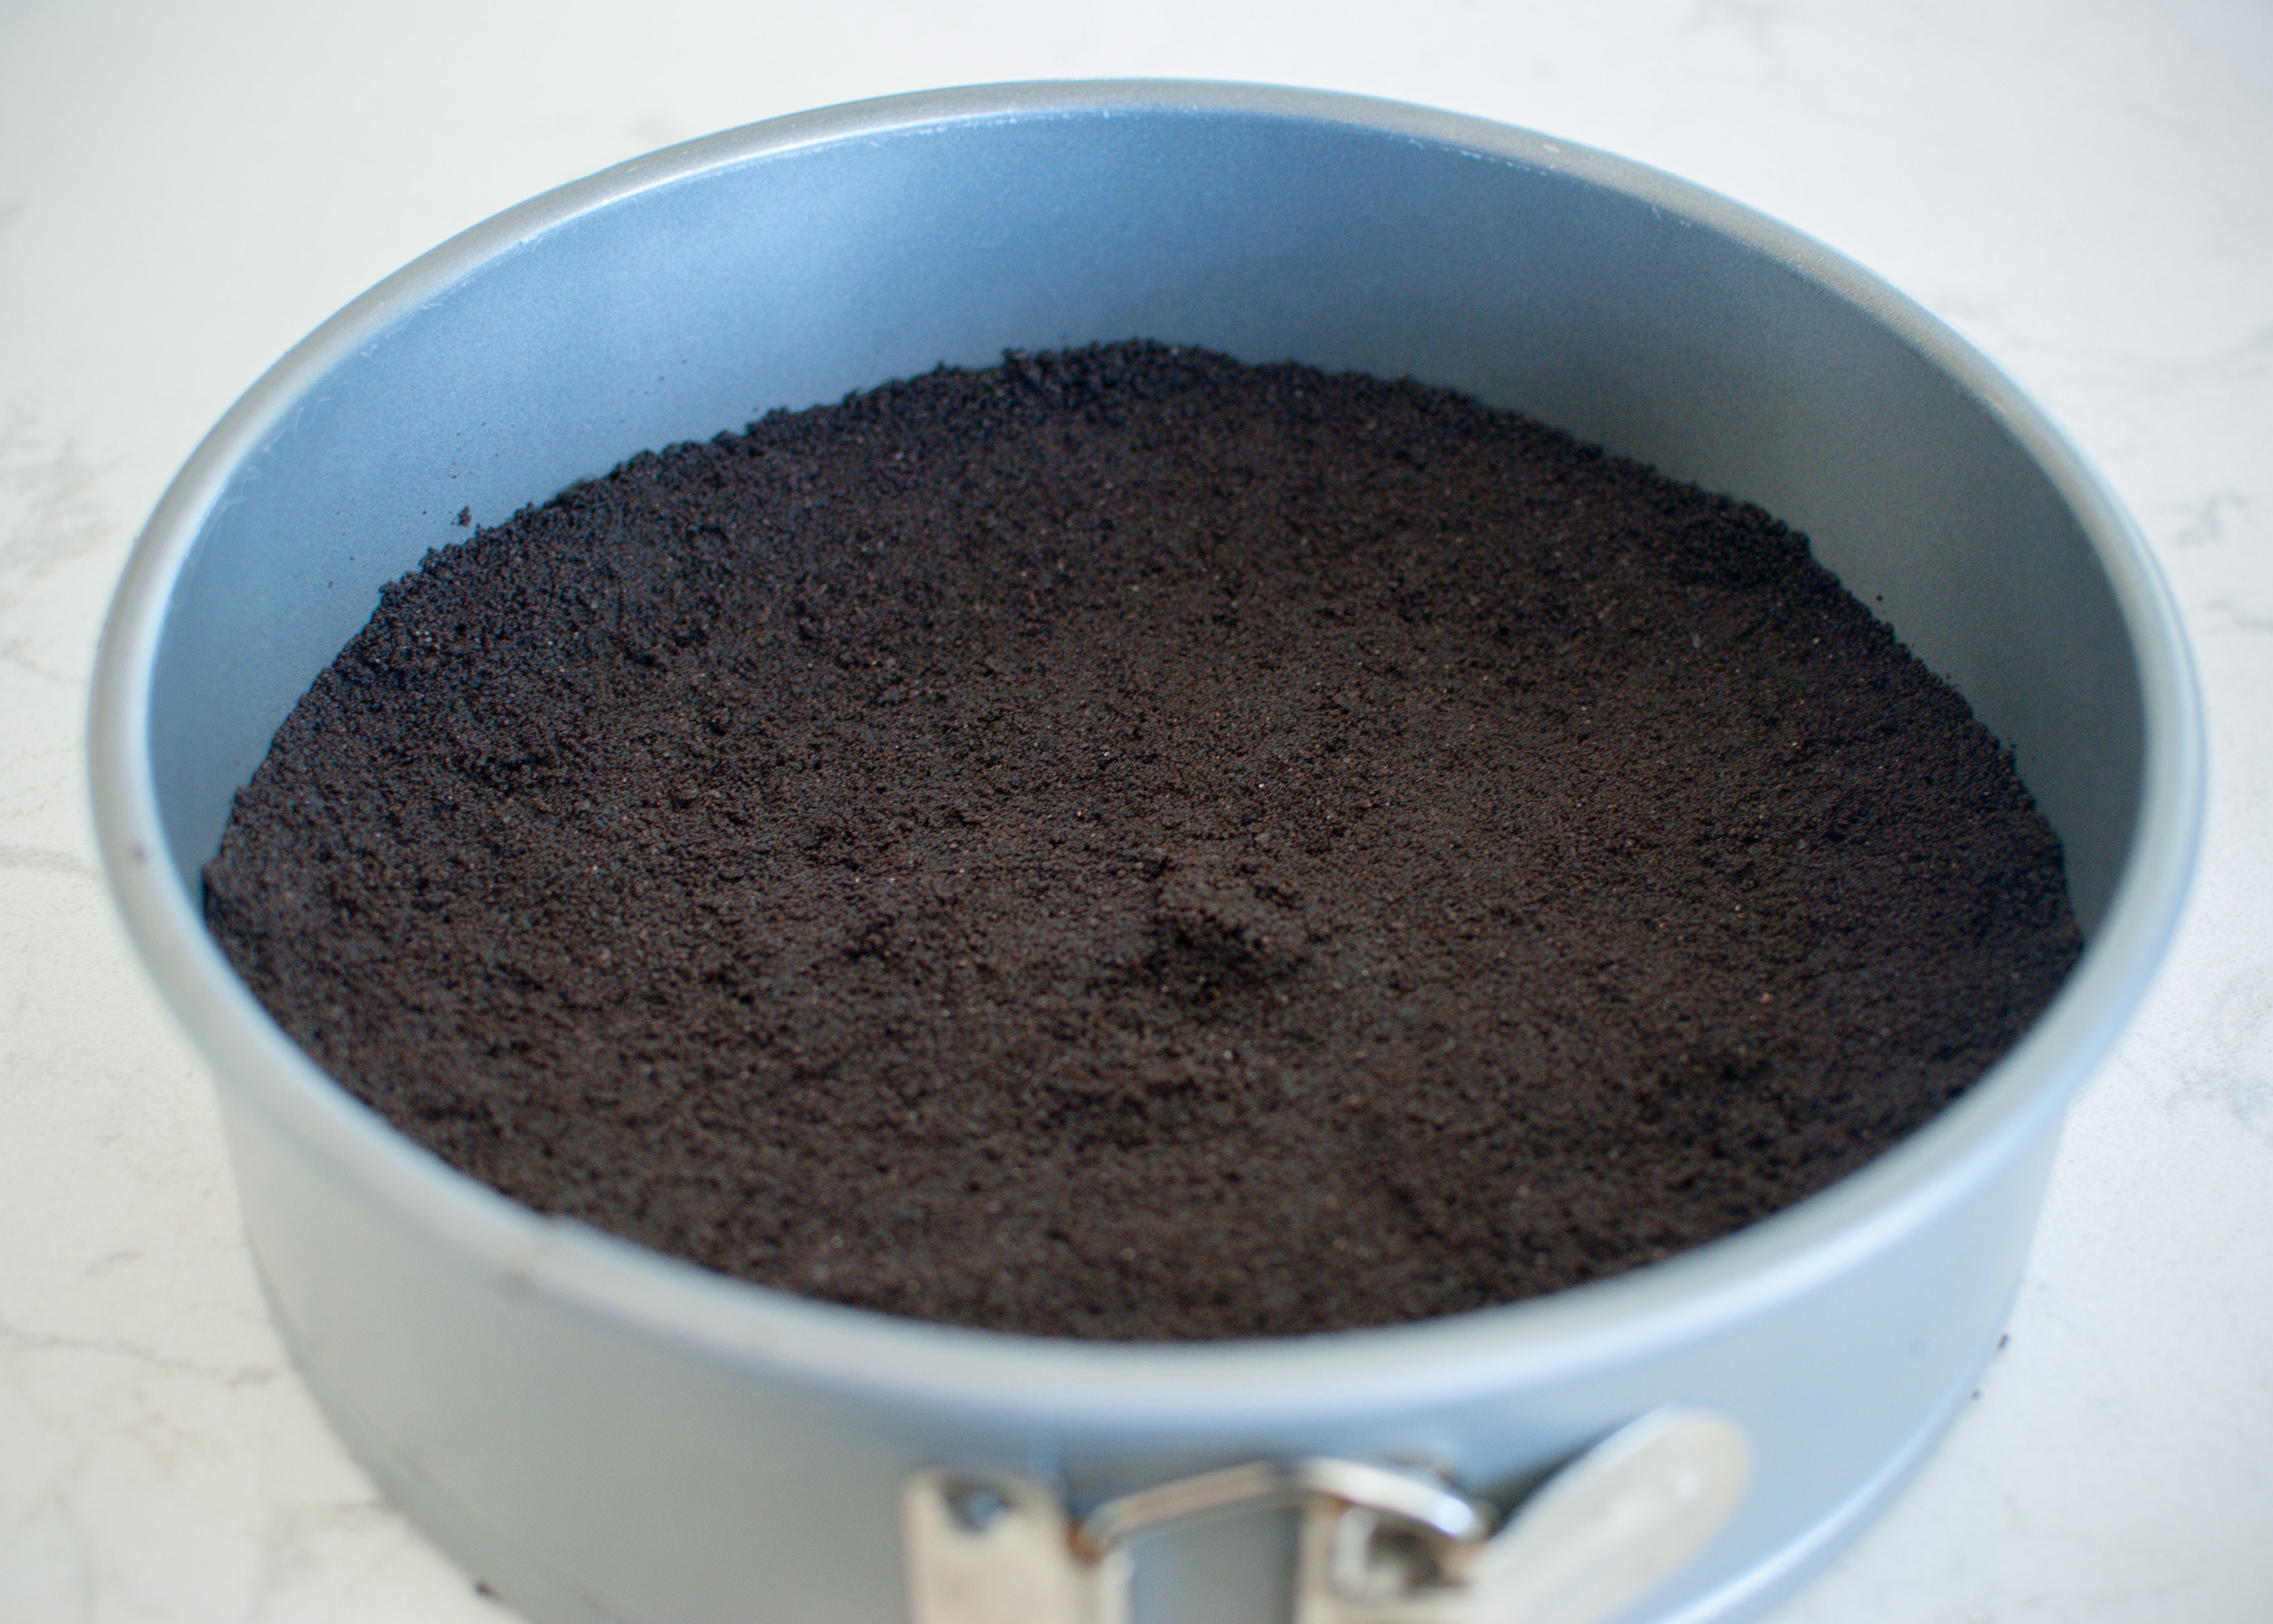
Blend cookies in food processor until finely ground. Add melted butter; process until crumbs are moistened. (Or if using chocolate cookie crumbs - use a fork to combine crumbs with butter until moistened.) Press crumb mixture onto bottom of 9-inch-diameter springform pan with 2 3/4-inch-high sides. Freeze until firm, about 10 minutes.

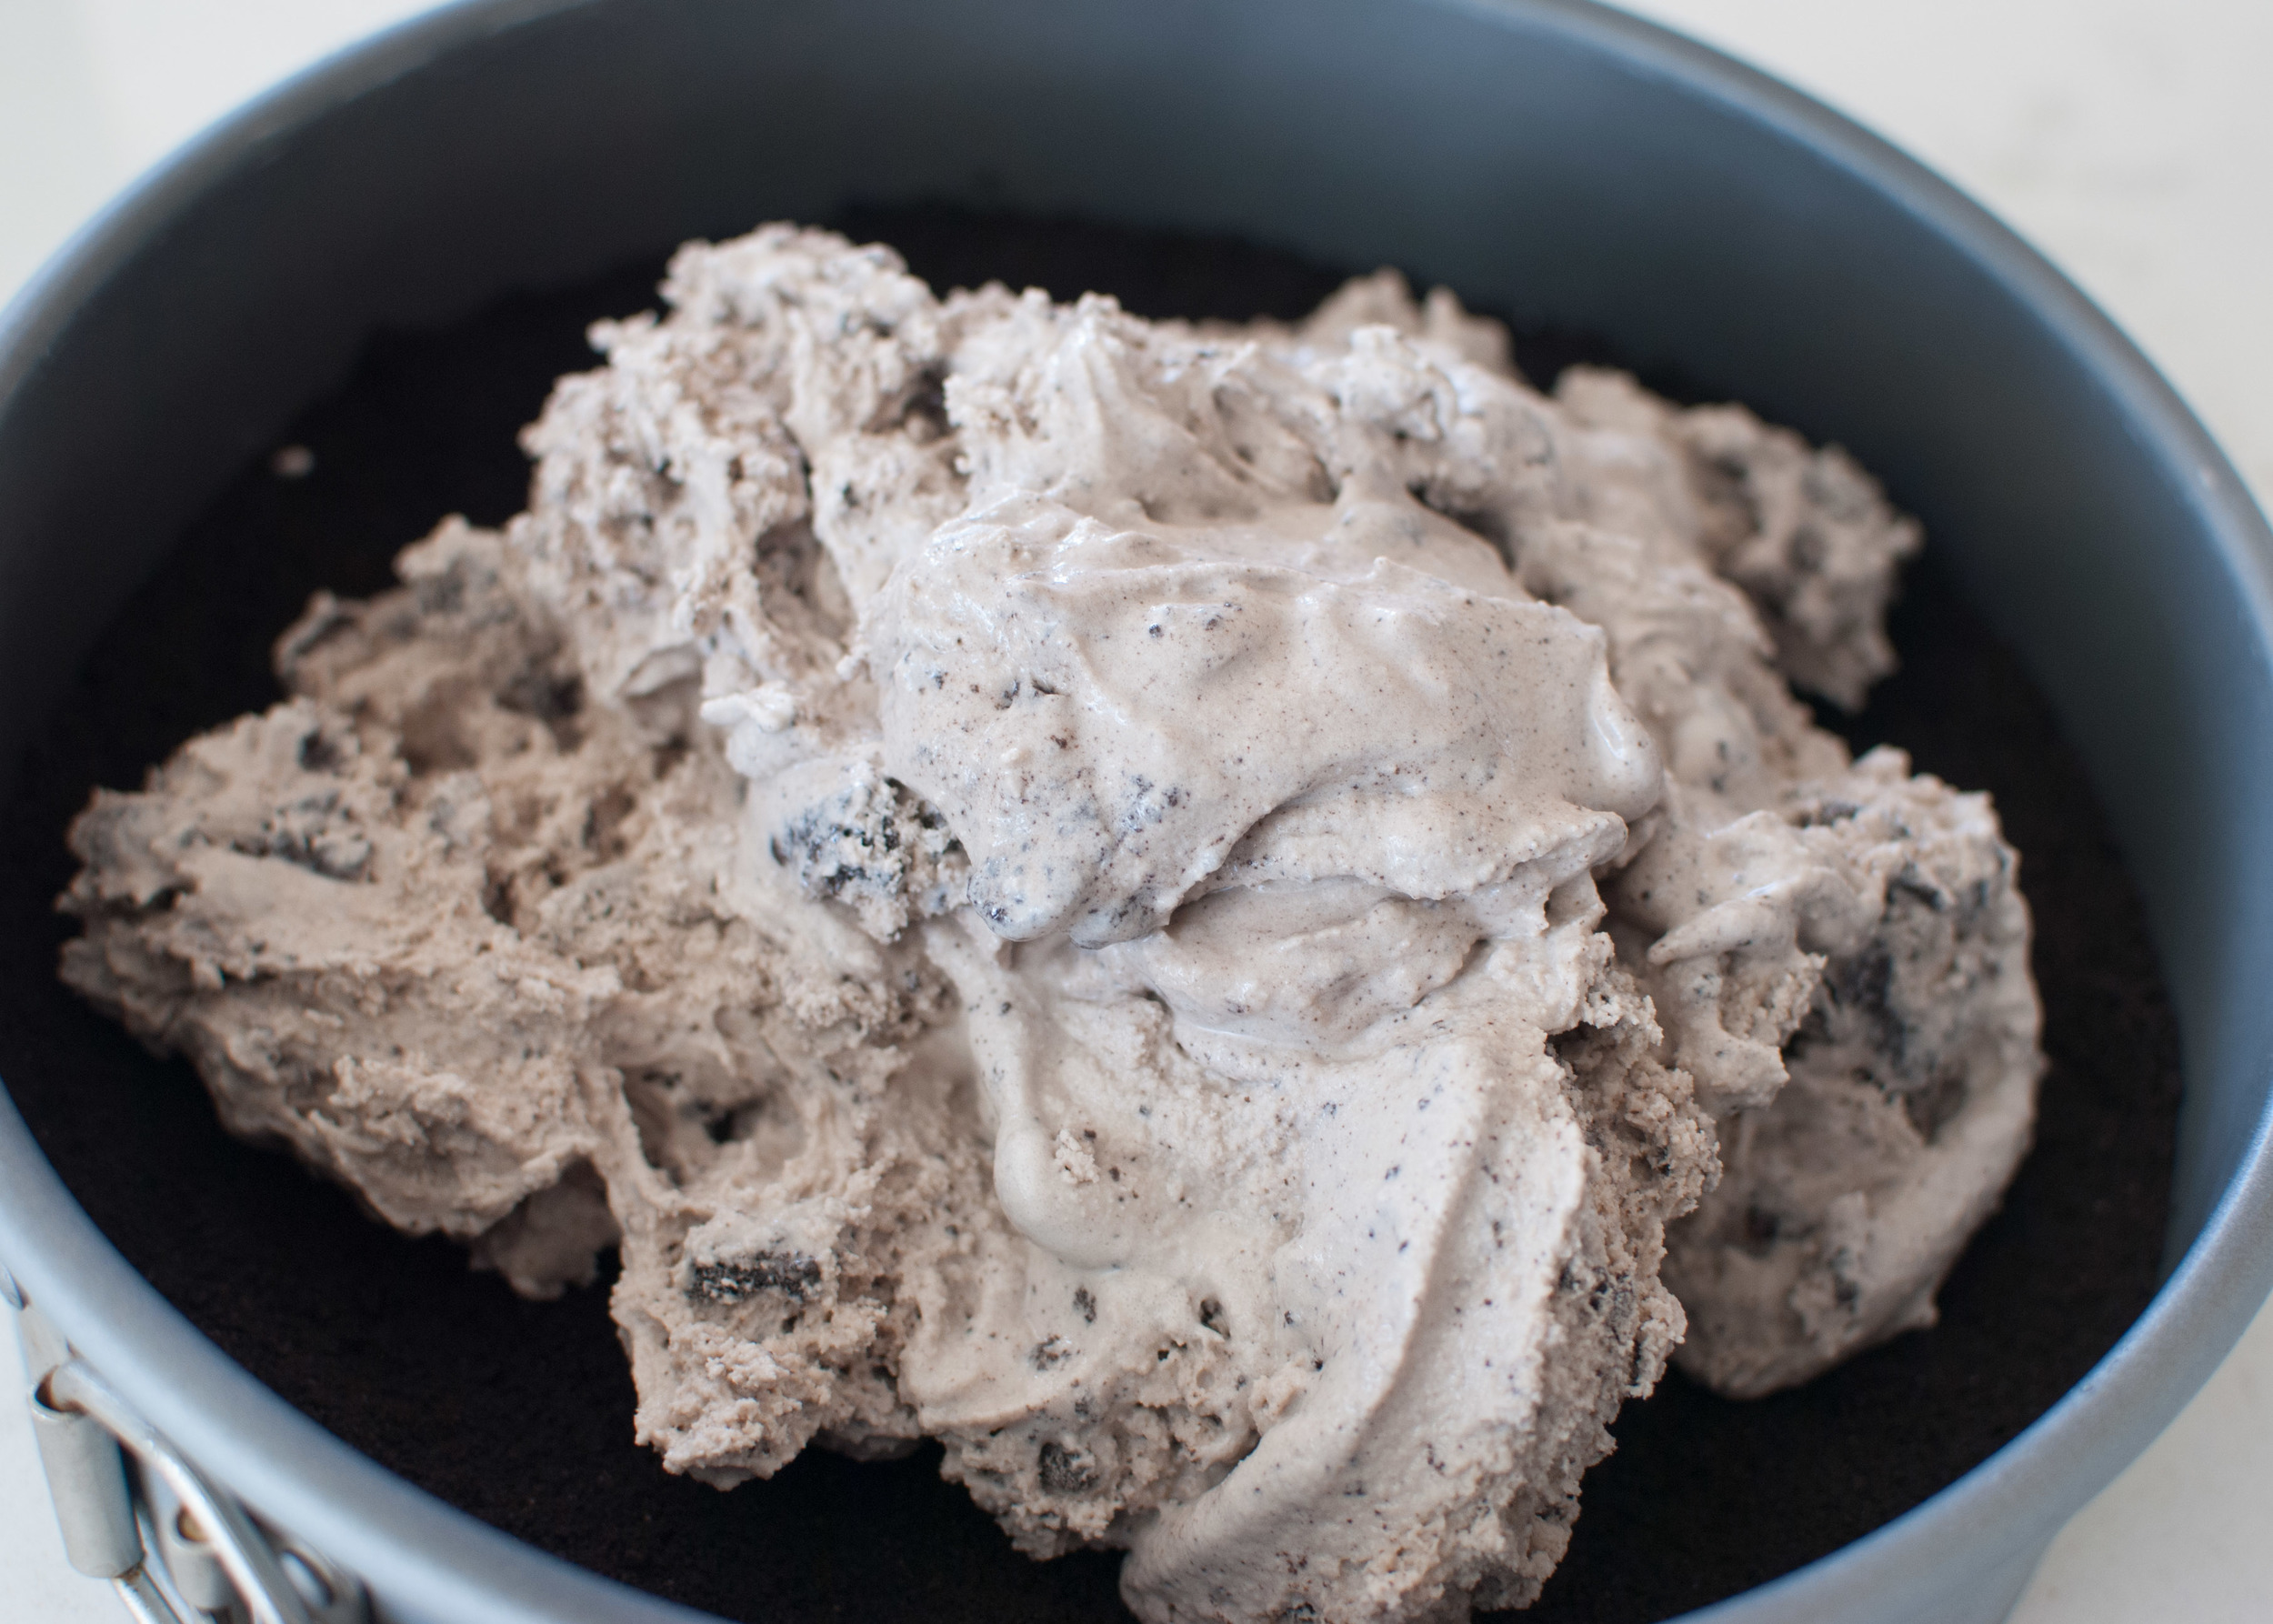
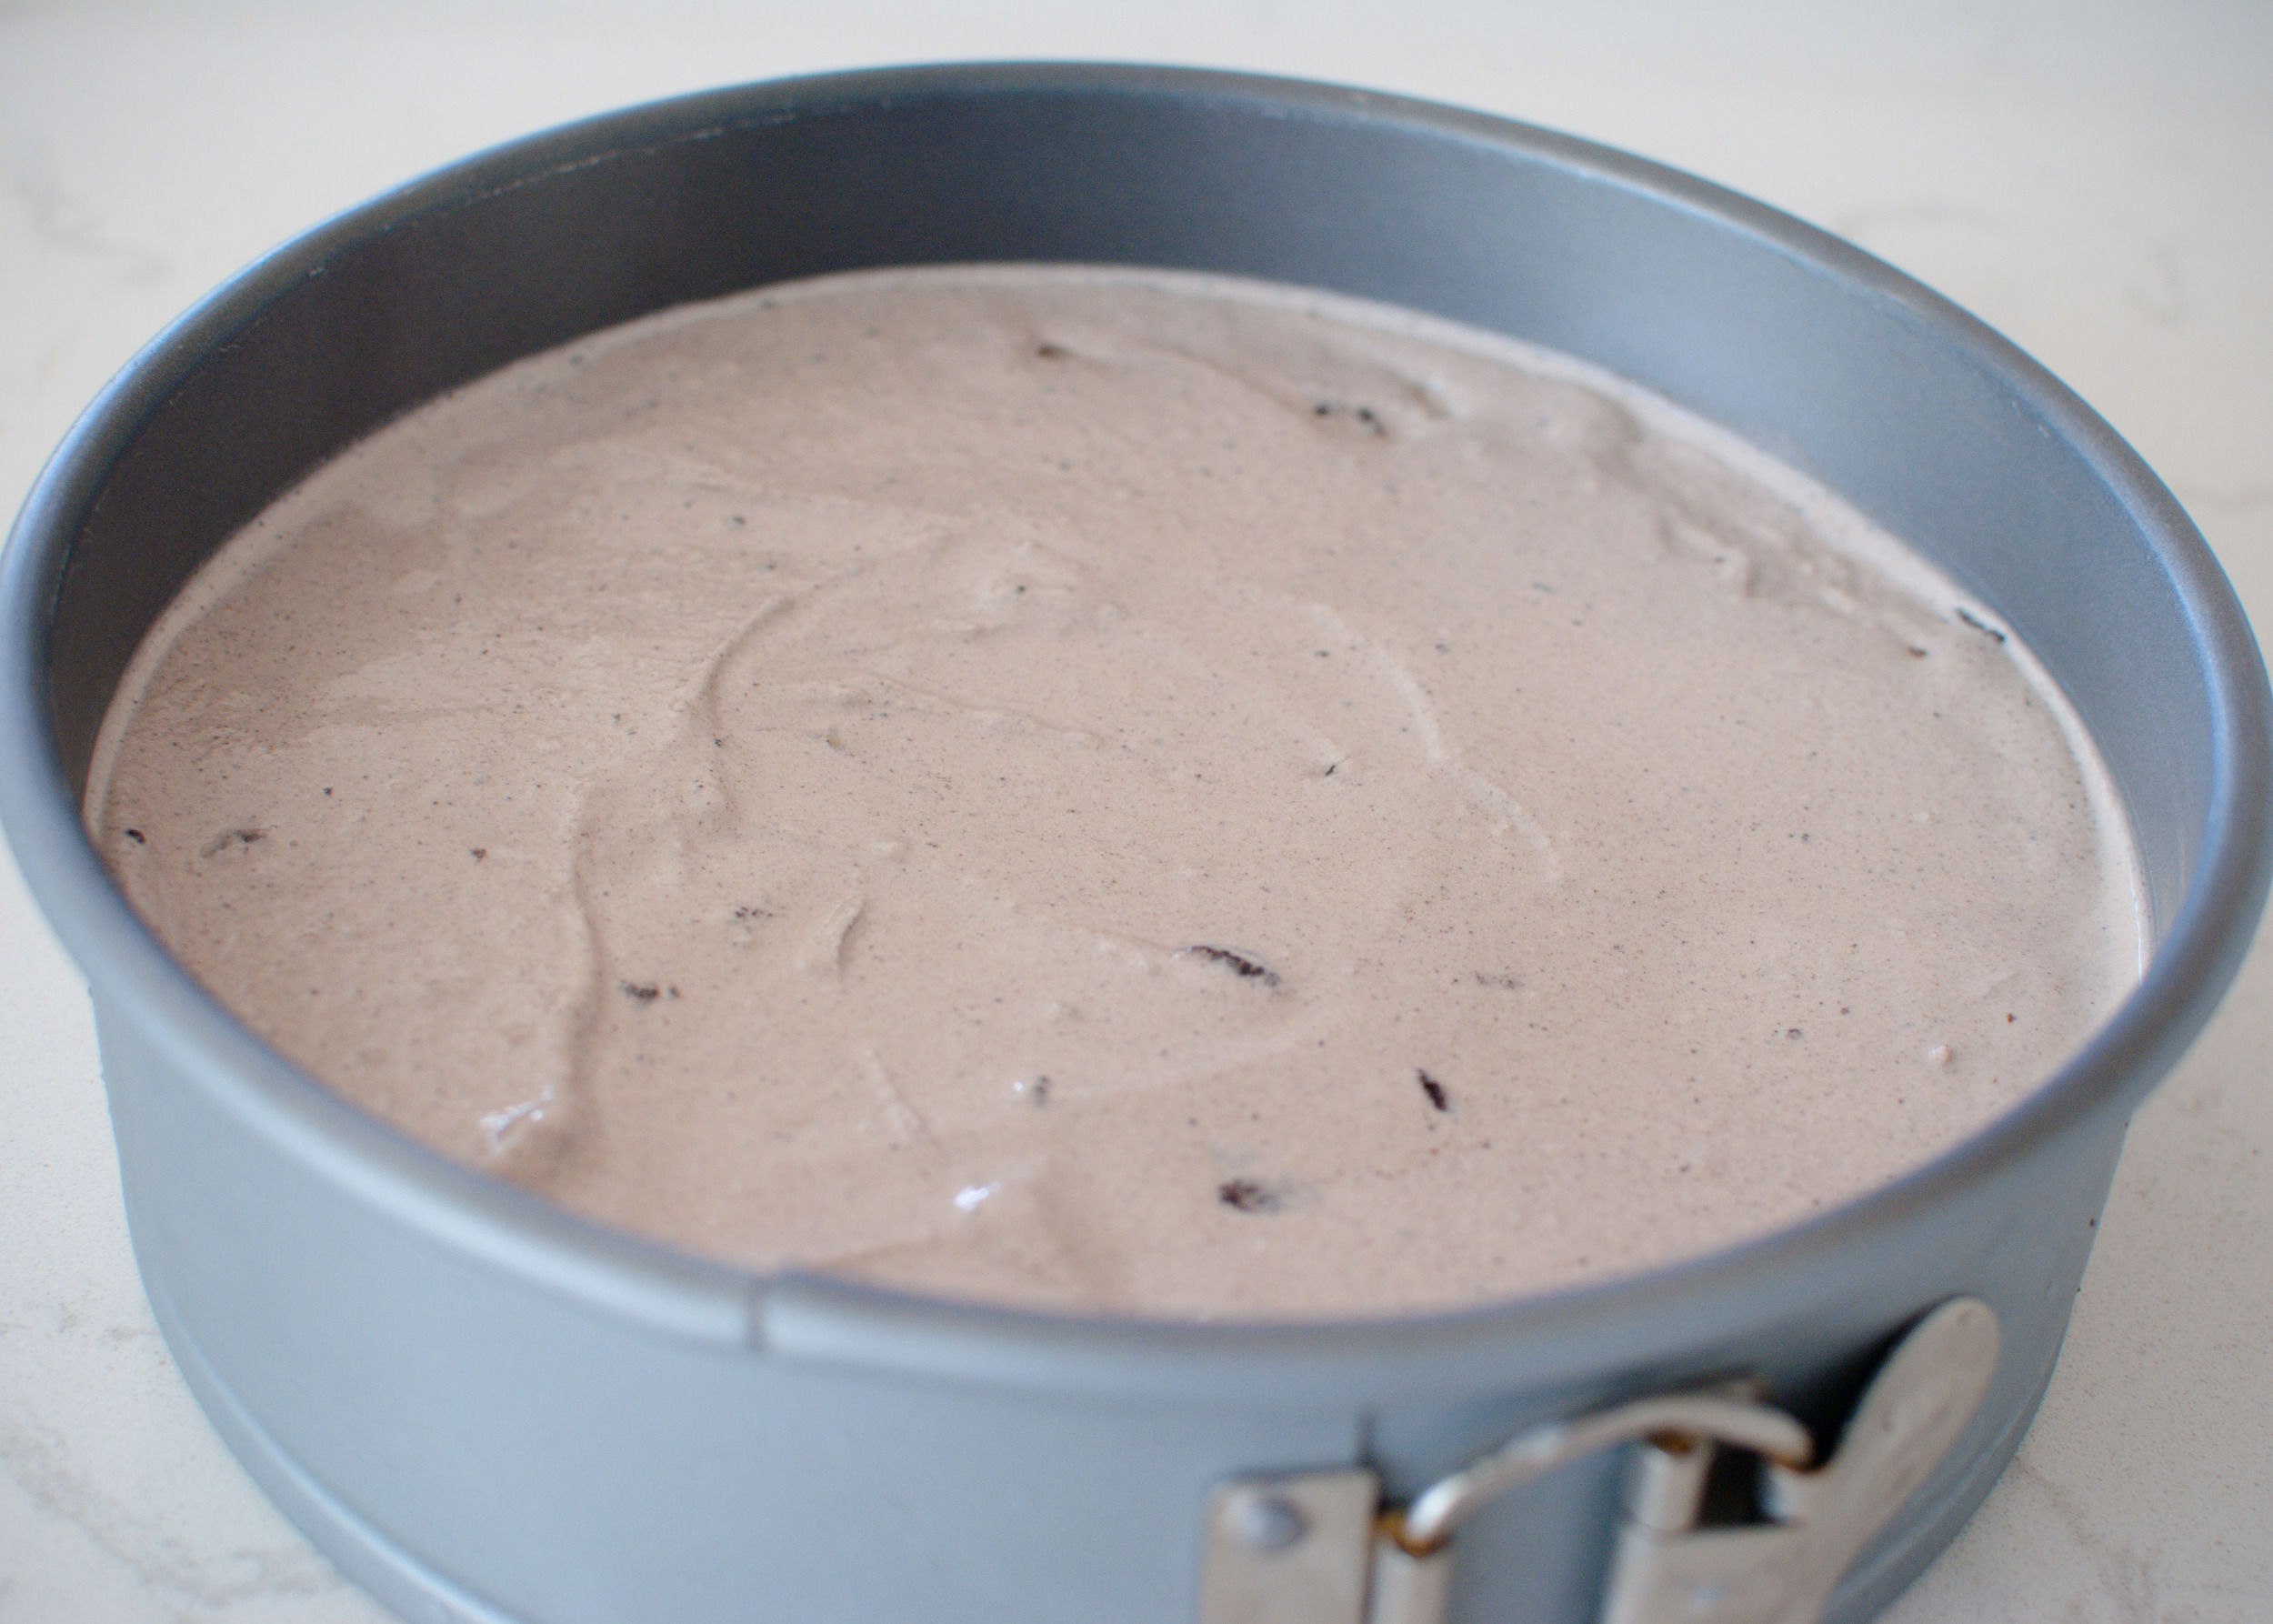
Spoon the softened ice cream into the crust-lined pan. Smooth top. Cover with plastic wrap. Freeze overnight.

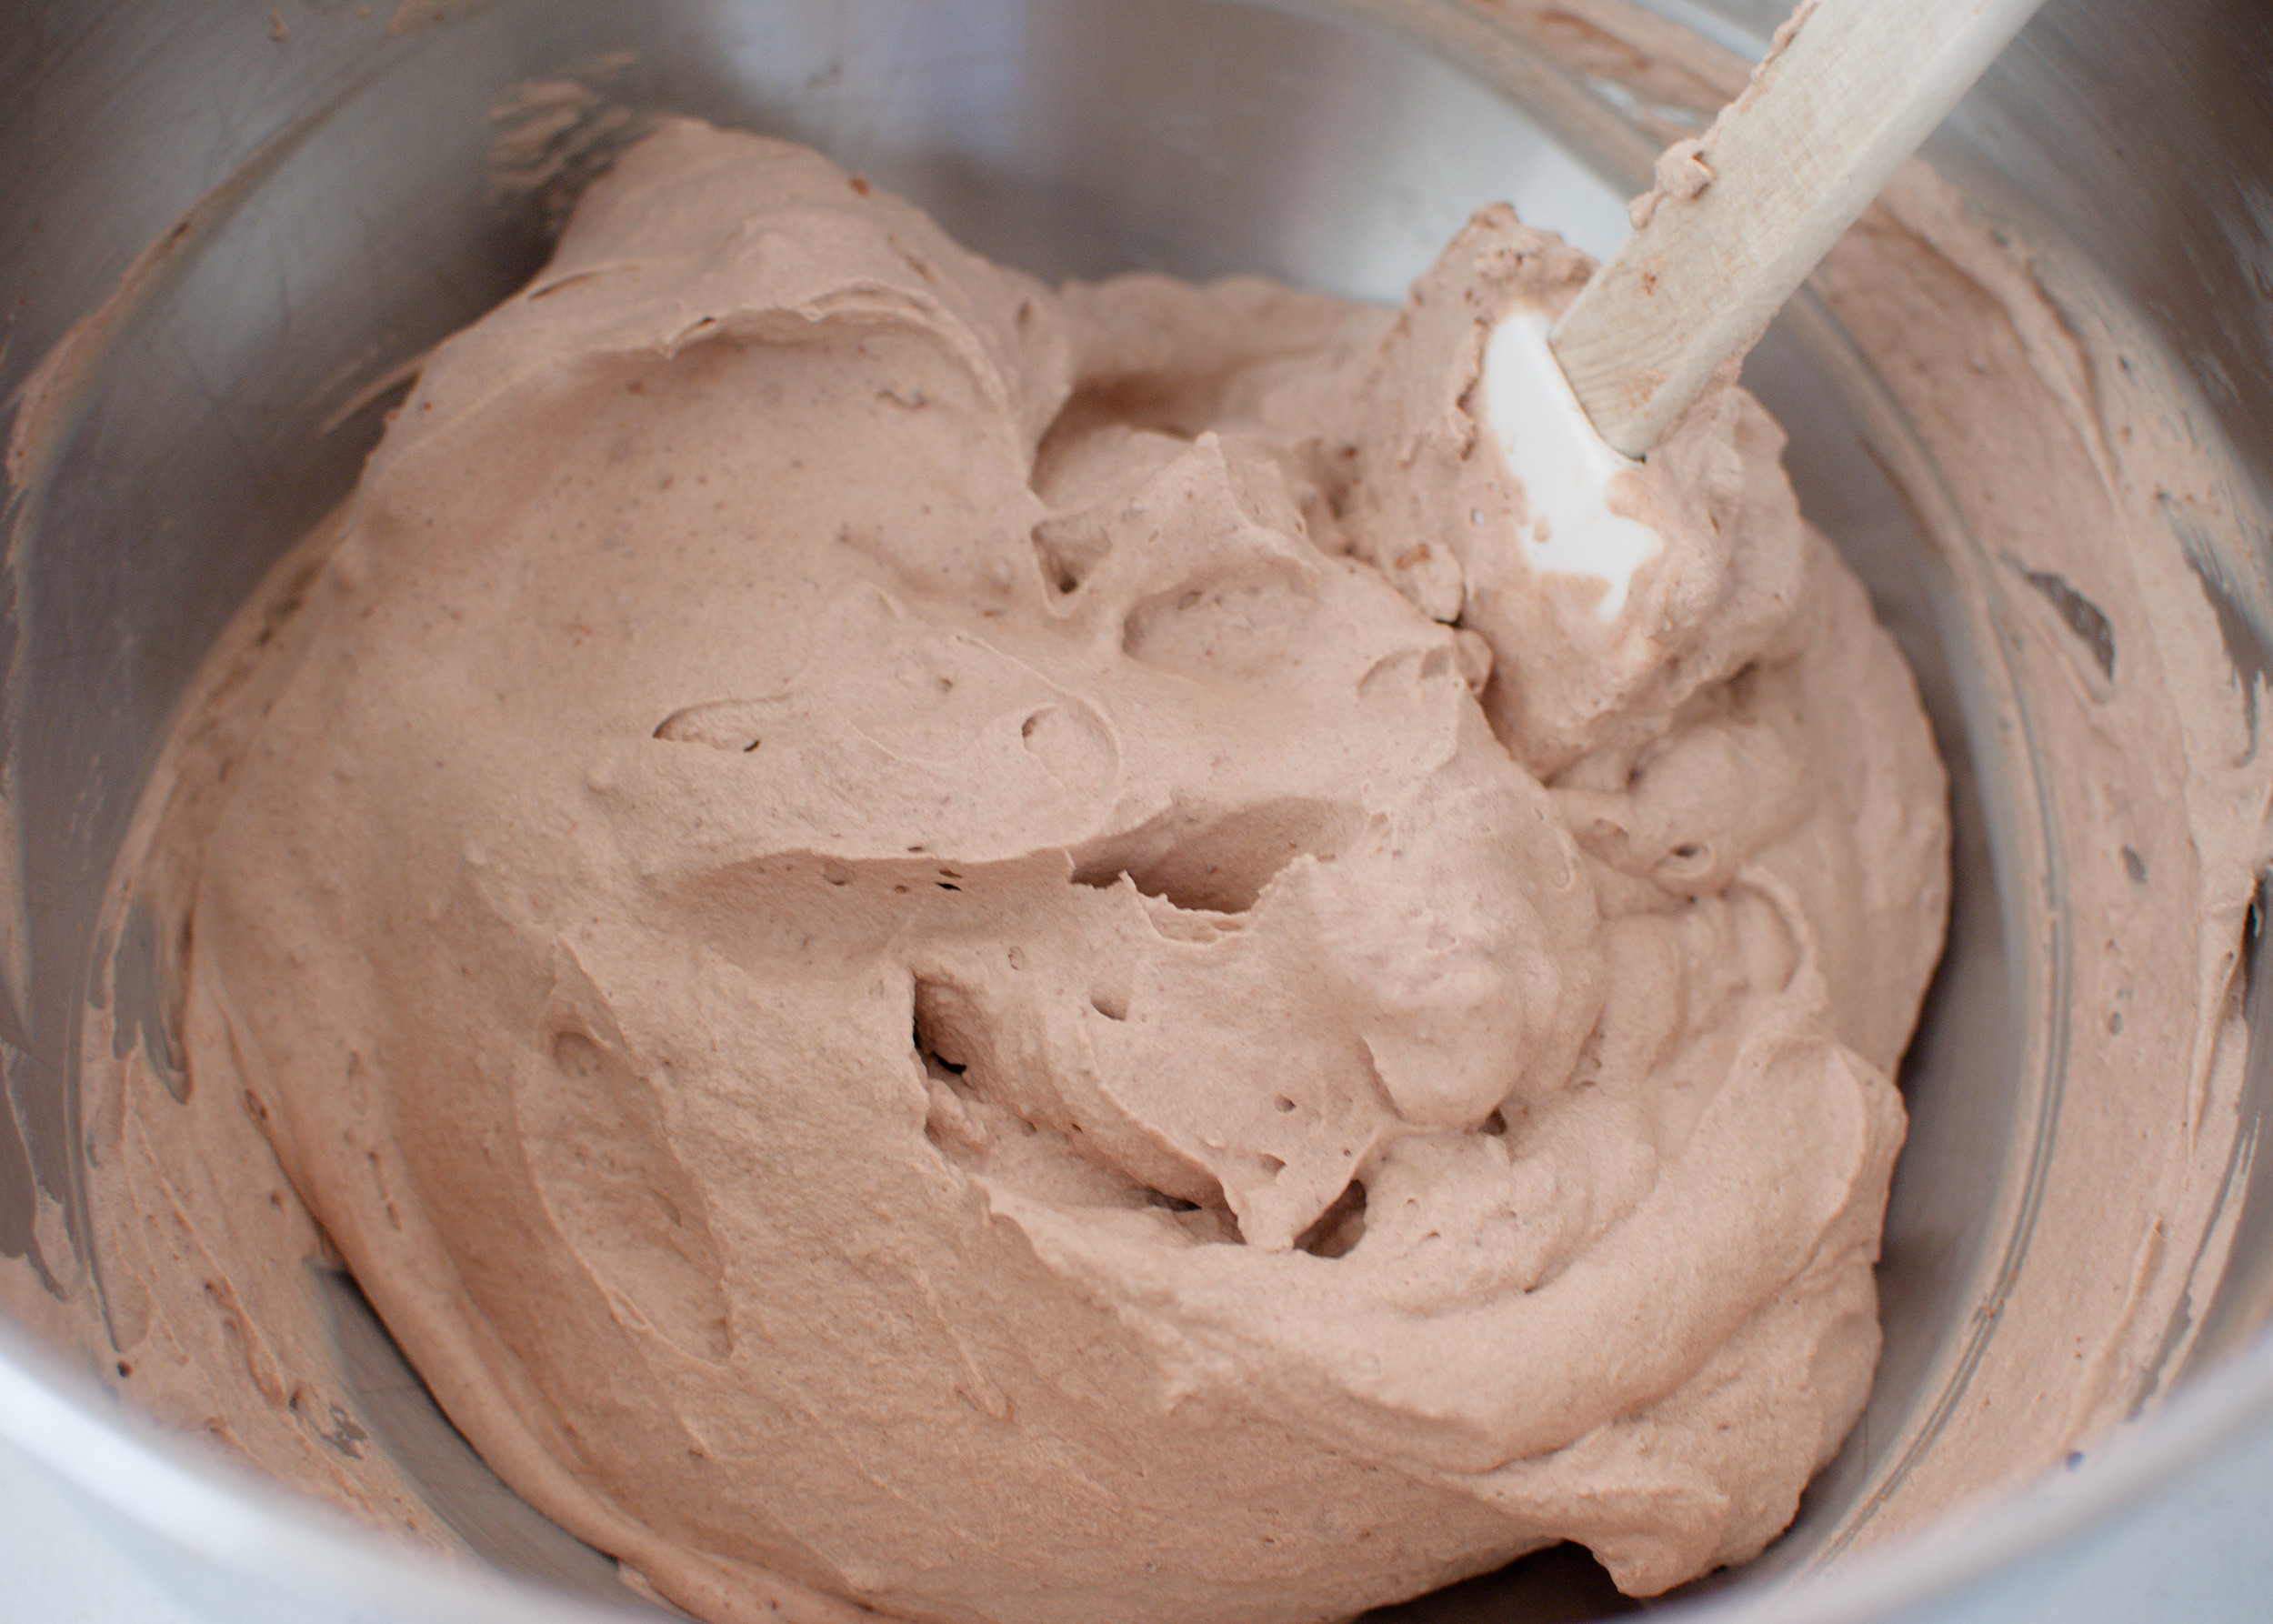
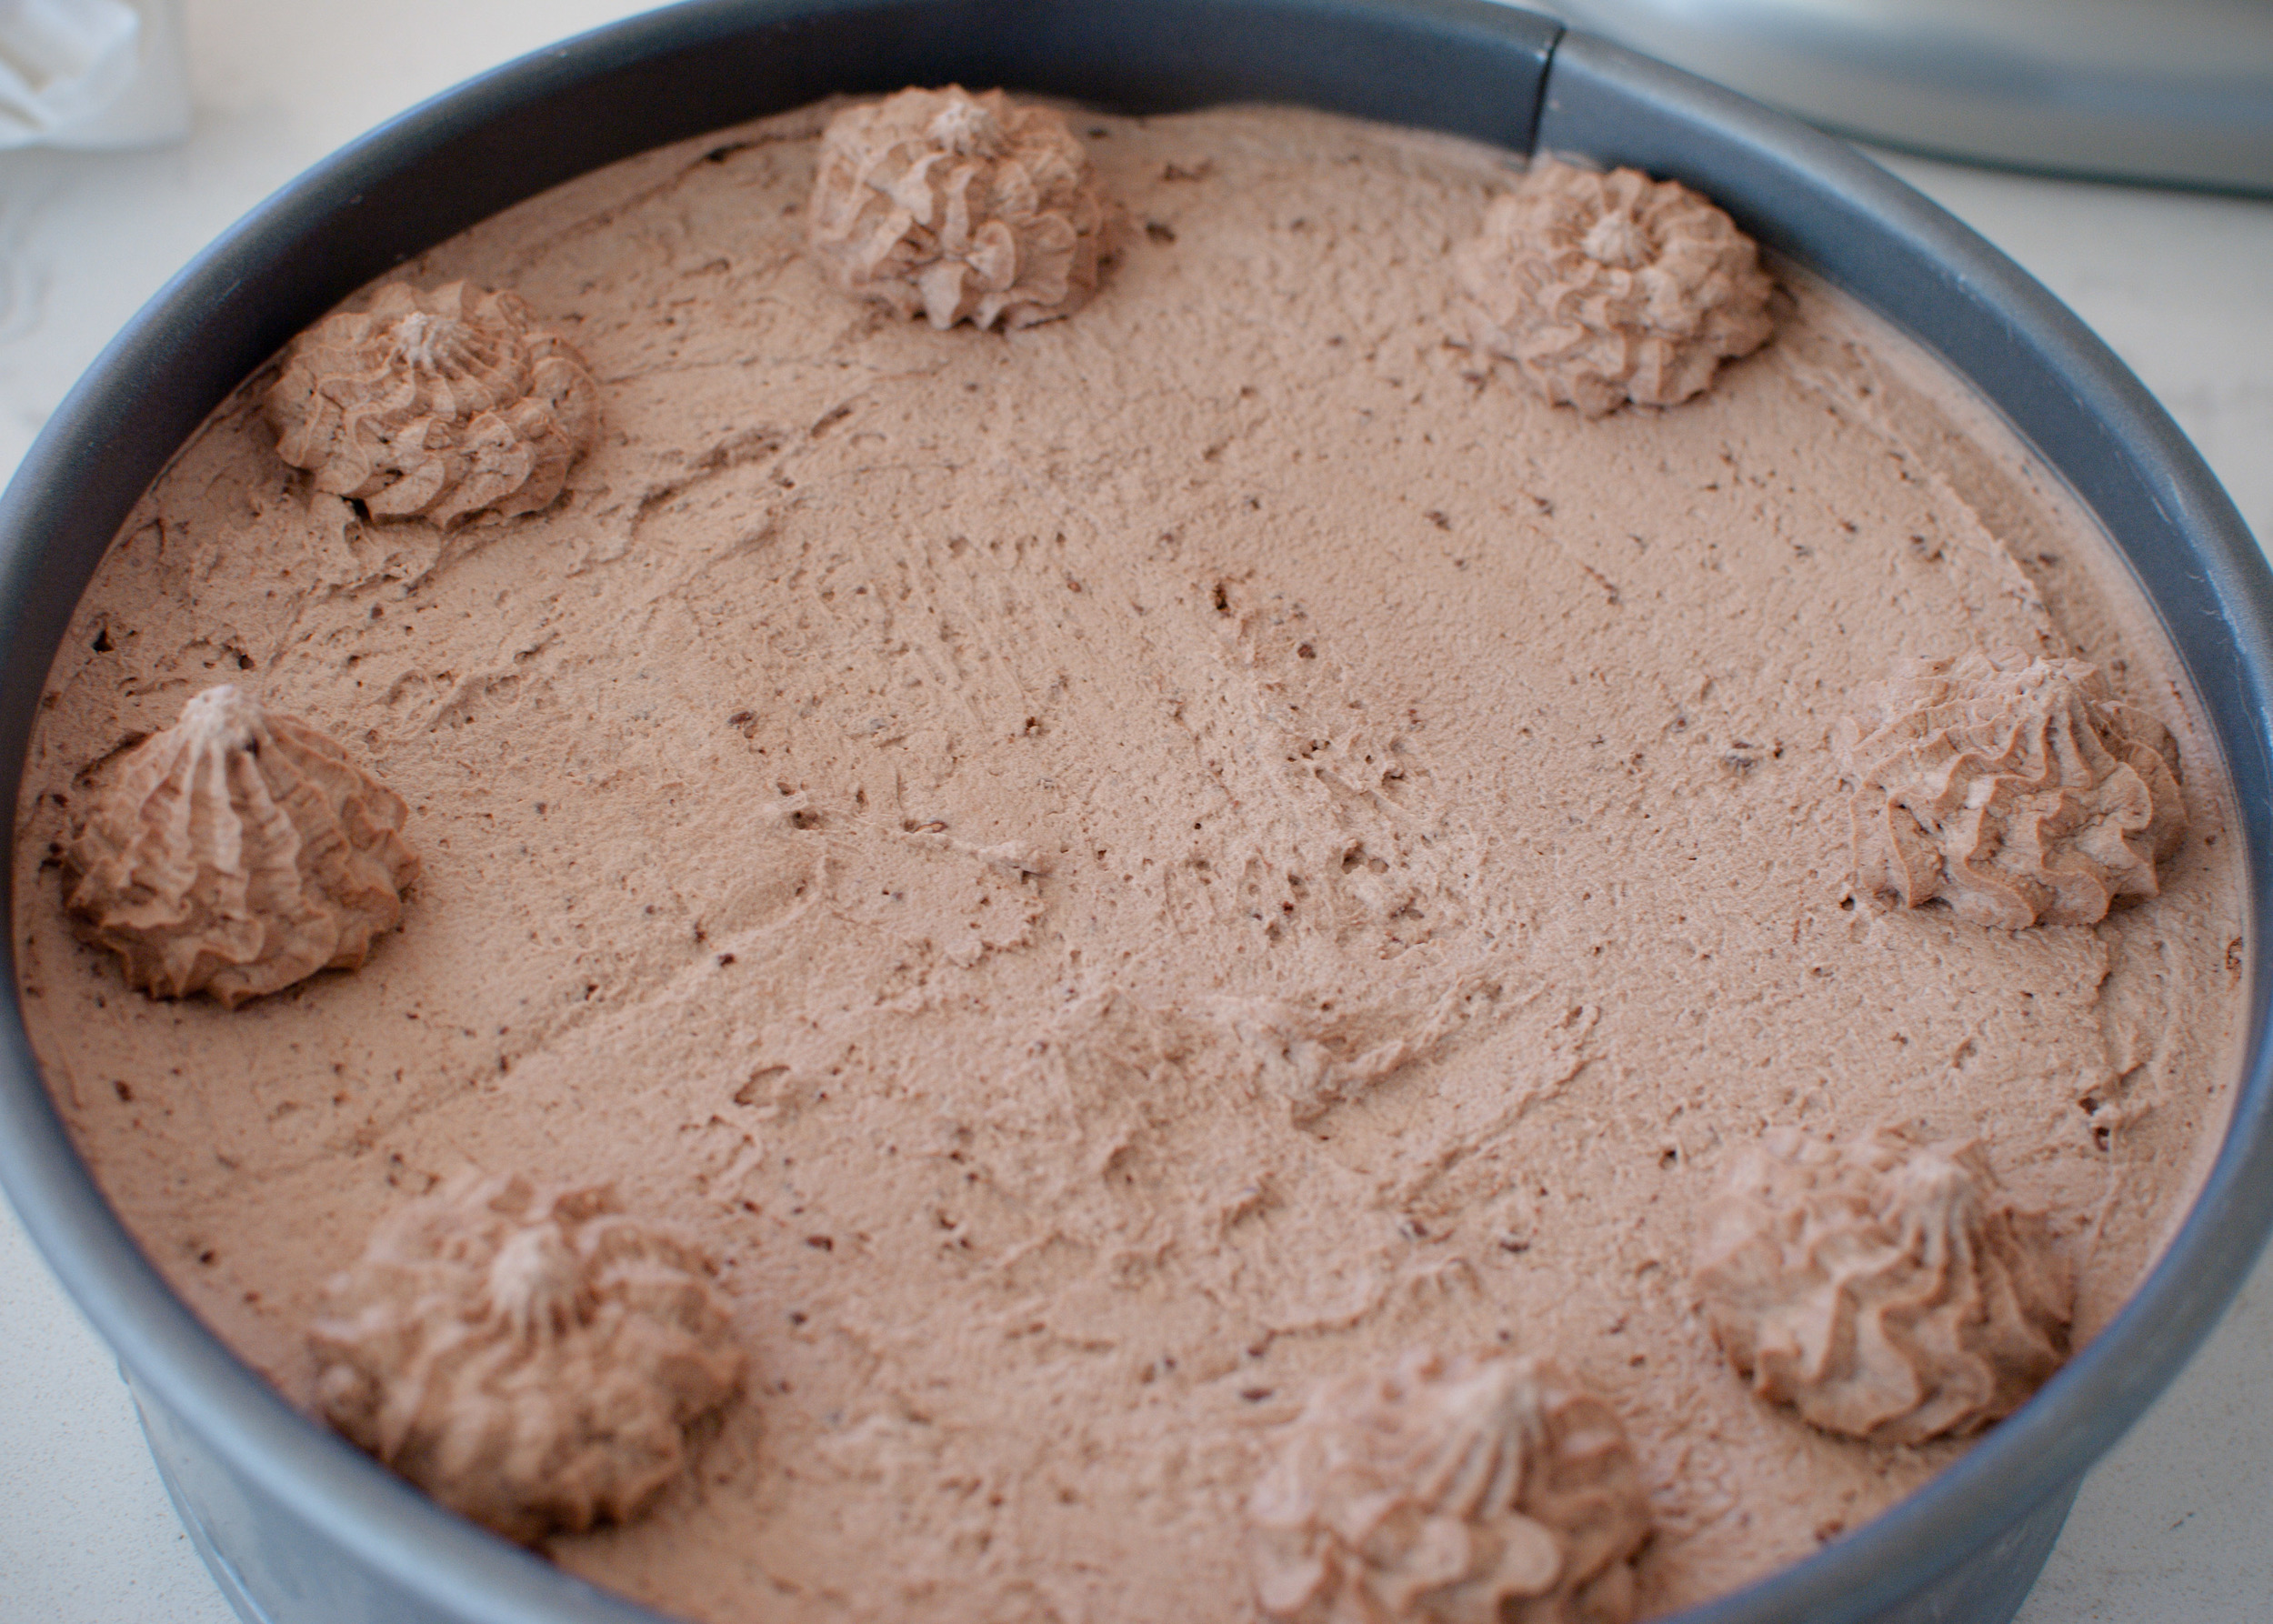
Combine whipping cream and vanilla in another large bowl. Sift powdered sugar and cocoa over. Using electric mixer, beat until soft peaks form. Spread mixture over top of cake. Freeze until cream is set, at least 1 hour. (Can be made 2 days ahead. Cover; keep frozen.) Sprinkle crushed chocolate sandwich cookies over top of cake. Run knife between pan sides and cake to loosen. Remove pan sides. Using small metal spatula or knife, smooth cake sides. Let cake stand at cool room temperature 10 minutes before serving.
Red Velvet Cheesecake Brownies by Amy Cantu

Print Friendly and PDF
red velvet cheesecake brownies

Cynthia and I knew we wanted to make something “red velvet” for Valentine’s Day, but we weren’t sure what exactly. We brainstormed a long list of “red velvet” baked goods - cakes, cupcakes, mini bundt cakes, cookies, and moon pies - to name a few. The thought of these Red Velvet Cheesecake Brownies made us both simultaneously release a deep sigh and a moan. We knew immediately we had to eat these. I think there is already a cult-following for these Red Velvet Cheesecake Brownies, and I can certainly see why. They are moist, decadent, and ridiculously good. Seriously. They are addictive. You can halve this recipe, but honestly, you will end up making another batch anyway. Just make a full batch and share the love with your friends, family, co-workers, neighbors, or school staff. They will love you forever. And also help yourself to a second serving because you deserve it.

Adapted from Sally’s Baking Addiction.

Notes: What makes “red velvet” red is food coloring. The original recipe called for twice as much food coloring, but I found that 1 tablespoon of red gel food coloring was more than enough for a large batch. If you don’t like the idea of using food coloring, you can leave it out, and you will still have amazing cheesecake brownies instead. I use almond extract in this recipe, because I love the nutty, sweet flavor. You could use all vanilla extract instead, and you would have a more classic red velvet flavor.


Time: 1 hour (includes bake time)
Servings: 16

1 cup (2 sticks) unsalted butter, melted, plus extra to grease pan
2 cups granulated sugar
2 teaspoons vanilla extract
2 teaspoons almond extract
½ cup unsweetened cocoa powder
¼ teaspoon kosher salt
1 tablespoon gel or liquid red food coloring
1 ½ teaspoons white vinegar
4 large eggs, lightly beaten
1 ½ cups all-purpose flour
16 ounces cream cheese, softened
½ cup granulated sugar
2 egg yolks
1 teaspoon almond extract


Preheat the oven to 350 degrees F. Grease a 9x13 baking pan with butter or nonstick spray.

To make the brownie layer, whisk together melted butter, 2 cups sugar, 2 teaspoons vanilla extract, and 2 teaspoons almond extract in a medium mixing bowl, until well combined. Next add cocoa powder, salt, food coloring, and vinegar, mixing well after each addition. Whisk in the eggs, then fold in the flour until just mixed, with no dry spots - do not over beat. Pour the brownie batter into prepared baking pan, reserving ½ cup for the top.

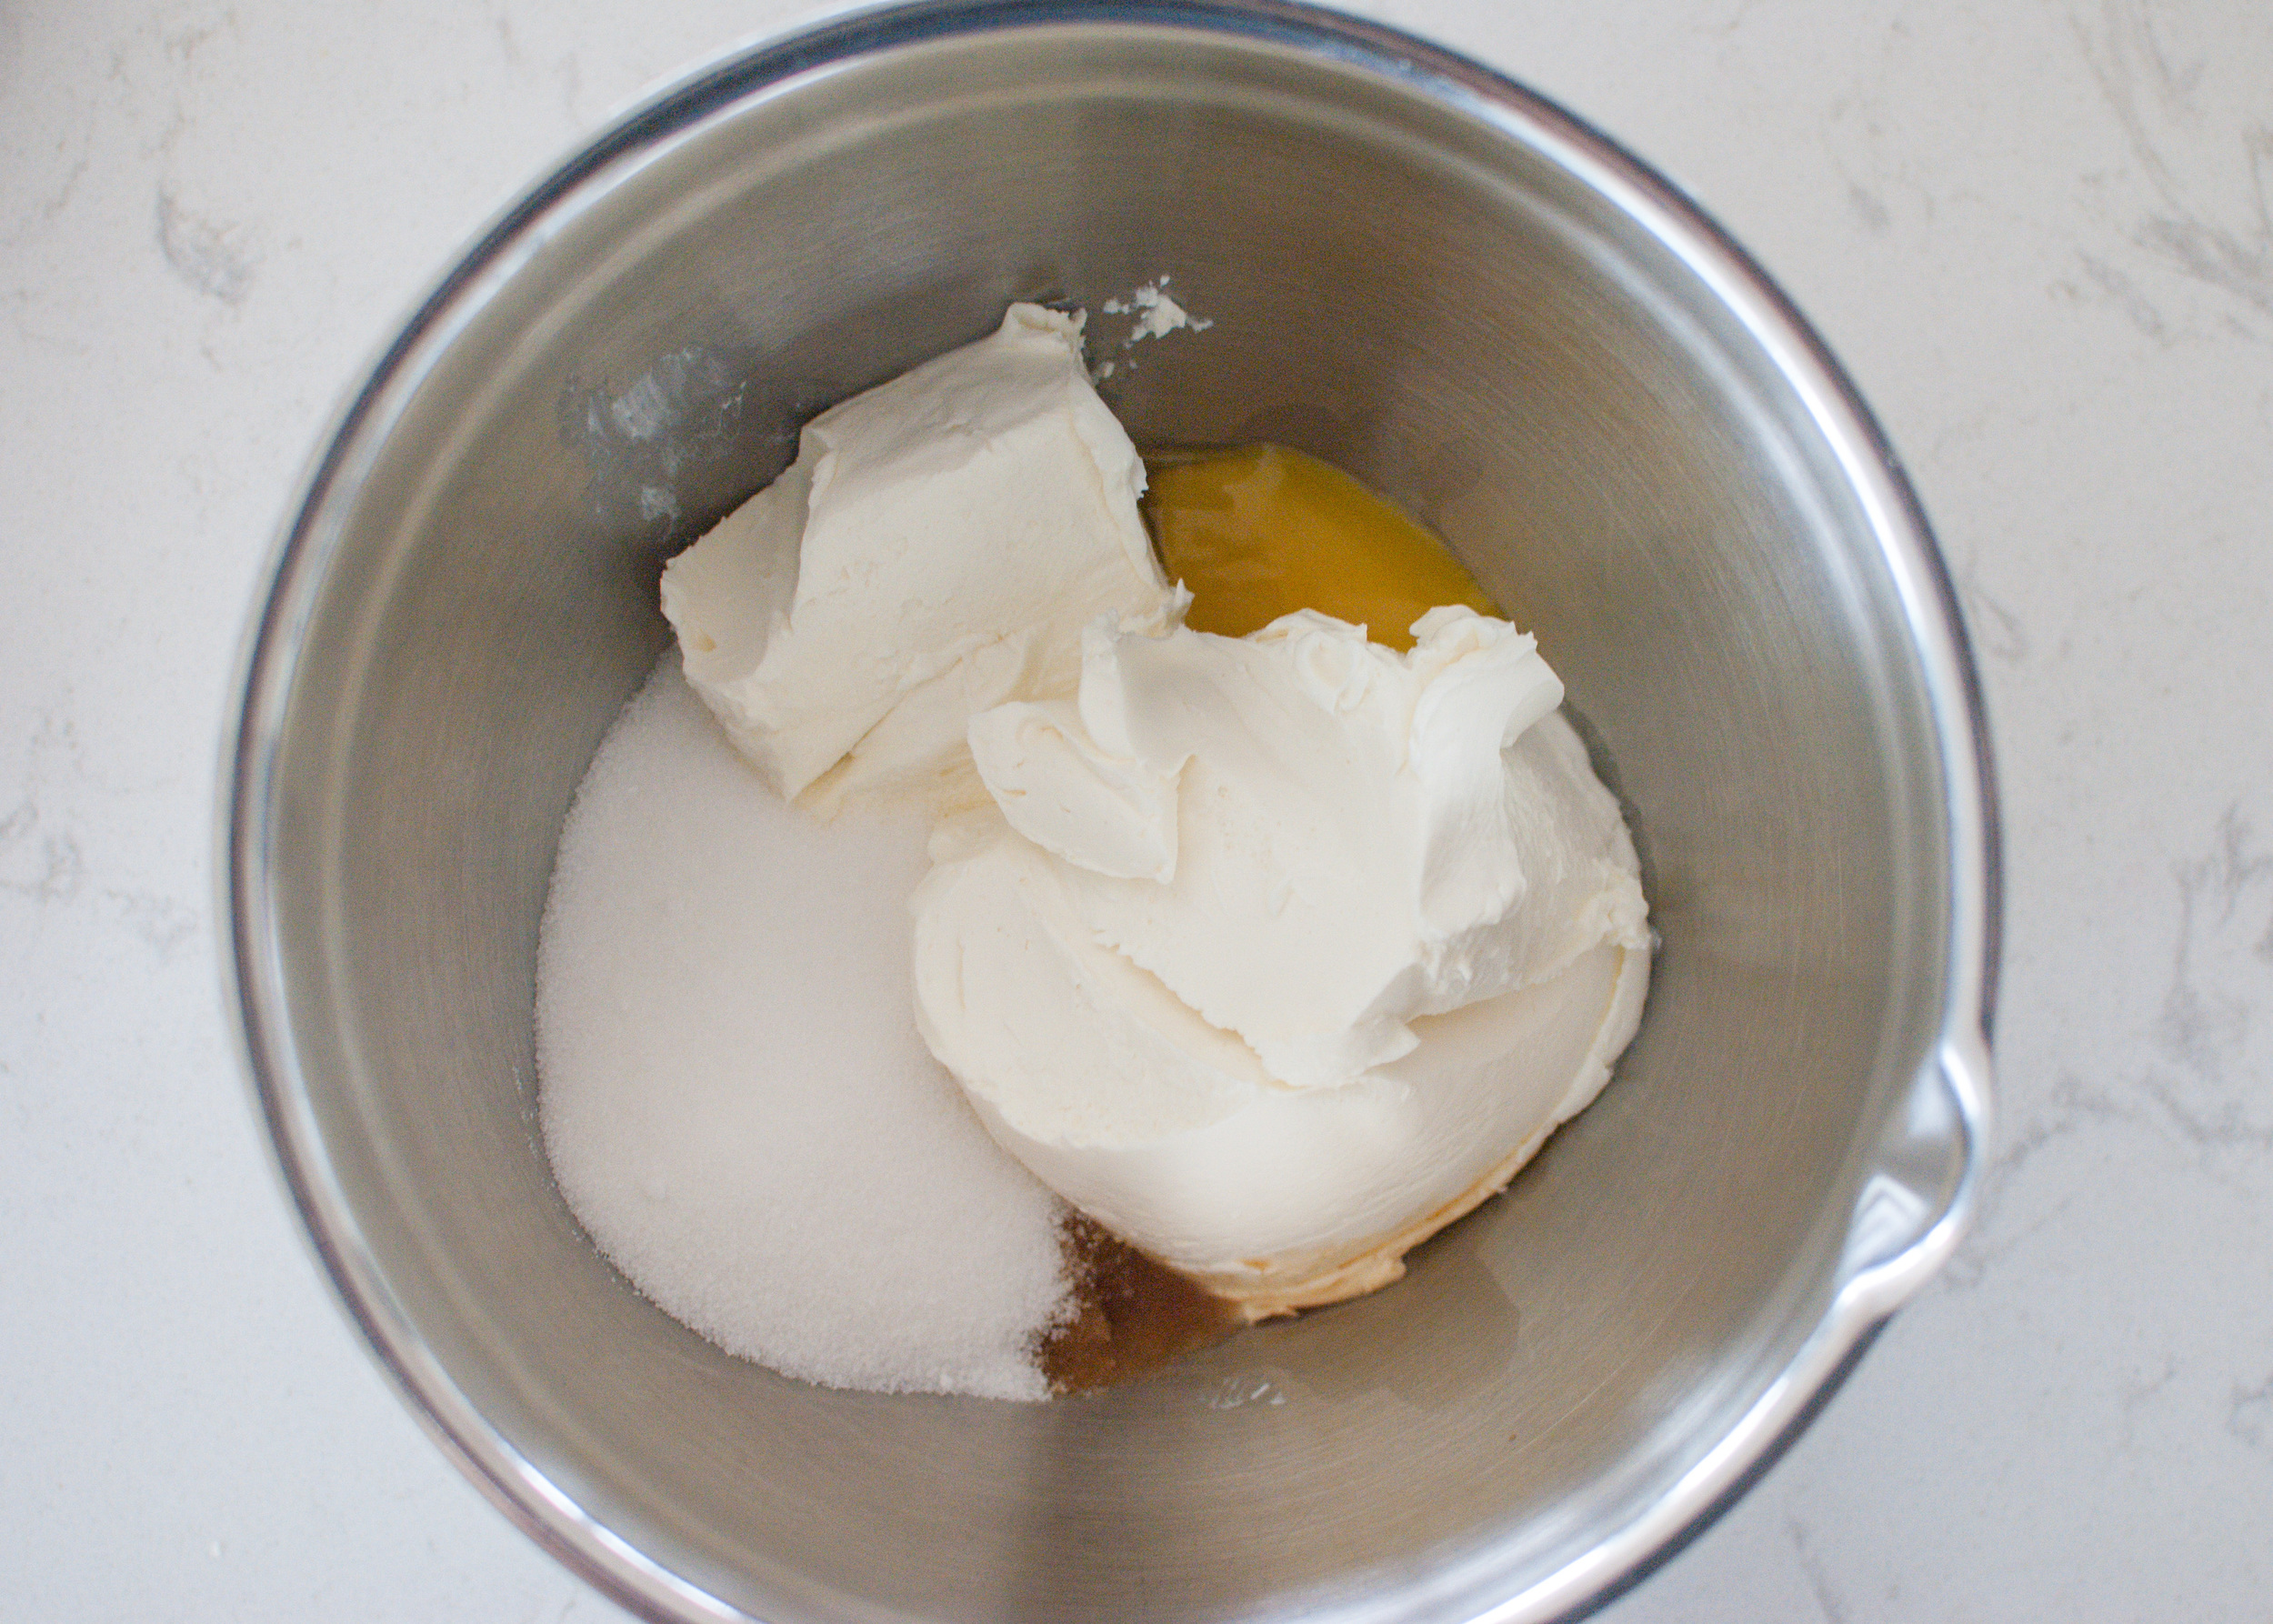
To make the cheesecake swirl, combine softened cream cheese, ½ cup sugar, egg yolks, and 1 teaspoon almond extract in a medium bowl. Use a hand-held mixer on medium speed to beat mixture until completely smooth - about 1 minute. Dollop large spoonfuls of the cream cheese mixture on top of the prepared brownie batter. Cover the cream cheese mixture with the remaining ½ cup brownie batter. Drag a knife through the layers, creating a swirl pattern.

Bake the brownies for about 40 minutes or until a toothpick inserted in the middle comes out clean. Allow the brownies to cool completely before cutting into squares. Cover brownies and store at room temperature for 3 days or in the refrigerator for up to 6 days. Brownies will freeze well, up to 2 months. Thaw overnight in the refrigerator.

Chocolate-Covered Strawberries by Amy Cantu

Print Friendly and PDF
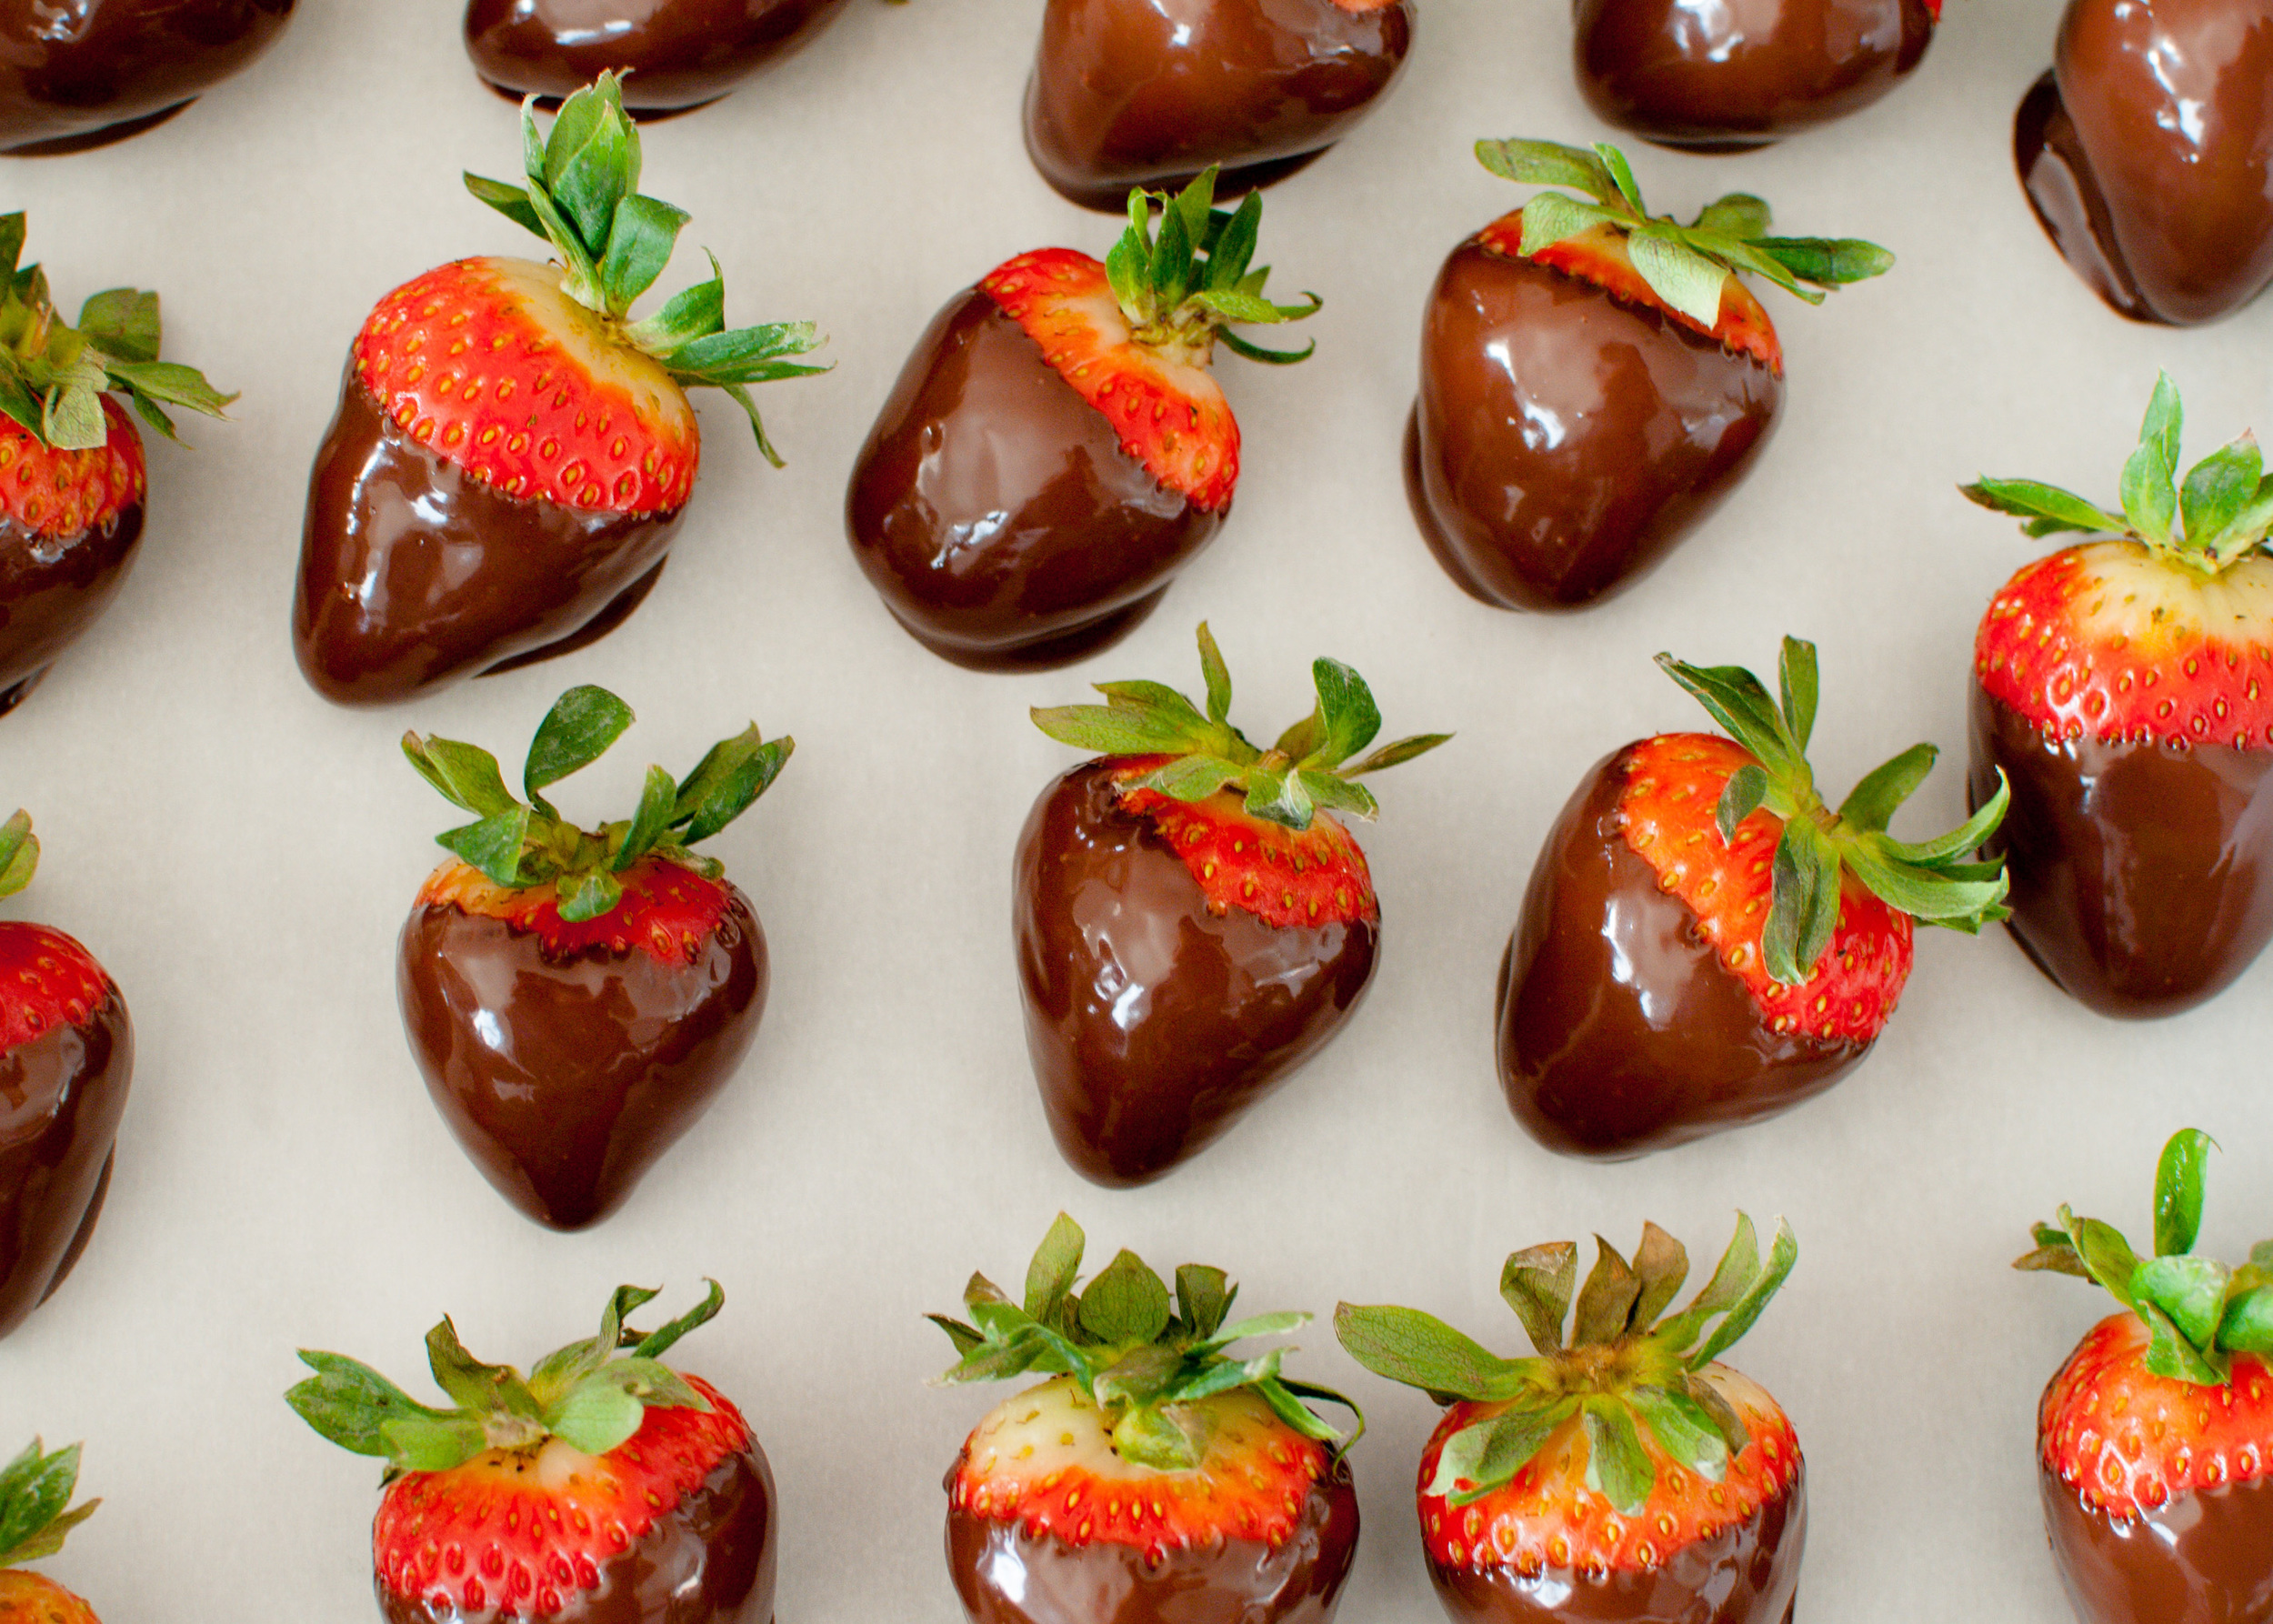
chocolate dipped strawberries

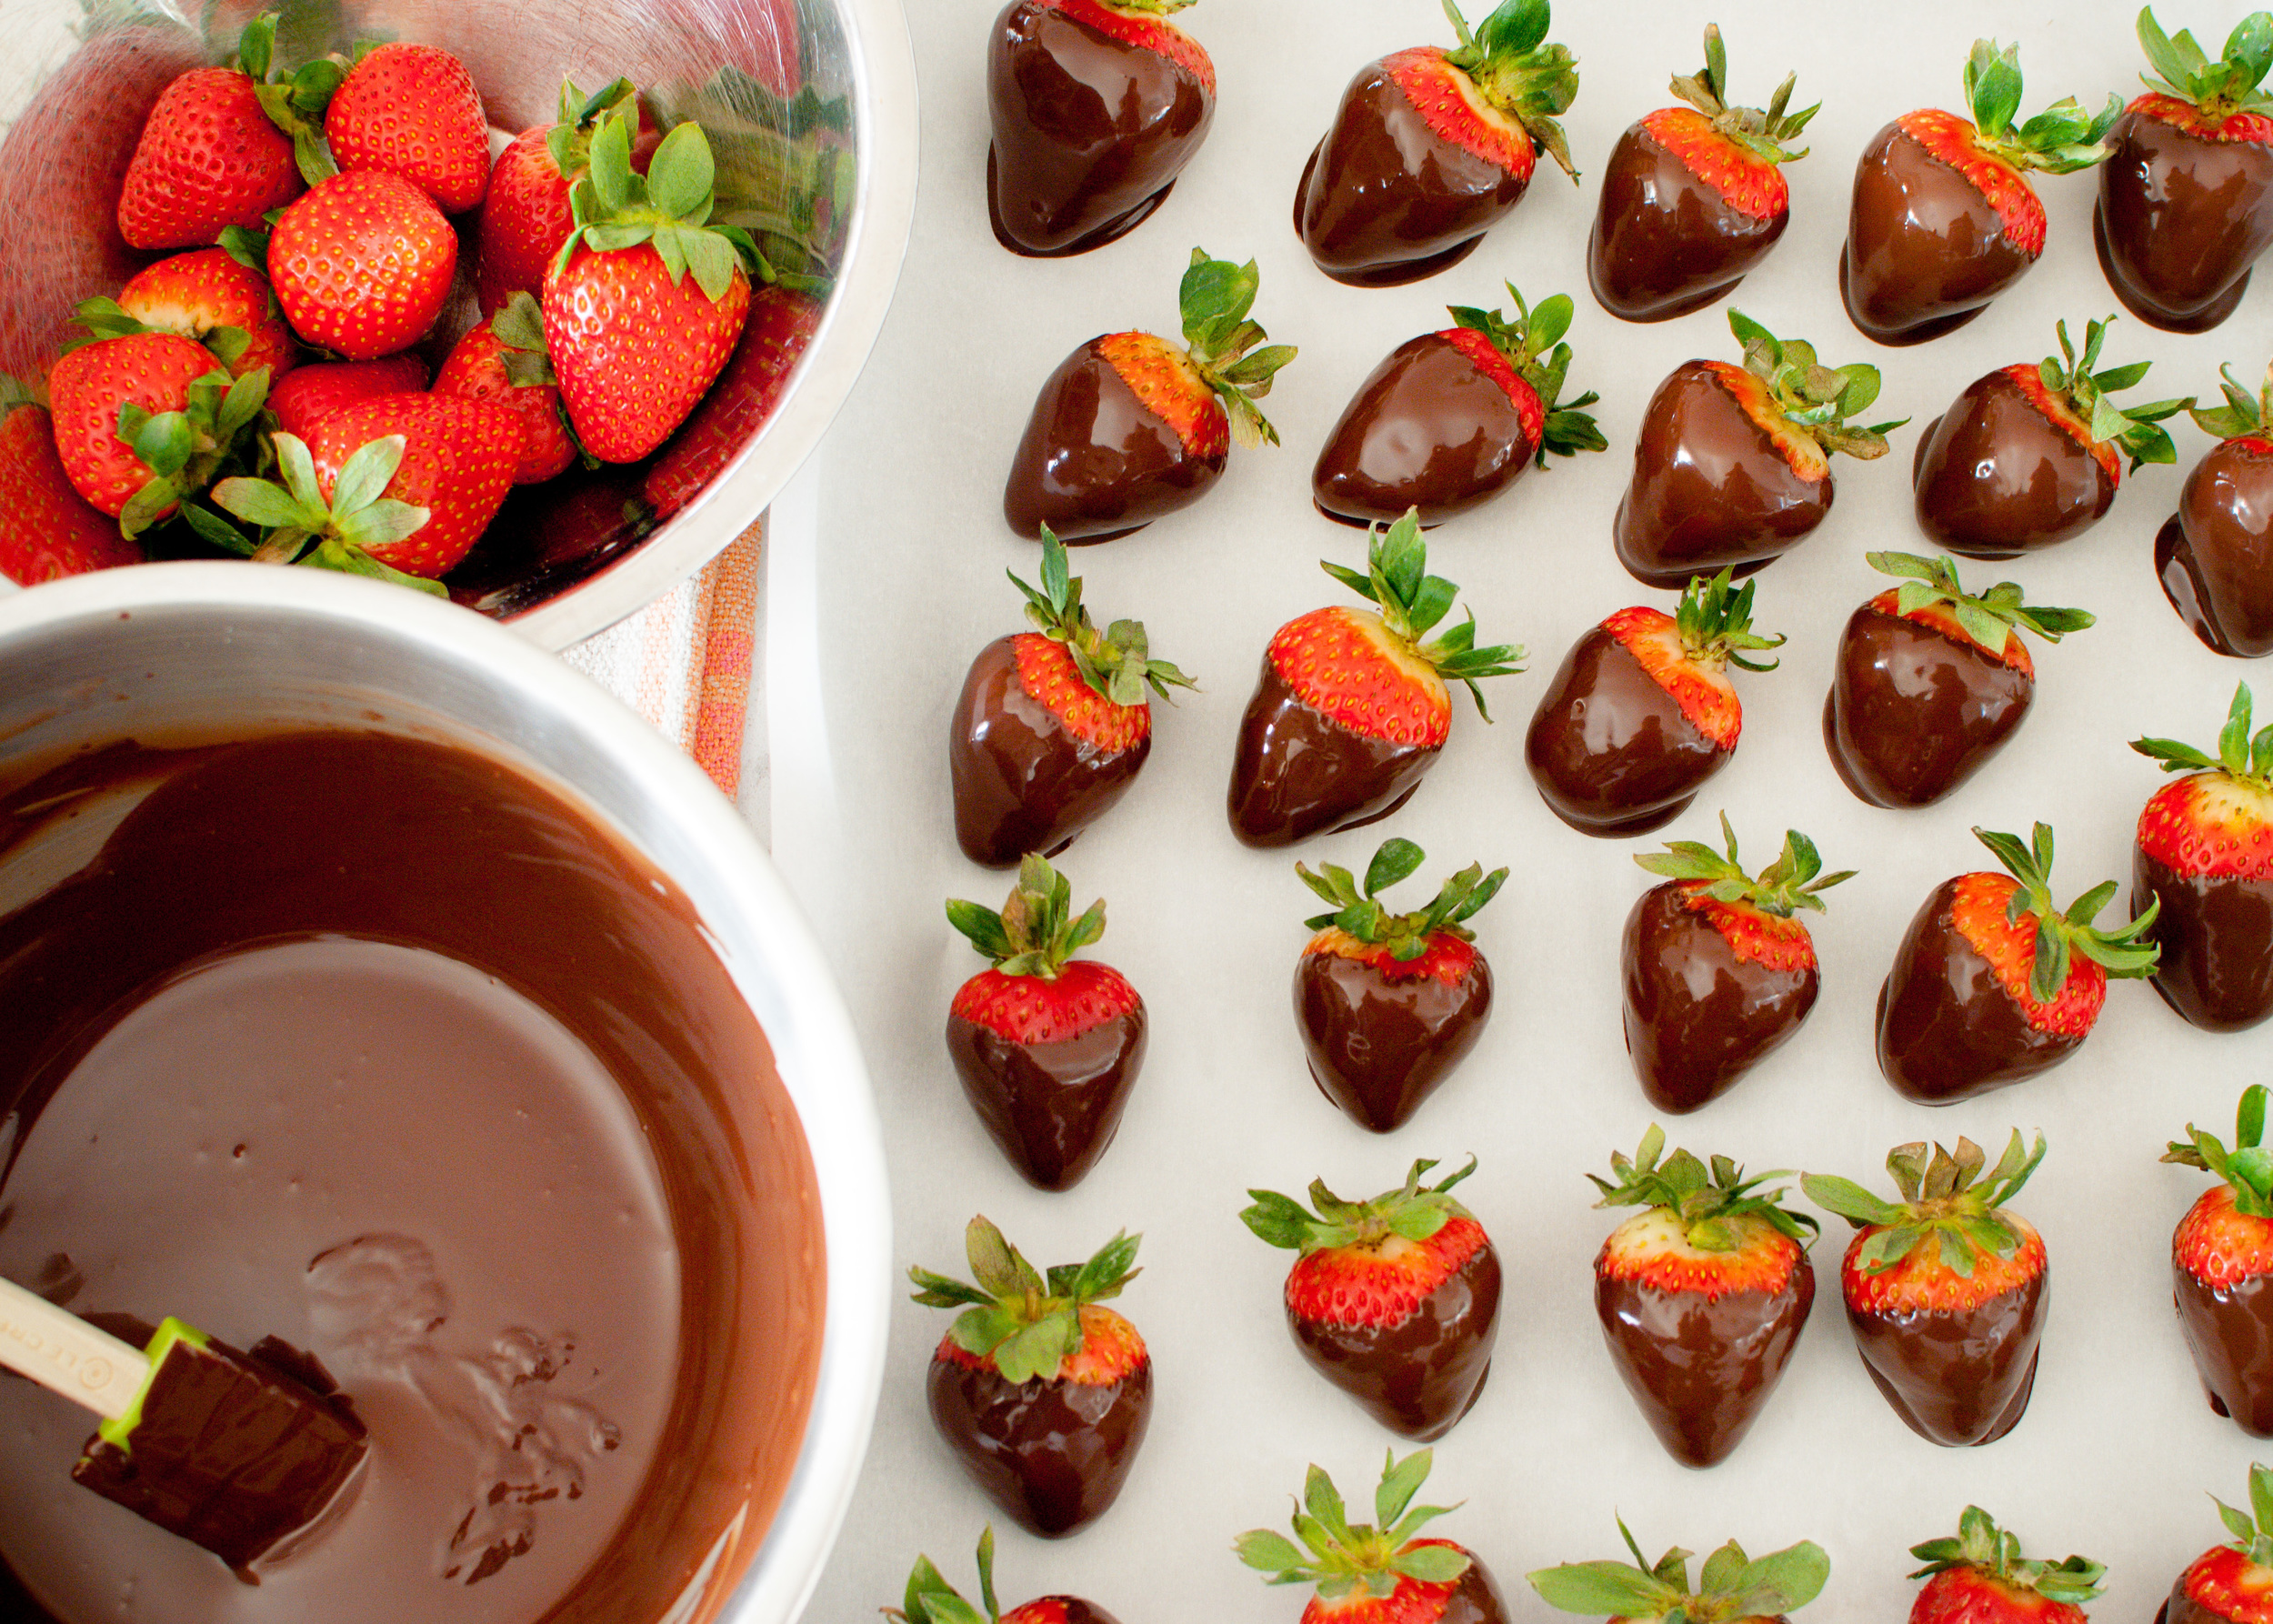
Chocolate-Covered Strawberries are a romantic classic. Also, my 4-year-old loves holding the strawberry by its tiny leaves, and dangling it in front of his mouth before attempting to shove in the entire thing. Dainty, I know. Dressing them up in white chocolate drizzles, nuts, or sprinkles are fun, but there’s something appealing about the simplicity of a perfect, red strawberry coated lovingly with nothing but glossy, crisp chocolate. Cynthia and I enjoyed them, just as much as the kids did - they’re a classic for a reason.

Adapted from The Kitchn.

Notes: Chocolate strawberries are easy to make, but it helps to be precise in each step. The strawberries need to be really dry, or the chocolate coating won’t adhere properly. If you don’t have a double boiler to melt the chocolate, just use a heat safe bowl (like a metal or Pyrex mixing bowl) set over a saucepan of water. Don’t try to melt the chocolate with direct heat because the chocolate will scorch. The directions in this recipe encourages the chocolate to temper, and the addition of coconut oil gives it a glossier sheen and a crisp bite. (The Kitchn has additional information on tempering chocolate without a thermometer.) Don’t let the tempering process intimidate you. Even if the chocolate isn’t tempered correctly, the chocolate dipped strawberries will still be delicious, and I promise no one will complain!


Time: 20 minutes (plus 30 minutes to cool)
Yield: 1 pound chocolate-covered strawberries

1 pint-basket (1 pound) fresh strawberries
1 ⅓ cups (8 ounces) plus ⅔ cup (4 ounces) good quality dark chocolate, chopped
1 teaspoon coconut oil (optional)

Double-boiler or heatproof bowl and saucepan
Heatproof spatula
Parchment, wax paper, or Silpat
Baking sheet

Rinse the strawberries under cool running water and gently pat dry. The strawberries need to be completely dry before dipping, so spread them out and let them air-dry if necessary.

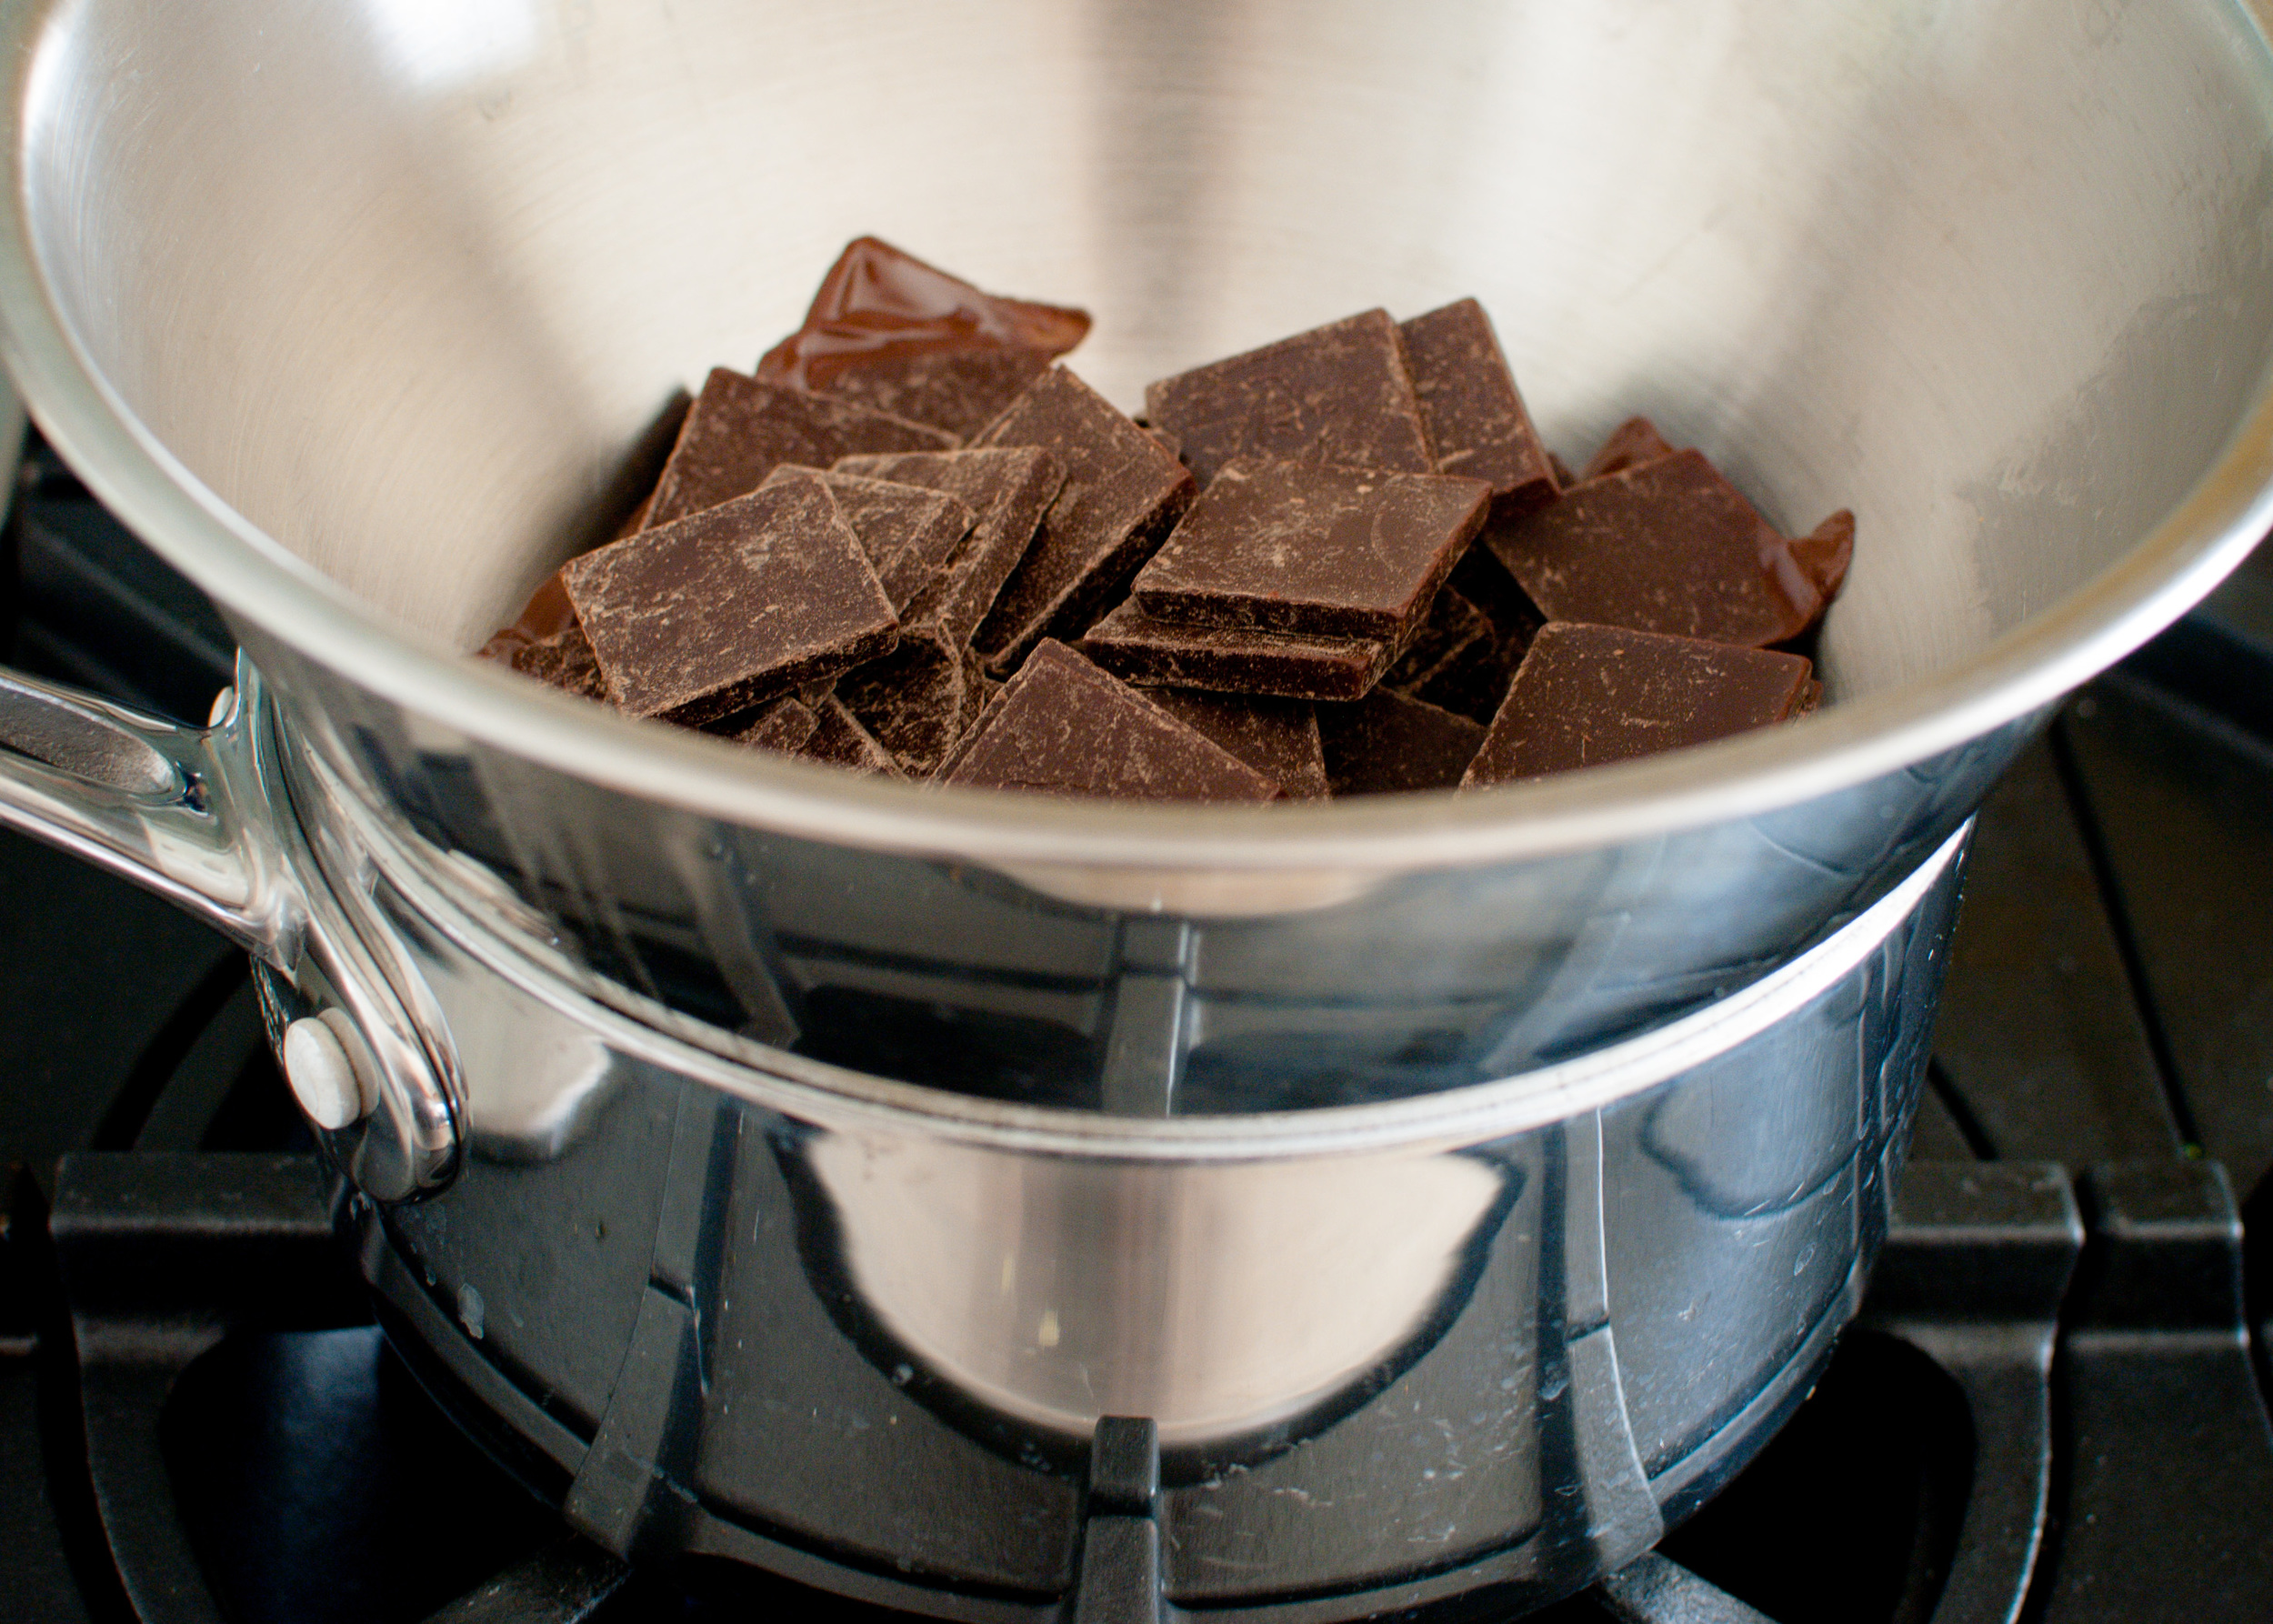
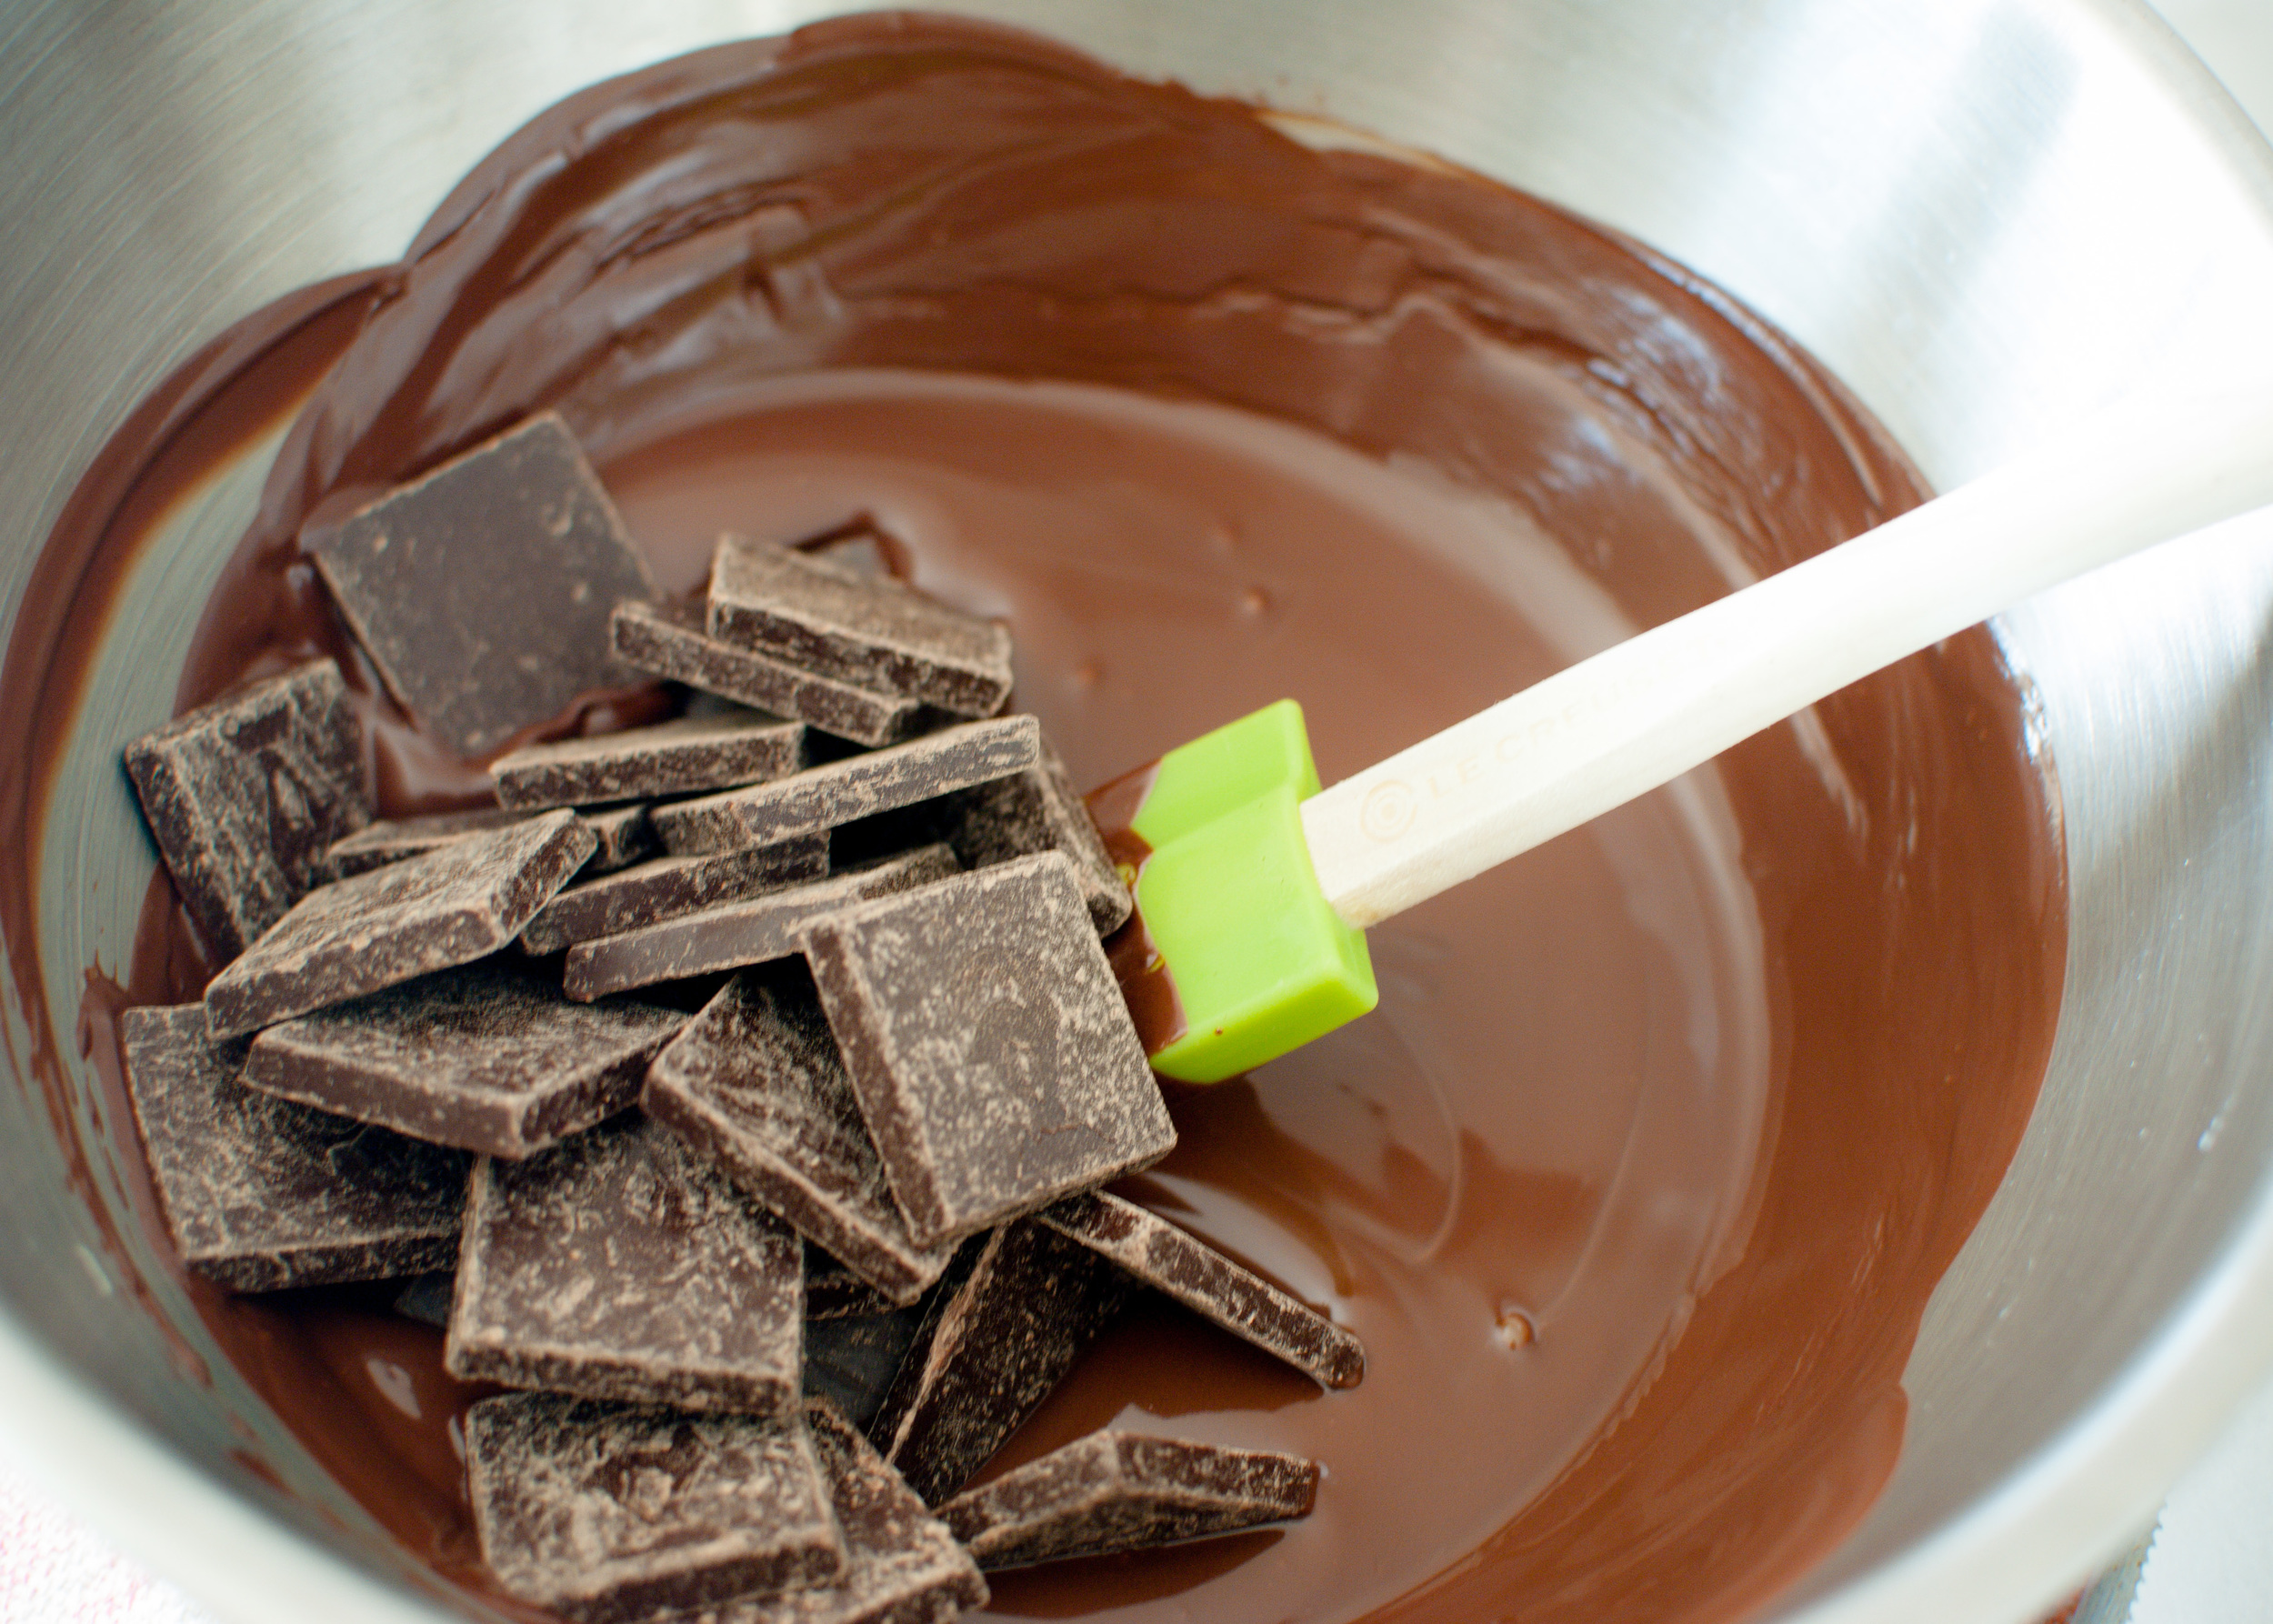
Fill the bottom of the double-boiler or saucepan with an inch or two of water and bring the water to a simmer over medium-high heat. Transfer 1 ⅓ cup chocolate into the top of the double-boiler or the heatproof bowl and set this over the simmering water. Let the chocolate melt, stirring occasionally, until no more lumps remain. Remove the bowl with the chocolate from heat. Stir in the remaining ⅔ cup chocolate, until all the chocolate has melted. Let slightly cool for 2 minutes. Stir in the coconut oil, if using.

Set the bowl of melted chocolate in front of you on a towel. Line a baking sheet with parchment.

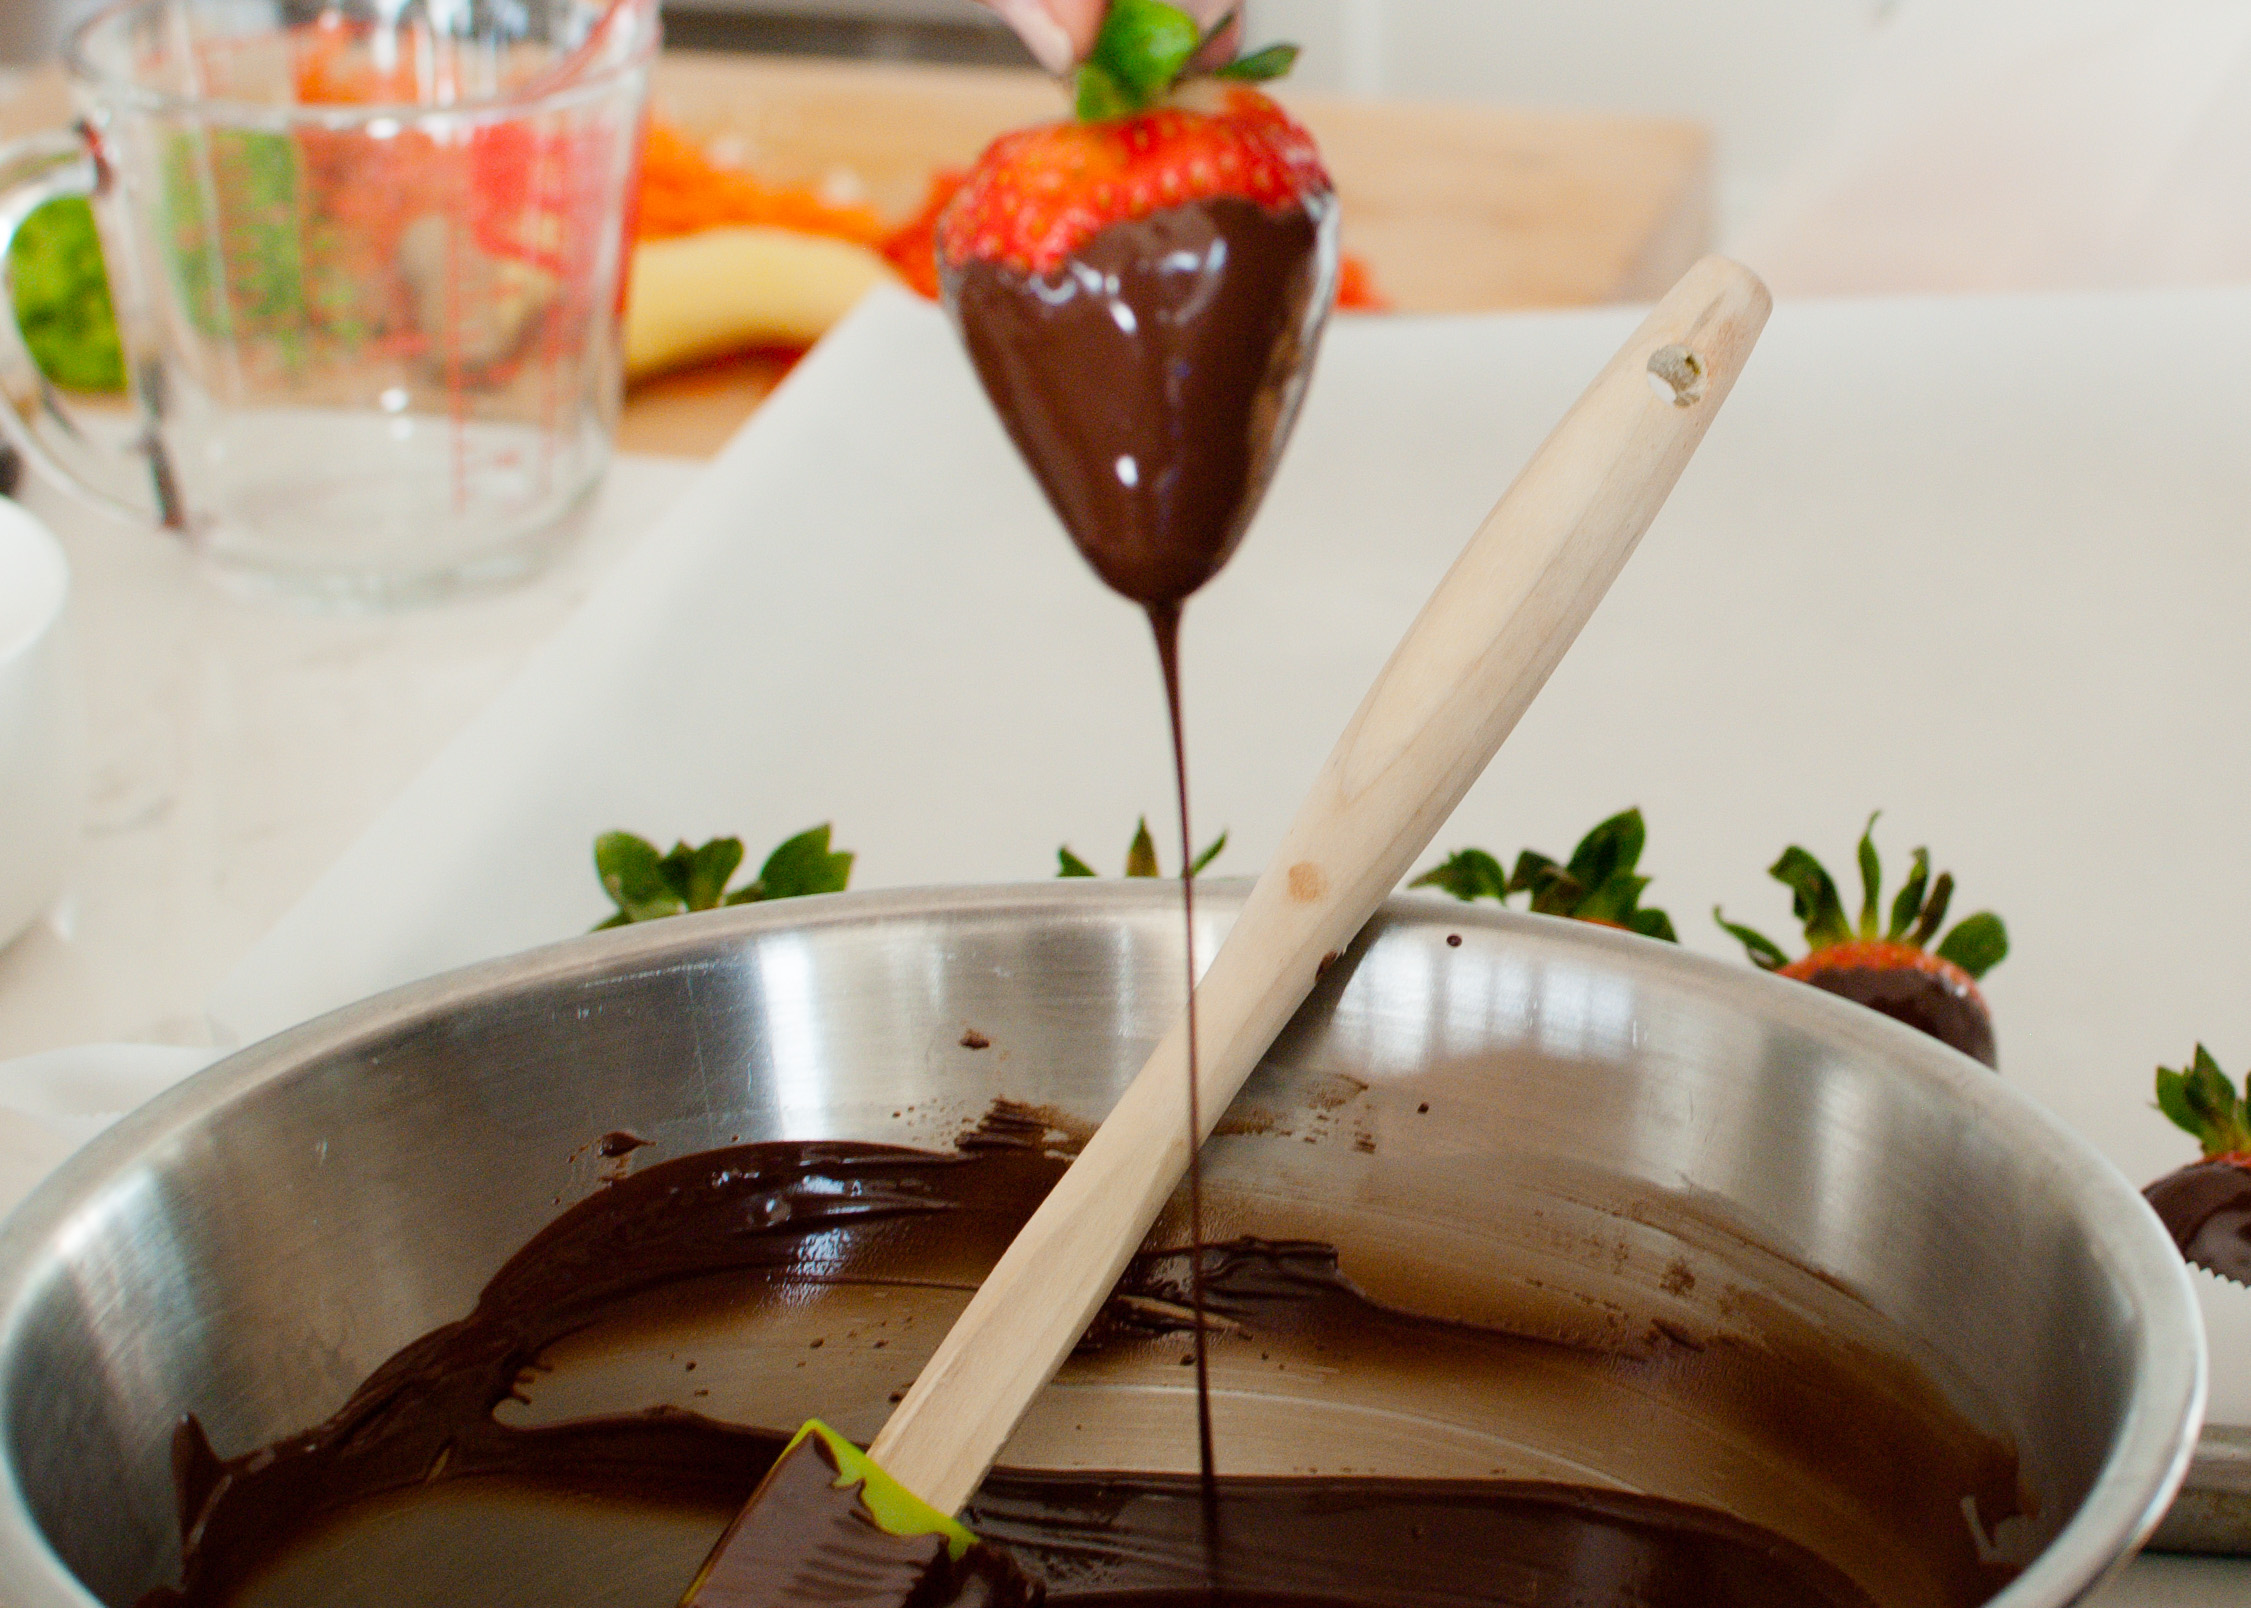
Grasp the strawberry by the top leaves and dip it into the chocolate. Turn or swirl the strawberry as needed to completely coat it in chocolate. Lift the strawberry out and shake gently to remove excess chocolate. Carefully lay the dipped strawberry on its side on the baking sheet. Repeat with dipping the remaining strawberries.

Let the strawberries sit until the chocolate coating is set and dry to the touch. You can put the baking sheet in the fridge to speed this along. Dipped strawberries can be kept for a few hours at room temperature. They can also be refrigerated for a few days, though they don't look as pretty.