cheese

Gougères (Cheese Puffs) by Cynthia Raub

Print Friendly and PDF

Pâte à choux, (also referred to as choux pastry,) is a basic French pastry paste made from flour, water/milk, butter and eggs. From the basic ingredients, other ingredients are added to transform the choux pastry into gougères (flavored with cheese), eclairs (sweet, rod-shaped, and filled with pastry cream), profiteroles (similar appearance to gougères but filled with pastry cream or ice cream), and even Parisian gnocchi. Choux pastry does not include a leavening (or rising) agent, such as baking powder or yeast. The piped pastry mounds puff during cooking due to the high moisture content of the soft dough, which evaporates and results in a golden pastry shell. This is a classic, easy to master, and versatile dough that can be used in a multitude of ways. I encourage you to try it and never look back! Not to be dramatic or anything . . . but your life will never be the same once you can make homemade gougères.

Notes: This recipe might seem daunting, but once you make it successfully once, (hopefully the first time,) you will feel like a rockstar. The most important thing to remember when it comes to this recipe, is to have everything prepared and measure before you begin. The steps move quickly, and there should be very little lag time between steps. You can substitute the milk for water and any kind of semi-hard and hard cheese will work, depending on your preference. I have made them with Parmesan, Gruyere, Comte, Emmental and Cheddar. In this instance, I used Dubliner, which I find multi-dimensional: nutty, sweet, sharp and salty. You can also jazz it up with herbs and other seasonings. Thyme is one of my favorite herbs for these cheesy, airy puffs.


Time: 50 minutes
Yield: ~30 puffs

1 cup milk
1 stick unsalted butter, cut into large pieces
1/2 teaspoon kosher salt
1/4 teaspoon freshly ground black pepper
1 cup all-purpose flour
4 large eggs
1 cup grated cheese
Egg wash (1 well beaten egg, splash of milk or water)
1/4 cup finely grated cheese (for sprinkling)

1. Begin by preheating oven to 425 degrees and lining two sheet trays with parchment paper.

2. Meanwhile, bring milk, butter, salt and pepper to a boil of medium-high heat.

3. Once at a boil, turn heat down to medium and add flour to the pot. Stir vigorously, incorporating the flour into the milk mixture.

4. Continue to cook and stir until a cohesive, soft dough is formed (the dough will pull away from the sides of the pot). Once the dough has taken shape, continue to cook for 1 minute more, stirring constantly.

5. Add the mixture to a stand mixer bowl fitted with a paddle attachment (or a mixing bowl, or a food processor) and mix on low for 1 minute to release steam and cool down the dough. Add an egg, one at a time and mix on medium-low until it the egg has been fully incorporated (about 30 seconds to 1 minute). This photo has one egg and has been mixed for 10 seconds. The appearance of the dough is curdled and not cohesive. Continue to mix until it looks like the following photo.

6. Continue adding the remaining eggs until the dough resembles this constancy. 

7. Add shredded cheese and fold in.

8. Scrape dough into a gallon-sized freezer bag or piping bag. (I used a large beer stein to keep my bag open.)

9. Squeeze dough to a bottom corner of the bag and twist and pinch the bag at the top of the dough to create pressure. Snip the corner to approximately the diameter of a dime.

10. Standing directly above your prepared baking sheet, position the tip of the bag to kiss the parchment. Gently squeeze bag from the top, releasing the dough, while simultaneously and slowly drawing the bag upwards.
 

11. Continue piping mounds on the baking sheet with 2" of space between each one.

12. Dip your finger into the egg wash and gently push down each of the unruly tails that formed on your mounds. With a pastry brush, brush the top of each mound with egg wash.

13. Sprinkle finely shredded cheese on top.
 

14. Place baking sheets into the preheated oven, with the racks positioned at 1/3 and 2/3 distance. Bake for 15 minutes at 425 degrees. Carefully turn the pans in the oven to ensure even cooking. Be gentle! You don't want to bang them around and have any collapse - they are still fragile at this point. Turn oven down to 375 degrees and continue to cook for 10 minutes more, until beautifully golden brown and hollow on the inside.

Enjoy immediately or store in an airtight container, and rewarm in a 350 degree oven for 8 minutes.

Pesto Pasta Salad with Roasted Tomatoes by Amy Cantu

Print Friendly and PDF


The first time I ever made a Pesto Pasta Salad with store bought pesto, I thought, really? This is it? I was underwhelmed and disappointed because I was looking forward to luscious pesto coating hot, long strands of pasta. The pasta was too firm, (even though I cooked the pasta to al dente,) with only a hint of basil, and it just tasted flat. This recipe for Pesto Pasta Salad with Roasted Tomatoes is not altogether different from that first attempt, but it tastes worlds apart. THIS pesto salad is a glorious celebration of summer, and the difference is all in the details. I made my own pesto sauce (instead of store-bought) using fresh basil. I toasted the pine nuts to bring out their nutty flavor. Beautiful summer cherry tomatoes were roasted to make them taste like candied tomatoes, without adding any sugar. I made sure to check the seasoning and add more salt before serving, to keep the flavors tasting bright and savory. Milky fresh mozzarella provided nuggets of soft, creamy flavor and texture. Each pesto-infused bite of pasta was a revelation in my mouth, with big, bold basil flavor. I was very, very happy.

Notes: I beg you to try making your own pesto at least once, (as in this recipe,) before deciding to use the store-bought kind. I have definitely used store-bought before for convenience, but when I developed this recipe, I did a side-by-side comparison of freshly made pesto vs. the store-bought pesto, and the fresh pesto blew my mind. Really. The difference was huge, and if you have a food processor or blender, fresh pesto only takes a few minutes to make. 

I have been overcooking my pasta for pasta salad by a minute or two ever since I read this post on Serious Eats about how pasta gets stiffer when it cools, so over-cooking the pasta a bit for pasta salad is great because it keeps the texture from getting too firm.

Pine nuts are at least half of what makes pesto so darn good, but I realize they are pricey. You can substitute half or all of the pine nuts for walnuts, and it will be a suitable substitution.

This Pesto Pasta Salad alongside Cynthia's Mediterranean Turkey Burgers and Mustardy Potato Salad makes an amazing barbecue. Adding shredded or diced chicken would also make this the perfect light summer meal, rather than a side.


Time: 45 minutes
Servings: 8-10

1 pound cherry tomatoes
1 tablespoon plus 1 cup extra virgin olive oil, divided use
Kosher salt
Freshly ground black pepper
1 cup pine nuts, divided use
1 pound farfalle (bow tie) pasta
1 cup parmesan cheese, grated
4 cups basil leaves, packed (about 5 ounces)
4 cloves garlic, roughly chopped
1/2 cup parsley, finely chopped
1 cup green onions, thinly sliced
pound fresh mozzarella, cut (or torn) into 1-inch piece

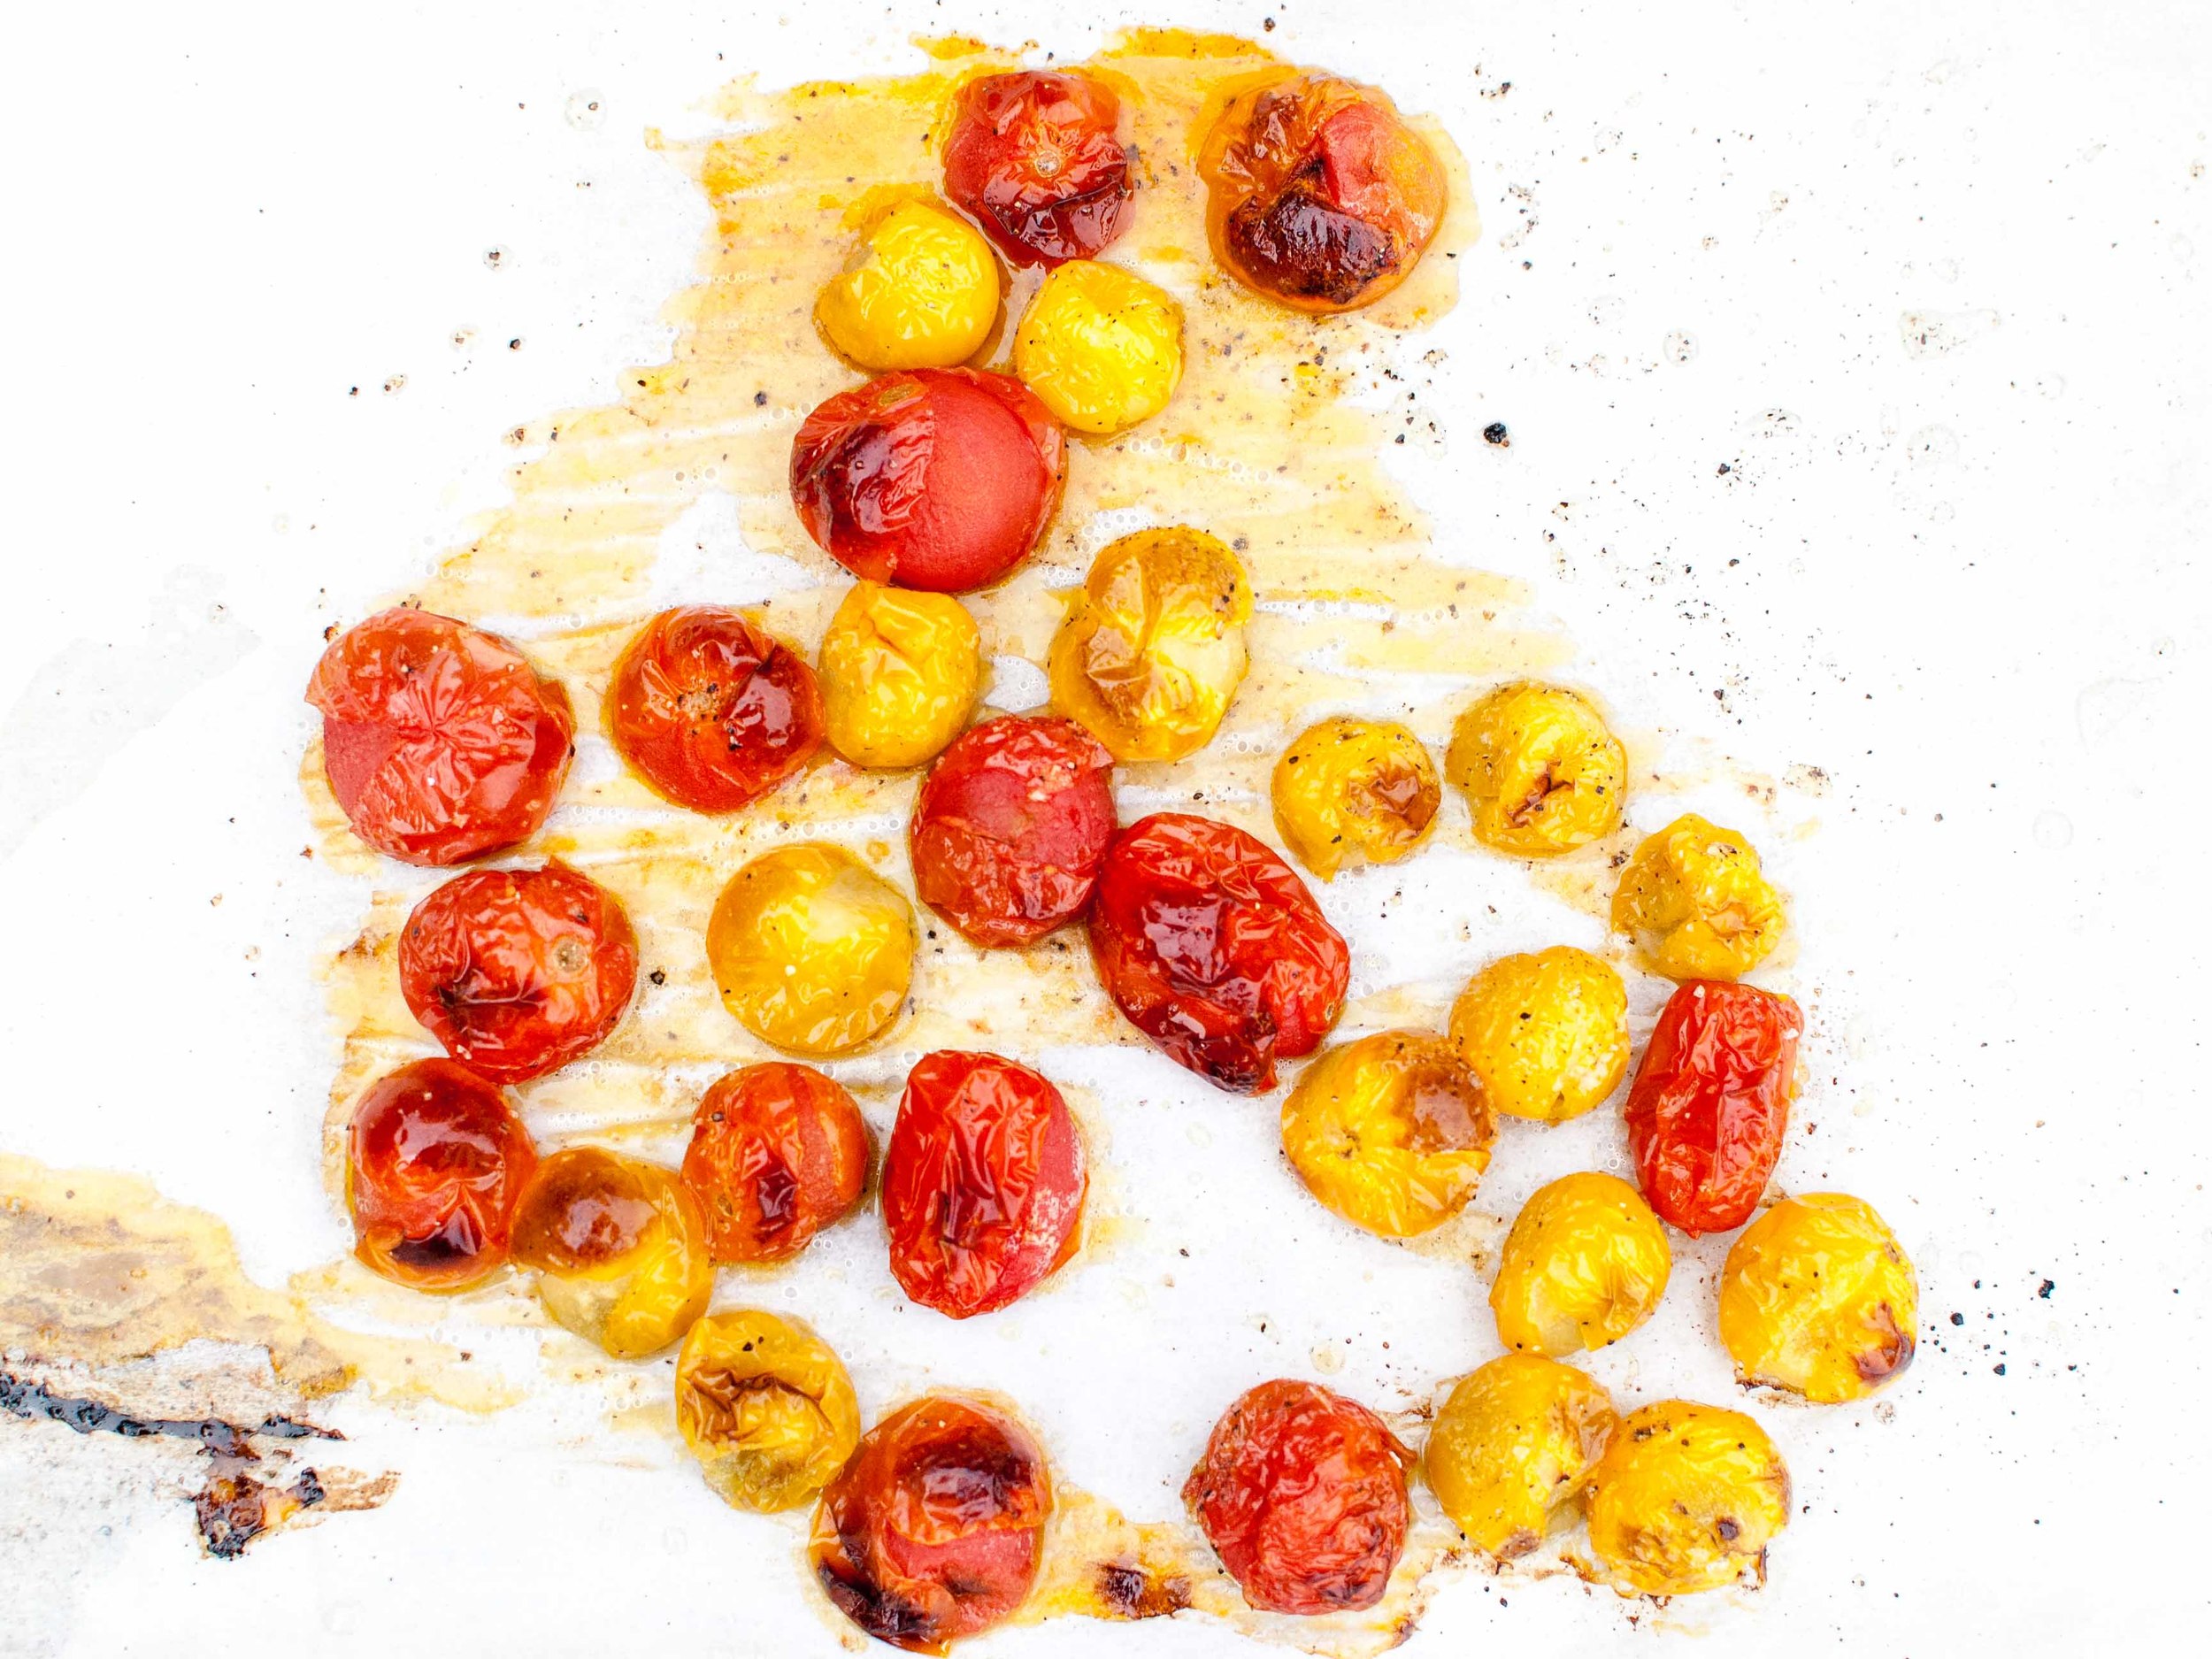
Preheat oven to 400 degrees F. Combine cherry tomatoes and 1 tablespoon olive oil on a rimmed sheet pan. Sprinkle lightly with salt and pepper. Roast tomatoes for 20-25 minutes, until tomatoes are soft and releasing some of its juice. Let cool.

Reduce oven temperature to 375 degrees F. Place pine nuts on a rimmed sheet pan, and toast in oven until golden brown, about 5 minutes. Let cool.

Meanwhile, bring a large pot of salted water to boil. Stir in pasta, and adjust heat to maintain a low boil. Cook for two minutes longer than the package instructions. Drain and rinse pasta in cold water until the pasta is no longer warm.

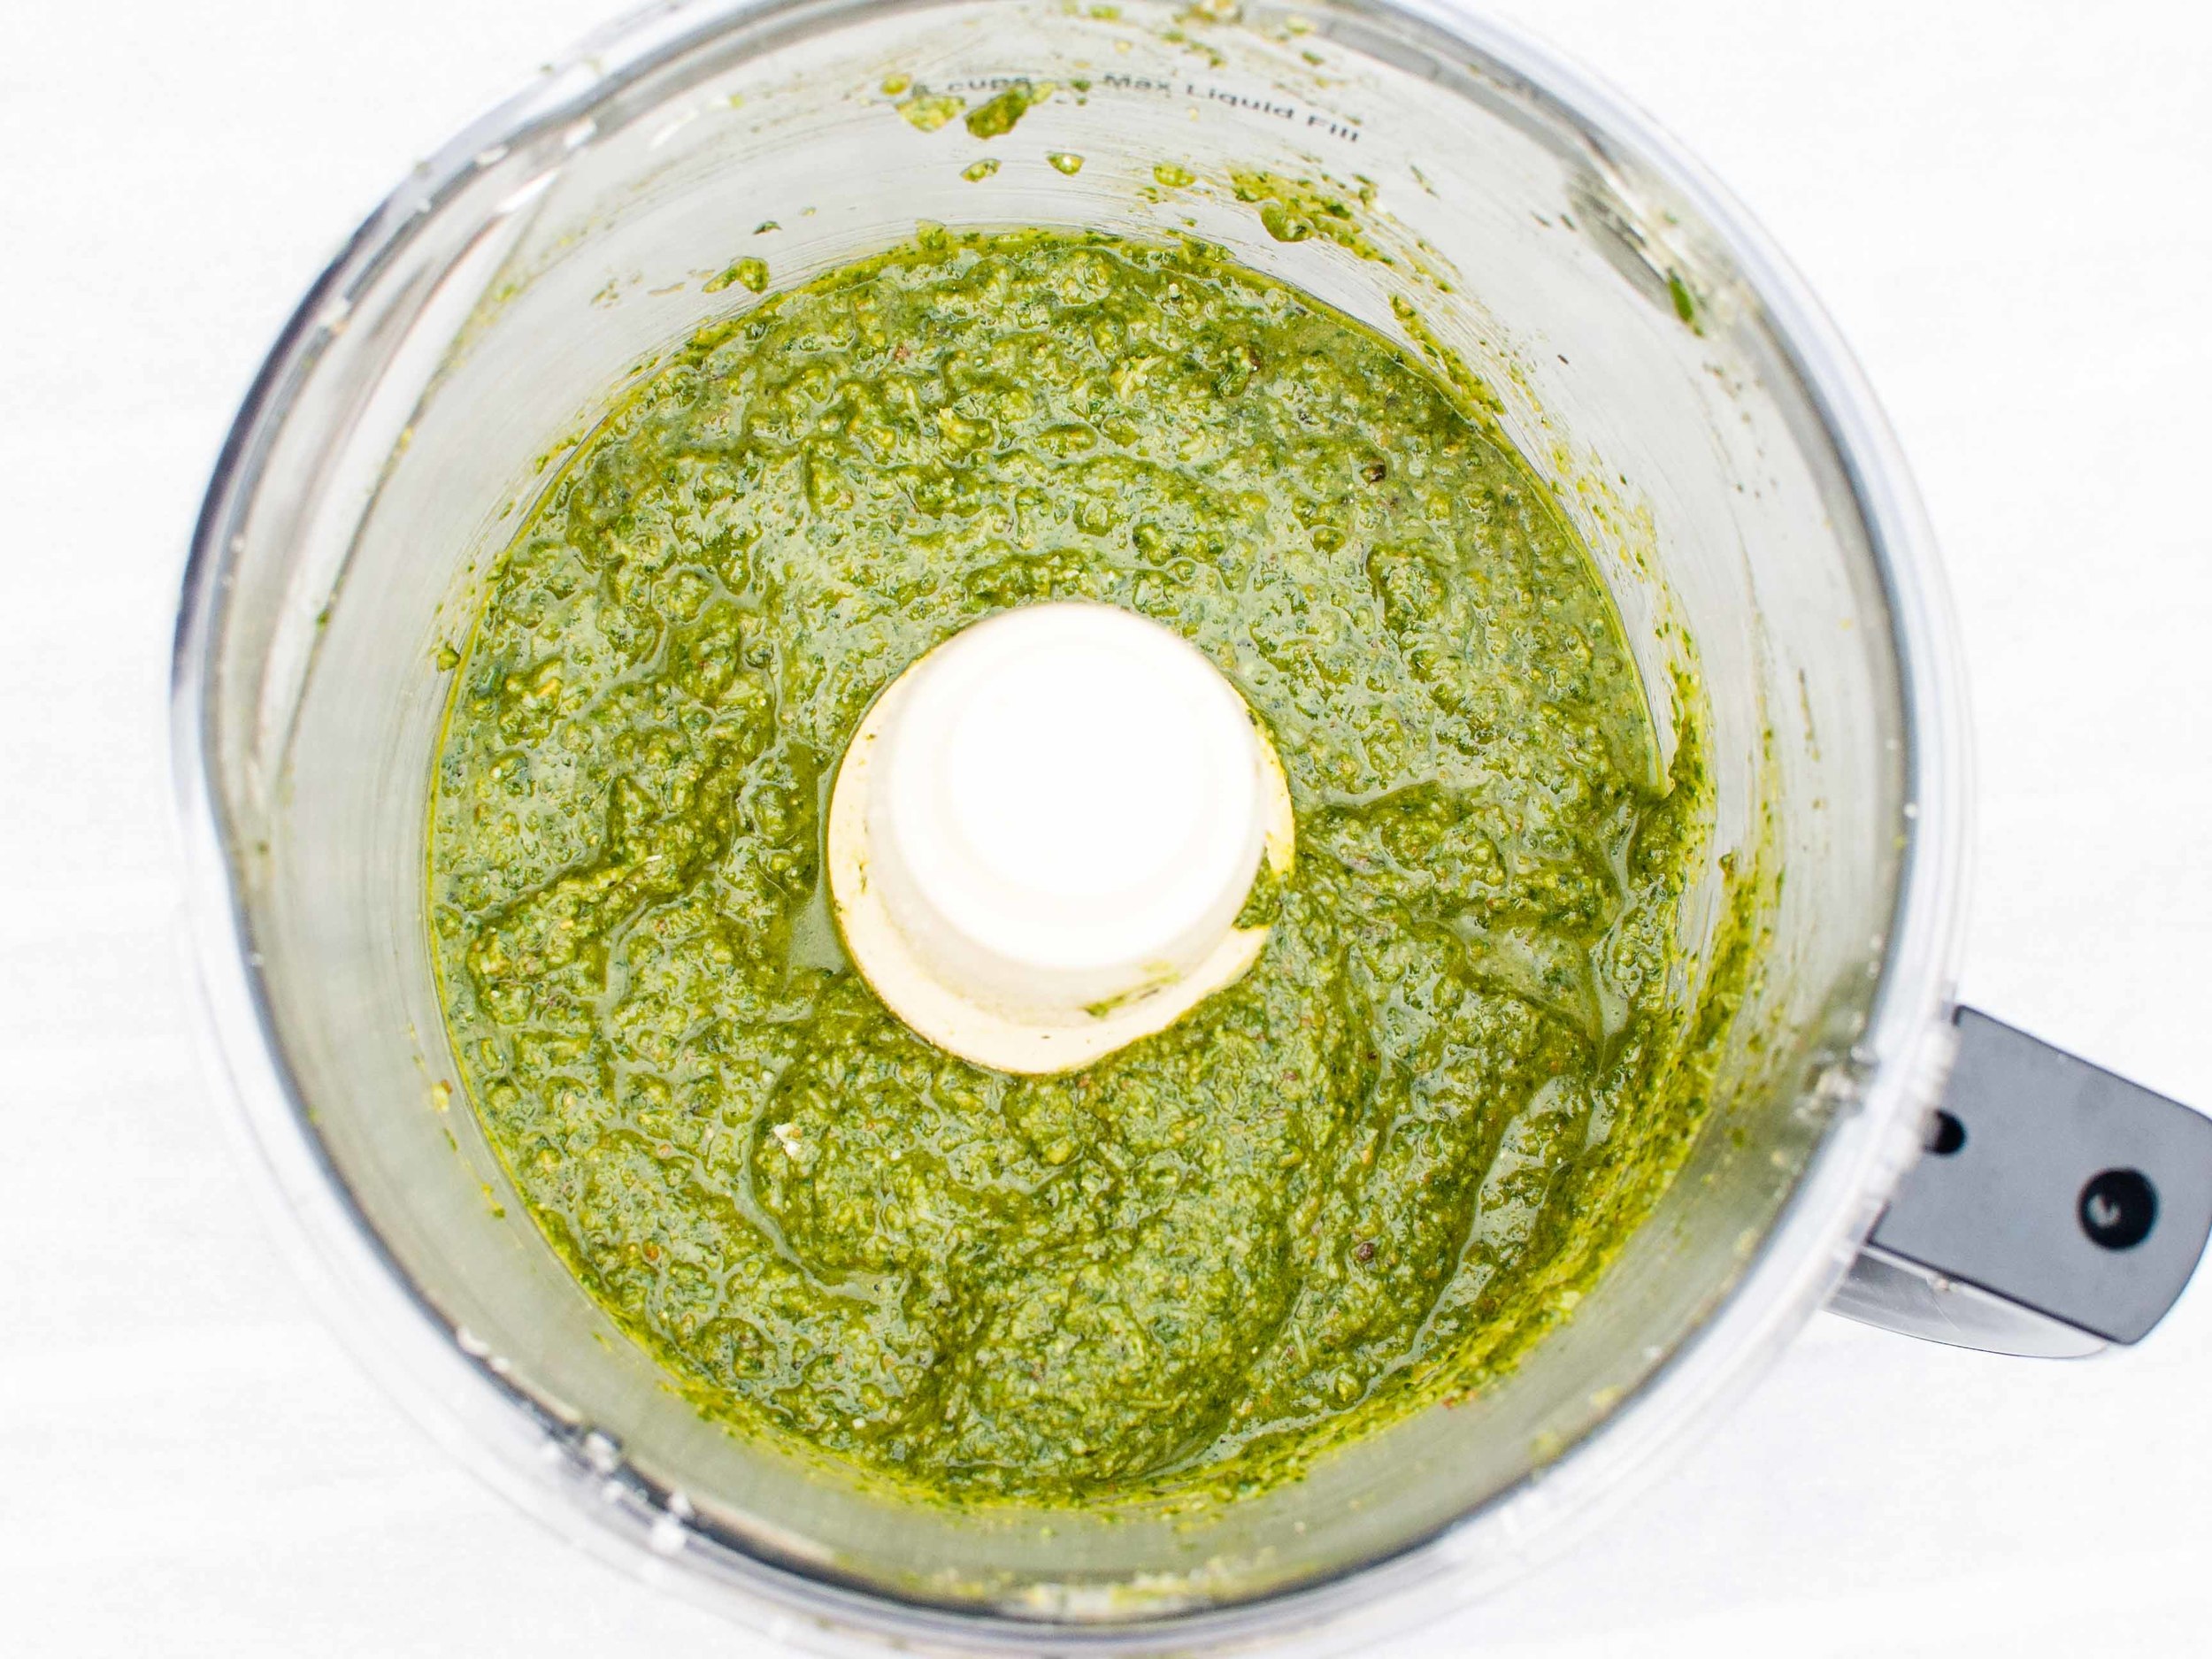
Make pesto: Combine 1/2 cup toasted pine nuts, parmesan, basil leaves, and garlic in a food processor or blender. Process until a paste is formed, stopping to scrape the container down as needed. With the motor running, drizzle in 1 cup olive oil, and process until the oil is fully incorporated and pesto is smooth.

In a large mixing bowl, combine pasta, pesto, chopped parsley, sliced green onions, and remaining toasted pine nuts until pasta is evenly coated. Add half of the roasted tomatoes and half the mozzarella and toss to combine. Taste and adjust seasoning with additional salt and freshly ground pepper. Pour pasta salad into a large serving bowl, and arrange the remaining tomatoes and mozzarella on top. Serve at room temperature.

Rosemary-Cheddar Scones by Amy Cantu

Print Friendly and PDF

Scones seem like a special treat in a way that muffins seem ordinary. Don't get me wrong, I will never turn down a good muffin, but a scone is a bakery good that I eat slowly and savor with a big mug of coffee or tea. (I can't be bothered with those dainty tea cups at home.) These Rosemary-Cheddar Scones are stuffed with little cubes of cheddar cheese that ooze out when baked to form lacy, crunchy bits of crispy cheese around the scone. This might be my favorite part. It's like the bit of crunchy cheese that's left at the bottom of a fondue pot, or the cheese that escapes a grilled cheese sandwich onto the griddle. The Rosemary-Cheddar Scone itself is moist and tender, flecked with bits of fragrant rosemary, and happily cheesy. (Please don't compare these to the dry hockey puck scones that seem to be everywhere. Those scones are an abomination and should be banned from being sold.) Getting me up in the morning is like waking a sleeping monster, but this monster absolutely will get up early to bake these scones, because the results are so worth it!

Notes: This recipe is an old, tried and true friend from my early days of cooking. Ina Garten's The Barefoot Contessa Cookbook was one of my early cookbook muses, with her easy-to-follow recipes, bright enthusiasm, and beautiful, large photos that convinced me that I could and needed to cook each recipe. The original recipe called for dill, but I have substituted any fresh herb that I have hiding in the fridge - rosemary, chives, thyme, tarragon, etc. are all delicious. I happen to have an enormous rosemary bush in the backyard, so it's a convenient choice for me! Other delicious add-ins could be bacon bits, peeled and diced apple, jalapeño pepper, sun-dried tomatoes, or corn. You can also vary the type of cheese - brie, gruyere, mozzarella, jack . . . the possibilities are endless.

Lastly, this recipe makes a lot of scones. Ina's original recipe suggest 16 (very) large scones, but I find that it makes more like 24 medium scones. I have adjusted the baking time for the smaller size, but if you want to make mini scones, reduce the baking time by a few minutes, or if making the large size, add a few minutes. The fully baked scones can be fully cooled and frozen. Reheat frozen scones in a 350 degree Fahrenheit oven for 8-10 minutes (mini scones may only need 5-8 minutes). Unbaked scones can also be frozen - place on a baking sheet and freeze until solid (about 1 hour). Transfer to an airtight container to store in freezer. To bake, pop as many frozen scones as needed onto a baking sheet and add an extra 5 minutes or so to the baking time.


Read More: The Shared Scones


Time: 45 minutes
Yield: About 24 scones
 
4 cups plus 1 tablespoon all-purpose flour, divided
2 tablespoons baking powder
2 teaspoons salt
3/4 pound cold unsalted butter, diced
4 eggs, beaten lightly
1 cup cold heavy cream
1/2 pound extra-sharp yellow Cheddar, small-diced
1/3 cup minced fresh rosemary leaves
1 egg beaten with 1 tablespoon water or milk, for egg wash

Preheat the oven to 400 degrees F.

Combine 4 cups of flour, the baking powder, and salt in the bowl of an electric mixer fitted with a paddle attachment. 

Add the butter and mix on low speed until the butter is in pea-sized pieces. Mix the eggs and heavy cream and quickly add them to the flour-and-butter mixture. Combine until just blended.

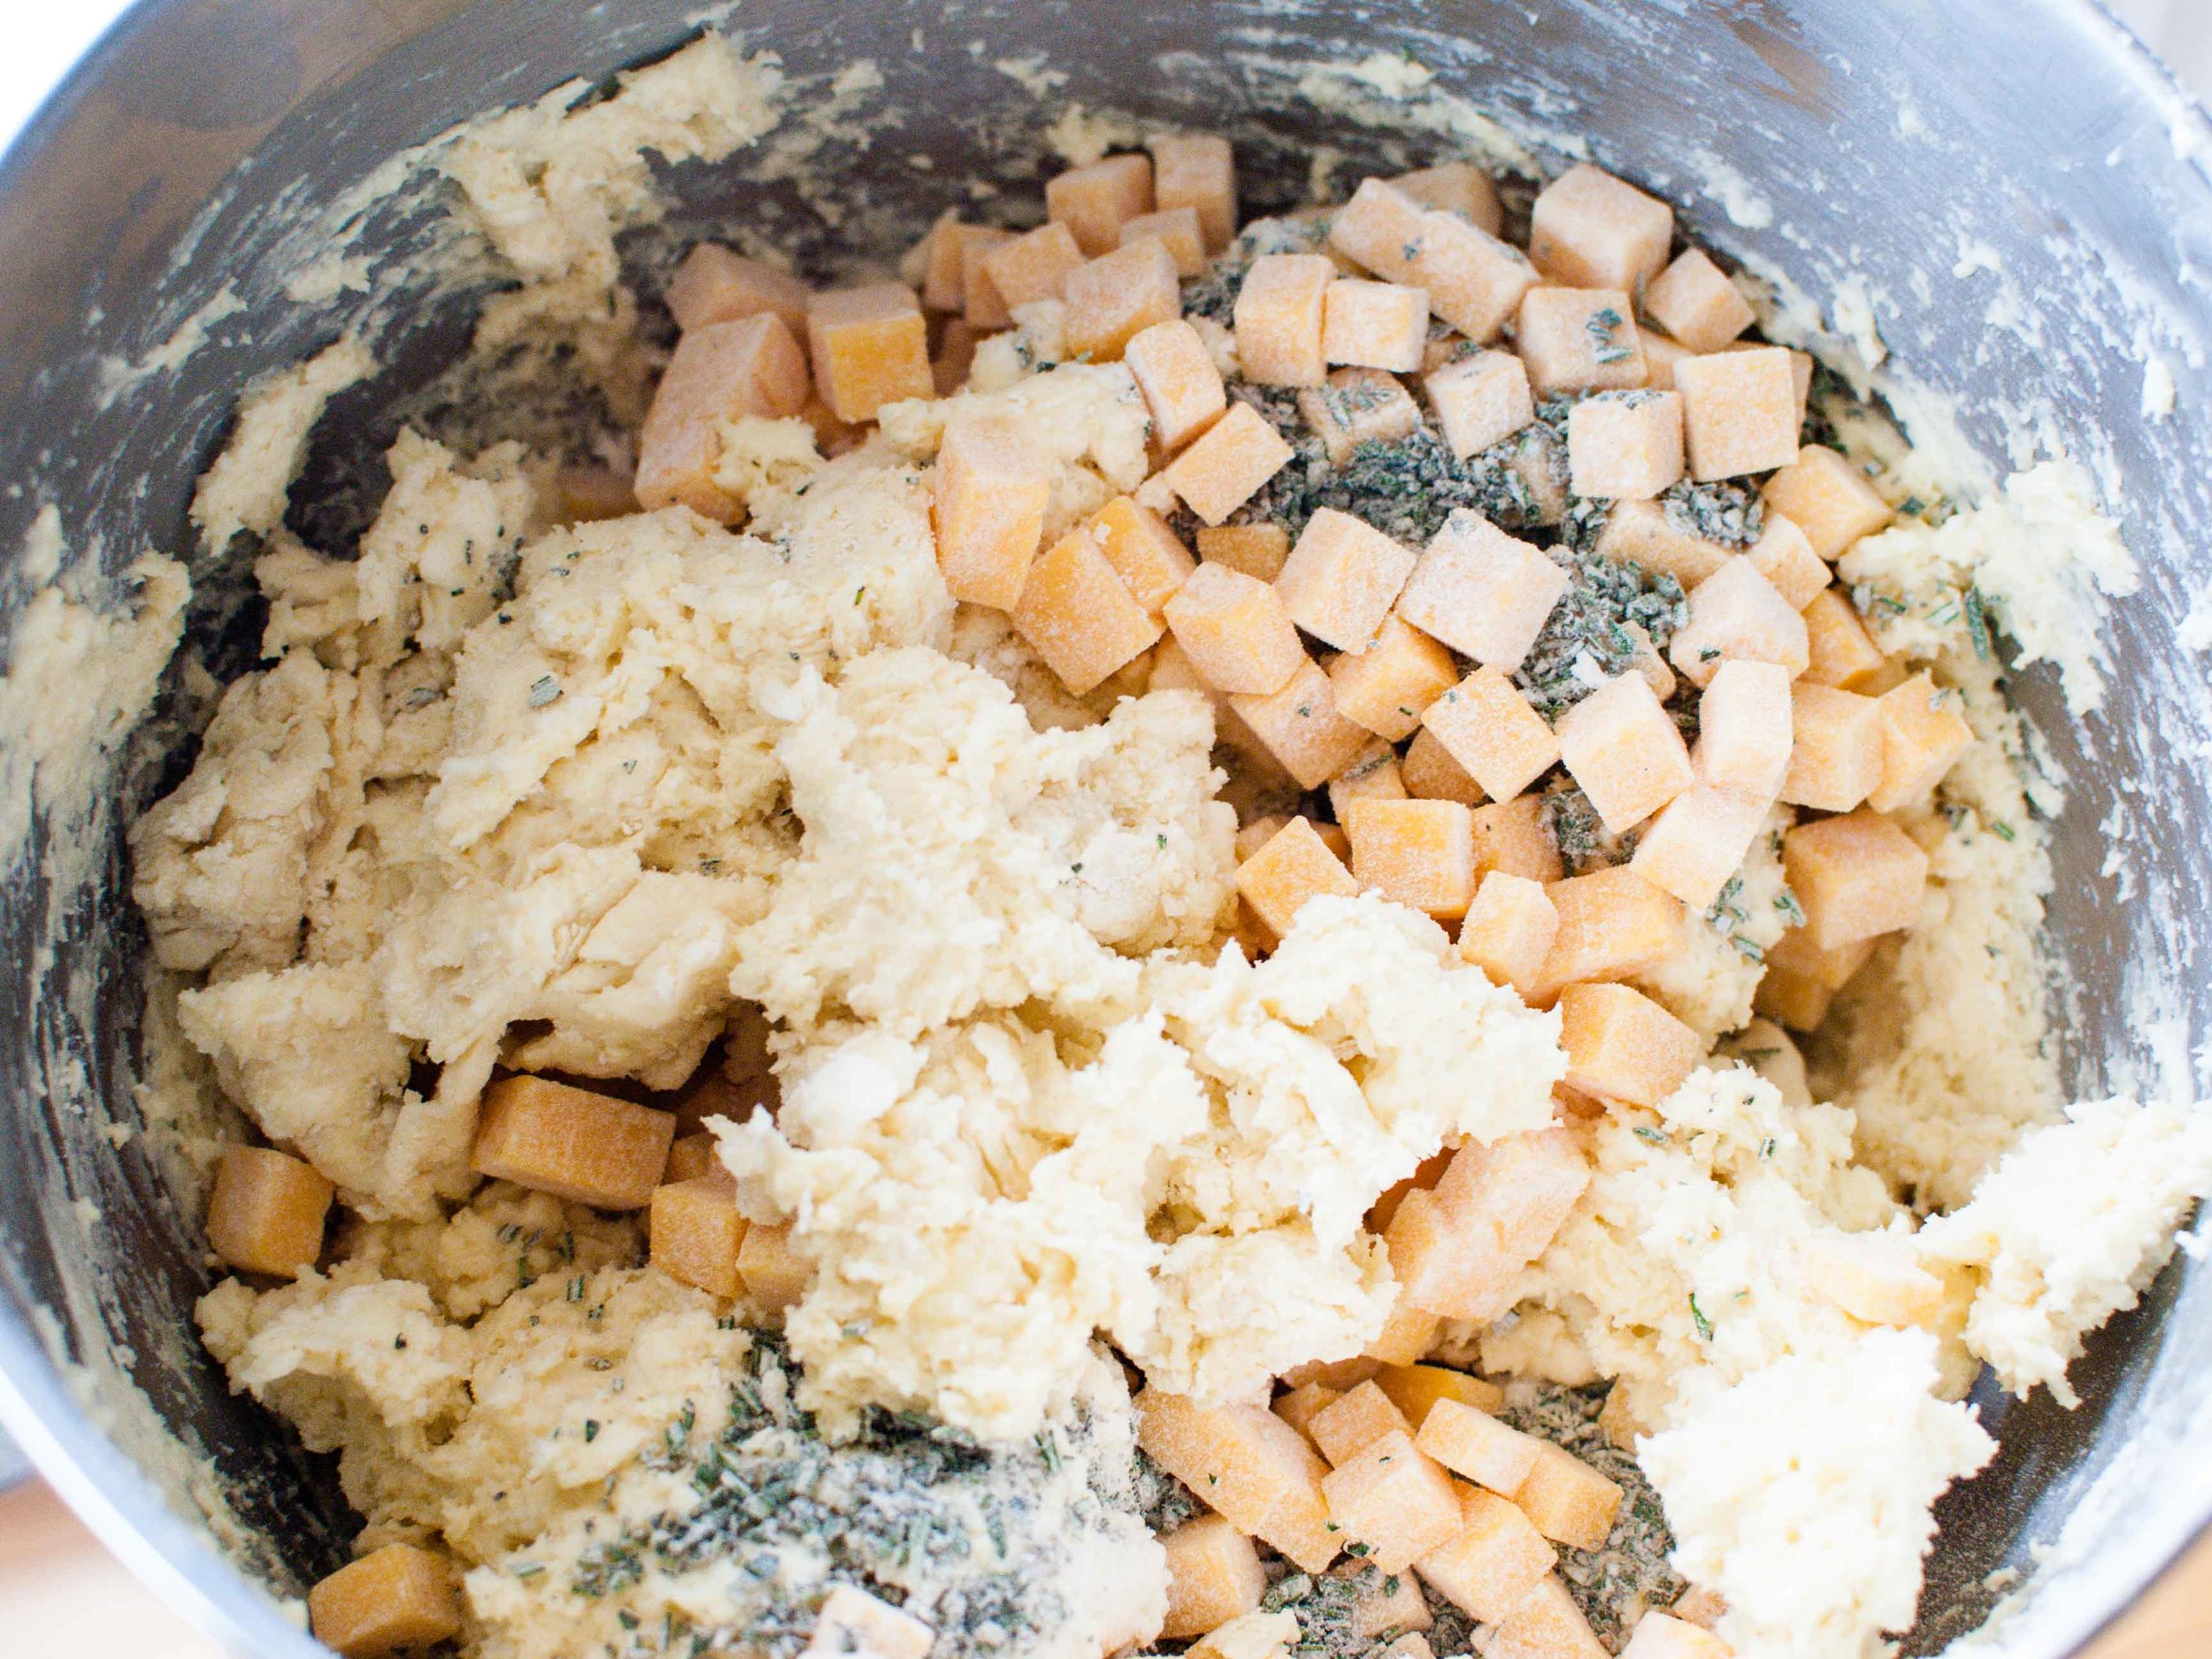
Toss together the Cheddar, rosemary, and 1 tablespoon of flour and add them to the dough. Mix until they are almost incorporated.

Dump the dough onto a well-floured surface and knead it for 1 minute, until the Cheddar and rosemary are well distributed.

Roll the dough 3/4-inch thick. Cut into 3-inch squares and then in half diagonally to make triangles. Brush the tops with egg wash.

Bake on a baking sheet lined with parchment paper for 15 to 20 minutes, until the outside is crusty and golden, and the inside is fully baked.

Asparagus, Peas and Fava Beans with Gremolata and Mozzarella by Cynthia Raub

Print Friendly and PDF

Suddenly, they were everywhere. Delicate, thin stalks of asparagus appeared in the markets in all of their glory. They are on special! They are as tender and flavorful as all get out! It was time to get excited about spring vegetables. Granted, asparagus, like most all other produce, is now available year-round. While it is tolerable during the other seasons, out of season asparagus does not compare to the first of the season, local crop. The other spring beauties that shine like green diamonds in the spring are fresh English peas and finicky fava beans. Combined, these veggies make a beautiful statement as a side dish or an alternative to a salad. My initial thought was to dress the vegetables simply with olive oil, salt, pepper and lemon juice. But then I remembered that the lemon juice would turn the green vegetables brown and unappealing. Boo! That's when it occurred to me to dress it with a gremolata: a minced combination of lemon zest, parsley and garlic. The lemon zest would provide the acidic zing, the parsley would bring brightness and even more freshness to the veggie party and the garlic does what garlic was created to do (aka make everything more delicious). Topping this loose, green dish with a soft and white cheese really brought it together and made it a perfect accompaniment to Amy's Fresh Egg Pasta.

Notes: Gremolata can be prepared several ways. I primarily used a microplane to finely grate the garlic and zest the lemon - I found that this method cut down my chopping time tremendously. Some people use a mortar and pestle to make a paste with all of the ingredients, others chop everything completely with a knife, and some use a food processor to get the results they want. Fava beans have a very short and sweet season so they can be cumbersome to acquire. They are also time intensive to shell and prepare. I was committed to fava beans, but if you can't find them or don't want to prepare them, omitting them won't do any harm, either.


Time: 50 minutes
Serves: 4-6

2 bunches of asparagus
1 cup of english peas
1/2 cup fava beans (optional)
3 tablespoons extra virgin olive oil
2 teaspoons kosher salt
1 teaspoon freshly cracked pepper

1 lemon
3 garlic cloves
1 cup of parsley leaves, packed

8 oz fresh mozzarella (or burrata)

In a large pot, bring salted water to a rolling boil over medium heat. Fill a large bowl with ice and water - set ice bath aside. Prepare asparagus bunches by cutting off the woody ends (about 2 inches). Blanch asparagus for 1-2 minutes depending on the thickness of your asparagus stalks and your vegetable doneness preference. Remove from boiling water with tongs and submerge in the ice bath to stop the cooking. Remove asparagus from the ice bath onto a towel to absorb the excess water.

In the same pot of boiling water, blanch and cool the peas as you did the asparagus. Set aside.

Lastly, blanch the fava bean pods in the boiling water for 2-4 minutes cooking them through. Strain the pods and set aside to cool. Once the pods are cool, remove the waxy bean shells from the pod. Using a small pairing knife, slit the waxy shells to release the beans. Set the shelled beans aside.

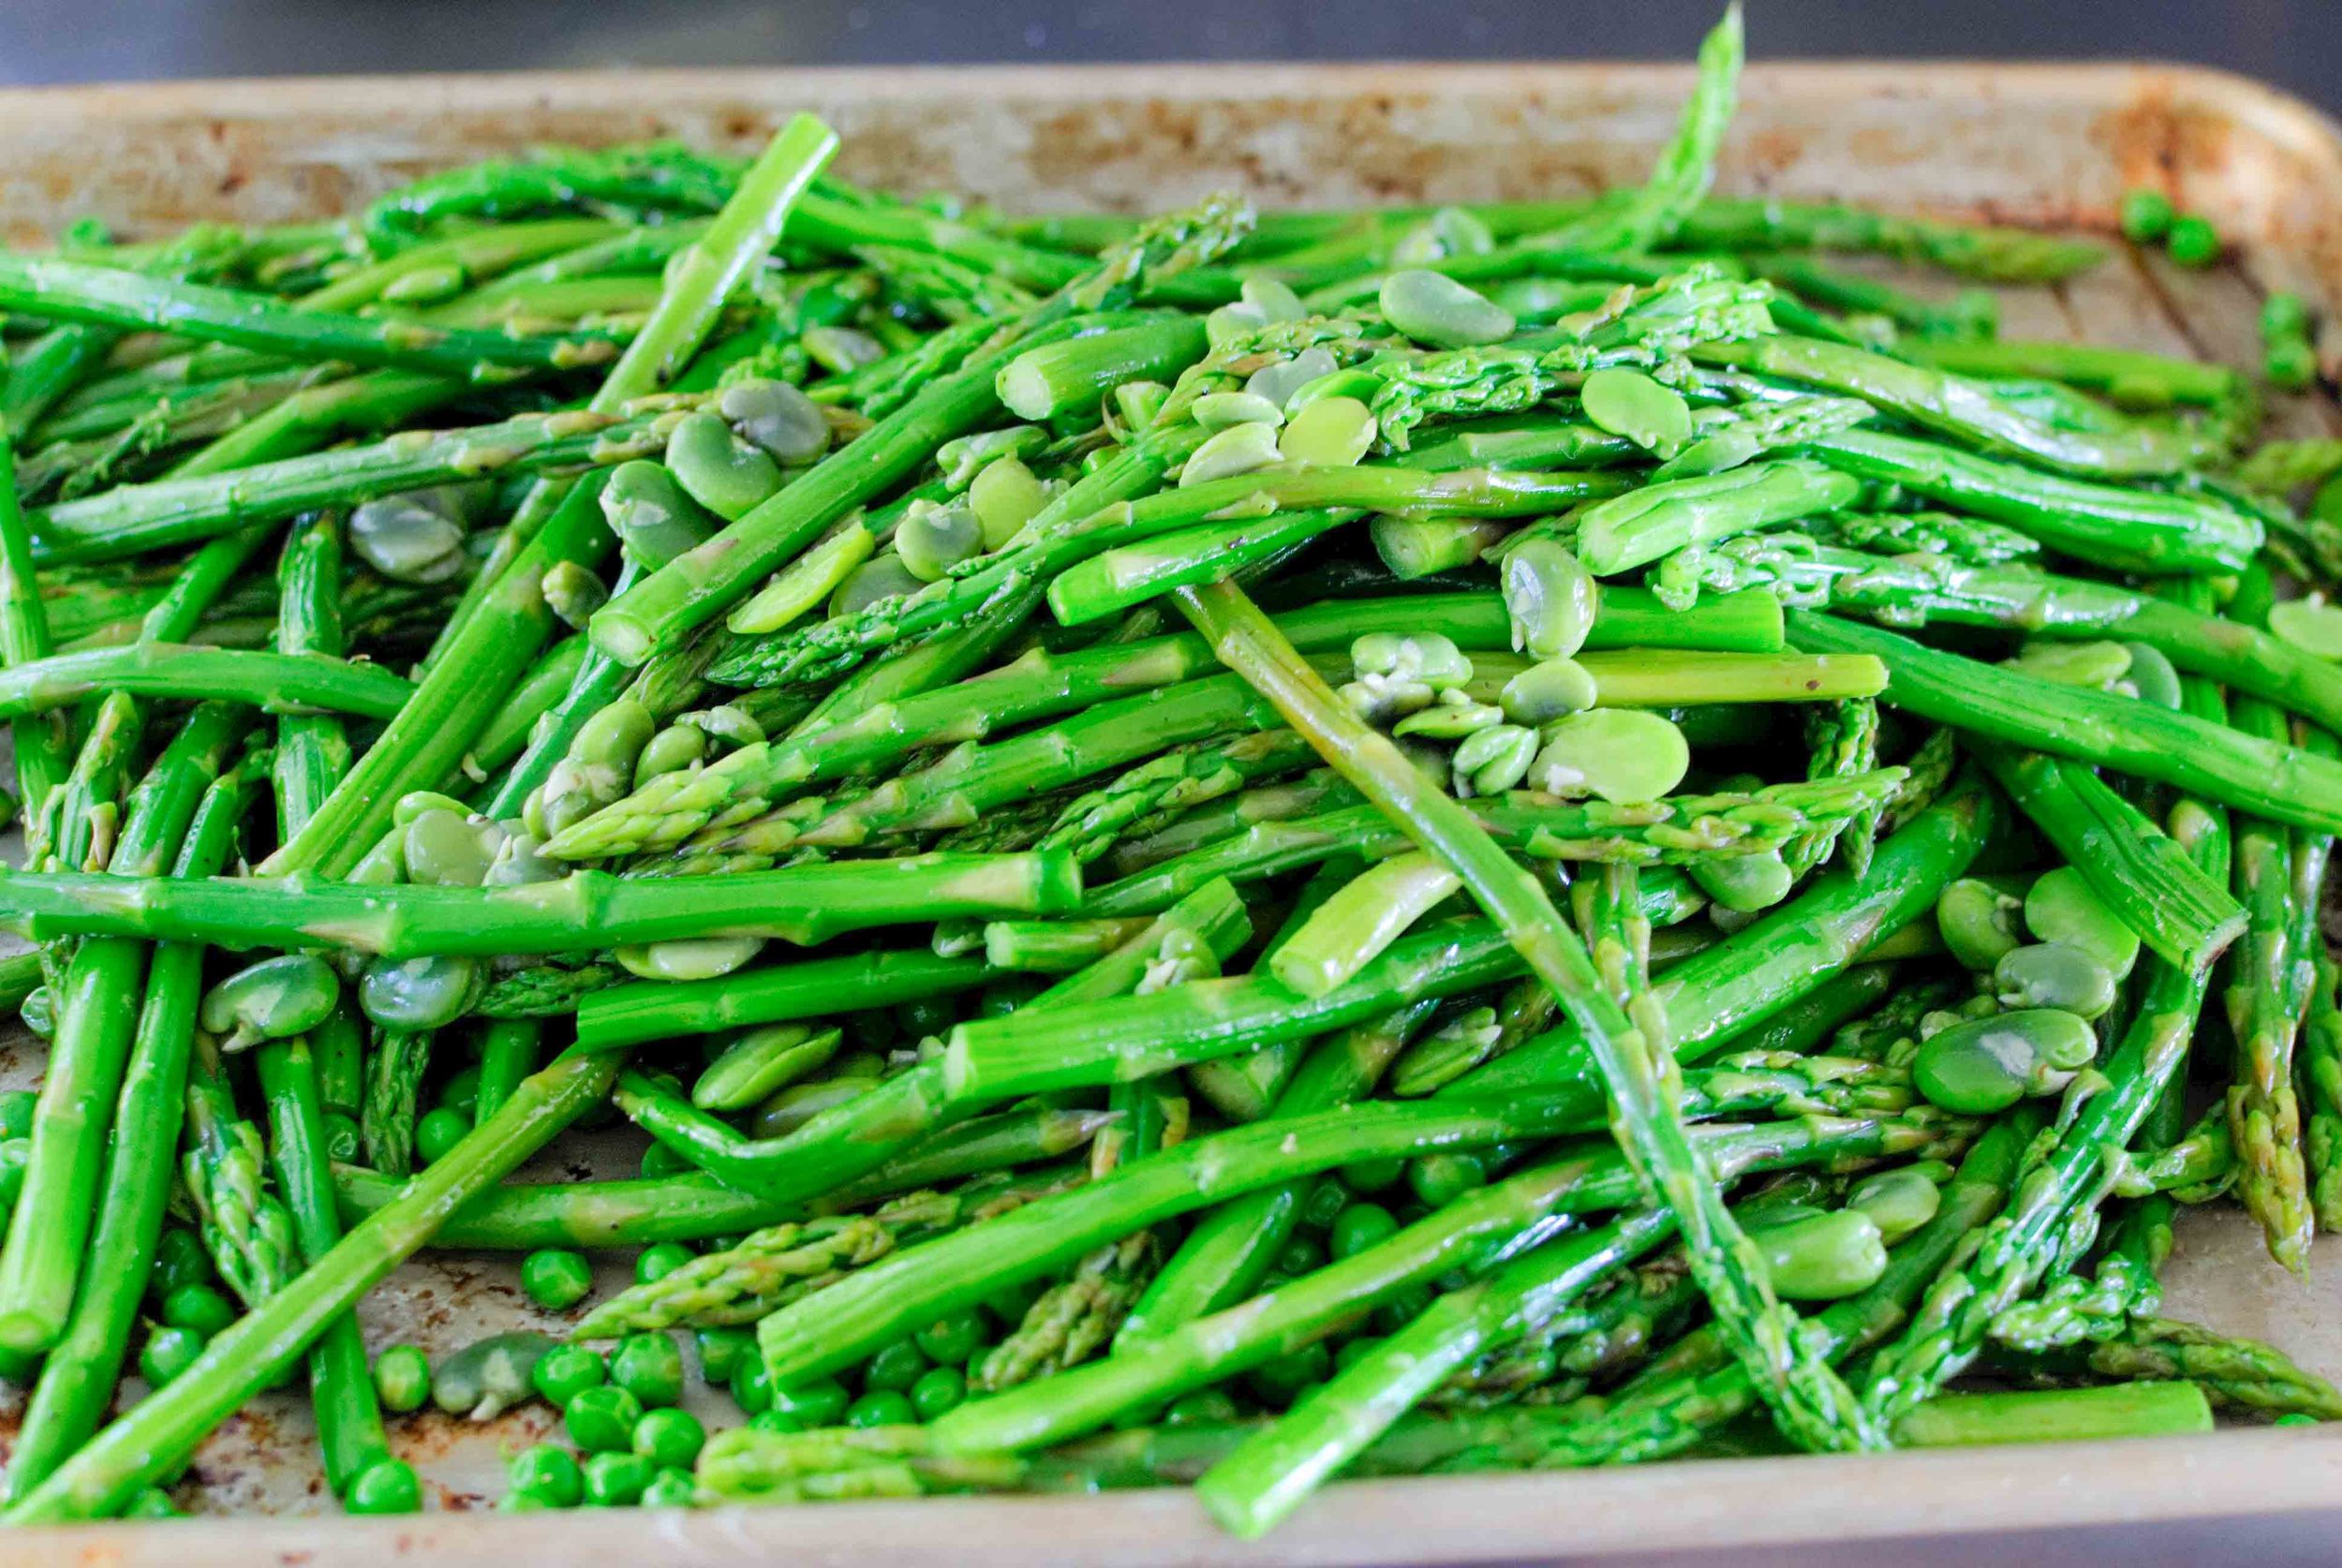
In a large bowl (I used a half sheet baking pan), gently combine the asparagus, peas and fava beans. Season the vegetables with kosher salt, pepper and olive oil.

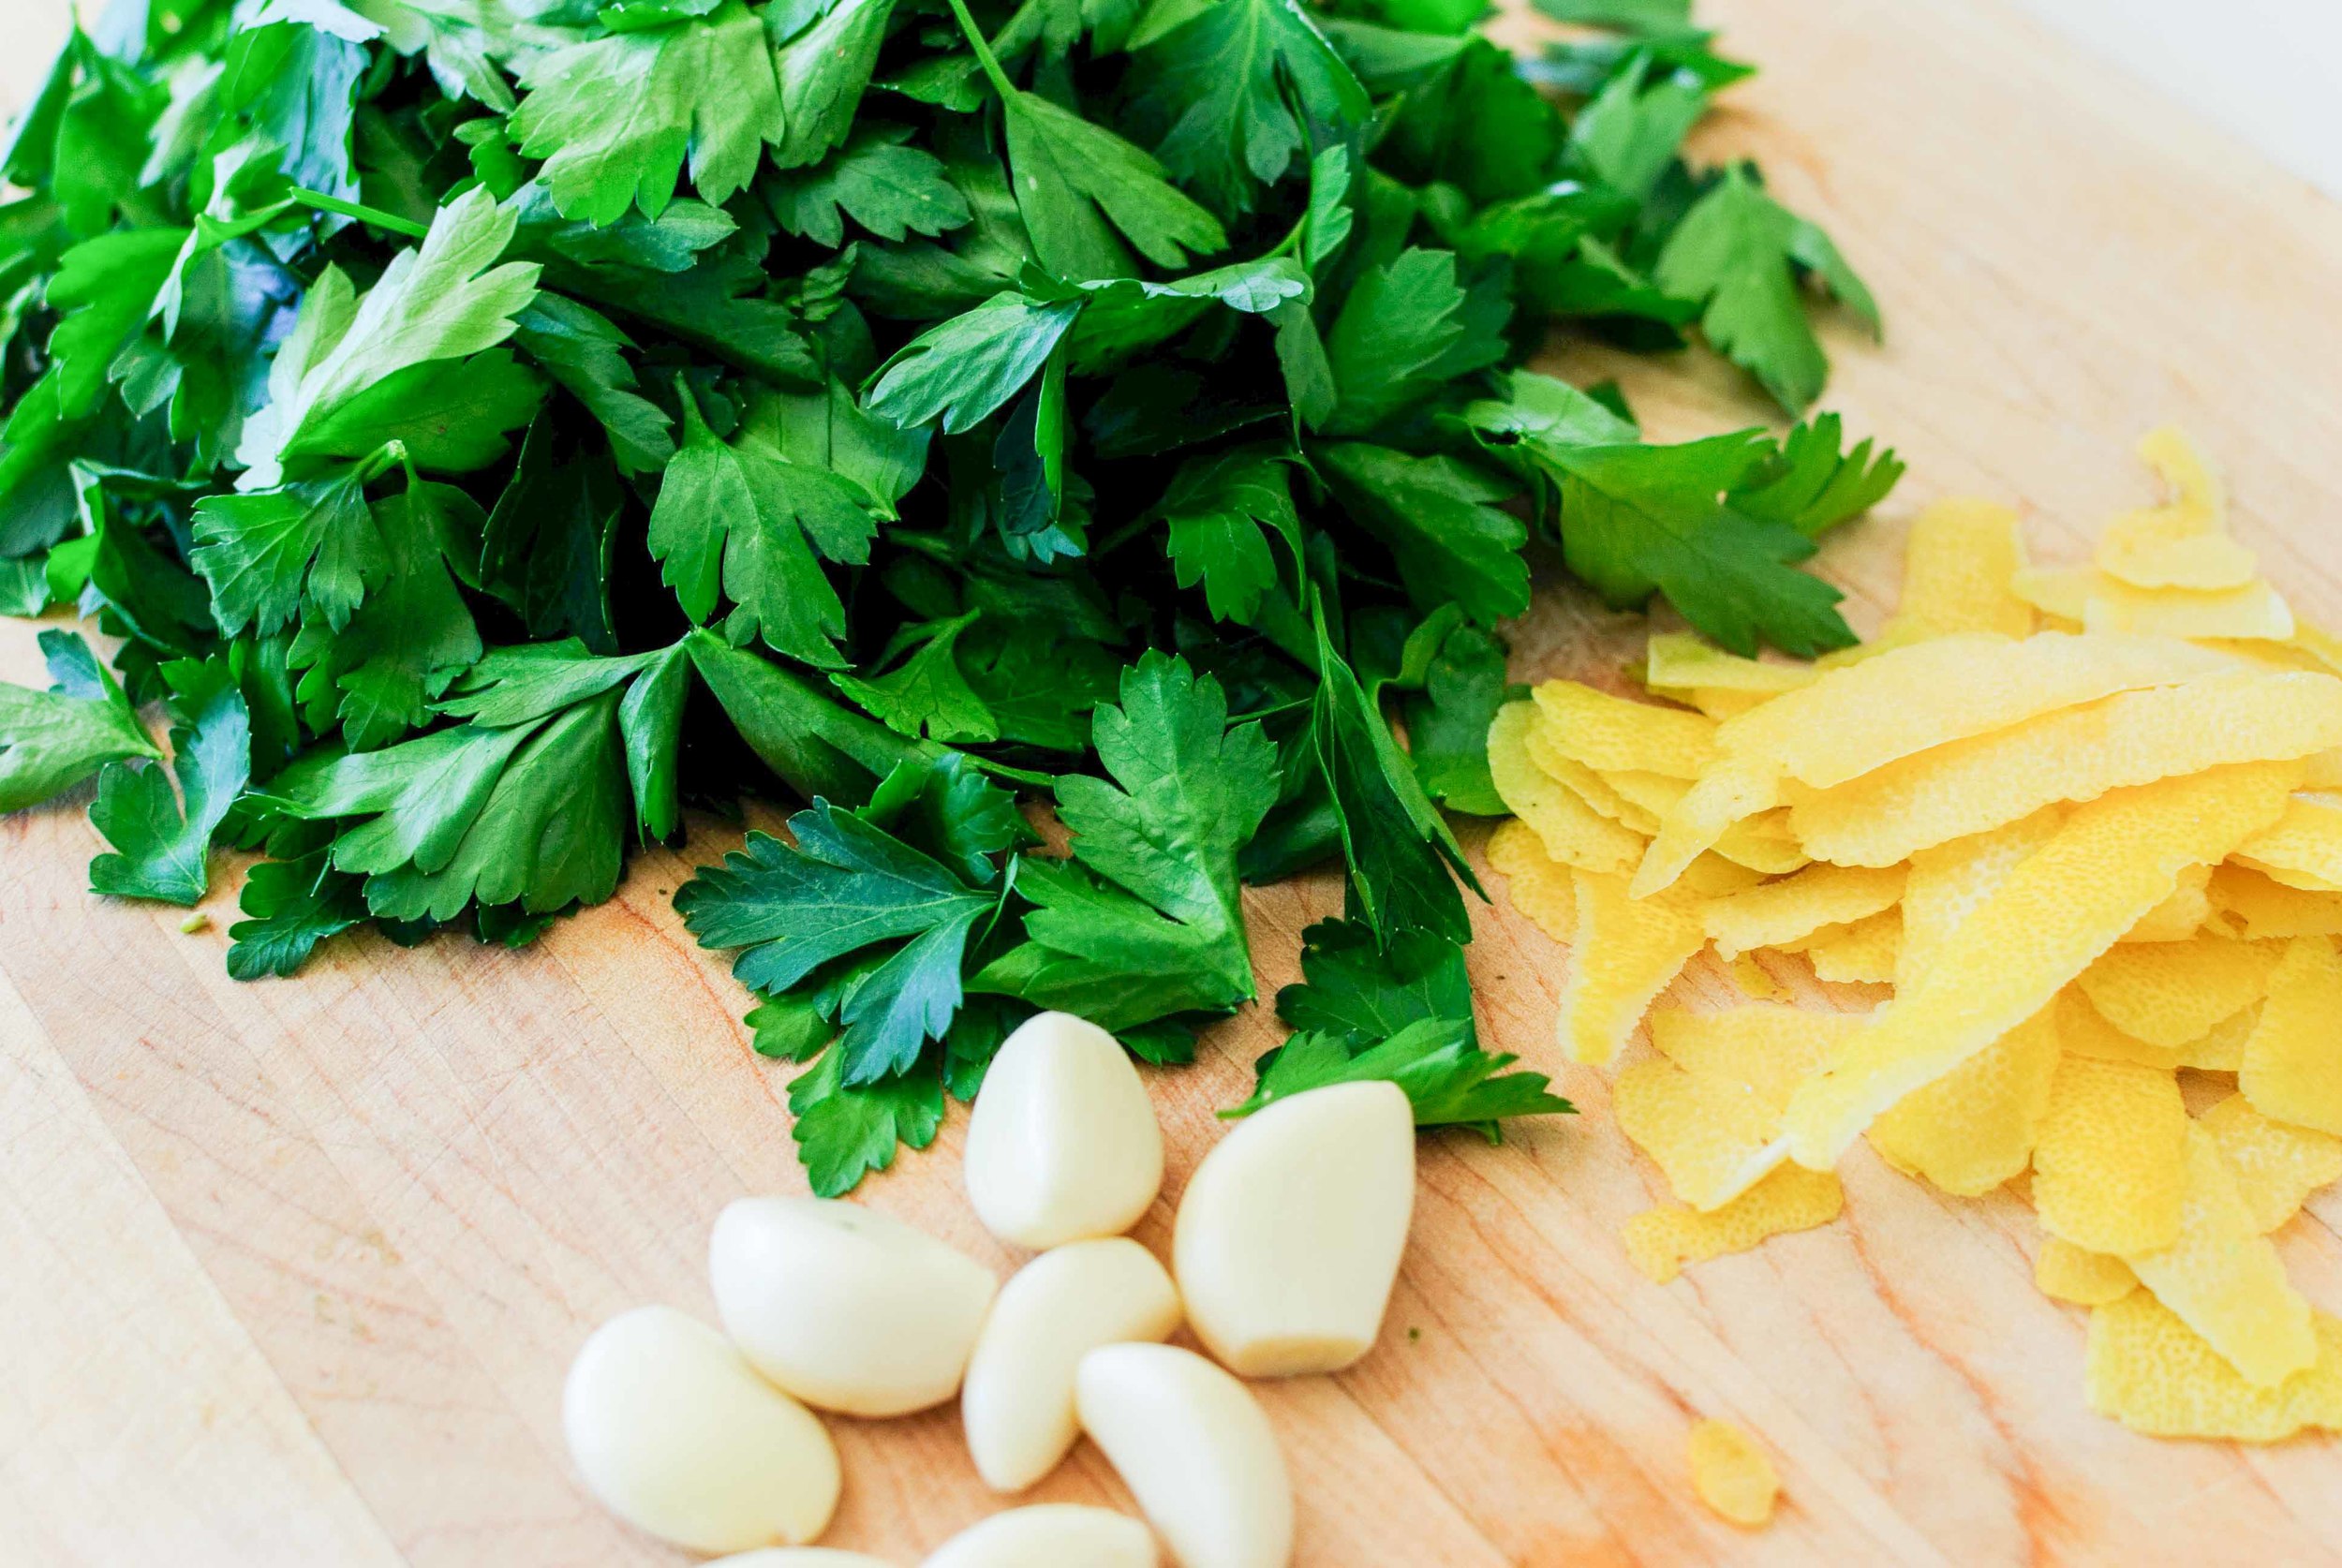
For the gremolata: using a microplane, zest one entire lemon onto your cutting board. Microplane the garlic on top of the lemon zest. Finely chop the parsley on the same cutting board, incorporating the lemon zest and grated garlic as you mince away until everything is well combined.

Sprinkle the asparagus mixture with the gremolata to taste. Mix and combine, and let sit for 15 minutes to allow the flavors to meld before serving. Tear mozzarella and dot over asparagus. Taste and adjust seasoning, adding salt or gremolata as necessary!

Pizza Two Ways by Amy Cantu

Print Friendly and PDF

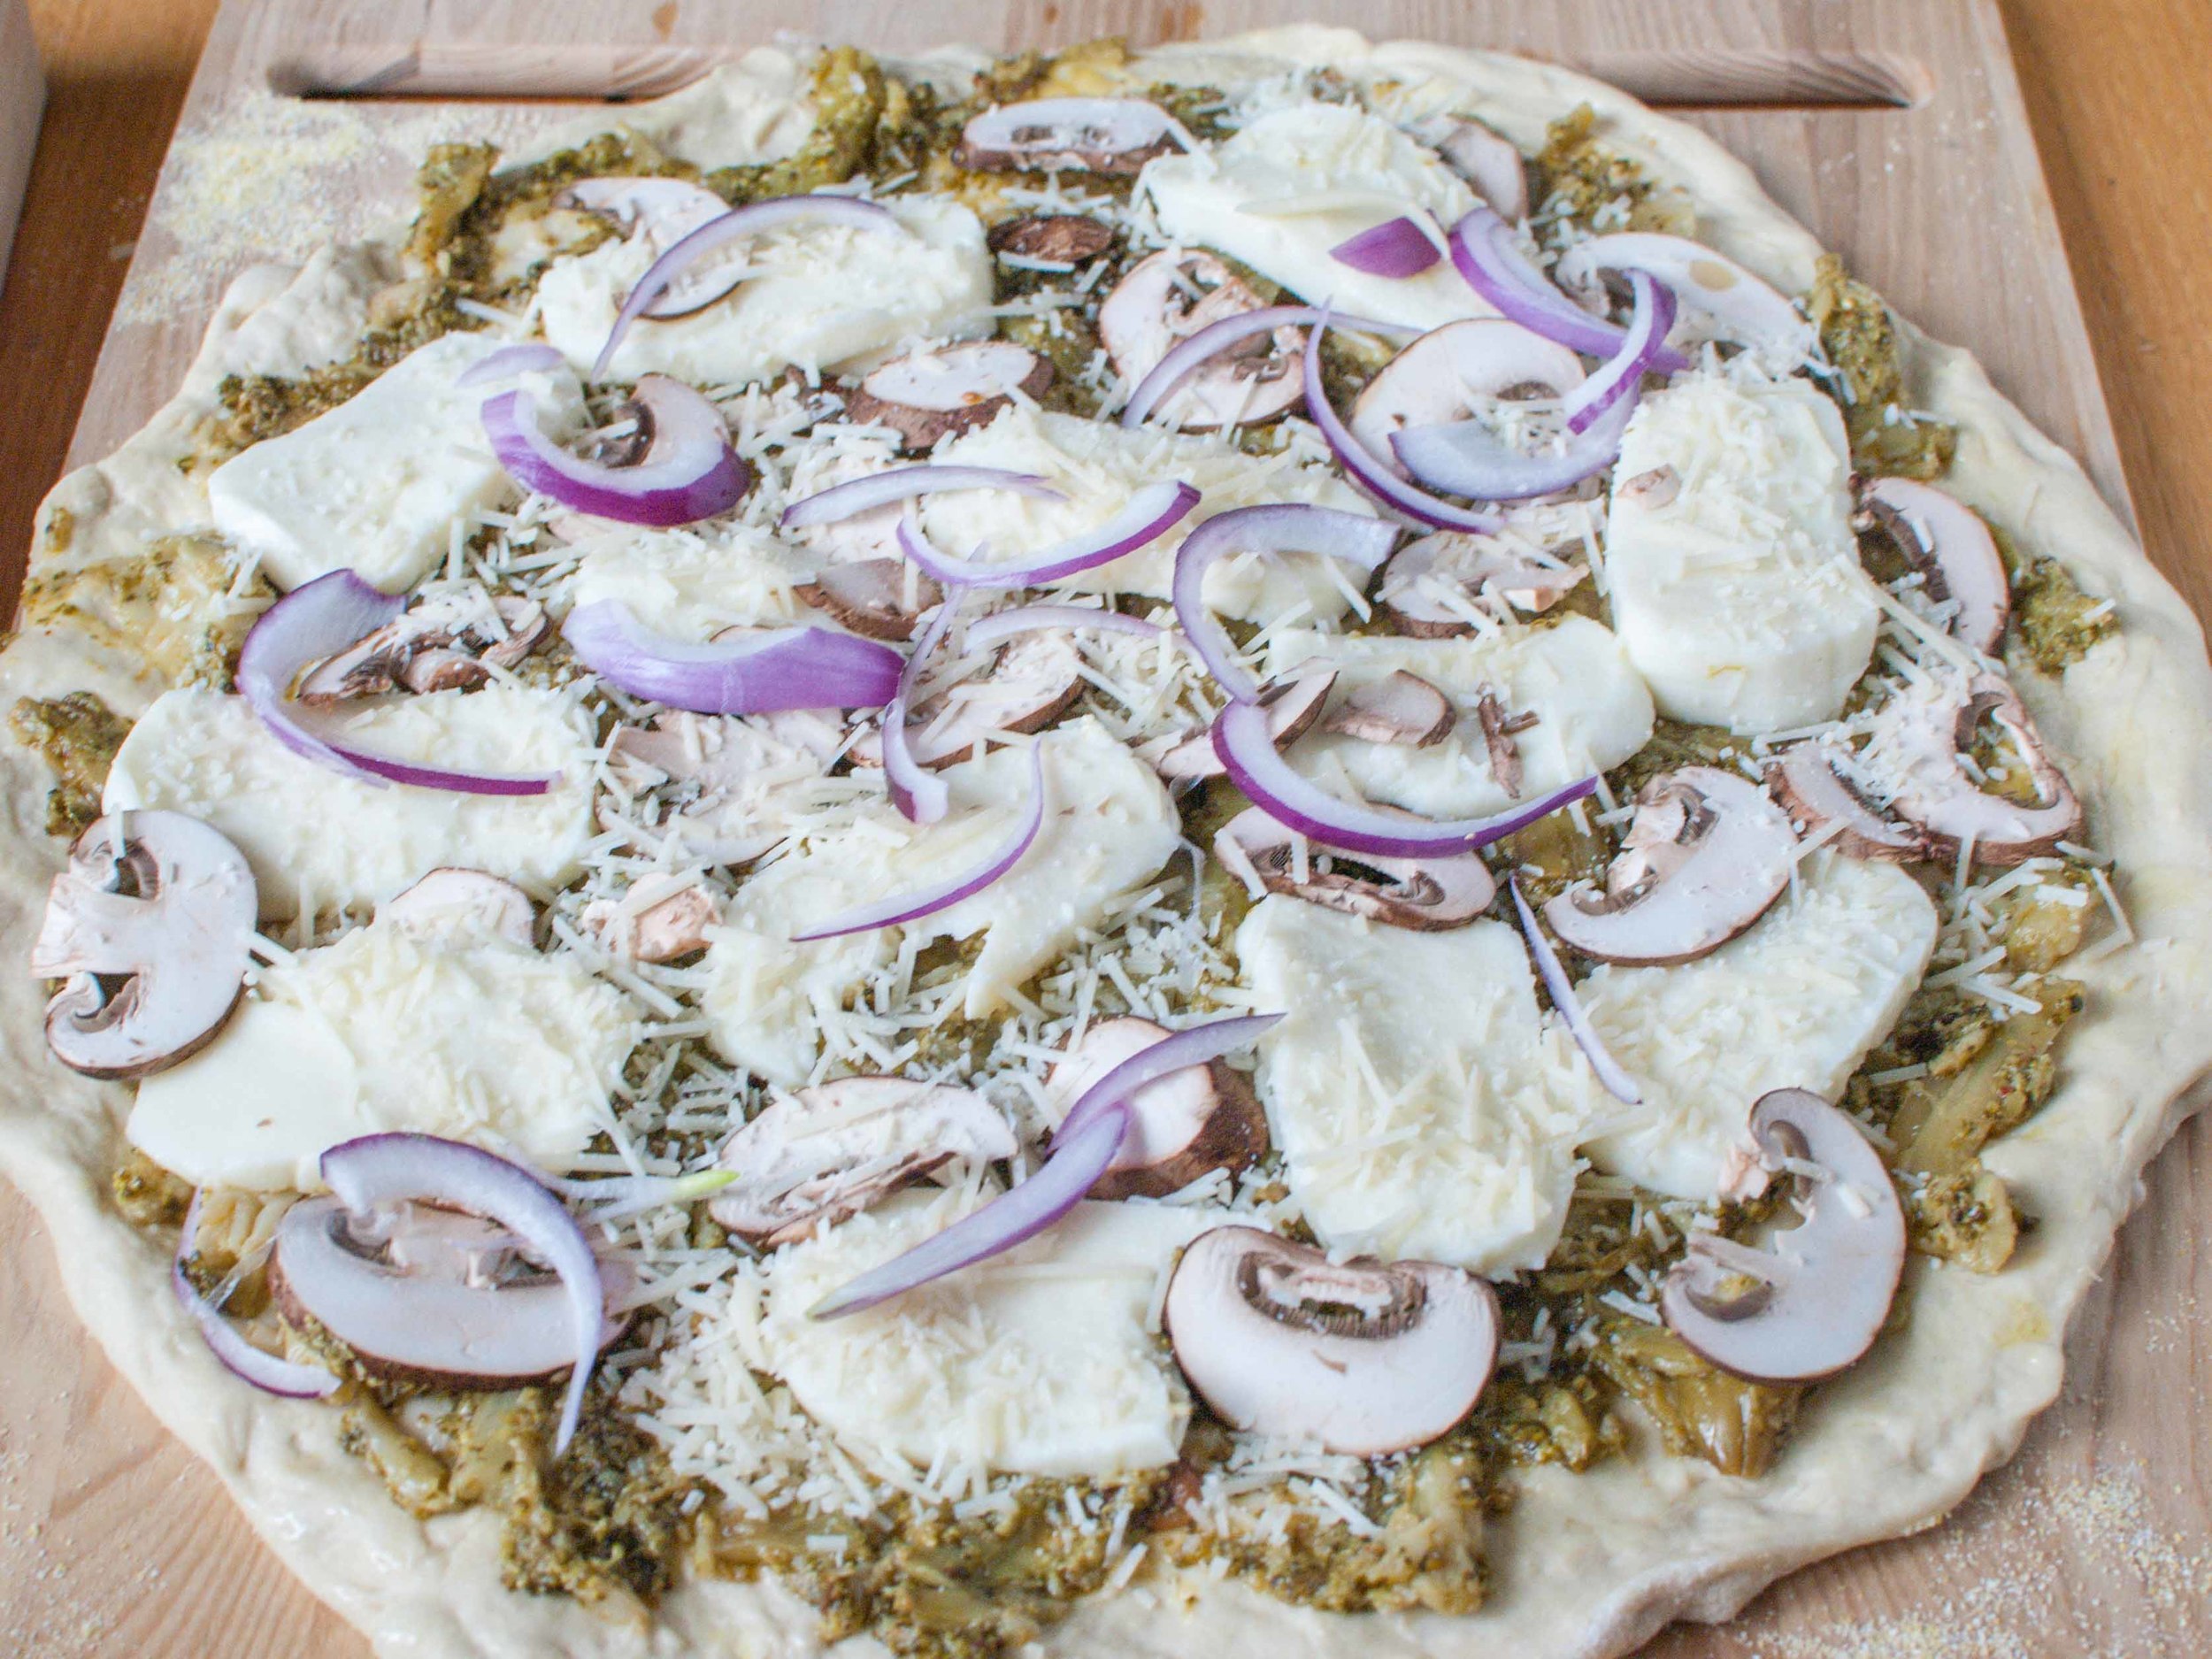
The idea to make pizzas came from an obsession with Broccoli Cooked Forever and my family's deep love for pizza and cheese. If you've never made pizza dough from scratch, I promise it's worth the effort. This dough is easy to stretch (much more so than the stuff you buy from the store), and the crust tastes better than a lot of pizza you'd get delivered! The Broccoli Cooked Forever makes a "sauce" for the pizza that's both creamy and even a little sweet, while the soft, melty fresh mozzarella is the perfect complement. The mushrooms lend the pizza some earthiness. The second pizza was born from another one of my (and Cynthia's) favorite pairings - fontina and roasted tomatoes. Roasted tomatoes topped with fontina cheese - so good! The Canadian bacon adds that salty, meaty bite. One could also make a case for using smoky bacon pieces instead. I certainly wouldn't argue! Bake this as a leisurely weekend meal, or make the dough and/or broccoli ahead of time to make this a quick weekday meal.


Time: 45 minutes
Yield: Two 14" pizzas (serves 6)

For Pizza #1:
Pizza dough (see recipe below)
Cornmeal (to prevent sticking)
1 cup Broccoli Cooked Forever
1/2 pound fresh Mozzarella, 1/4 - 1/3" slices
1/2 cup cremini or button mushrooms, thinly sliced
1/4 red onion, thinly sliced
1/2 cup parmigiano-reggiano cheese, grated
Italian (flat-leaf) parsley, finely chopped, for garnish (optional)

For Pizza #2
Pizza dough (see recipe below)
Cornmeal (to prevent sticking to pizza peel/stone) or Olive Oil (is using a pizza pan)
1 tablespoon extra-virgin olive oil
1/2 pound fontina cheese, shredded
1/2 cup parmigiano-reggiano cheese, grated
1/2 cup grape or cherry tomatoes, halved
6 oz Canadian bacon
1/4 small red onion, thinly sliced
Italian (flat-leaf) parsley, finely chopped, for garnish (optional)

If you have a pizza stone, place it on your oven's middle rack. Preheat the oven to 500 degrees Fahrenheit or as high as it will go. Let heat for 30 minutes or more (1 hour would be better).

If using a pizza stone, sprinkle cornmeal liberally on a wooden pizza peel or the back of a baking sheet. If using a pizza pan or baking sheet, sprinkle the pan liberally with cornmeal. Stretch rested pizza dough into a 14" round. Not being an experienced pizza tosser (and lacking good hand-eye coordination), I flatten a ball of dough into a disc. Then stretch the dough out from the middle, using my knuckles and backs of my hands - as to not poke holes in the dough with my fingernails. As it begins to stretch further, I concentrate on evenly stretching the edges. When the dough is close to the correct size, I put it on the pizza peel (or pizza pan) and continue to stretch and shape the dough until it is roughly 14" and covers almost the entire pizza peel (or pizza pan).

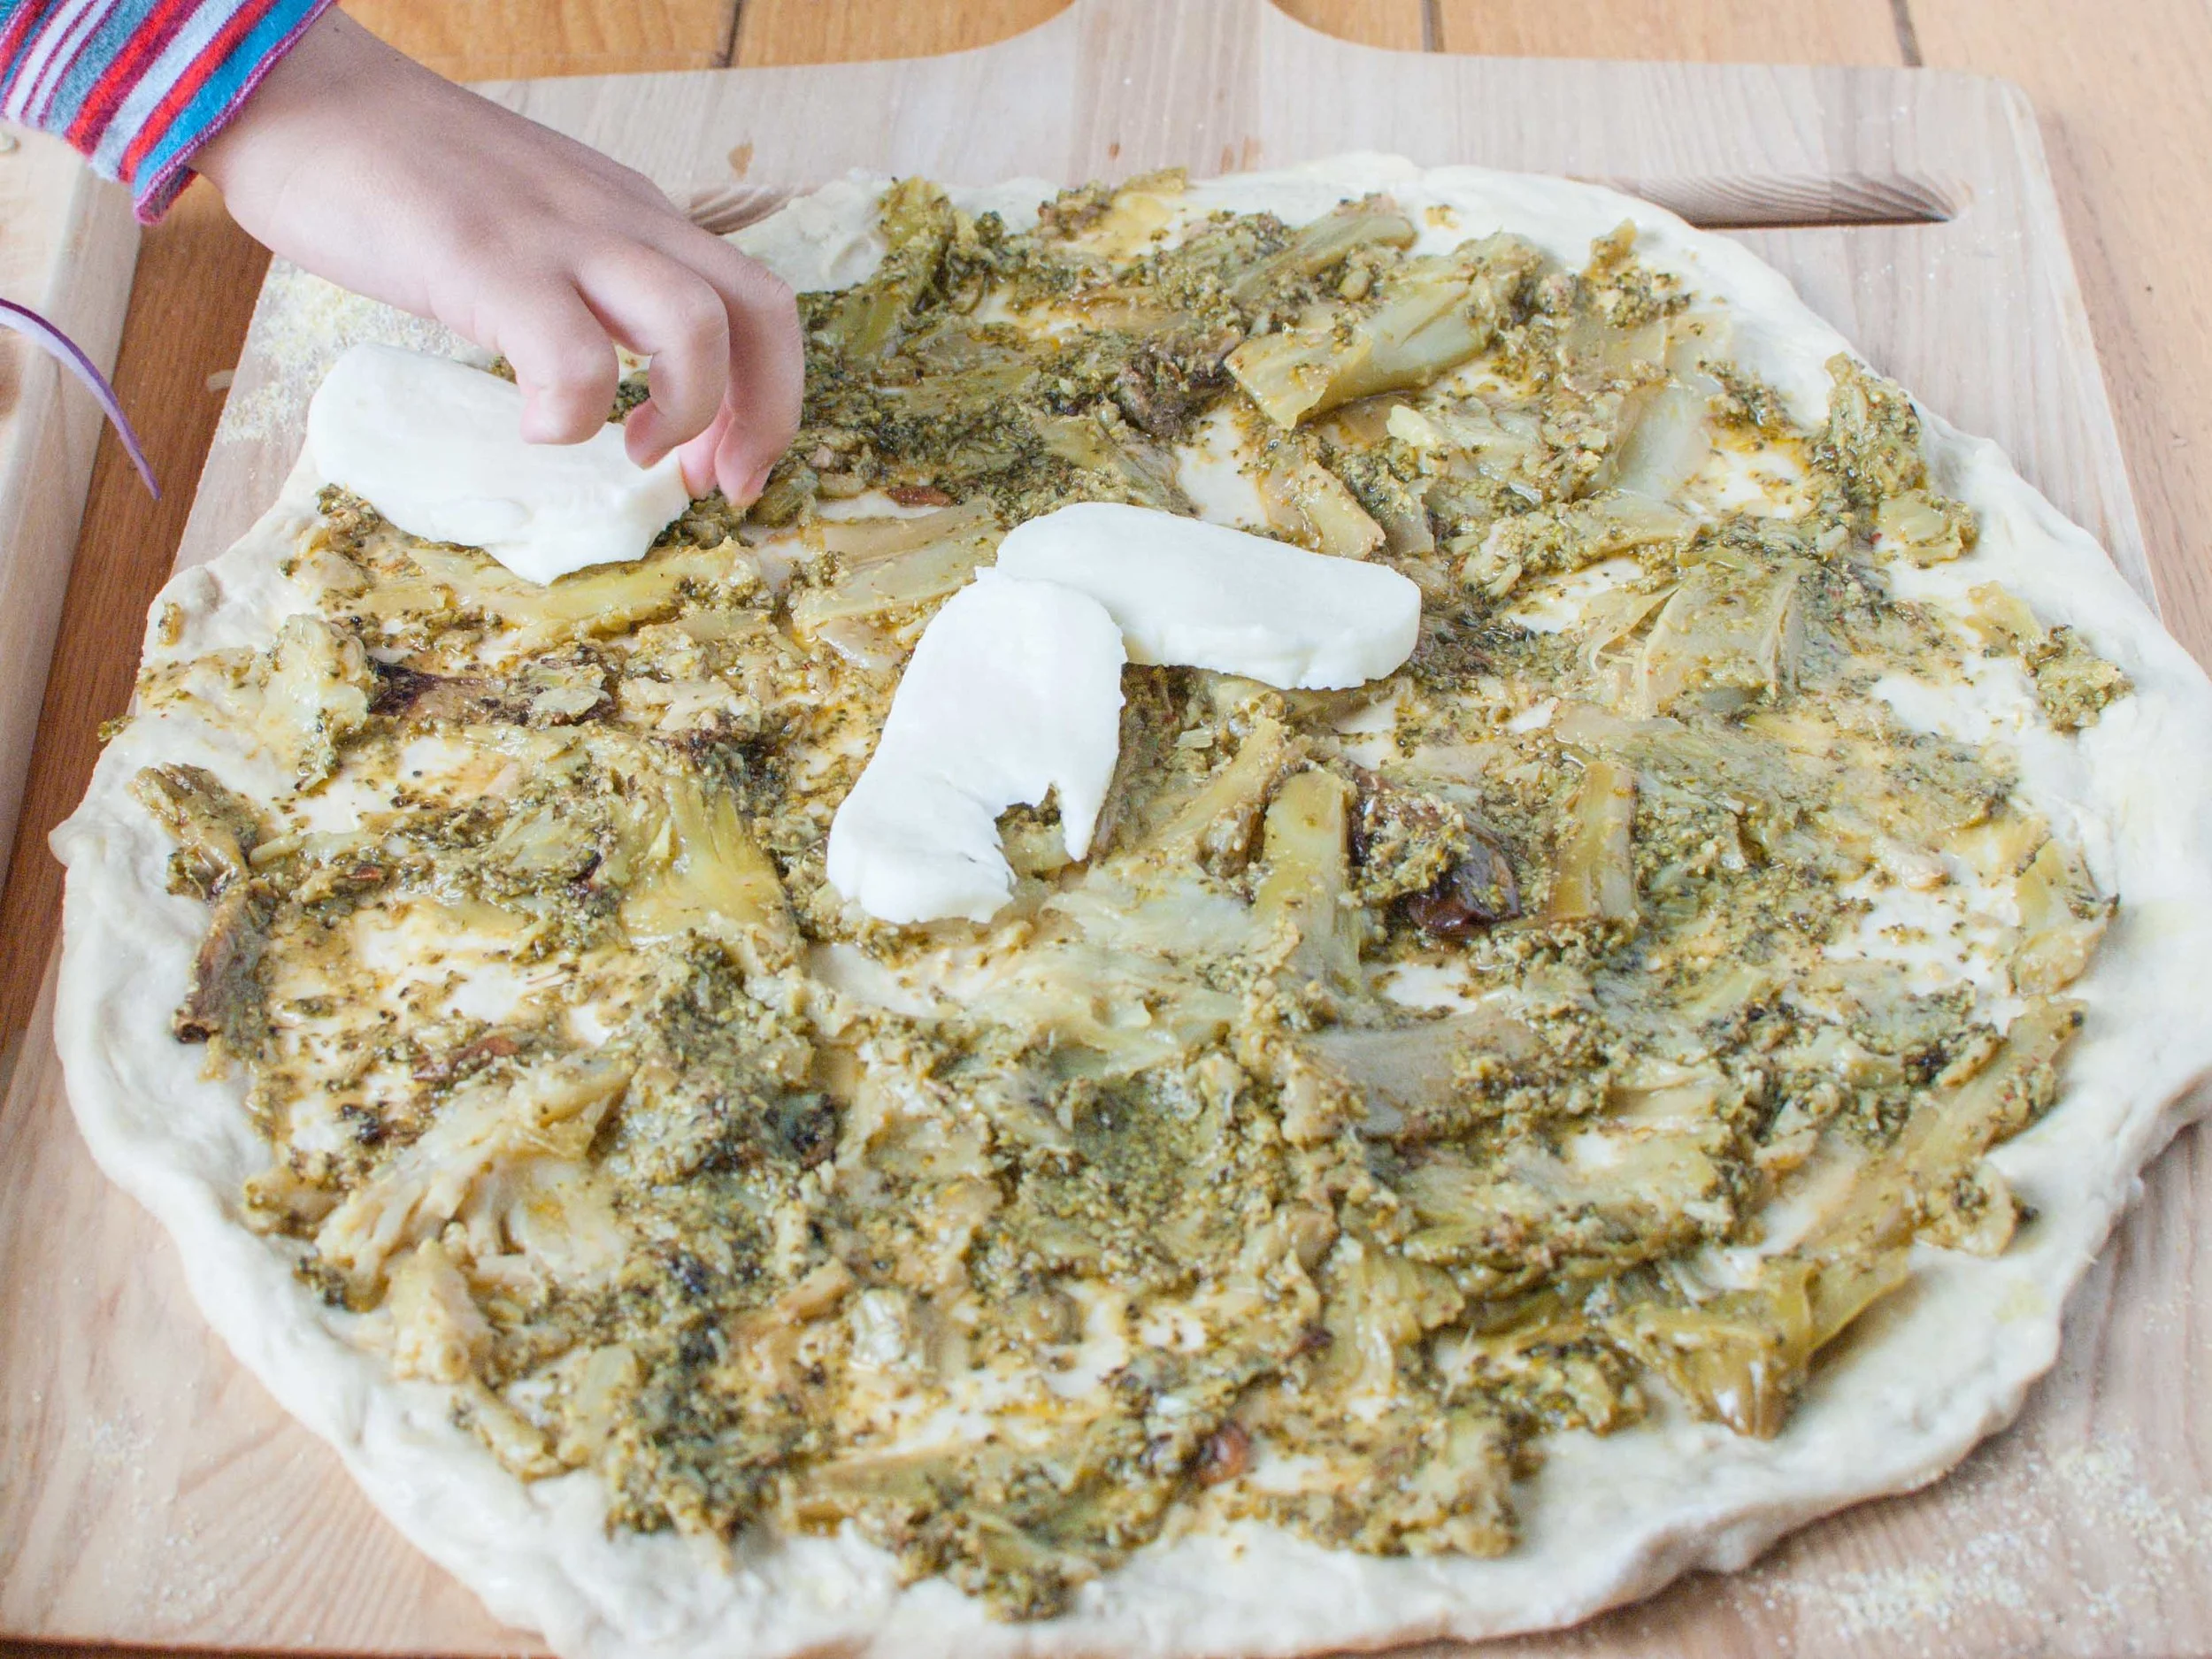
For Pizza #1: Spread Broccoli Cooked Forever evenly over the pizza crust. Place fresh mozzarella slices evenly over the broccoli. Next distribute the mushrooms and red onion over the top. Lastly, sprinkle the grated parmigiano-reggiano. 

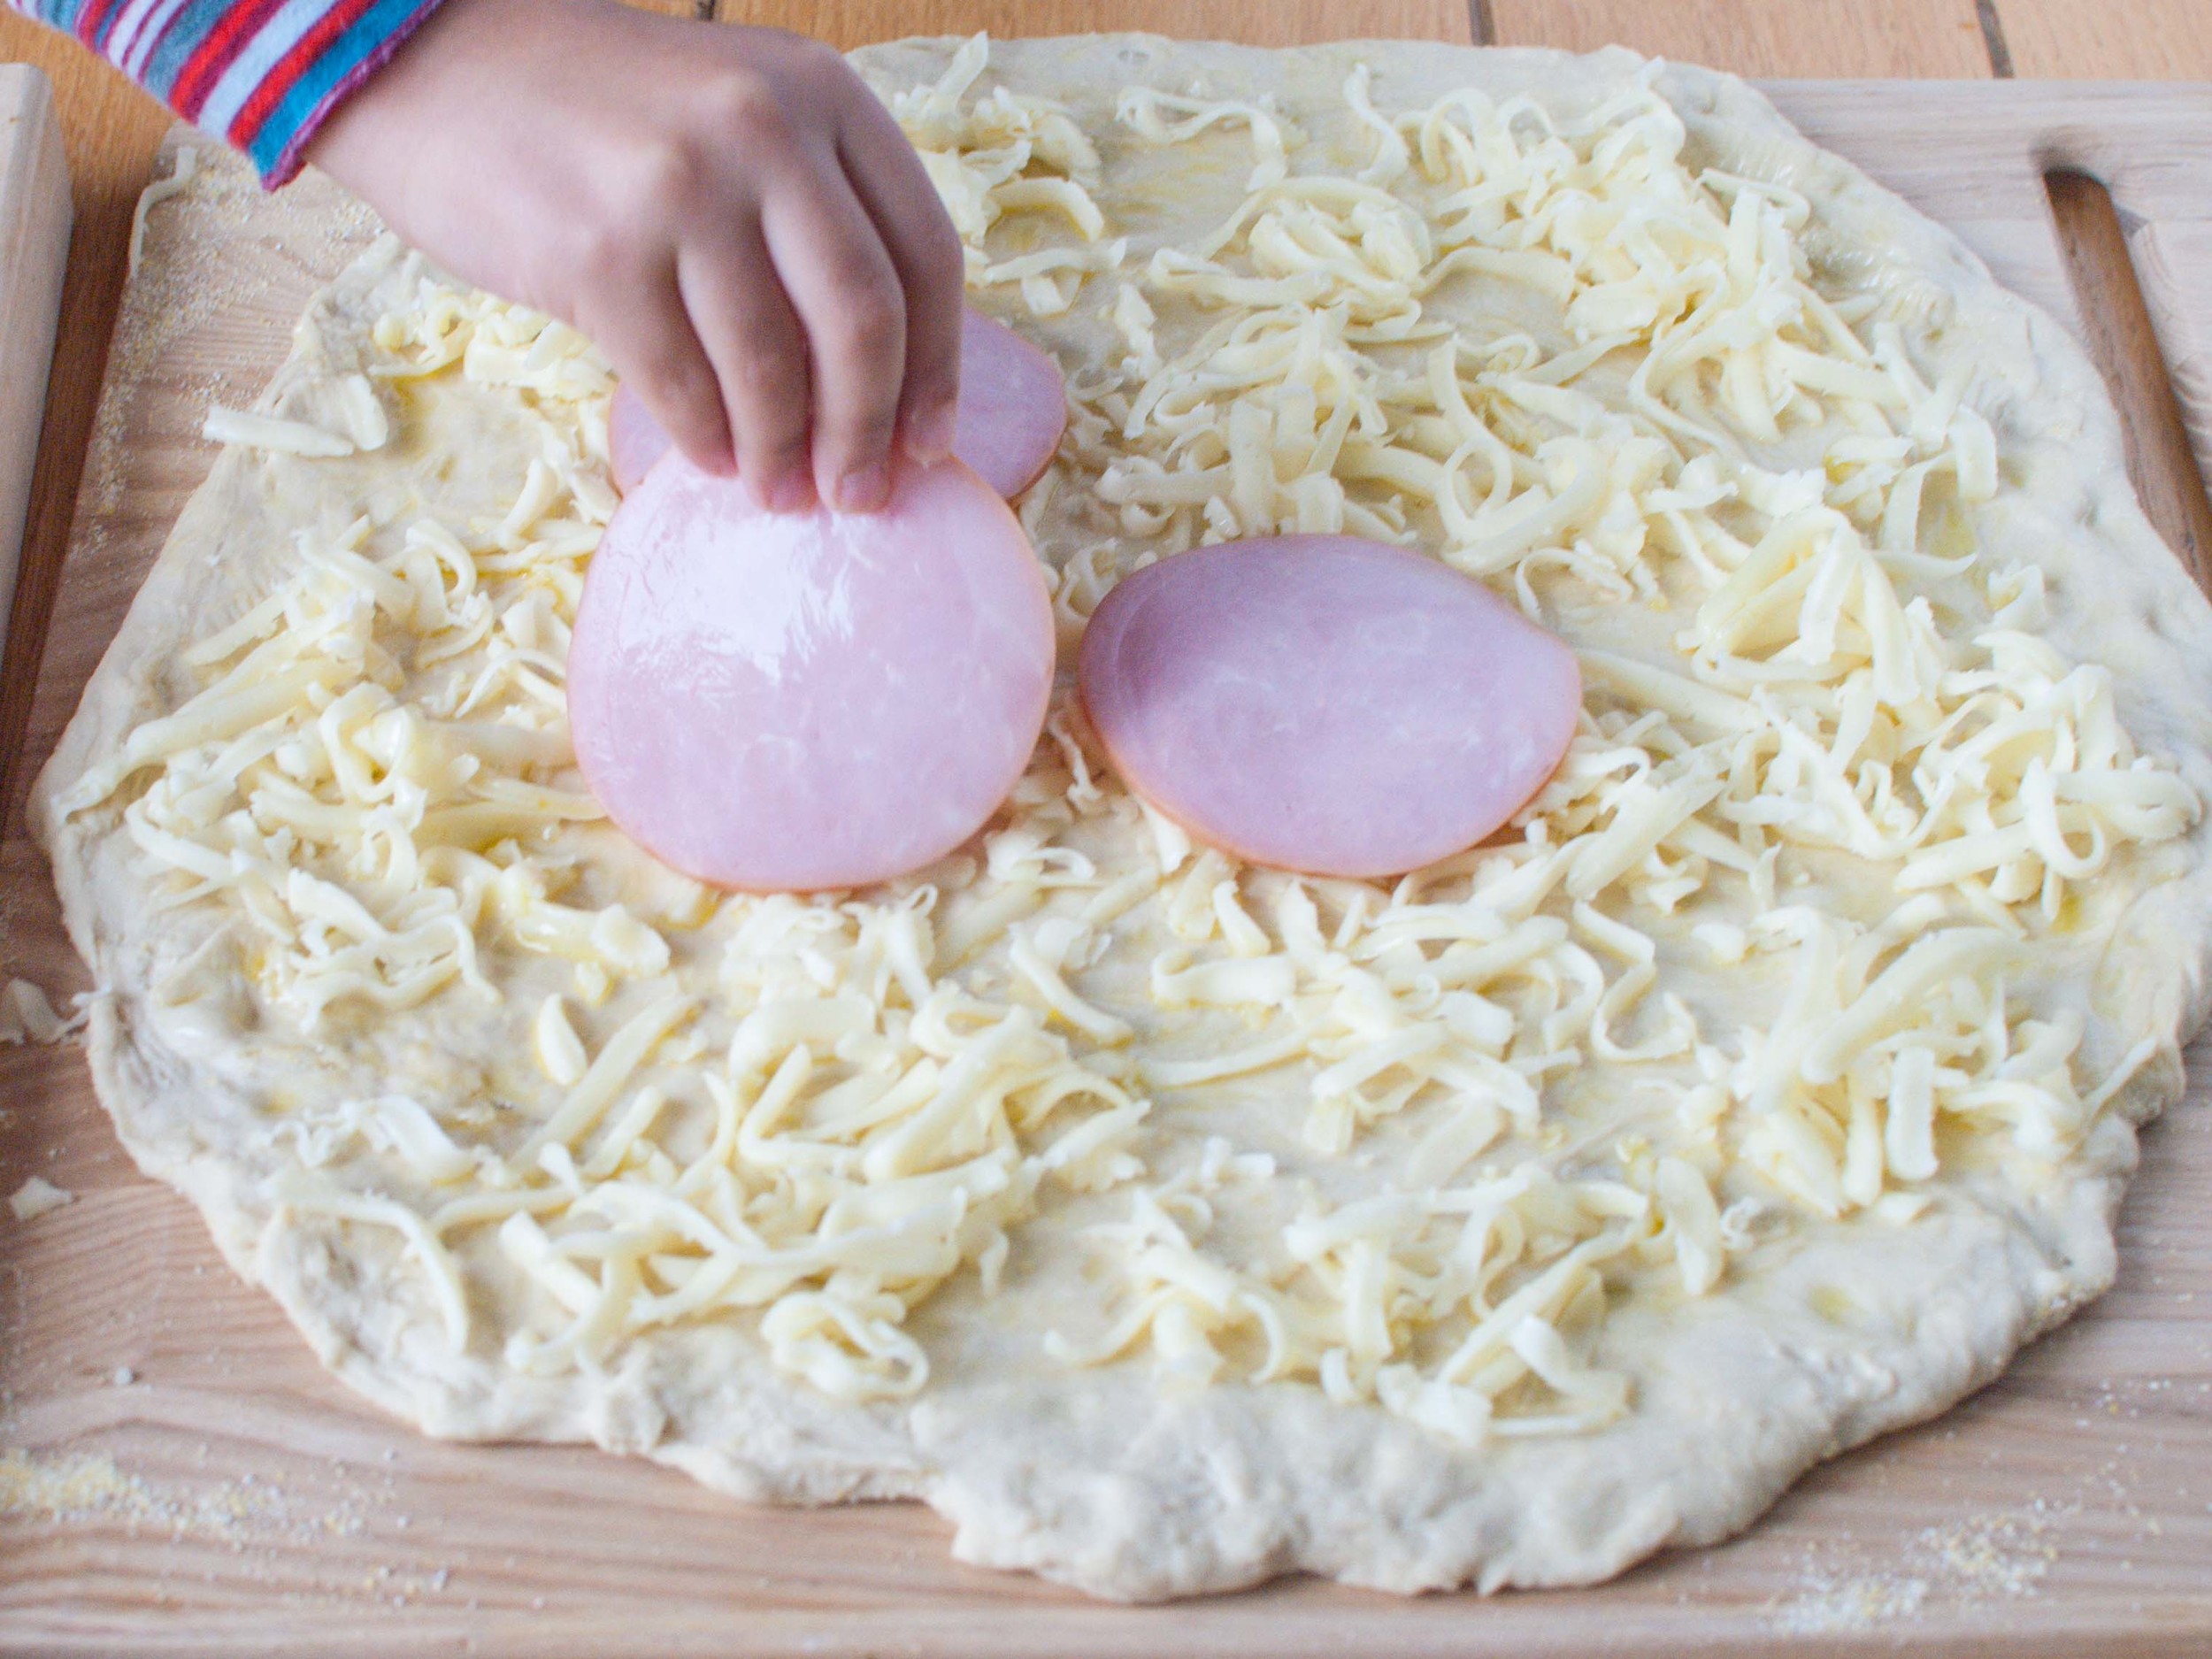
For Pizza #2: Brush olive oil lightly over pizza crust. Evenly sprinkle fontina, Canadian bacon, tomatoes, red onion, and parmigiano-reggiano cheese over the crust in that order.

If using a pizza stone, transfer the pizza from the pizza peel/back of a baking sheet to the stone. (If using a pizza pan, place pizza in the oven.) Bake for 10-15 minutes. Pizza is done when cheese is melted with a few golden spots and crust is brown and crispy. Remove from oven, sprinkle with parsley (optional), and serve.

Pizza Dough


Notes: This pizza dough is very forgiving. If you don't have bread flour, you can use all-purpose flour for a chewier crust. If you don't have time to let the dough rise to double in size, let rest for at least 30 minutes before continuing. If you'd like to make it ahead, just put the dough in the fridge and let it rise slowly for several hours. If it rises too much, you can just poke a hole in the dough to deflate it. You can freeze the dough before or after letting it rise, just make sure to defrost and come to room temperature before proceeding with the next step of the recipe.

If you don't have a stand mixer, you could also use a food processor. Simply add the water and oil mixture with the processor running, until it forms a ball (less than a minute). 

To make the dough by hand, make a well in the middle of the flour mixture, and pour liquid mixture into the well. Combine with your fingers or a fork, to make a shaggy dough. Then turn the dough out onto a well floured surface and knead dough until you have a smooth, slightly tacky dough. 

Time: 20 minutes (plus 1 hour and 10 minutes inactive time)
Yield: Pizza dough for two 14" pizzas

4 cups bread flour
2 1/4 teaspoons (or 1 envelope) instant yeast
2 teaspoons kosher salt (or 1 teaspoon table salt)
1 1/2 cups warm water, 110 degrees F
1 tablespoon honey
2 tablespoons olive oil, plus extra to grease bowl

Whisk together flour, yeast, and salt into the bowl of a stand mixer, fitted with a dough hook. 
Combine water, honey, and olive oil. With the mixer running, slowly pour liquid into the flour mixture. Beat until a dough ball forms. If the dough is sticky, add additional flour one tablespoon at a time. If the dough is dry, add additional water one tablespoon at a time. Dough will form a ball and feel slightly tacky when done. 

Scrape dough onto a lightly floured surface and knead dough for 1 or 2 minutes. Form dough into a ball, transfer to a large, greased bowl, and cover with plastic wrap. Place in a warm place like a sunny window or an oven with the light on, and let rise for 1 hour or until doubled in size.

Divide dough evenly into two pieces and form into two balls. Cover with plastic wrap or a clean towel, and let rest at least 10 minutes before proceeding to make pizza.

Hasselback Potato Gratin by Amy Cantu

Print Friendly and PDF

Notes: This is essentially the same as the recipe from J. Kenji Alt-Lopez's The Food Lab, except that I used half and half instead of heavy cream. The results are similar, albeit a bit lighter on the gut. Given how heavy holiday foods tend to be, this seemed like a good compromise to me!

Per Alt-Lopez's recipe notes: Because of variation in the shape of potatoes, the amount of potato that will fit into a single casserole dish varies. Longer, thinner potatoes will fill a dish more than shorter, rounder potatoes. When purchasing potatoes, buy a few extra in order to fill the dish if necessary. Depending on exact shape and size of potatoes and casserole dish, you may not need all of the cream mixture.


Time: 15 minutes (active), 1 hour 45 minutes (inactive)
Servings: 6

3 ounces finely grated Gruyère or comté cheese
2 ounces finely grated Parmigiano-reggiano
2 cups half and half or heavy cream
2 medium cloves garlic, minced
1 tablespoon fresh thyme leaves, roughly chopped
2 teaspoons kosher salt (or to taste)
1 teaspoon freshly ground pepper (or to taste)
3 to 3 1/2 pounds russet potatoes, peeled and sliced 1/8th-inch thick on a mandoline slicer or food processor slicer (5 to 6 medium, see note above)
2 tablespoons unsalted butter

Adjust oven rack to middle position and preheat oven to 400°F. Combine cheeses in a large bowl. Transfer 1/3 of cheese mixture to a separate bowl and set aside. Add cream, garlic, and thyme to cheese mixture. Season generously with salt and pepper. Add potato slices and toss with hands until every slice is coated with cream mixture, making sure to separate any slices that are sticking together to get the cream mixture in between them.

Grease a 2-quart casserole dish with butter. Pick up a handful of potatoes, organizing them into a neat stack, and lay them in the casserole dish with their edges aligned vertically. Continue placing potatoes in casserole, working around the perimeter and into the center until all potatoes have been added. Potatoes should be very tightly packed. If necessary, slice additional potato, coat with cream mixture, and add to casserole (see note above). Pour excess cream/cheese mixture evenly over potatoes until the mixture comes half way up the sides of the casserole. You may not need all excess liquid (see note above).

Cover tightly with foil and transfer to oven. Bake for 30 minutes. Remove foil and continue baking until top is pale golden brown, about 30 minutes longer. Carefully remove from oven, sprinkle with remaining cheese, and return to oven. Bake until deep golden brown and crisp on top, about 30 minutes longer. Remove from oven, let rest for a few minutes, and serve.

Three Cheese Fondue by Amy Cantu

Print Friendly and PDF

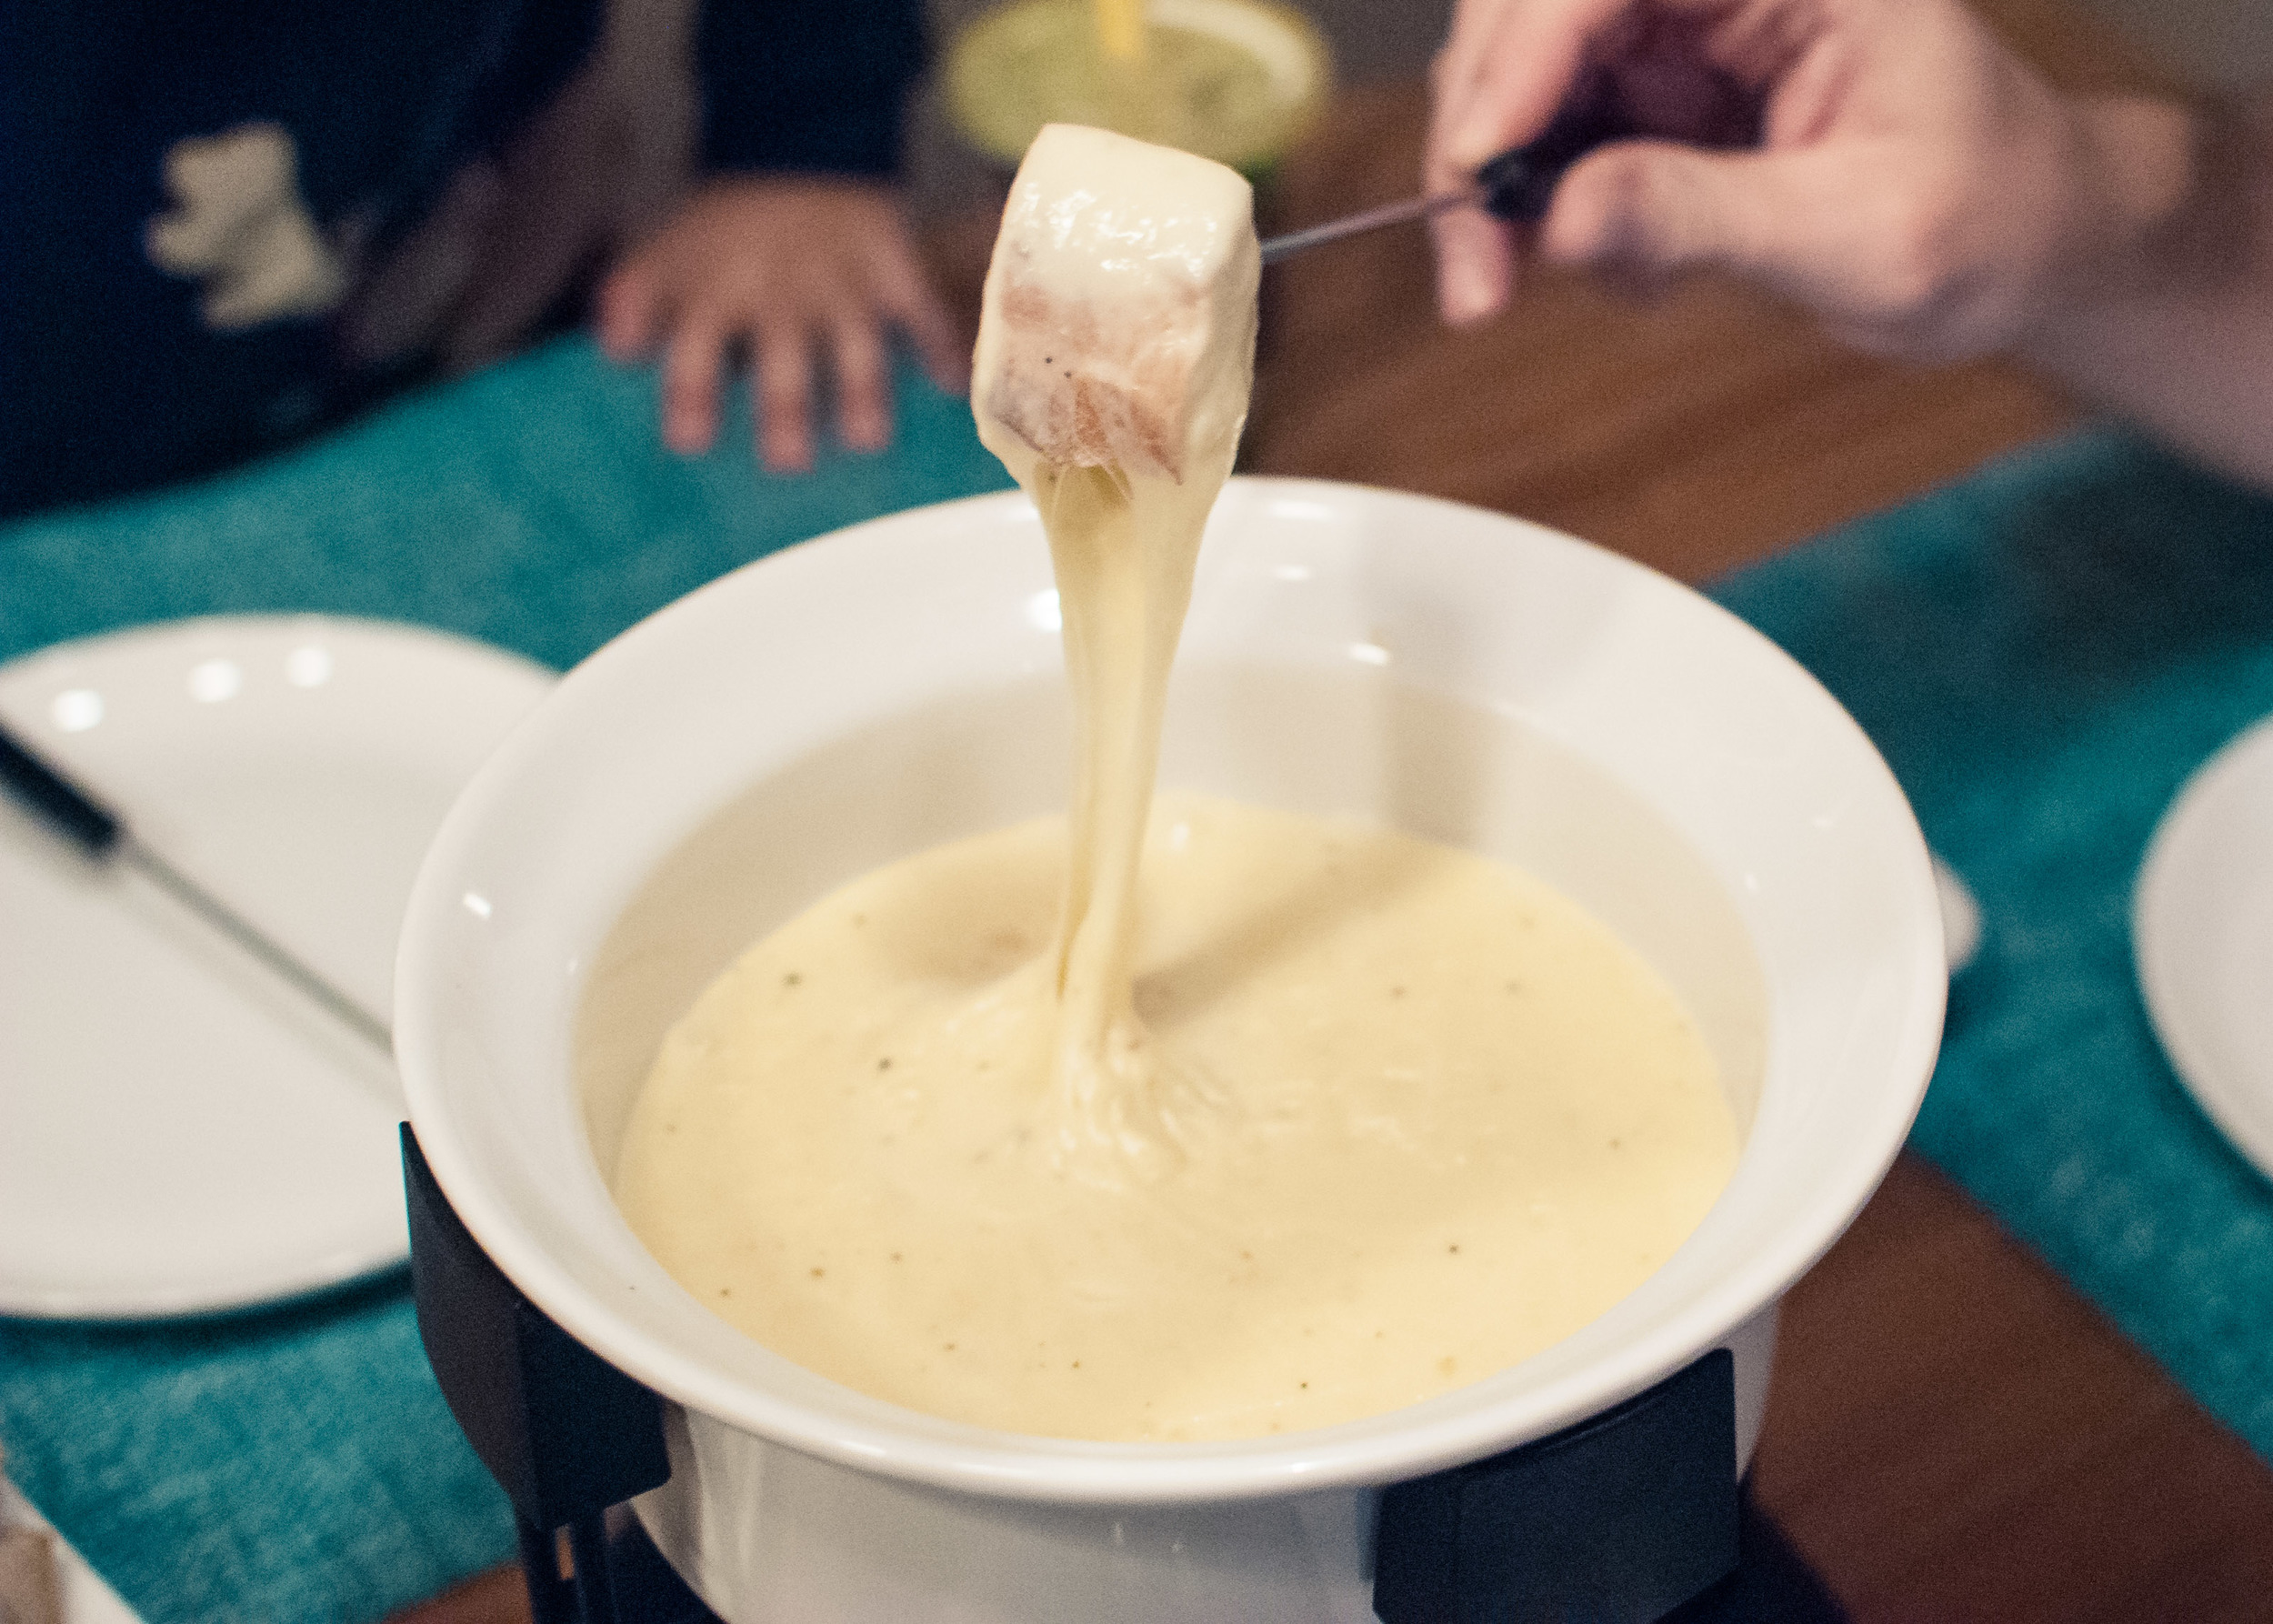
Fondue is so fun to eat! Who can resist crusty bread dipped into a pot of ooey-gooey, unctuous cheese? No one, that’s who. (Unless you hate cheese, in which case, I’m sorry- we can’t be friends. Just kidding . . . maybe.) Twirling bits of food into a pool of melty goodness is somehow therapeutic and it also bonds you with those dipping with you. Added bonus: My 4-year-old got a big kick out of dunking his broccoli and carrots into the cheese sauce, and he probably ate a week’s worth of veggies in this one meal alone.

Notes: This is a fairly classic fondue recipe, but make it your own by using any combination of good melting cheeses, liquid, and flavoring. For example, you could substitute smoked cheddar, hard apple cider, and apple butter for a completely different fondue. Or how about extra-sharp cheddar, beer, and bacon bits? You get the idea!


Time: 25 minutes
Servings: 4

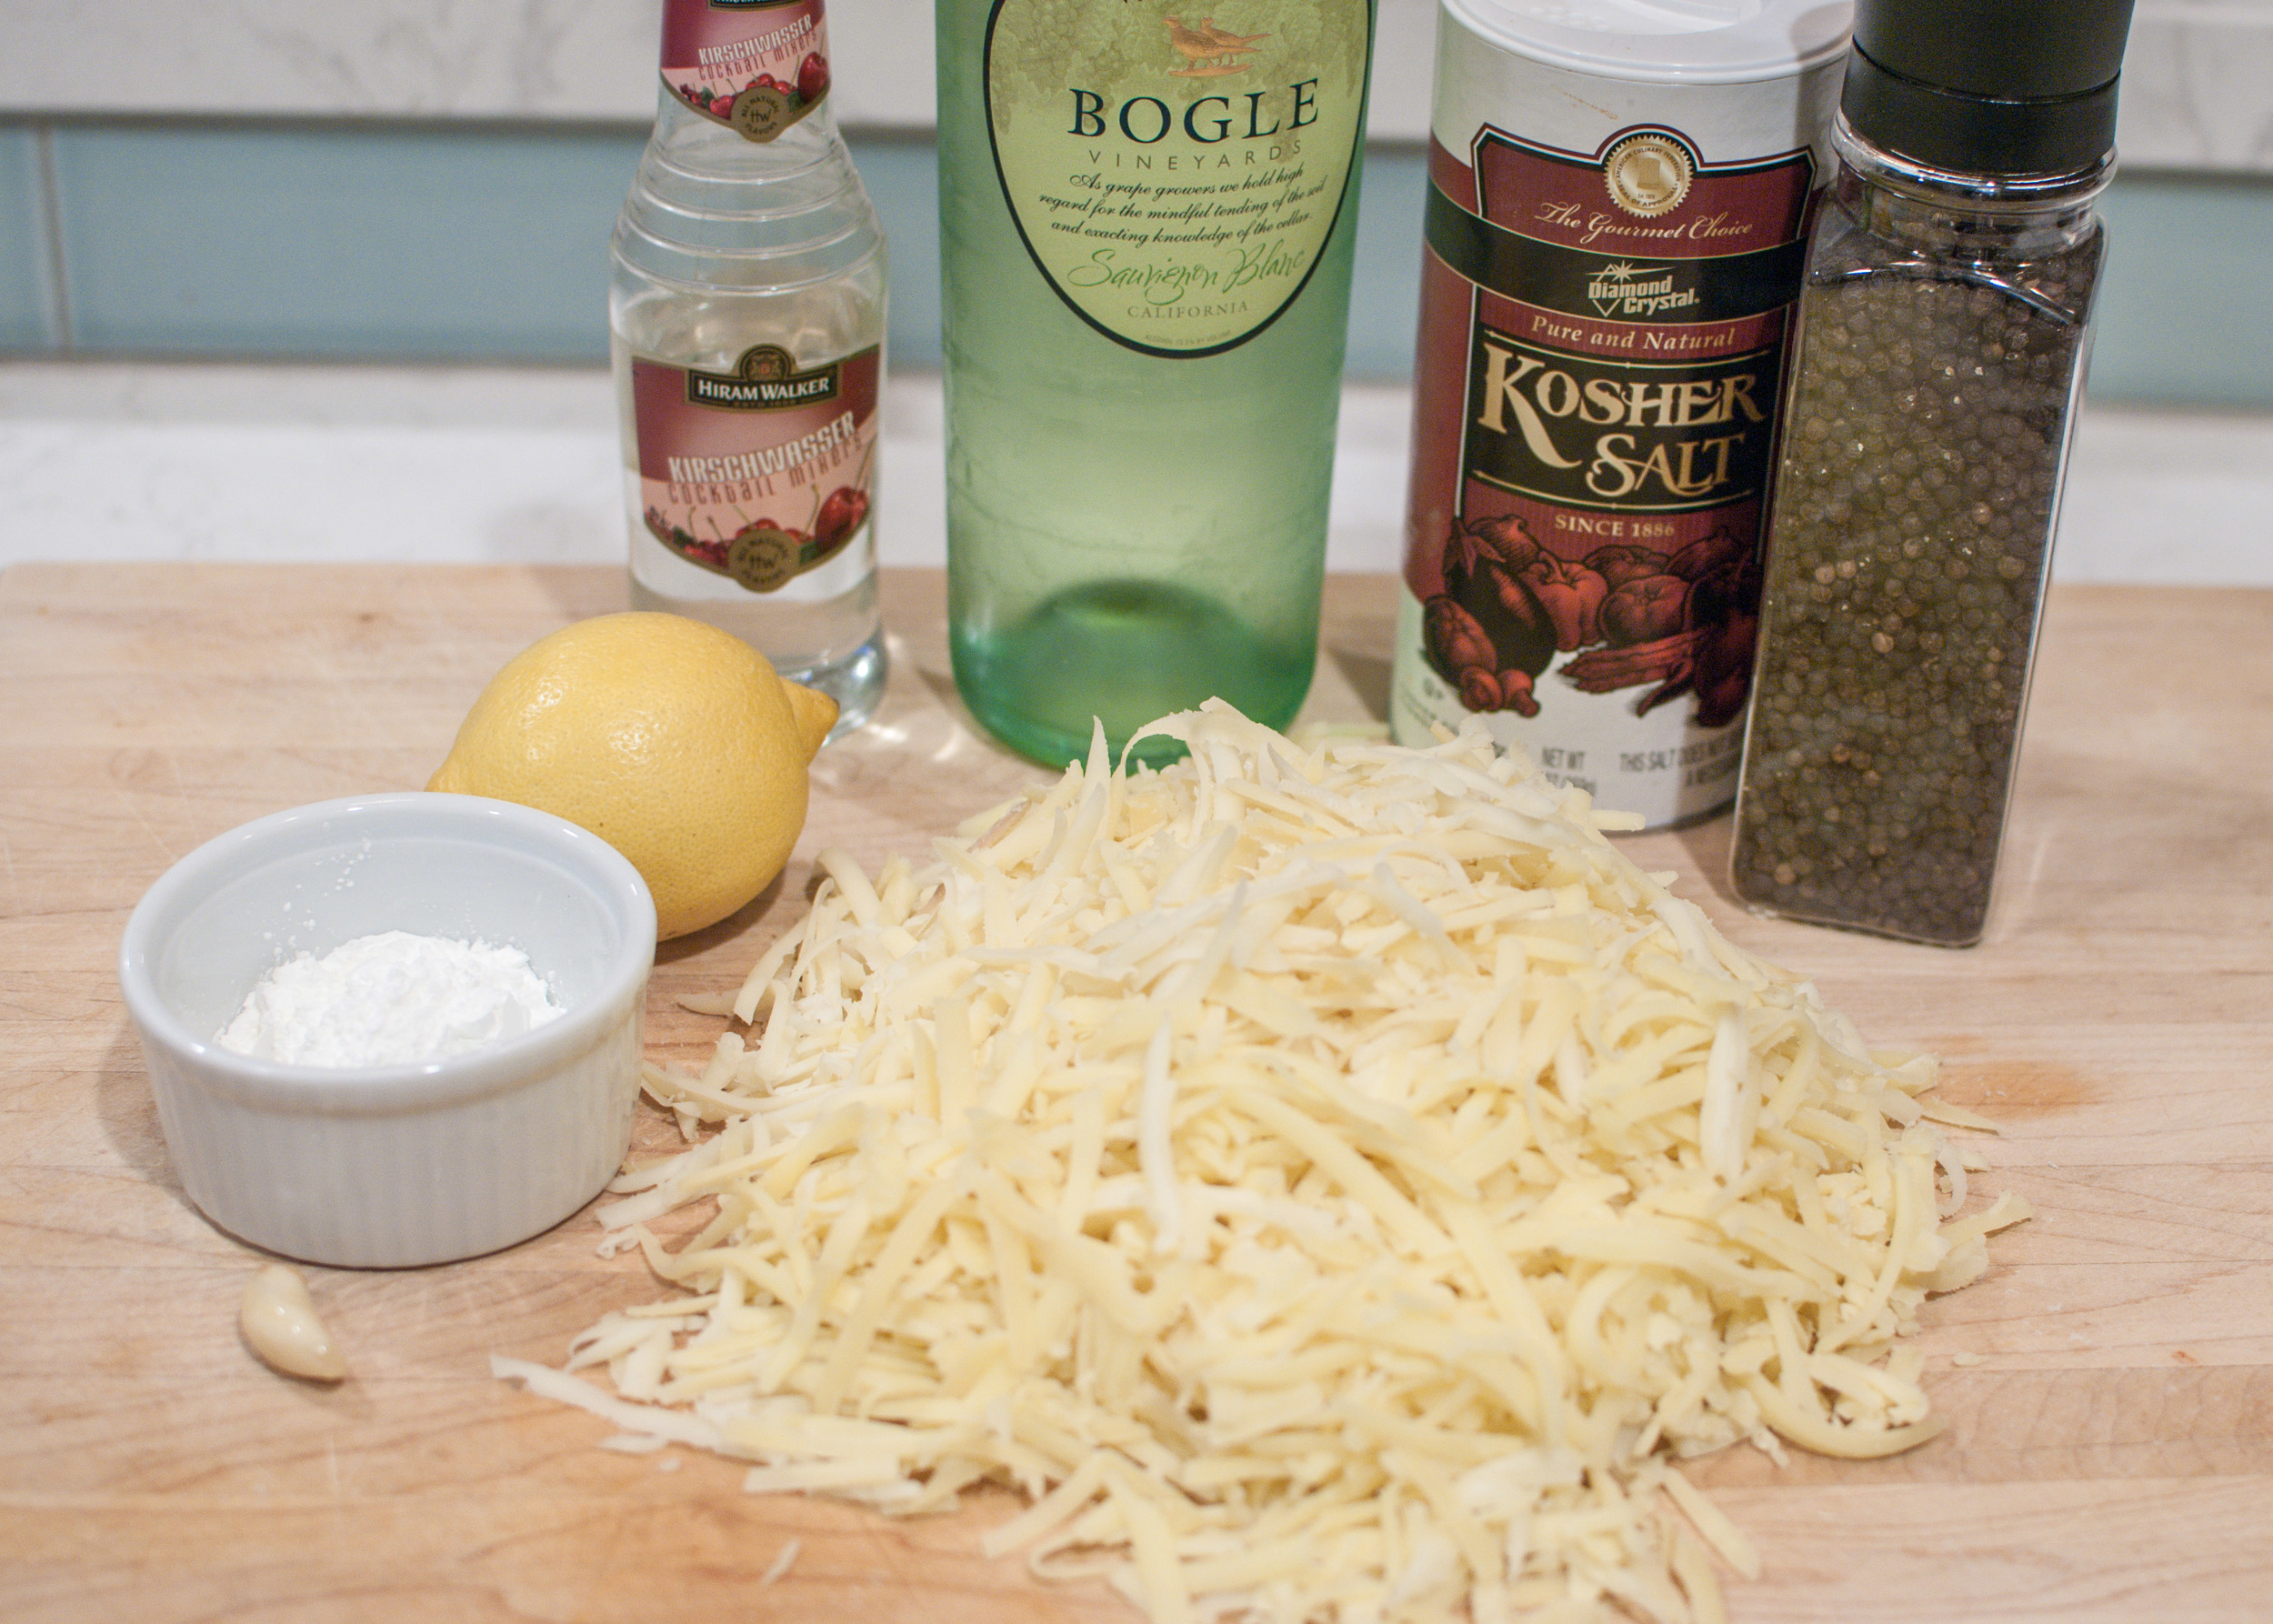
1 medium clove garlic, cut in half
1 cup dry white wine, such as Sauvignon Blanc, plus more as needed
⅓ pound Gruyère or Comté cheese, grated
⅓ pound Emmentaler cheese, grated
⅓ pound Fontina cheese, grated
1 tablespoon cornstarch
1 tablespoon fresh juice from 1 lemon
1 tablespoon kirsch (optional)
Freshly ground pepper

Ideas for dipping:
Baguette or other rustic bread, large cubes
Small new potatoes, boiled and cooled (can be left whole or halved)
Broccoli or cauliflower florets, blanched
Carrots, bite-size pieces, blanched
Asparagus, blanched
Sausage, cooked and sliced into bite-sized pieces
Salami, diced into bite-sized pieces
Apple slices, Granny Smith or other tart apple

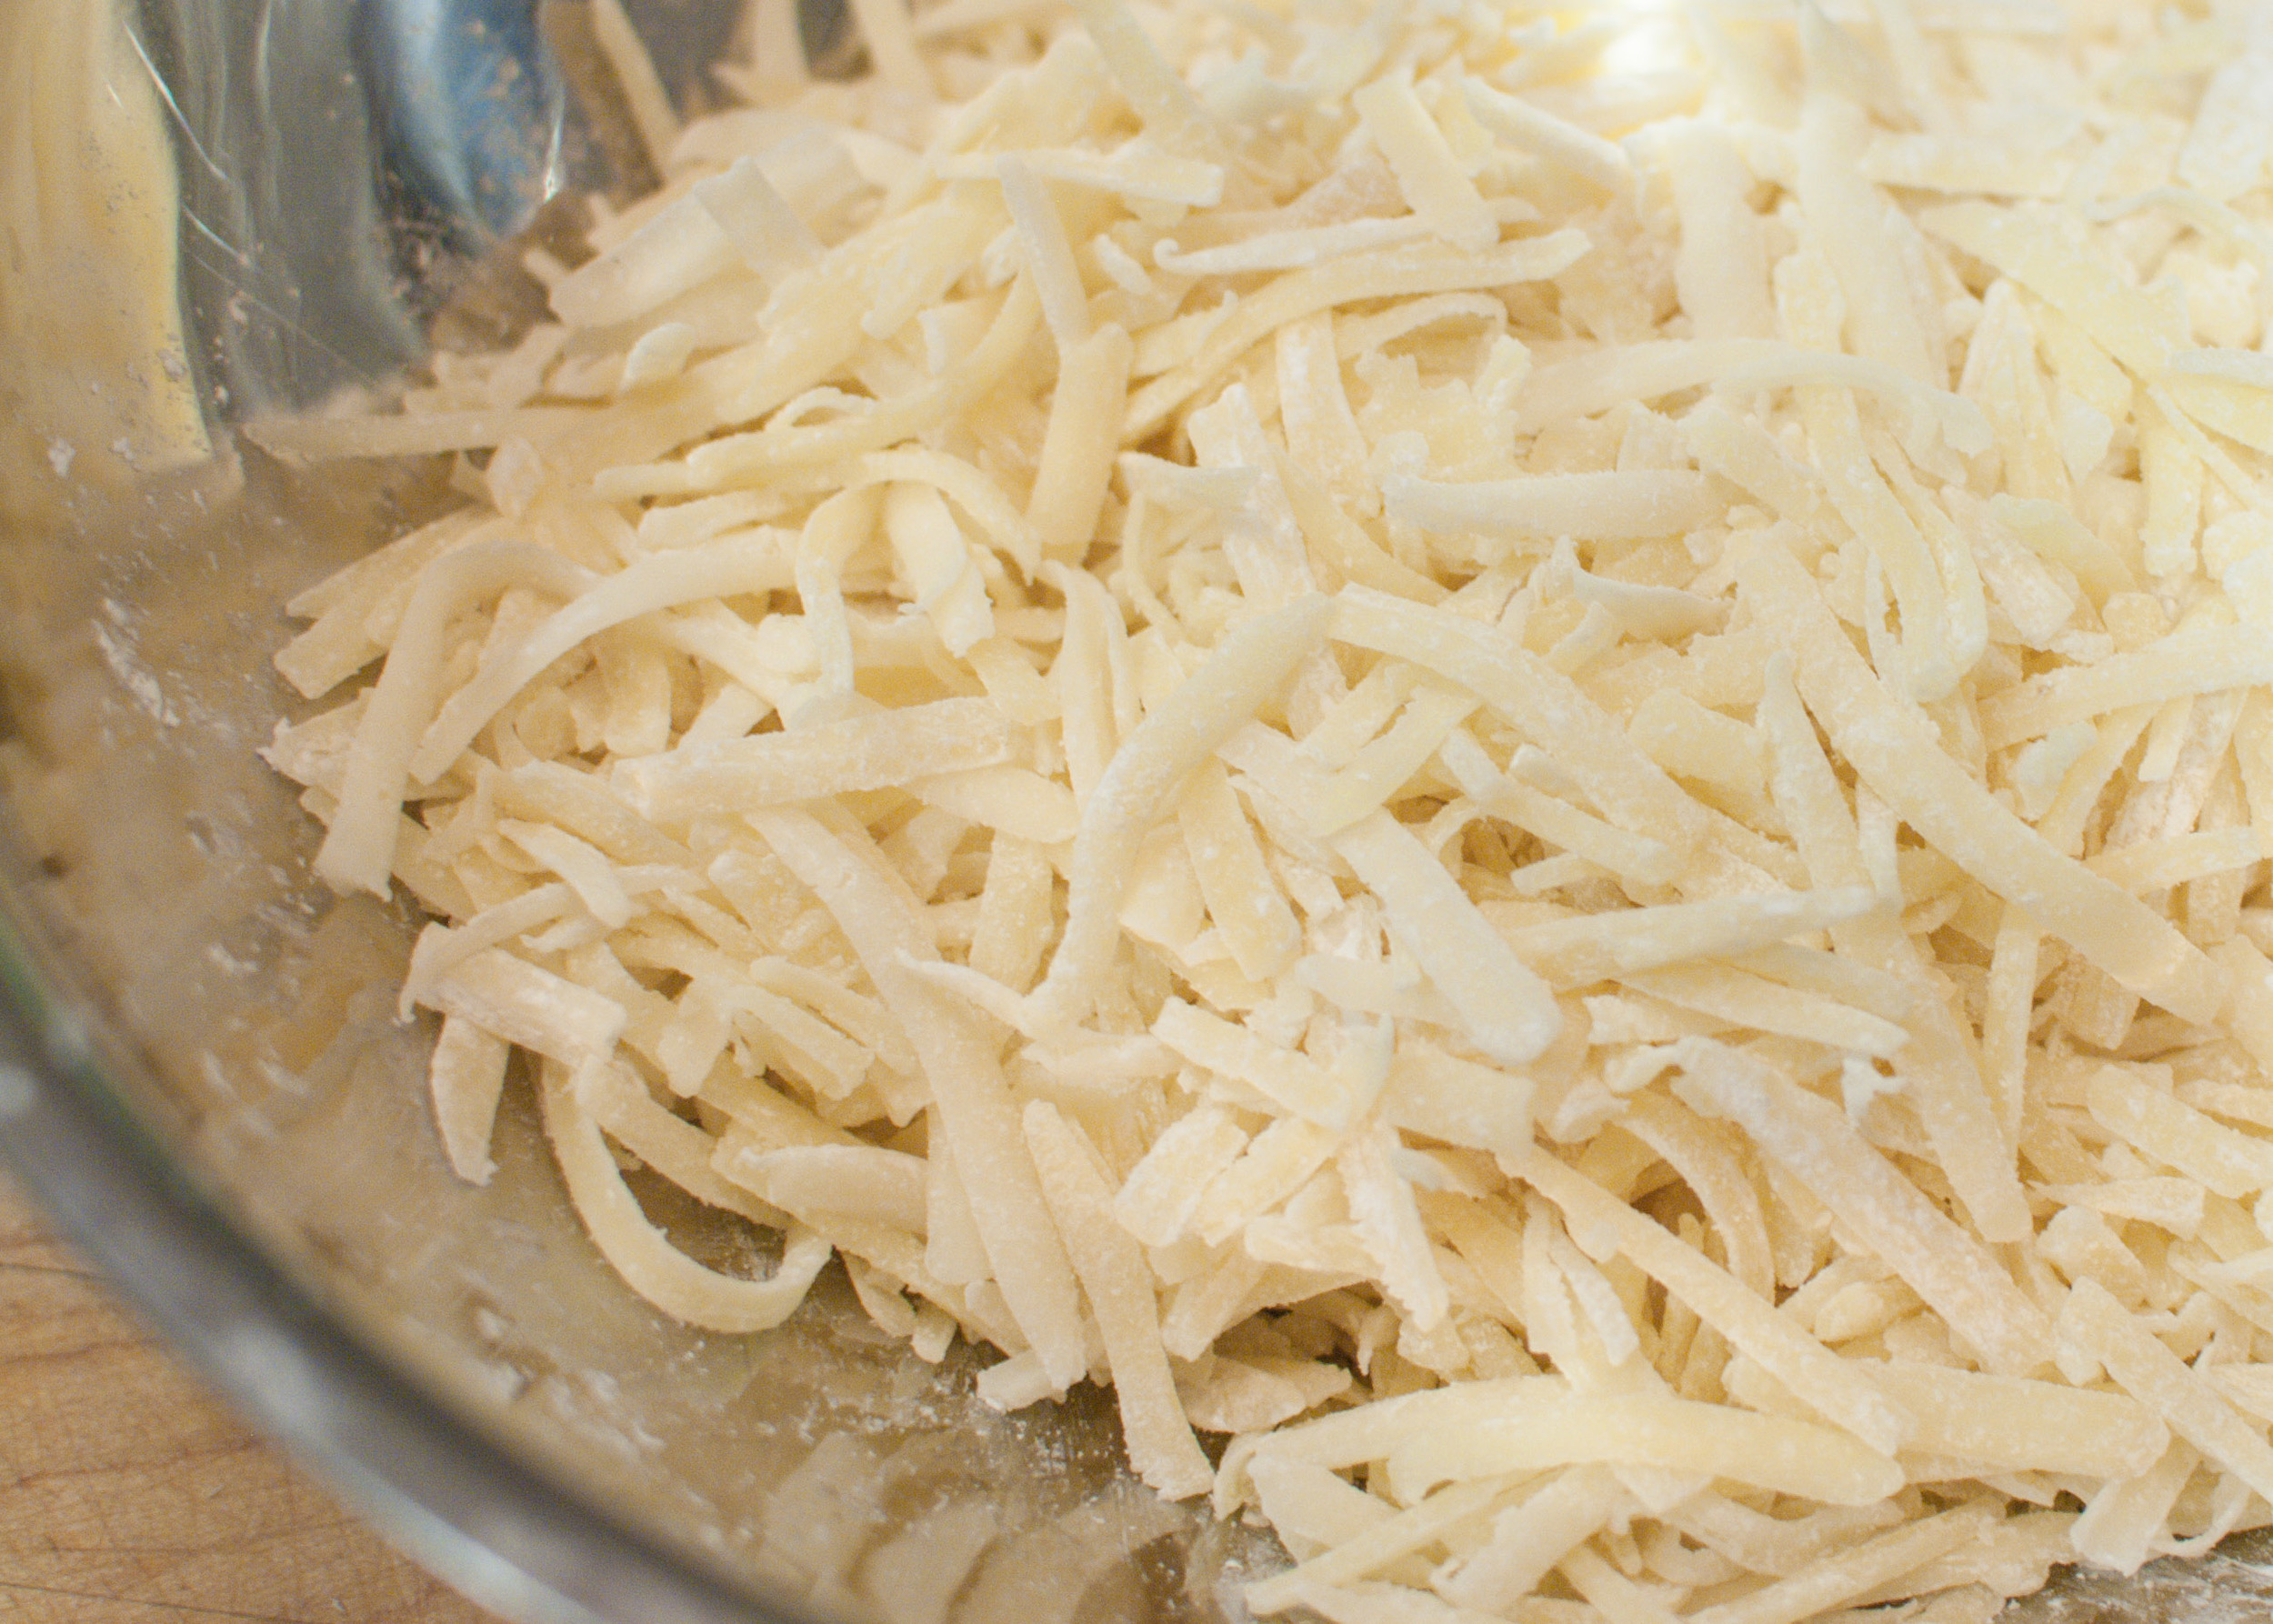
In a medium bowl, evenly coat the cheeses with cornstarch.

Rub the cut sides of garlic around the inside of a double boiler or stainless steel mixing bowl set over a pot of simmering water on low heat. The bowl should not touch the water. Pour in the wine and heat until hot. (You should see wisps of steam.)

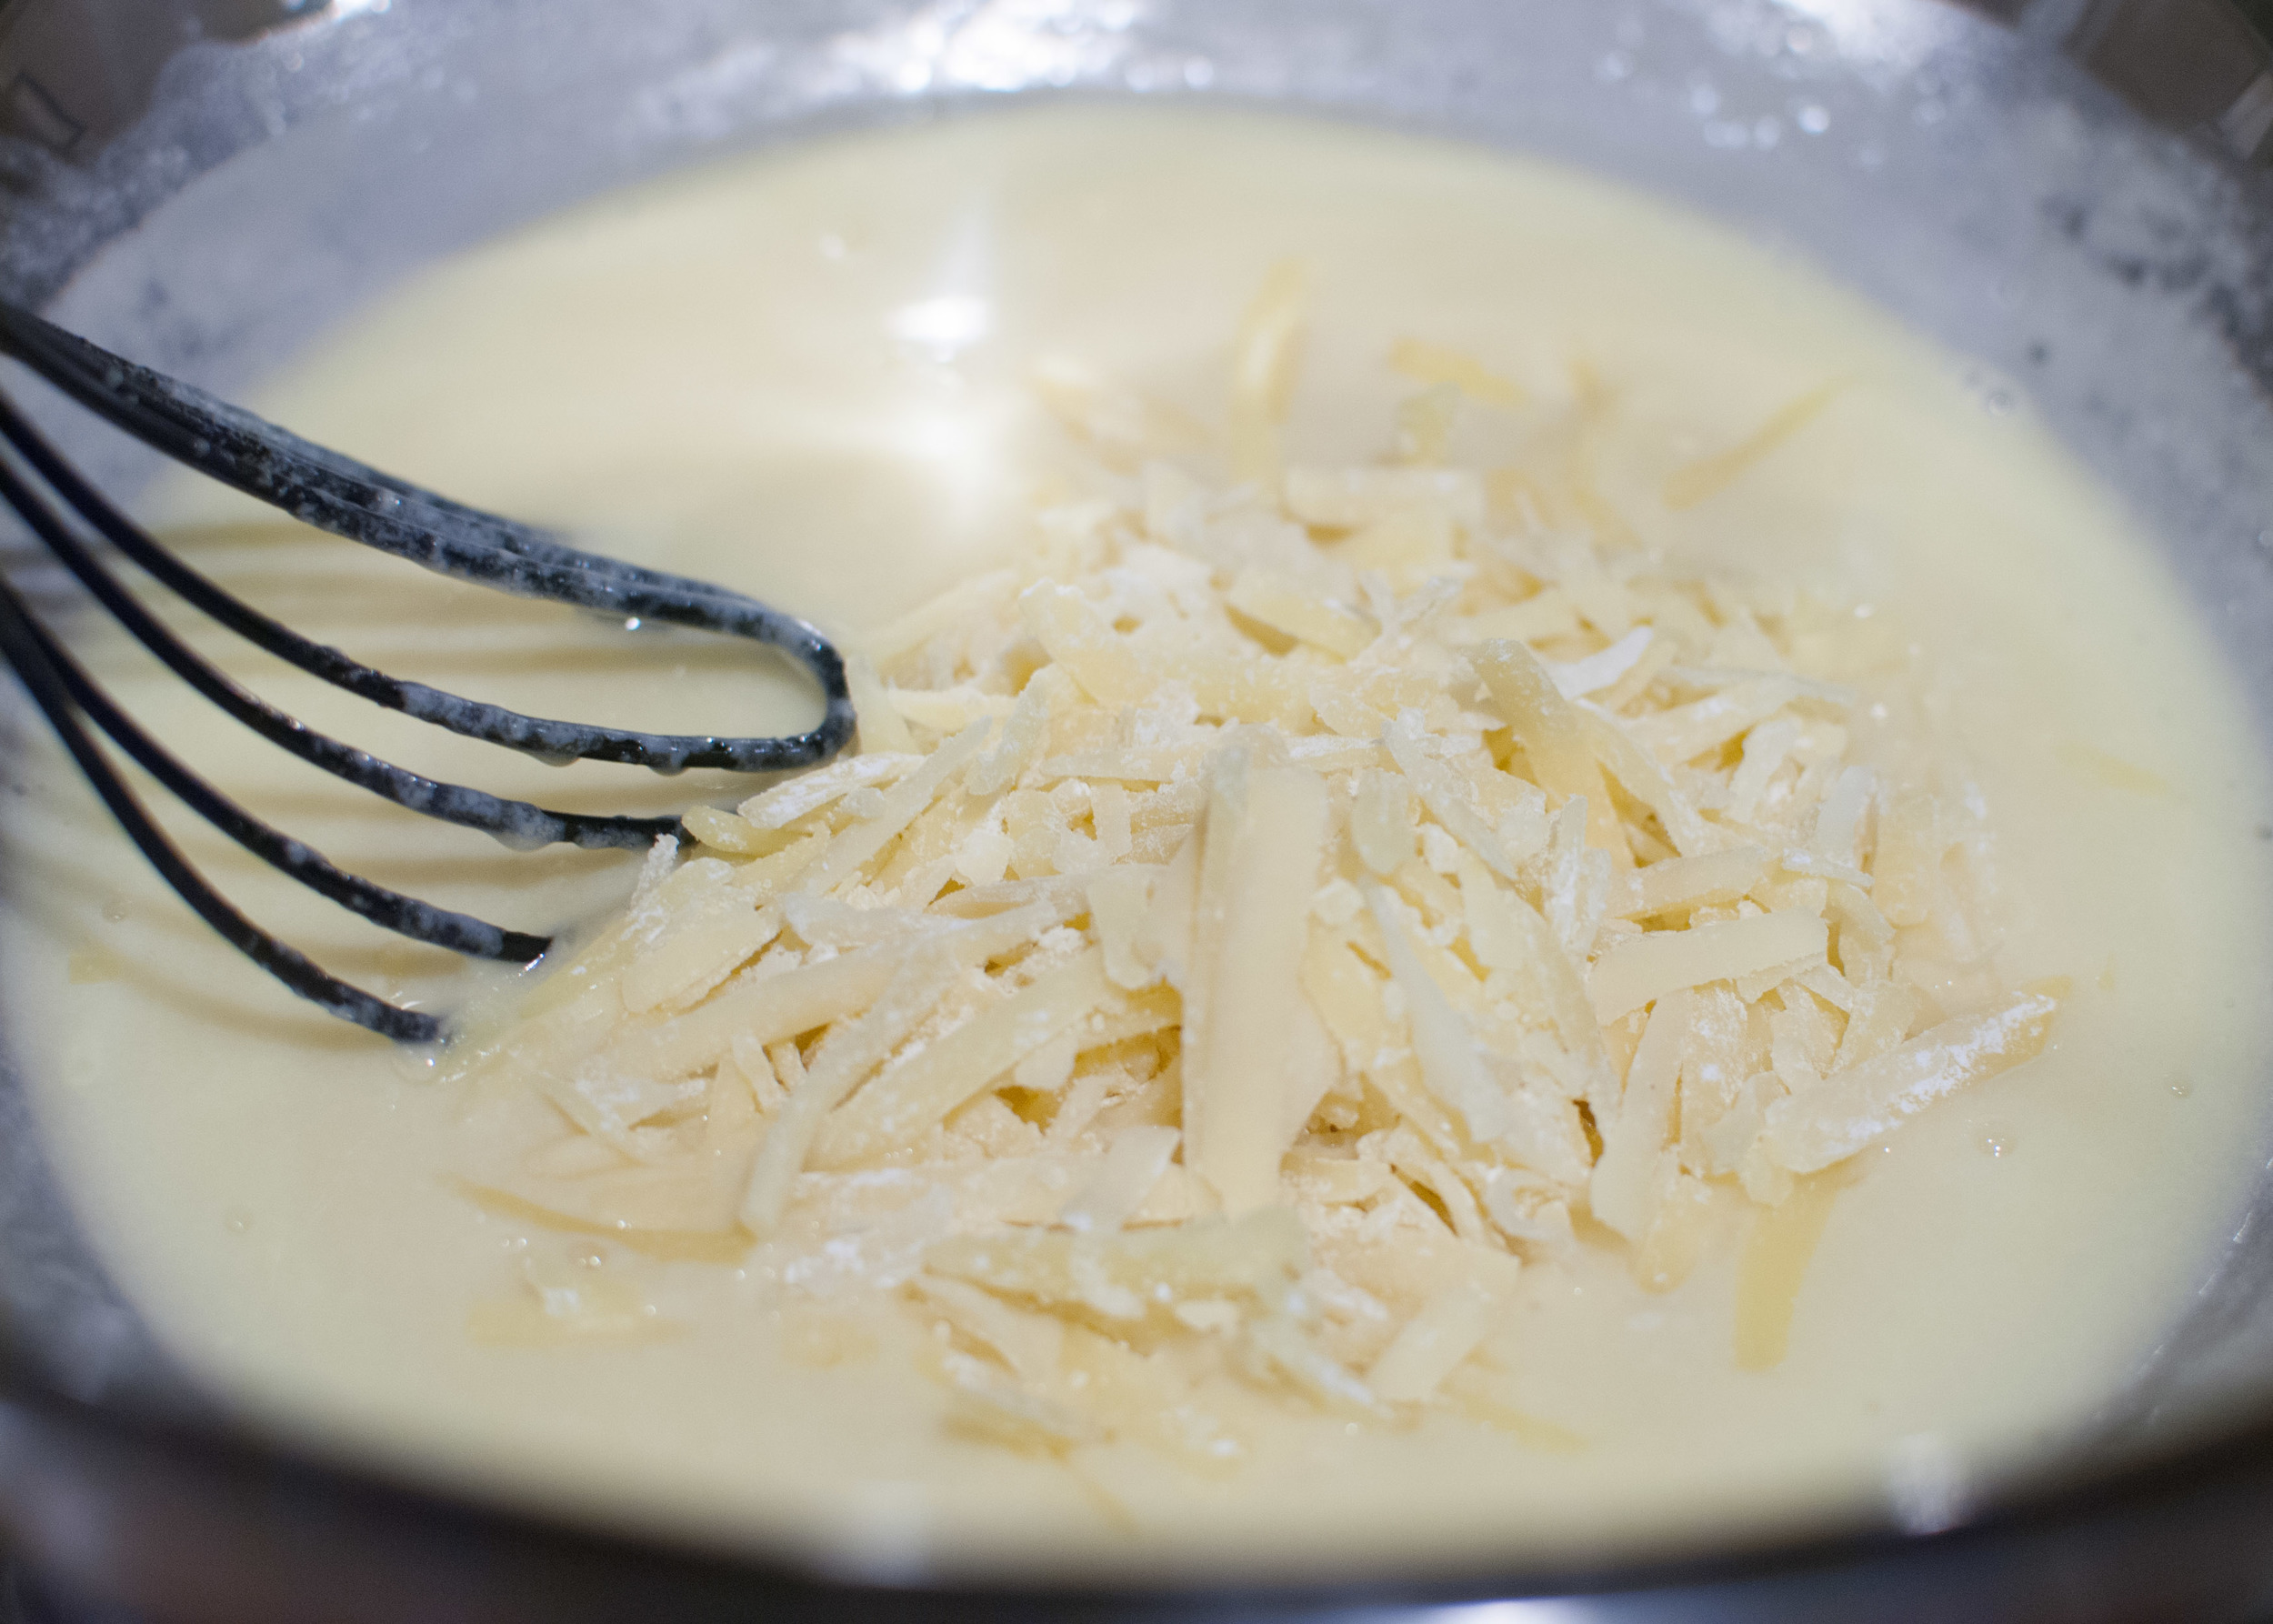
Gradually stir in the cheese, one handful at a time. Stir each handful of cheese until it is completely melted, before adding another handful. Do not allow the cheese to come to a simmer. Once you have a smooth, glossy cheese sauce, stir in the lemon juice and kirsch, if using. Season with freshly ground pepper. Pour fondue into a fondue pot to keep it warm.

Choose your dippers, dunk and swirl into the cheesy goodness, and enjoy!

Bacon Jam and Cheddar Grilled Cheese Sandwich by Cynthia Raub

Print Friendly and PDF
bacon jam grilled cheese sandwich

There's something about the winter that makes me want to make bacon jam. Last year, I threw a grilled cheese and nighttime zoo excursion birthday party for my New Years baby. We had our family come over for dinner to enjoy gooey grilled cheese sandwiches and cupcakes before heading out to the zoo at 7 p.m. I wanted to serve a variety of grilled cheese sandwiches that would be satisfying and hearty enough to be a meal, so I made these sandwiches along with the Roasted Jalapeño Grilled Cheese Sandwich and served them with a tomato soup. When I volunteered to bring savory refreshments for a preschool board meeting, I wanted to bring something a little bit sinful for the parents who work so hard to maintain our cooperative preschool. The combination of the sweet, rich, and tart bacon jam with a sharp cheddar cheese on sliced sourdough is decadent and a novel twist on a grilled cheese. 

Notes: The bacon jam is an involved recipe that requires an hour, a watchful eye, and a considerable amount of chopping. It's a worthwhile commitment. You'll find a number of uses for the bacon jam - including giving it away to friends and neighbors. Make a batch and share it with your loved ones, or you'll find yourself putting it in your eggs, spreading it on bagels, or even eating it off of a spoon at midnight for weeks.


Time: 1 hour
Yield: 3 cups

For The Bacon Jam

1.5 lbs smoked bacon
3 cups of sweet onions, sliced
4 cloves of garlic, minced
1/3 cup packed dark brown sugar
1/3 cup cider vinegar
1 cup low-sodium chicken broth or stock
1 teaspoon kosher salt, plus more as needed
1 teaspoon freshly ground black pepper
1 teaspoon paprika
1 tablespoon unsalted butter

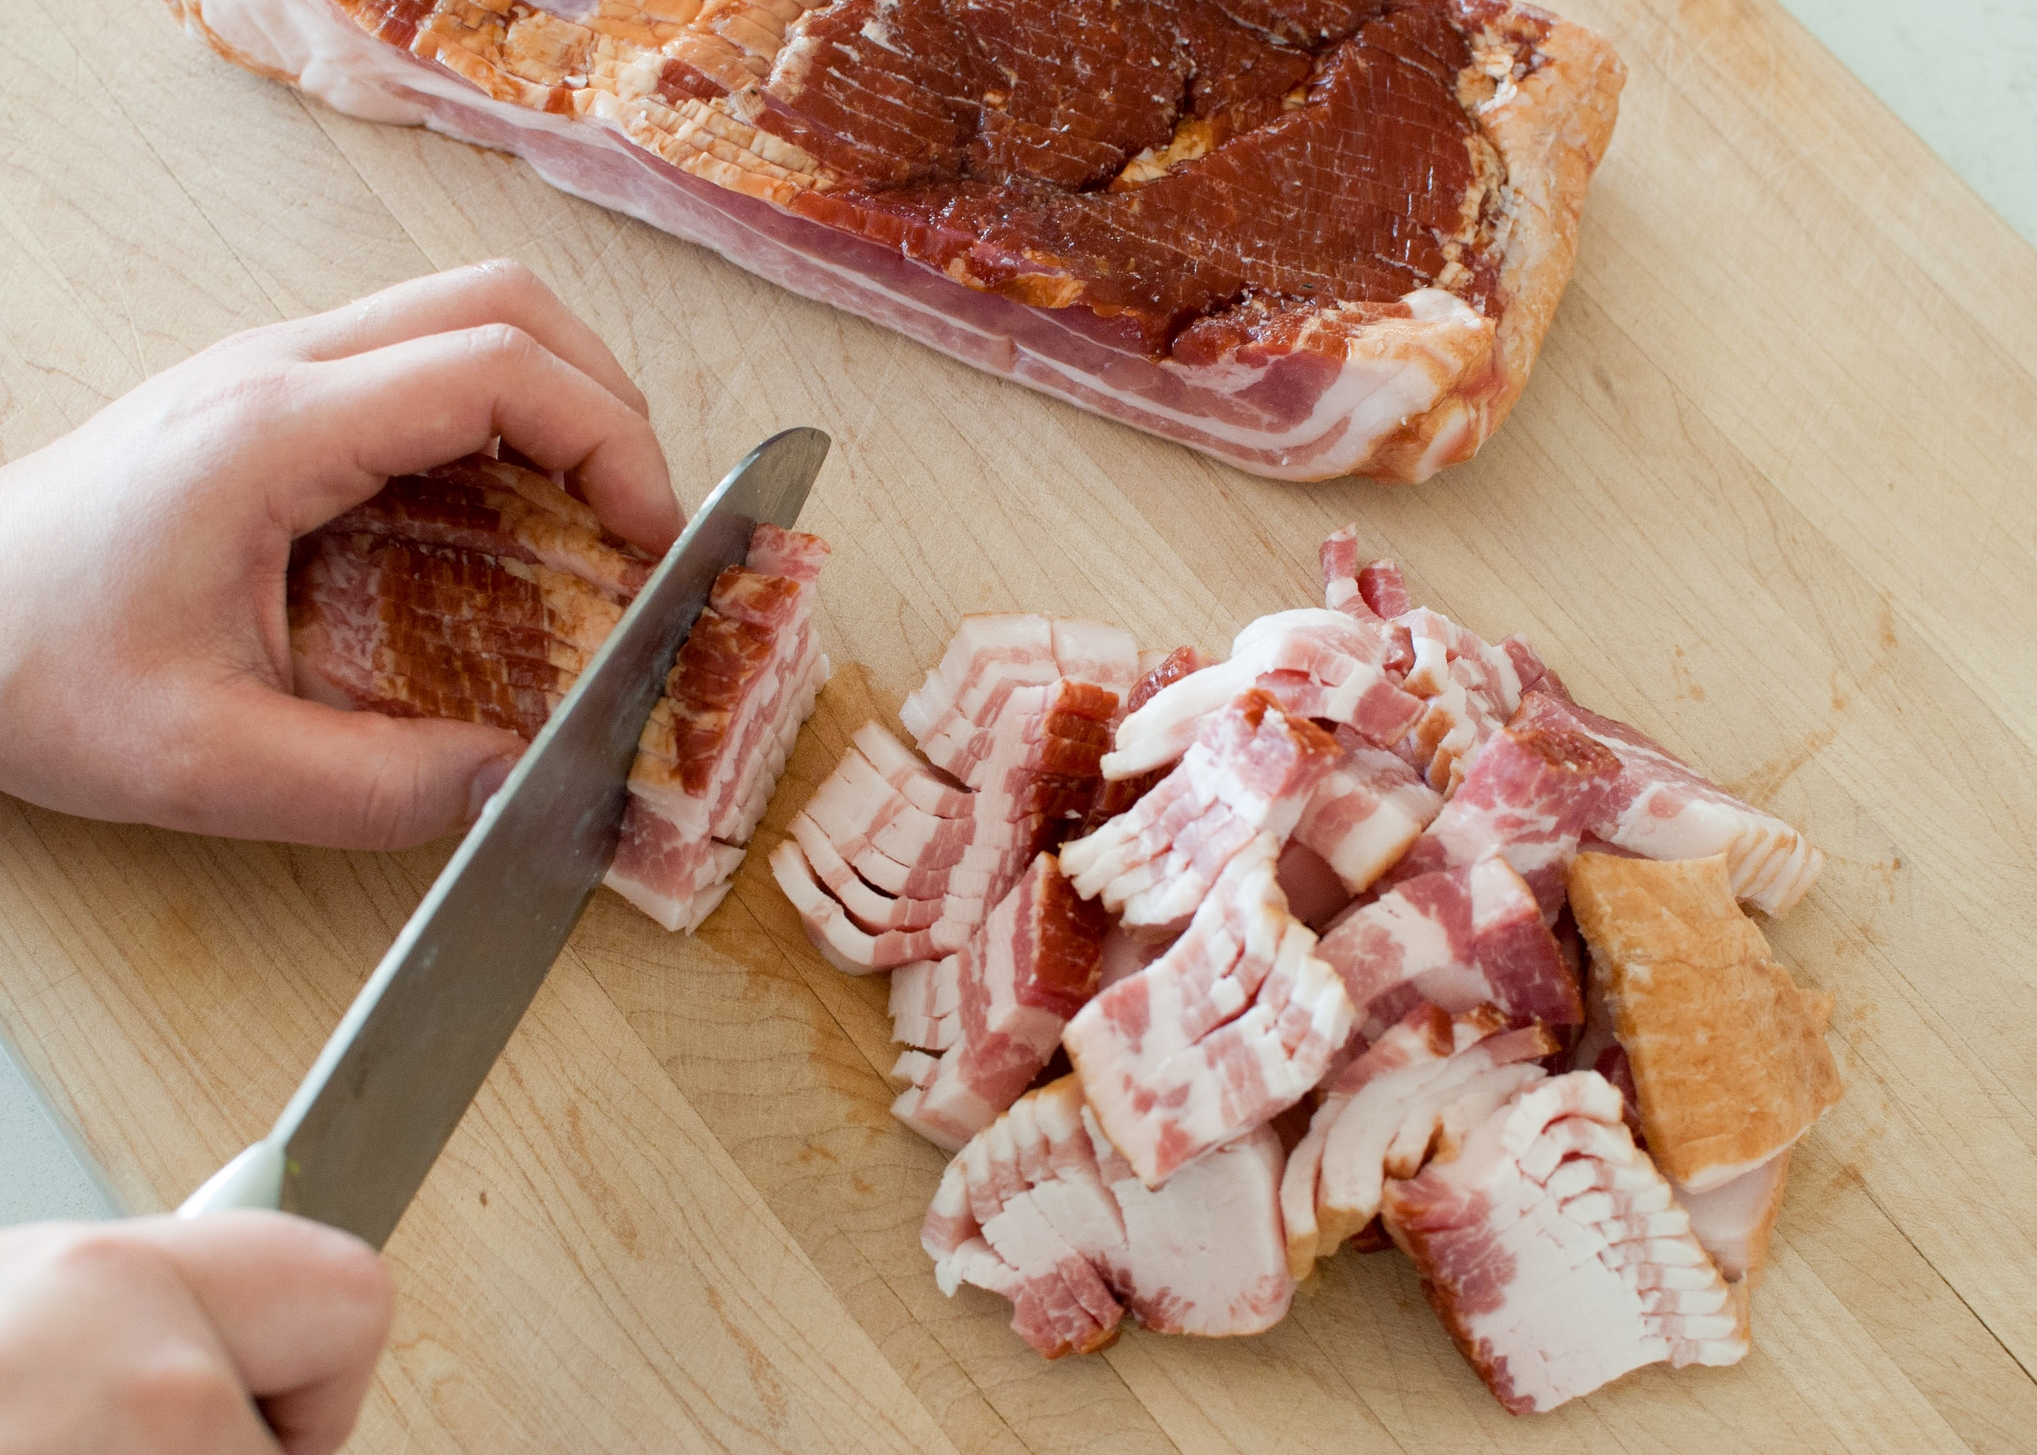
Place the bacon in a large heavy-bottomed pot or Dutch oven over medium heat and cook, stirring occasionally, until the fat has rendered and the bacon is starting to brown, about 10 to 20 minutes. Remove bacon with a slotted spoon onto a paper towel lined plate. Safely pour off bacon fat into a heatproof container, reserving browned bits and 2 tablespoons of bacon fat in the pot.

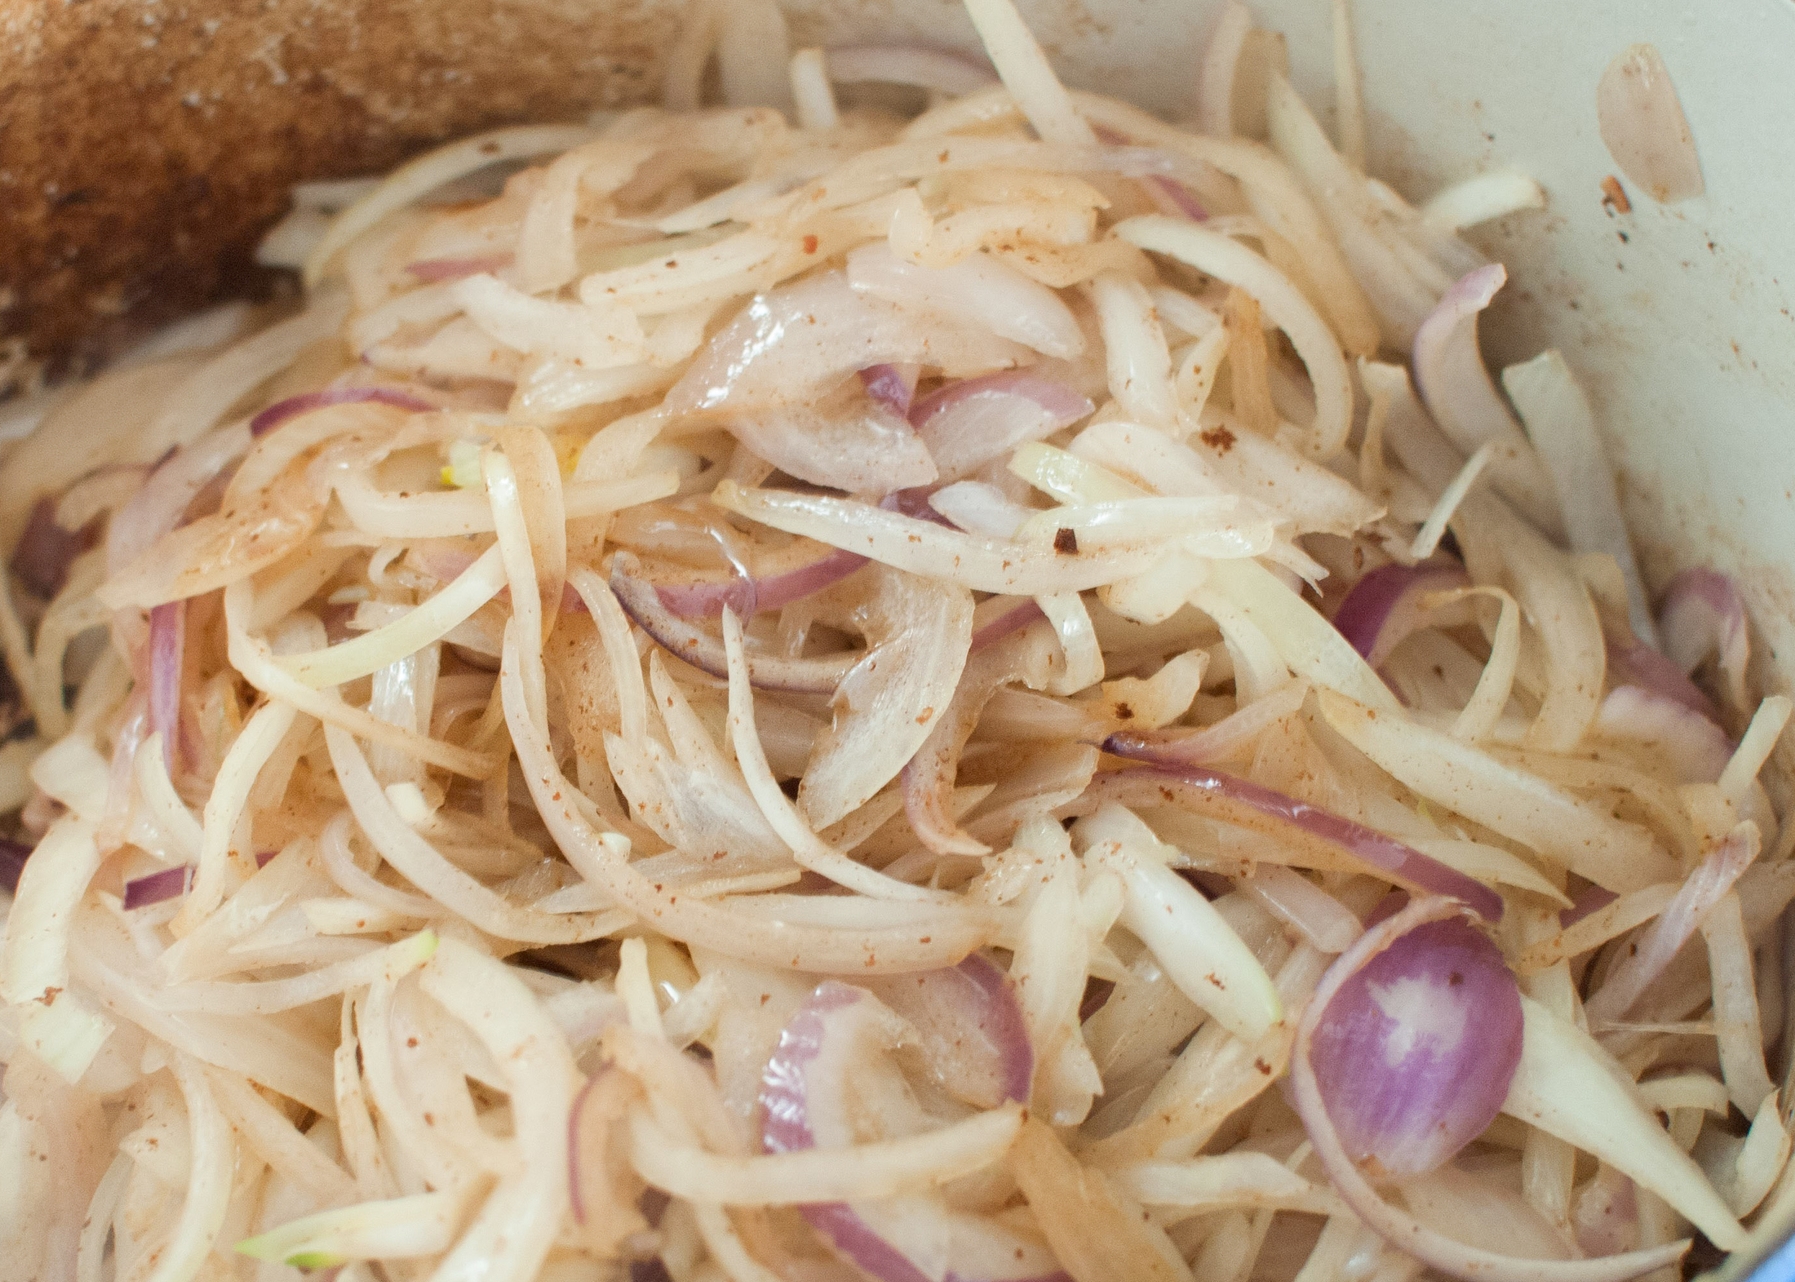
Bring the pot back to the stove, turn heat up to medium high - add the onion, season with salt, and cook, stirring occasionally, until the onion has browned, about 5-10 minutes. Add the sugar, garlic, and cider vinegar, stirring to combine.

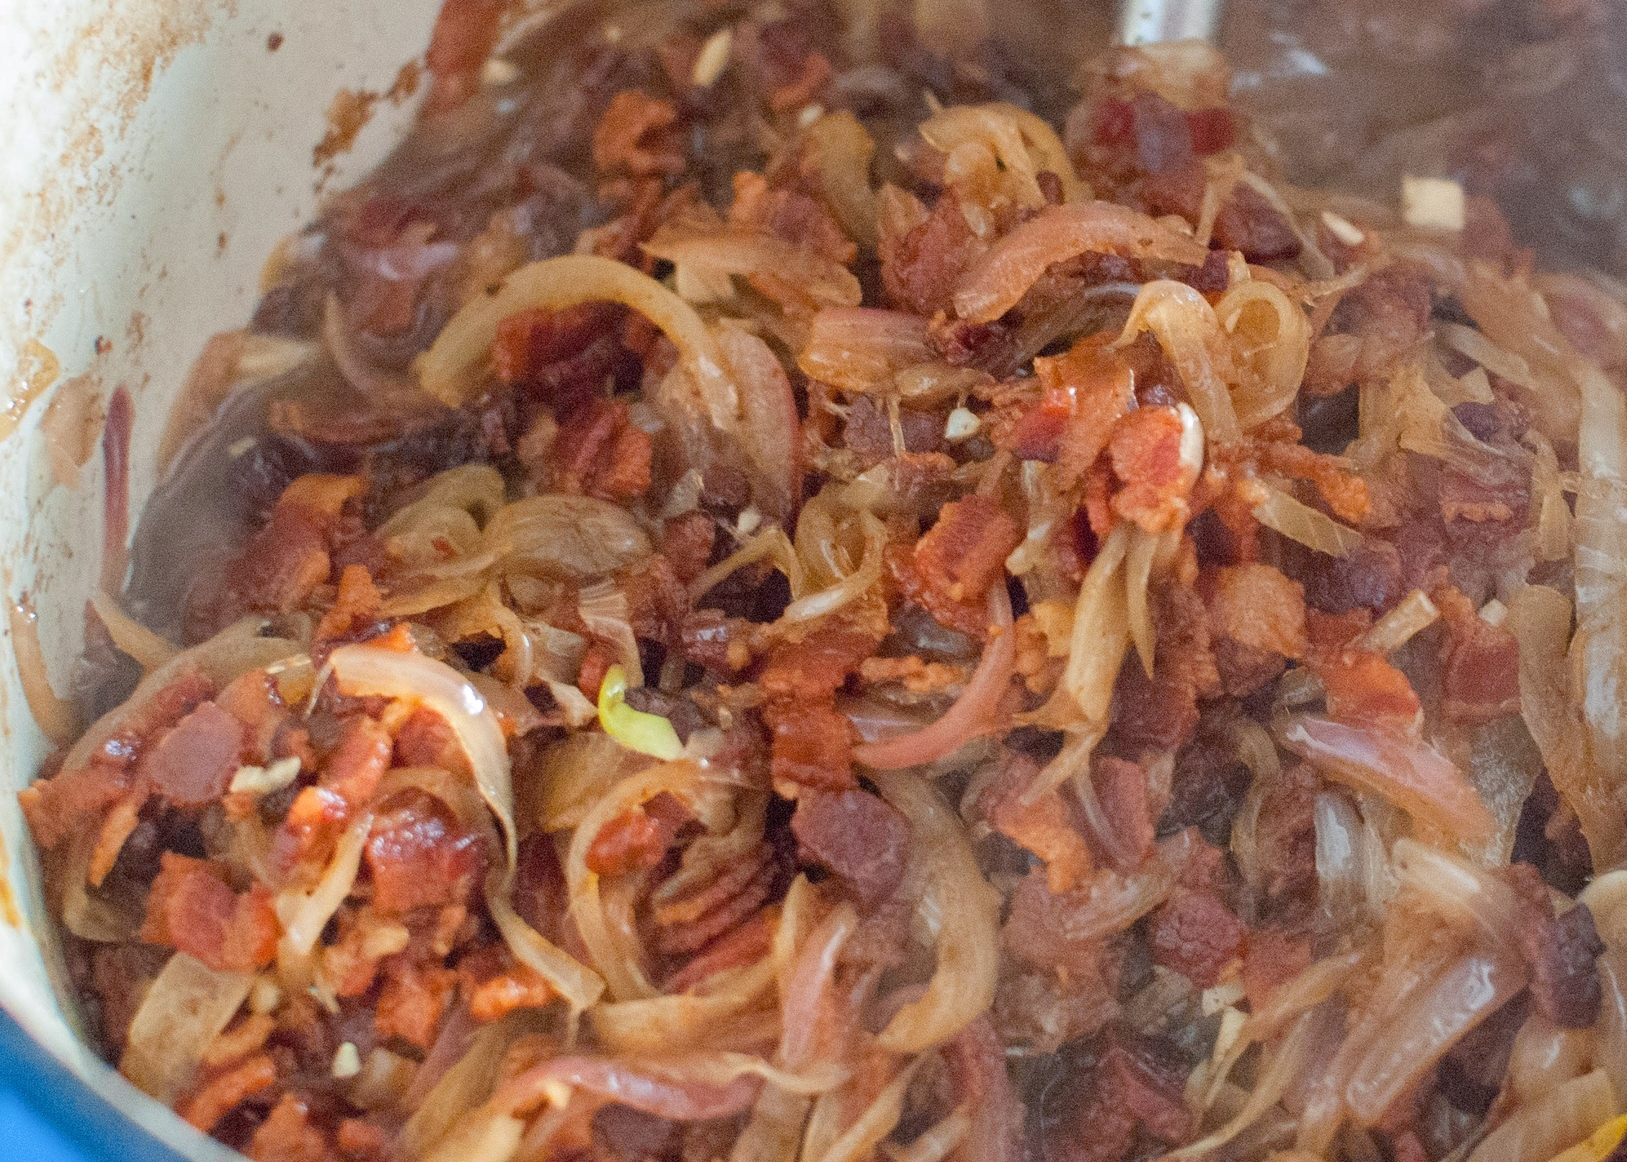
Add 1/2 cup of the broth or stock and bring it to a simmer, scraping up the browned bits from the bottom of the pot. Continue to simmer, stirring occasionally, until the mixture has thickened and almost all of the liquid has evaporated, about 5-8 minutes.
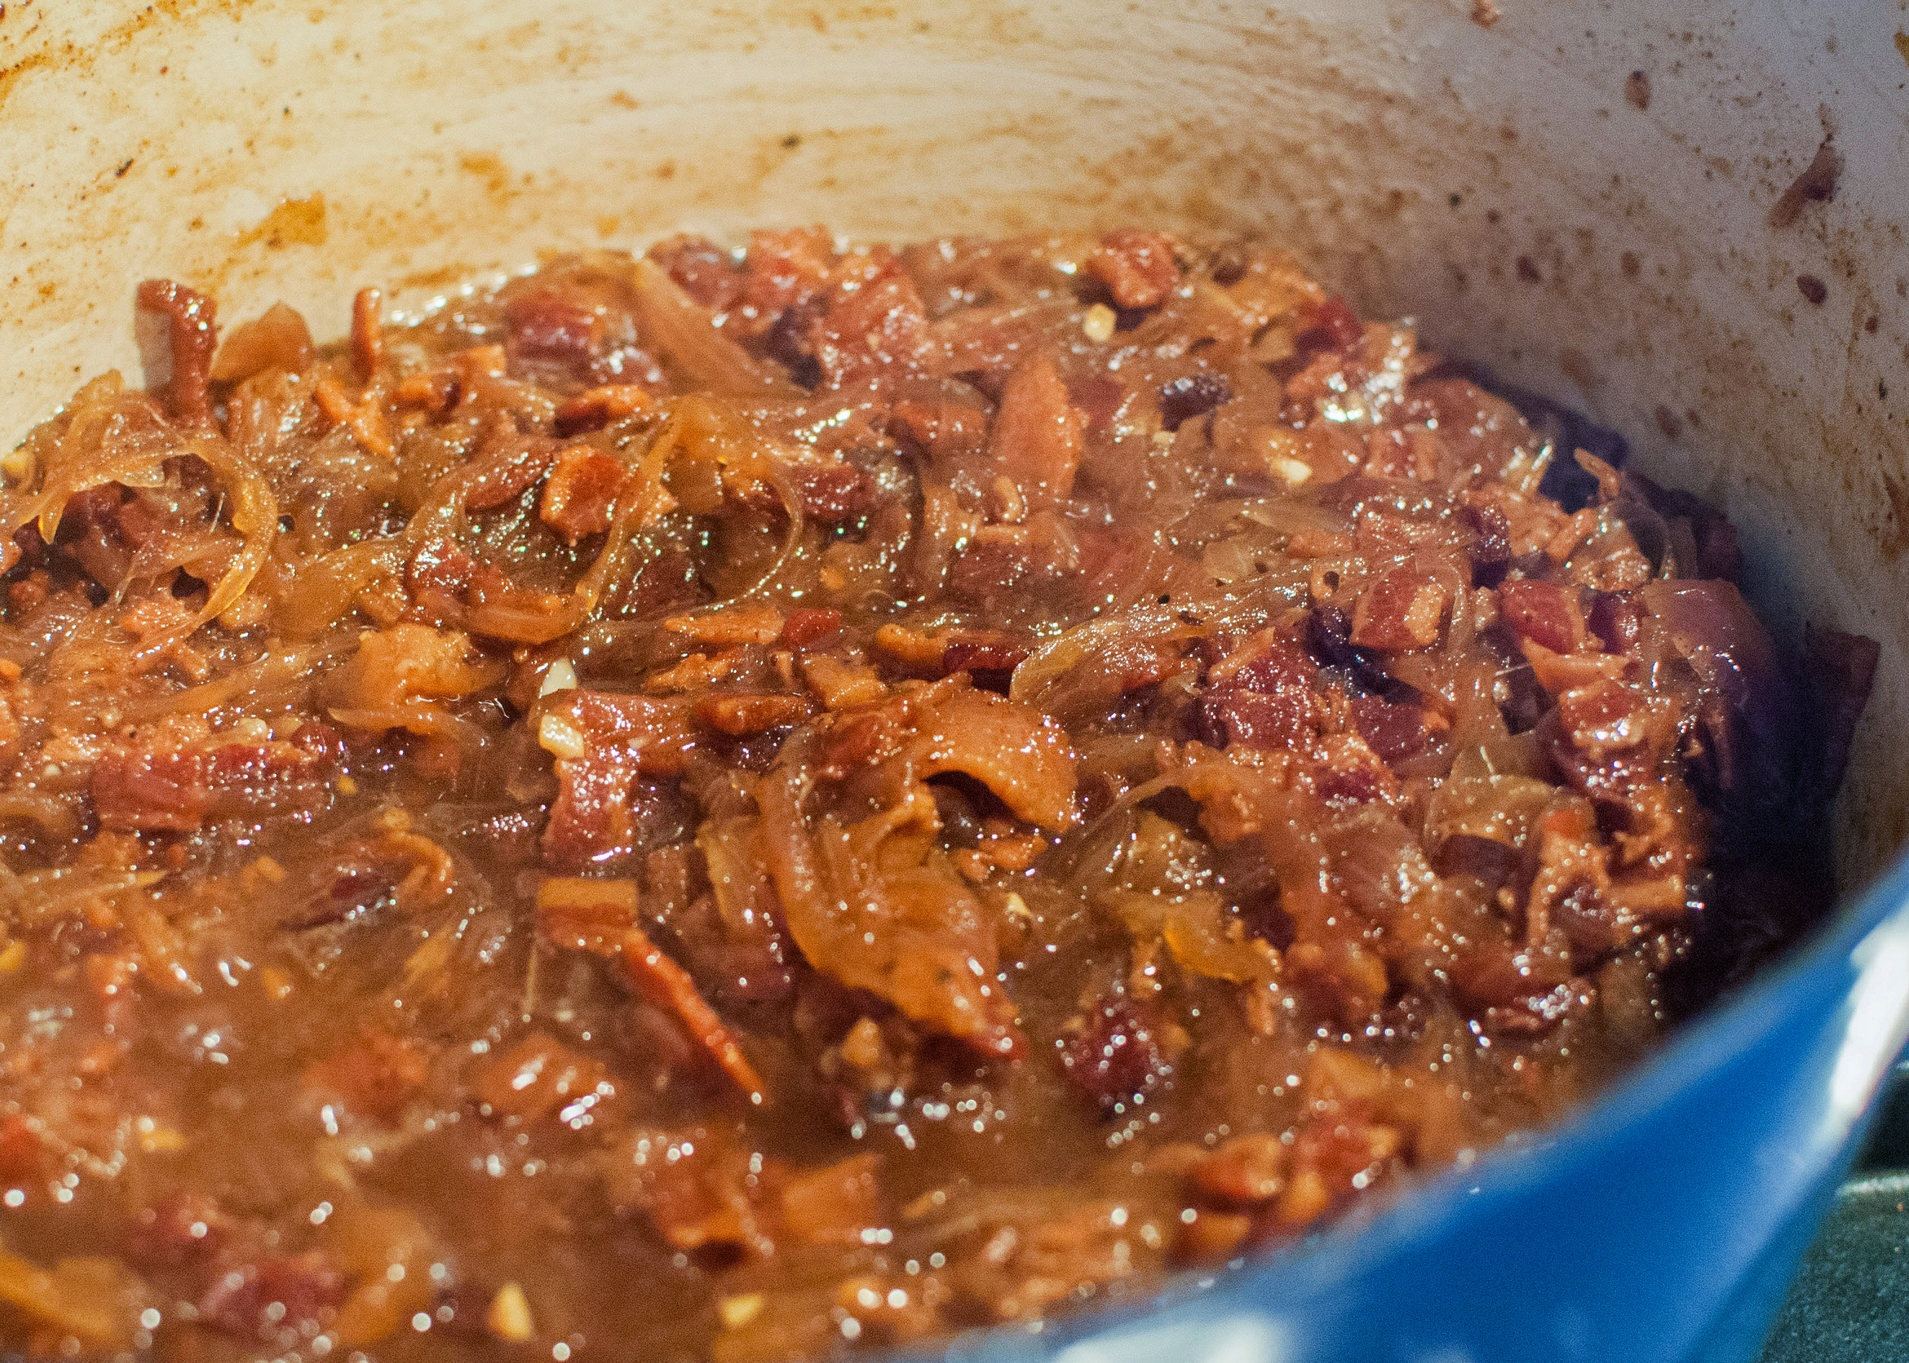
Add 1/2 more cup of the broth or stock and simmer, stirring occasionally, until the mixture has thickened and almost all of the liquid has evaporated, about 5-8 minutes.
Season with kosher salt, black pepper and paprika and combine.

Transfer the mixture to a food processor and reserve the pot. Process until desired texture. (I like a little bit of texture, so I pulsed mine 20 times- which minced the bacon and onion, but did not make a smooth paste).

Return the mixture to the reserved pot, place it over medium heat, and rewarm, stirring occasionally. Remove from the heat and stir in the butter. (At this point, the bacon jam can be cooled to room temperature and refrigerated in an airtight container for up to 2 weeks. Rewarm before using.)
Adapted from "Fire in My Belly: Real Cooking" by Kevin Gillespie with David Joachim


For The Bacon Jam and Cheddar Grilled Cheese Sandwich

1 cup bacon jam
1 cup shredded sharp cheddar cheese (I used Tillamook)
12 slices sourdough bread
Unsalted butter, room temperature

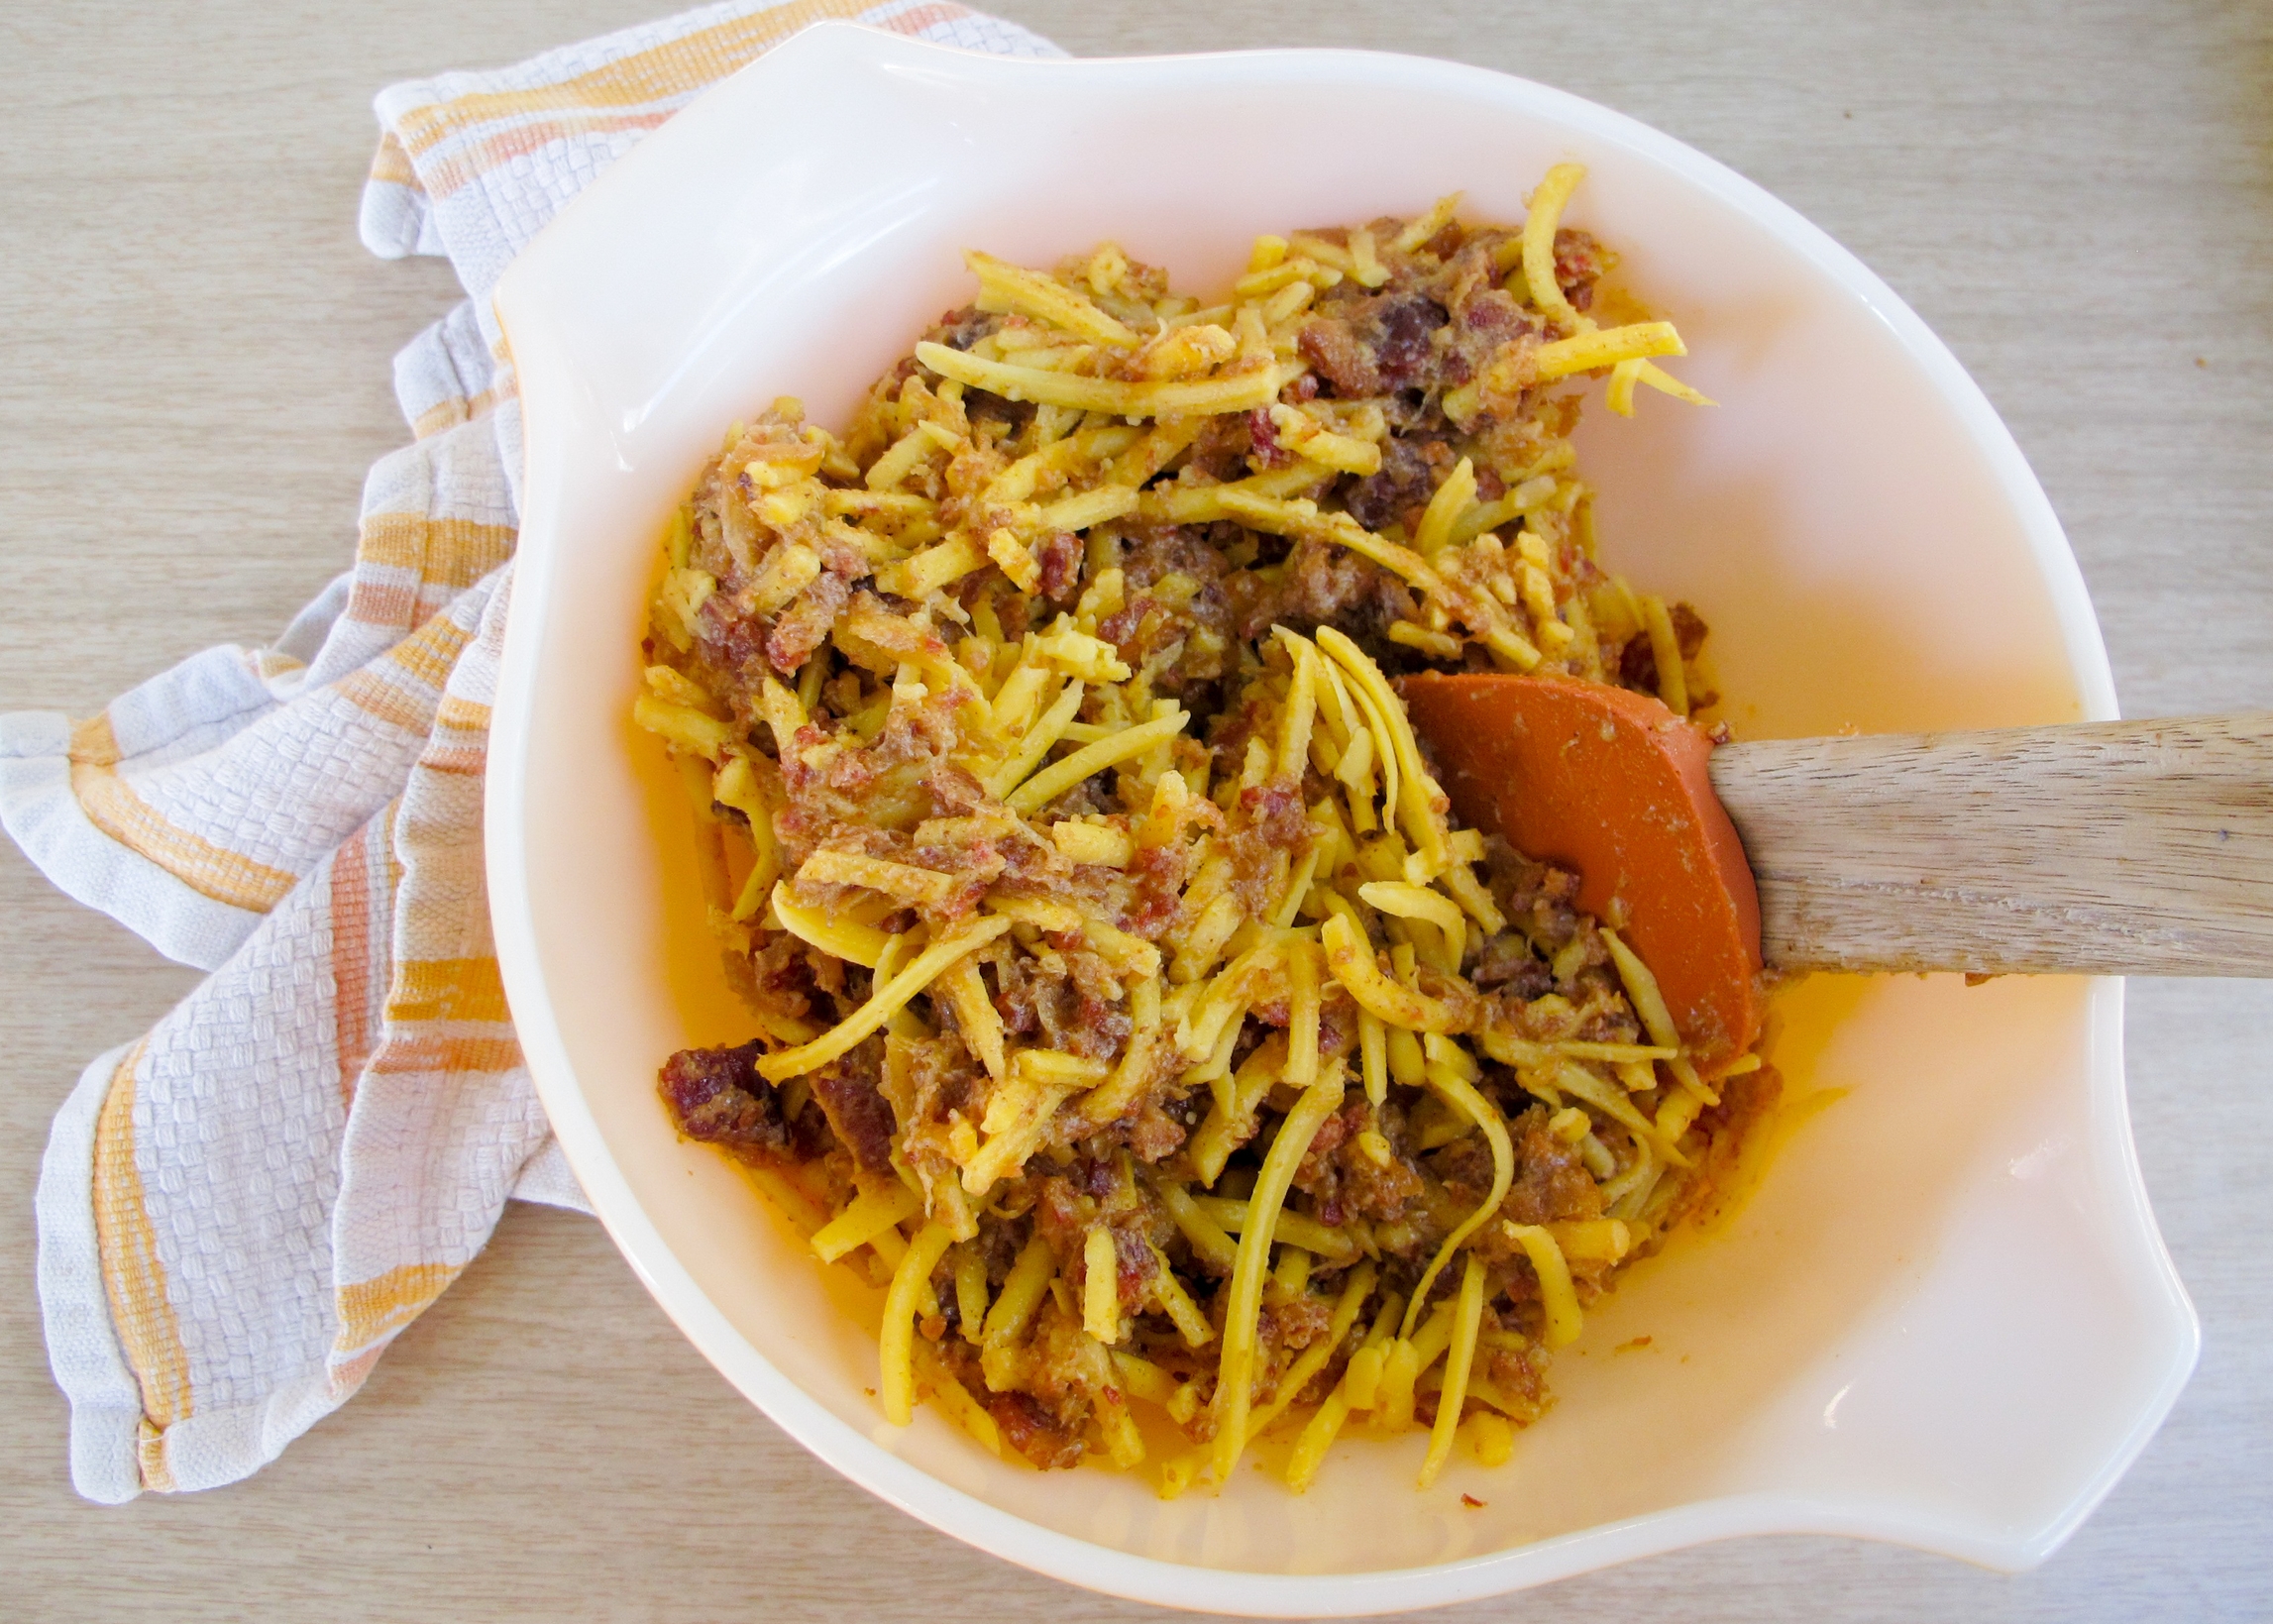
Preheat a non-stick griddle to medium-high heat. In a medium mixing bowl, mix to combine bacon jam and shredded cheese. Spread a generous layer of the bacon and cheese mixture on a slice of bread. Close the sandwich up with a second slice of bread, butter outsides of the sandwich generously. Slap the sandwich down on the preheated grilled and cook until the bread is golden and crusty, the cheese is melted and the bacon jam is hot- about 5-7 minutes per side.