Vegetarian

Roasted Jalapeno Grilled Cheese Sandwich by Cynthia Raub

Print Friendly and PDF
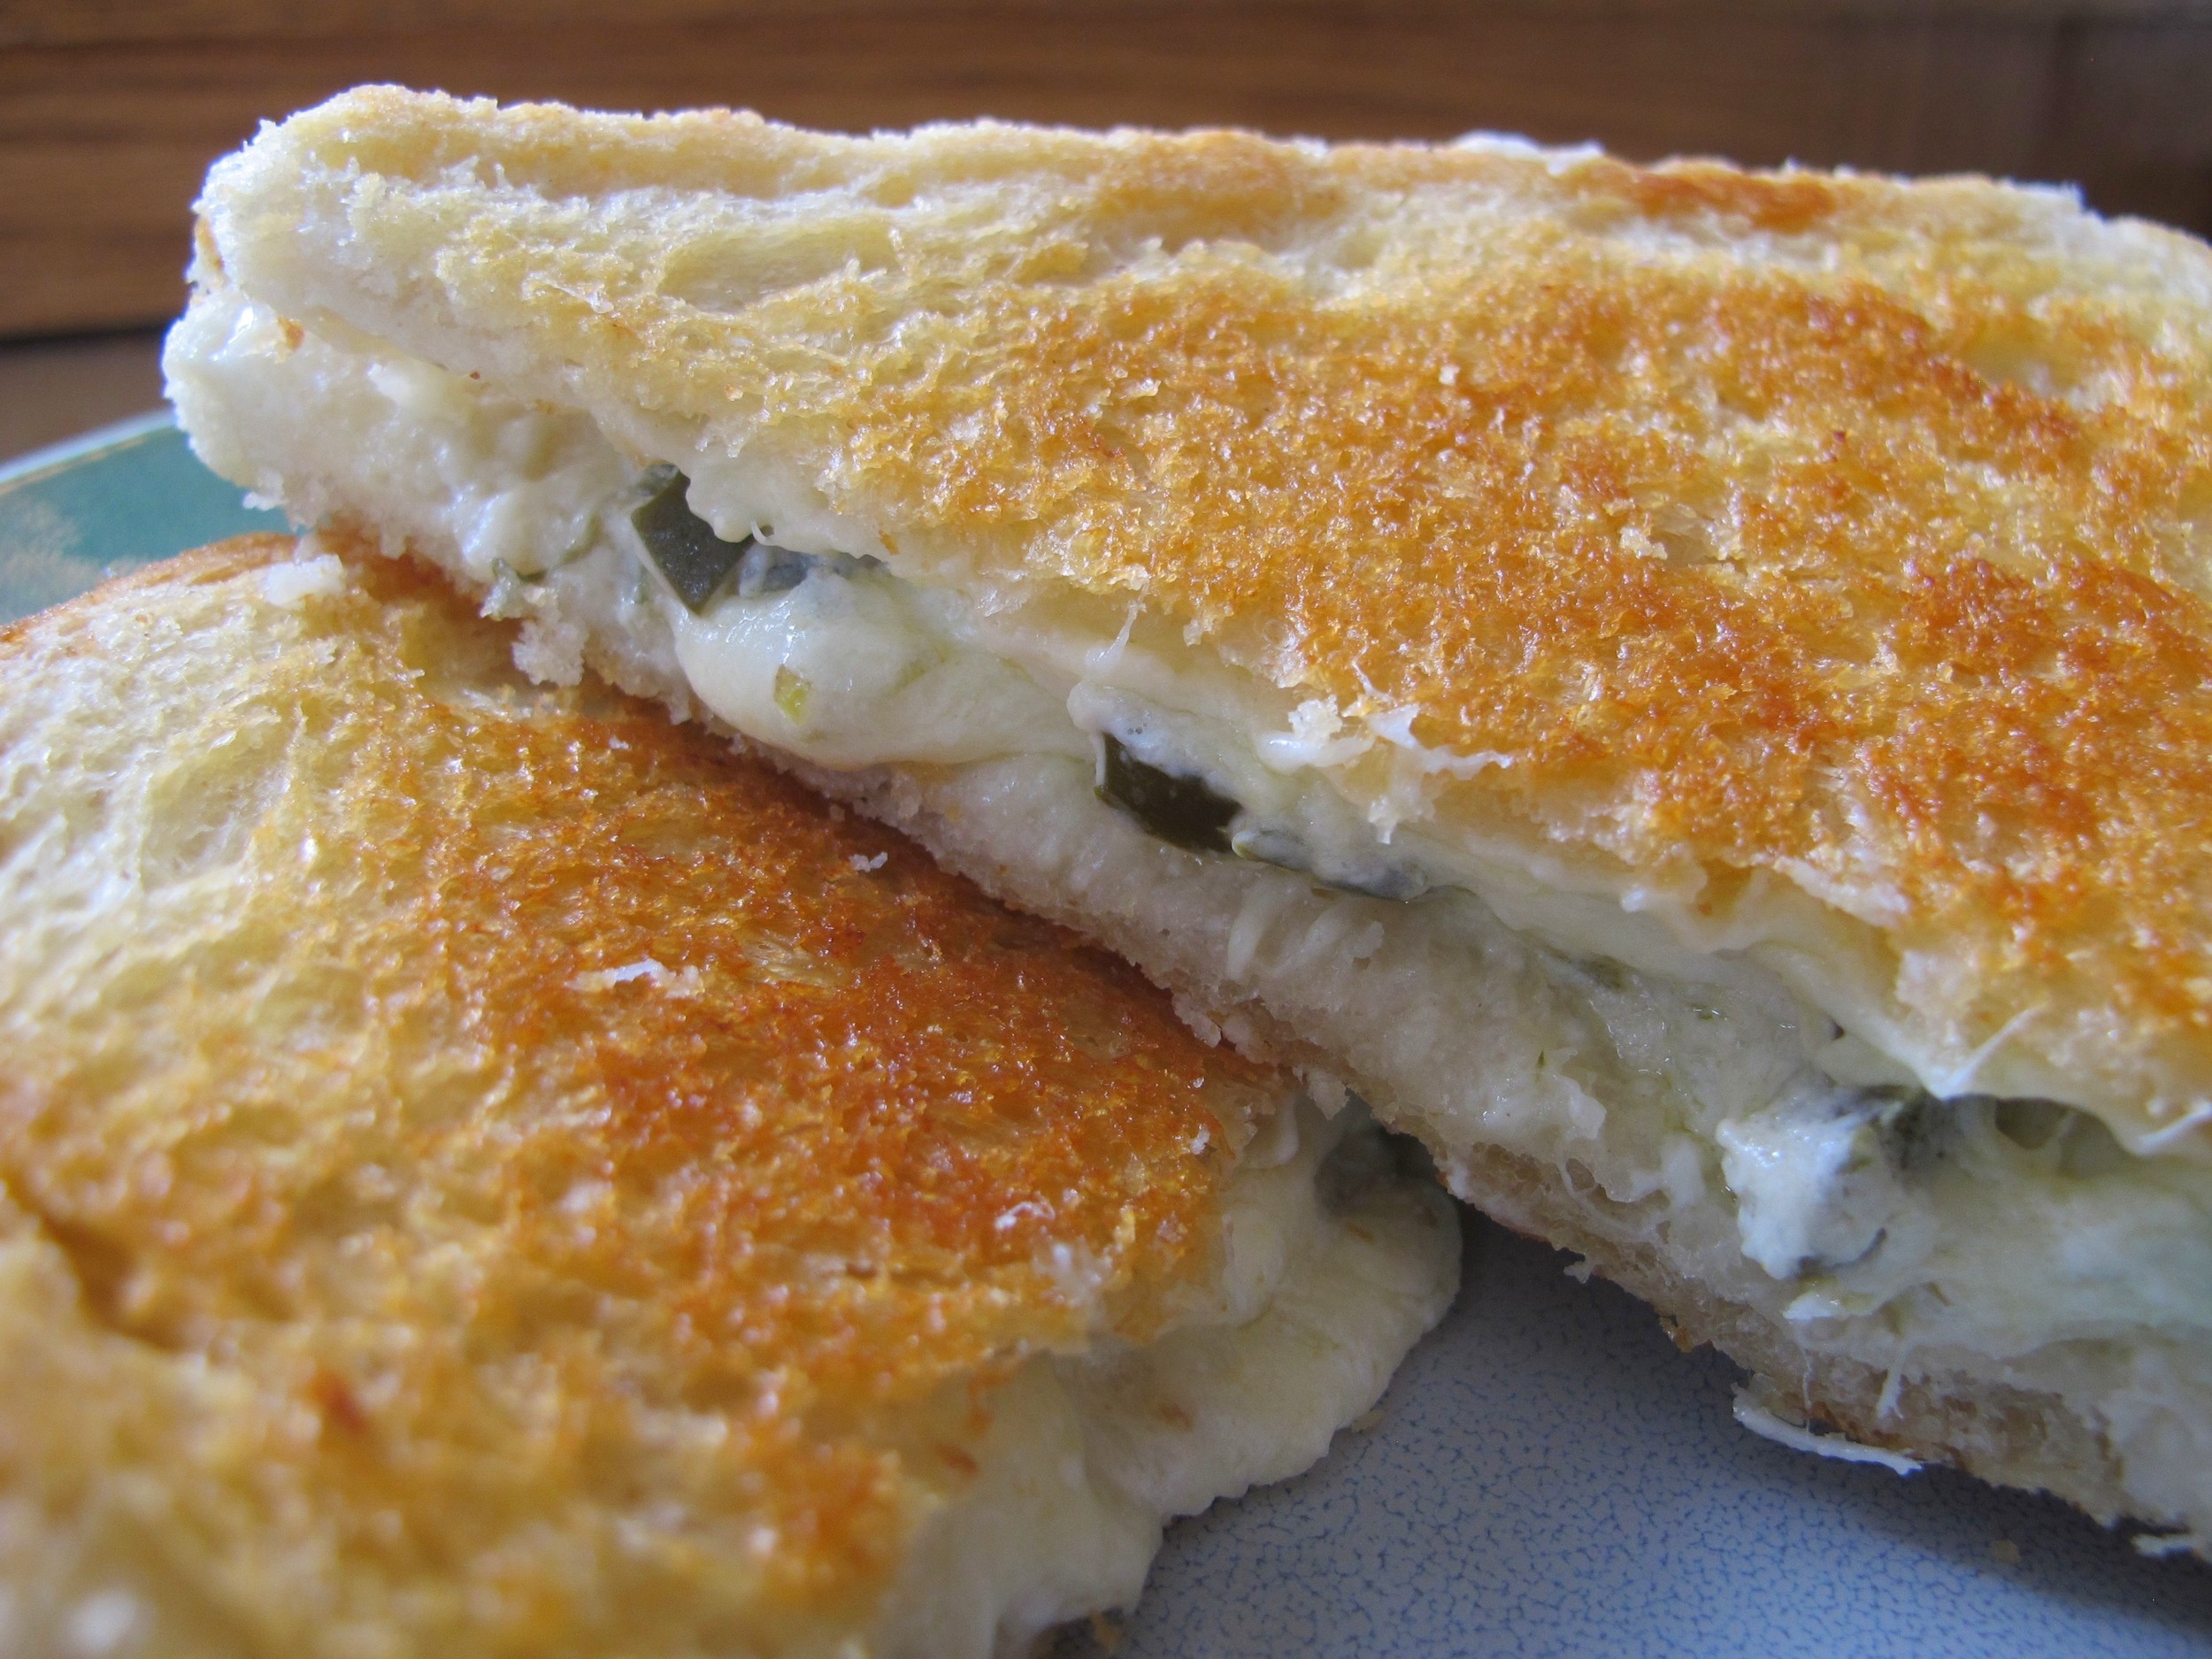
jalapeno grilled cheese sandwich

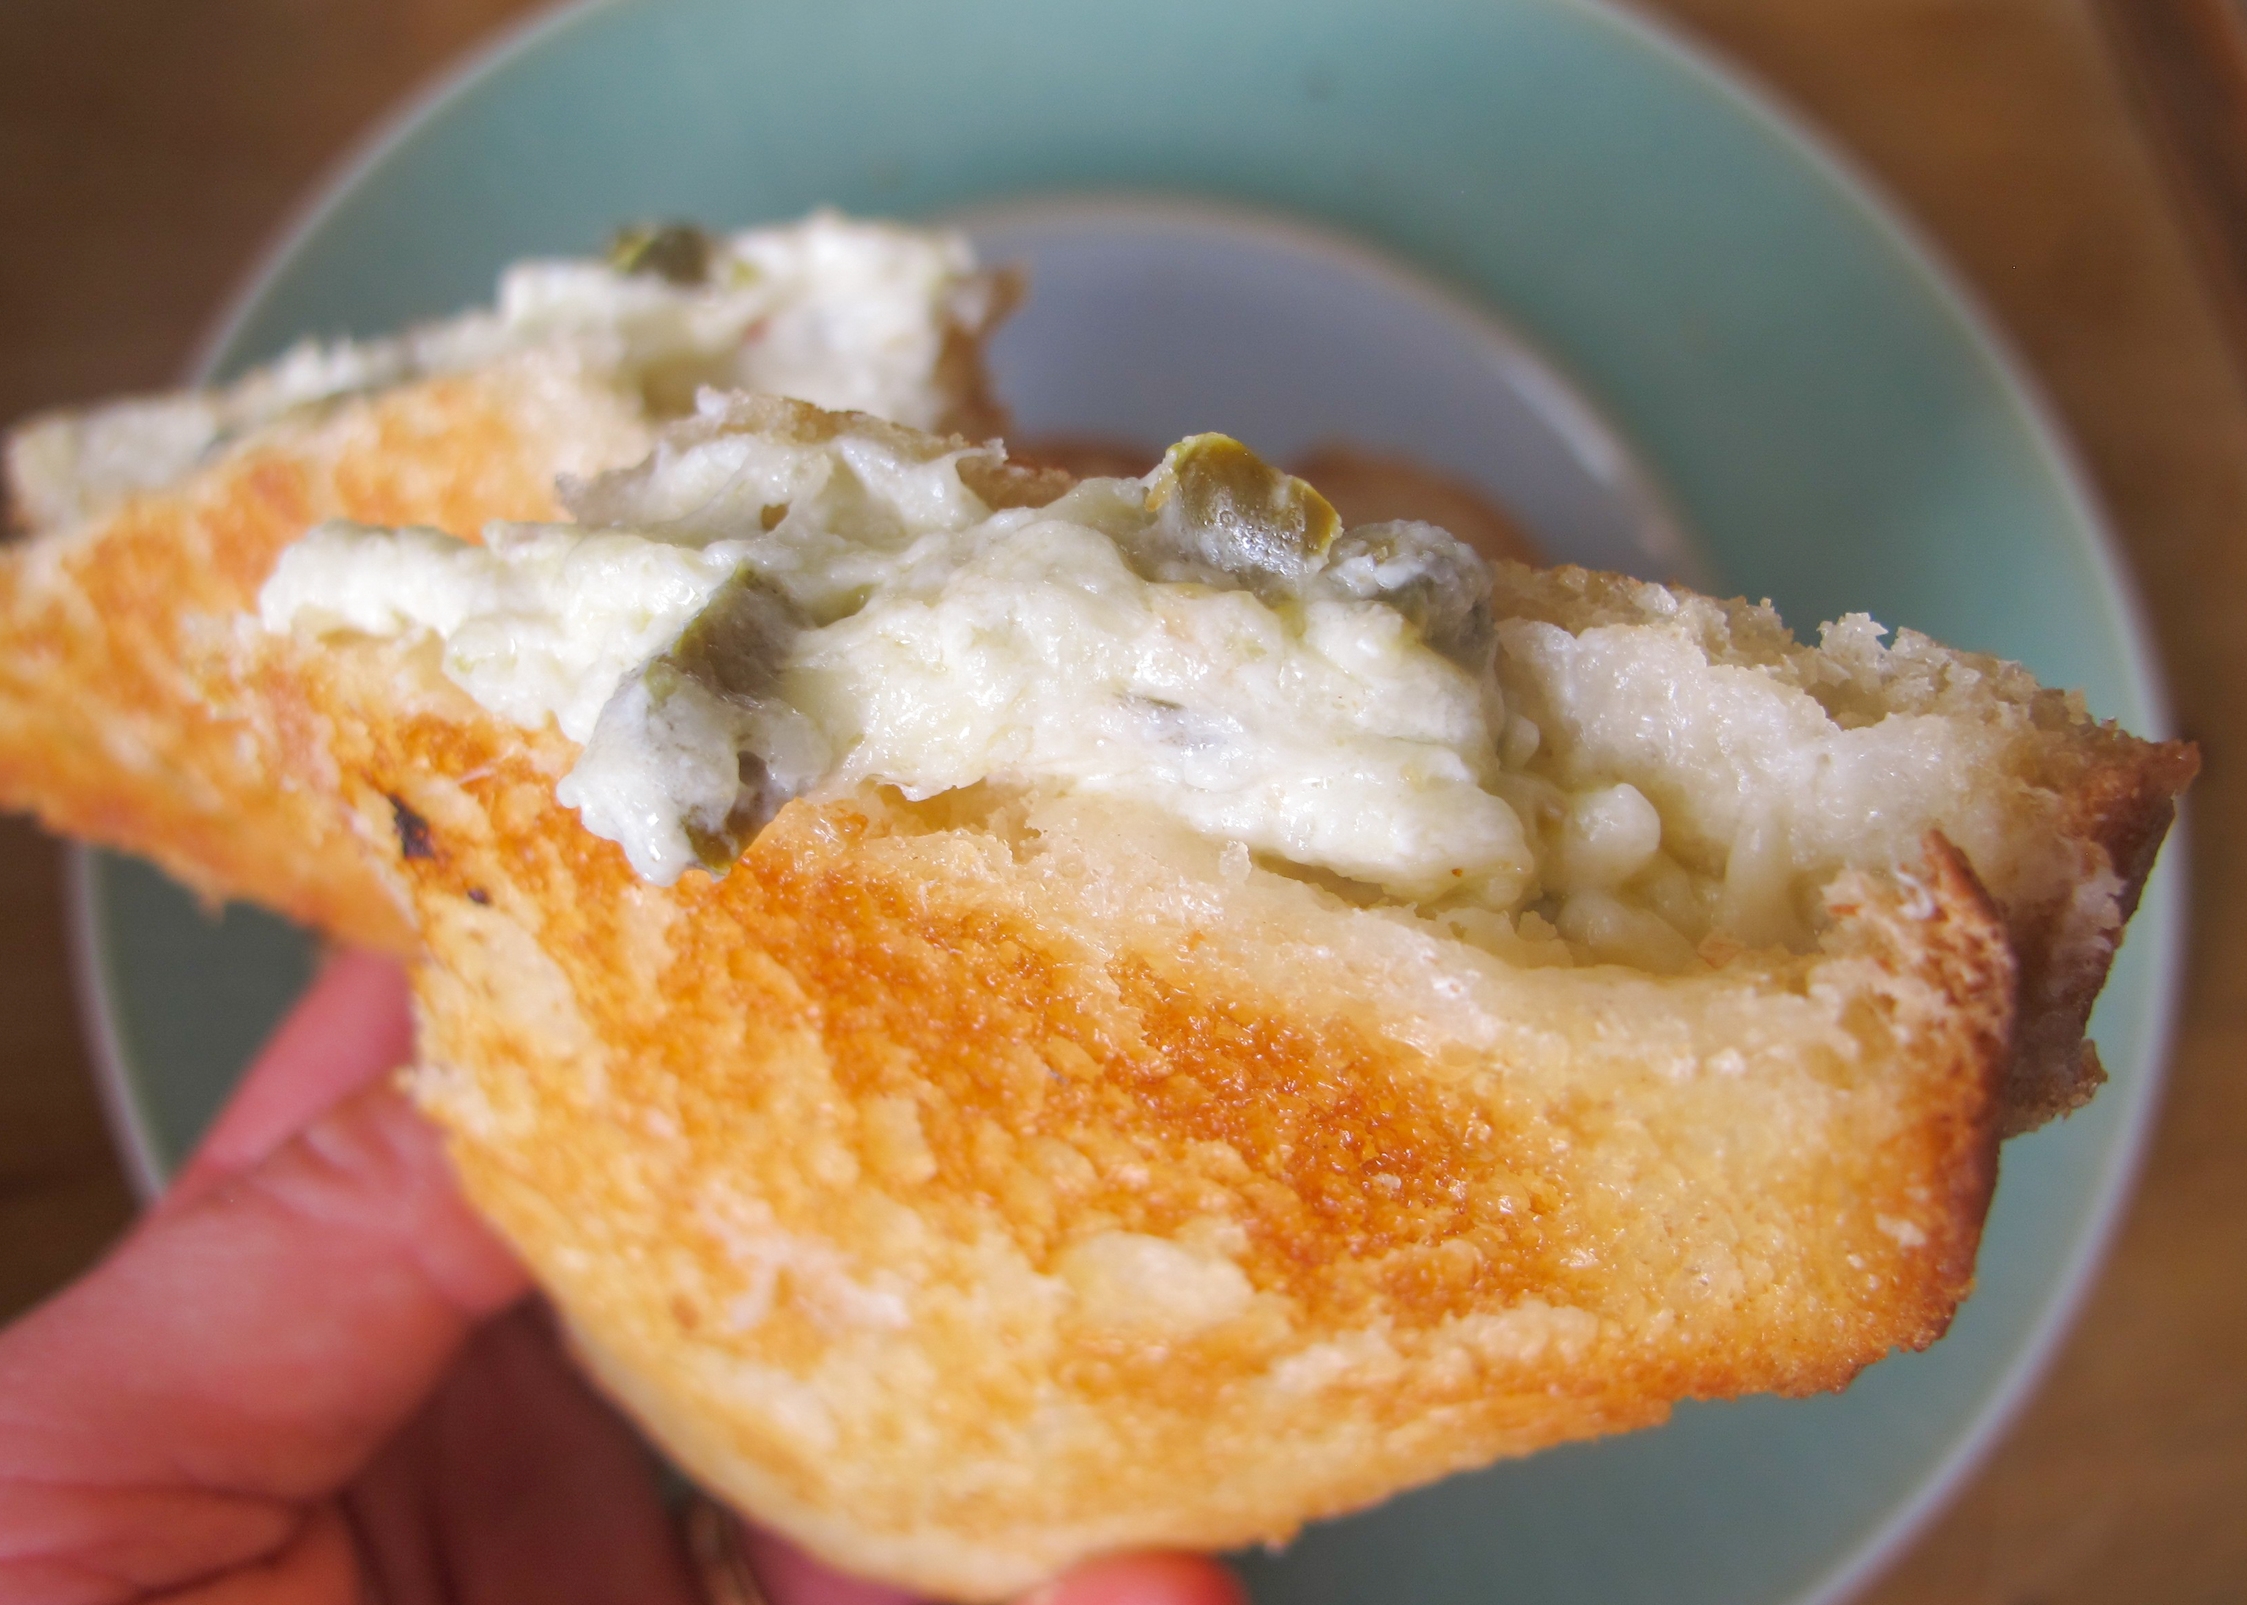
The magic of grilled cheese is found between the two slices of golden and toasted buttered bread - when the cheese oozes from the sides from each bite. Because I was serving these sandwiches an hour after they were cooked on the griddle, I wanted them to have a gooey texture, even when they were room temperature. Thanks to the combination of cream cheese and Monterey Jack cheese these maintained a melty and creamy texture when they were no longer hot. Served alongside the Bacon Jam and Cheddar Grilled Cheese Sandwiches and a refreshing Beet and Cucumber Salad, this slightly spicy, gooey sandwich was richly satisfying for a group of dedicated preschool parents. 

Notes: My jalapeños were extraordinarily spicy, so I deseeded them after roasting. When cooking for a group of people, I like to offer something a dish with a little bit of heat, but nothing too overwhelming. Be sure to taste your spicy peppers to gauge how much to add and what would be appropriate for your crowd.


Time: 1 hour
Servings: 4

1 8-oz package cream cheese
1 cup shredded Monterey Jack cheese
2 jalapeños
1 bunch green onions
1 tablespoon olive oil
1 teaspoon black pepper
Salt to taste
8 slices of white bread
Butter, room temperature

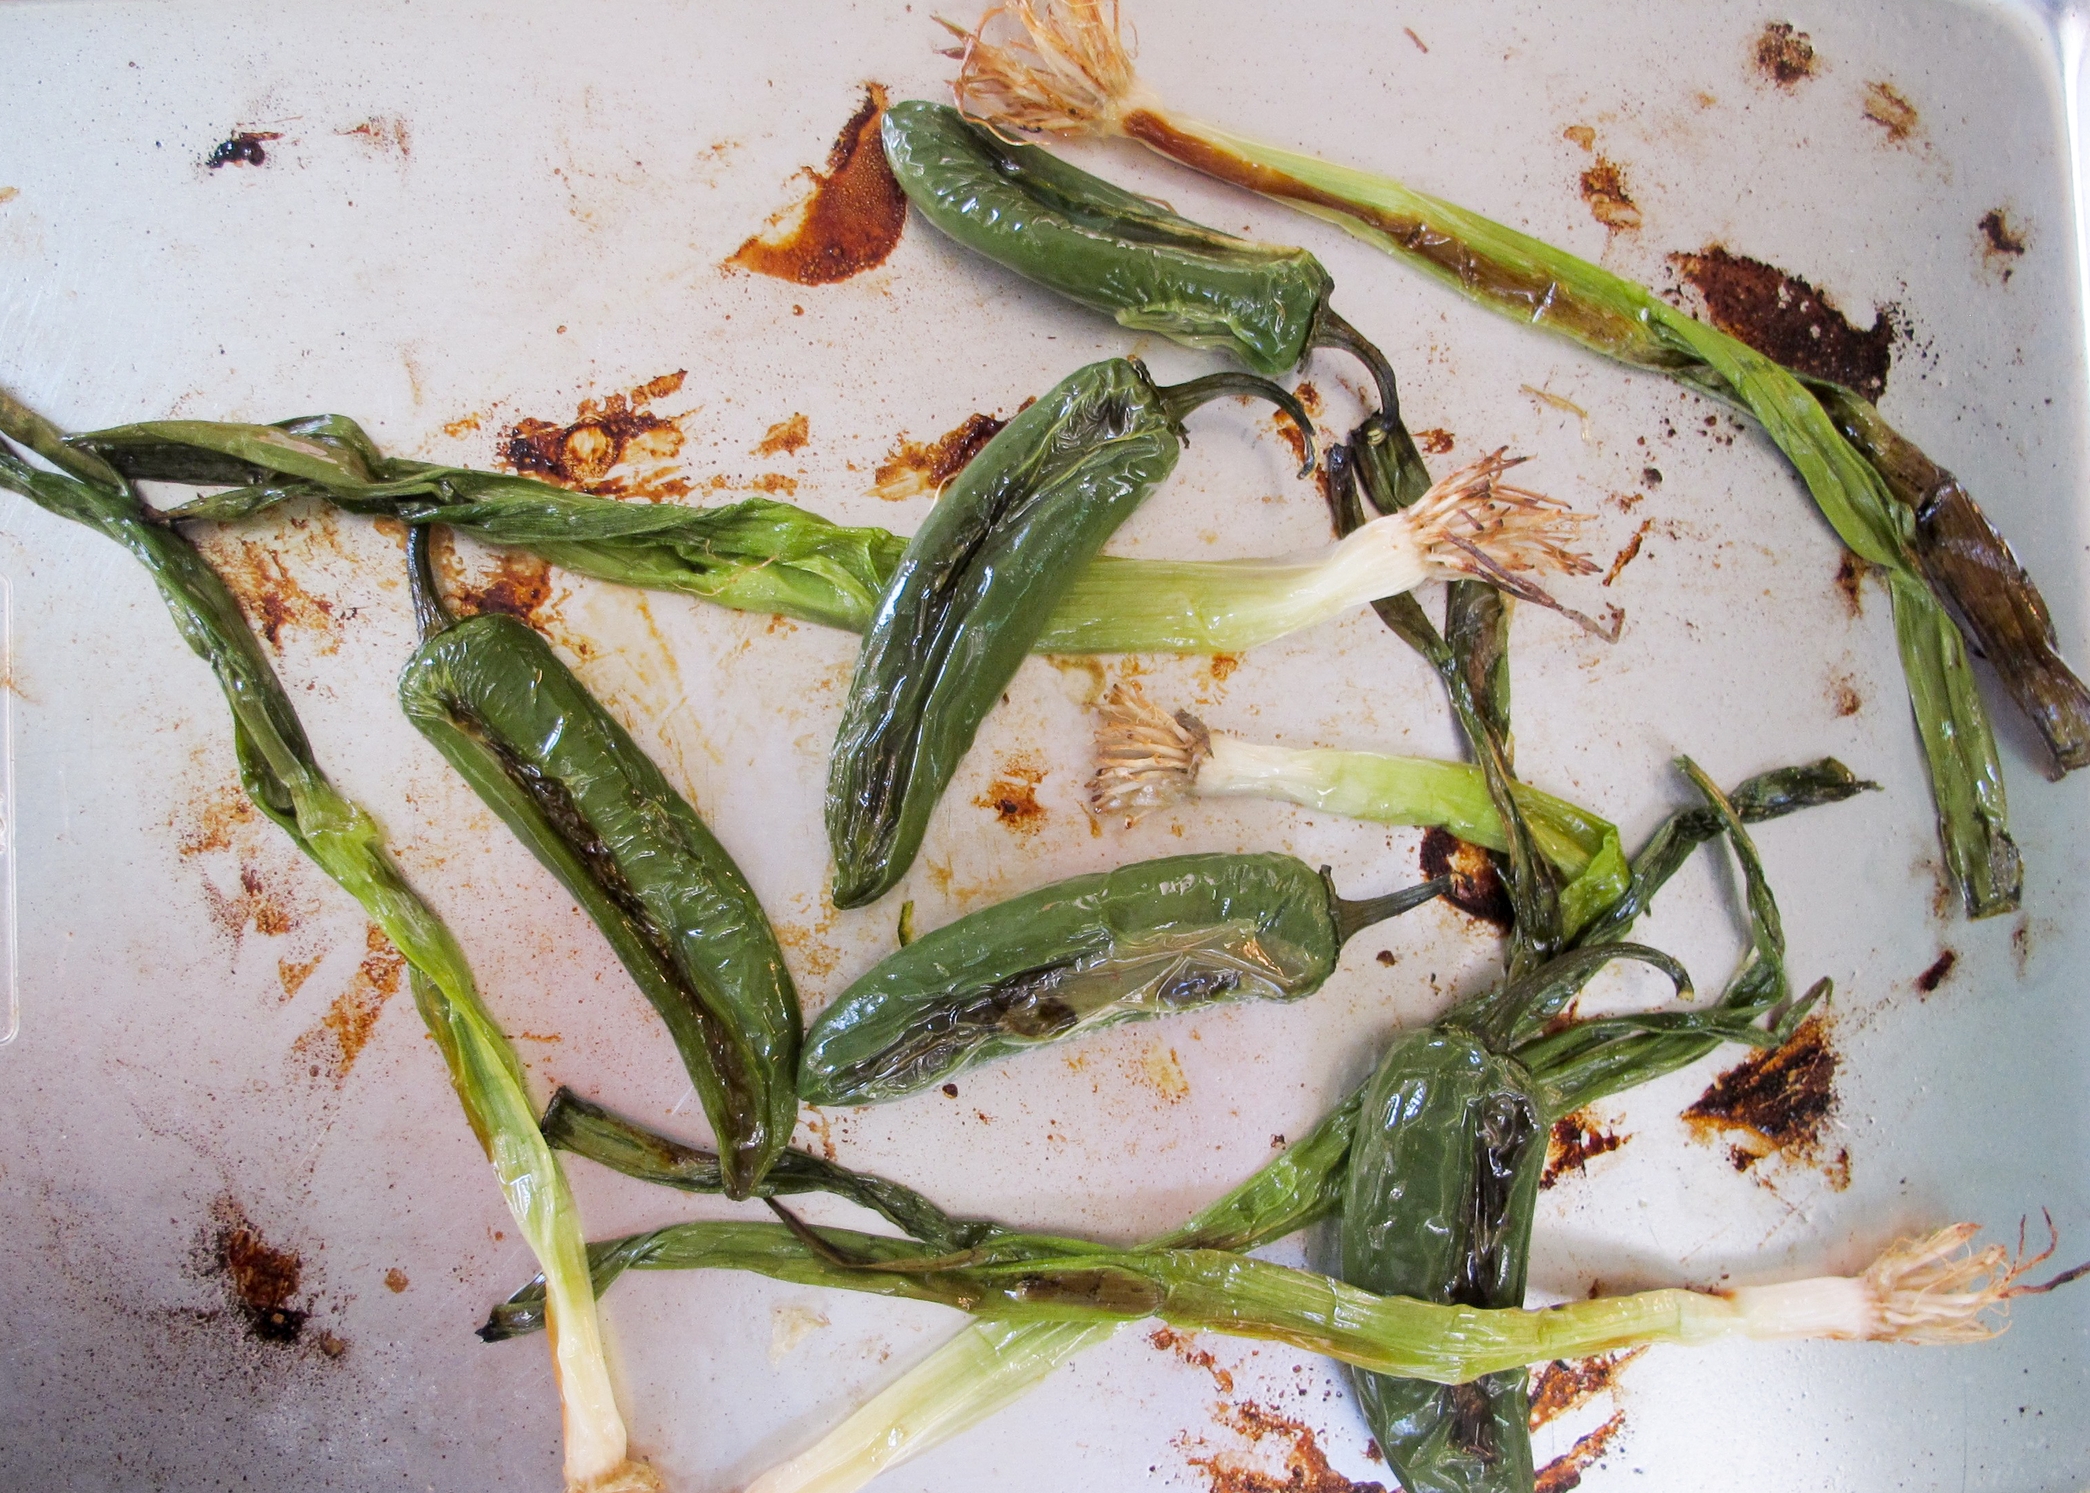
Preheat oven to 350 degrees. Coat jalapeños and green onions in olive oil and a sprinkling of salt and place on a baking pan. Roast jalapeños and green onions for 15-20 minutes until charred and softened. Set aside and allow to cool.

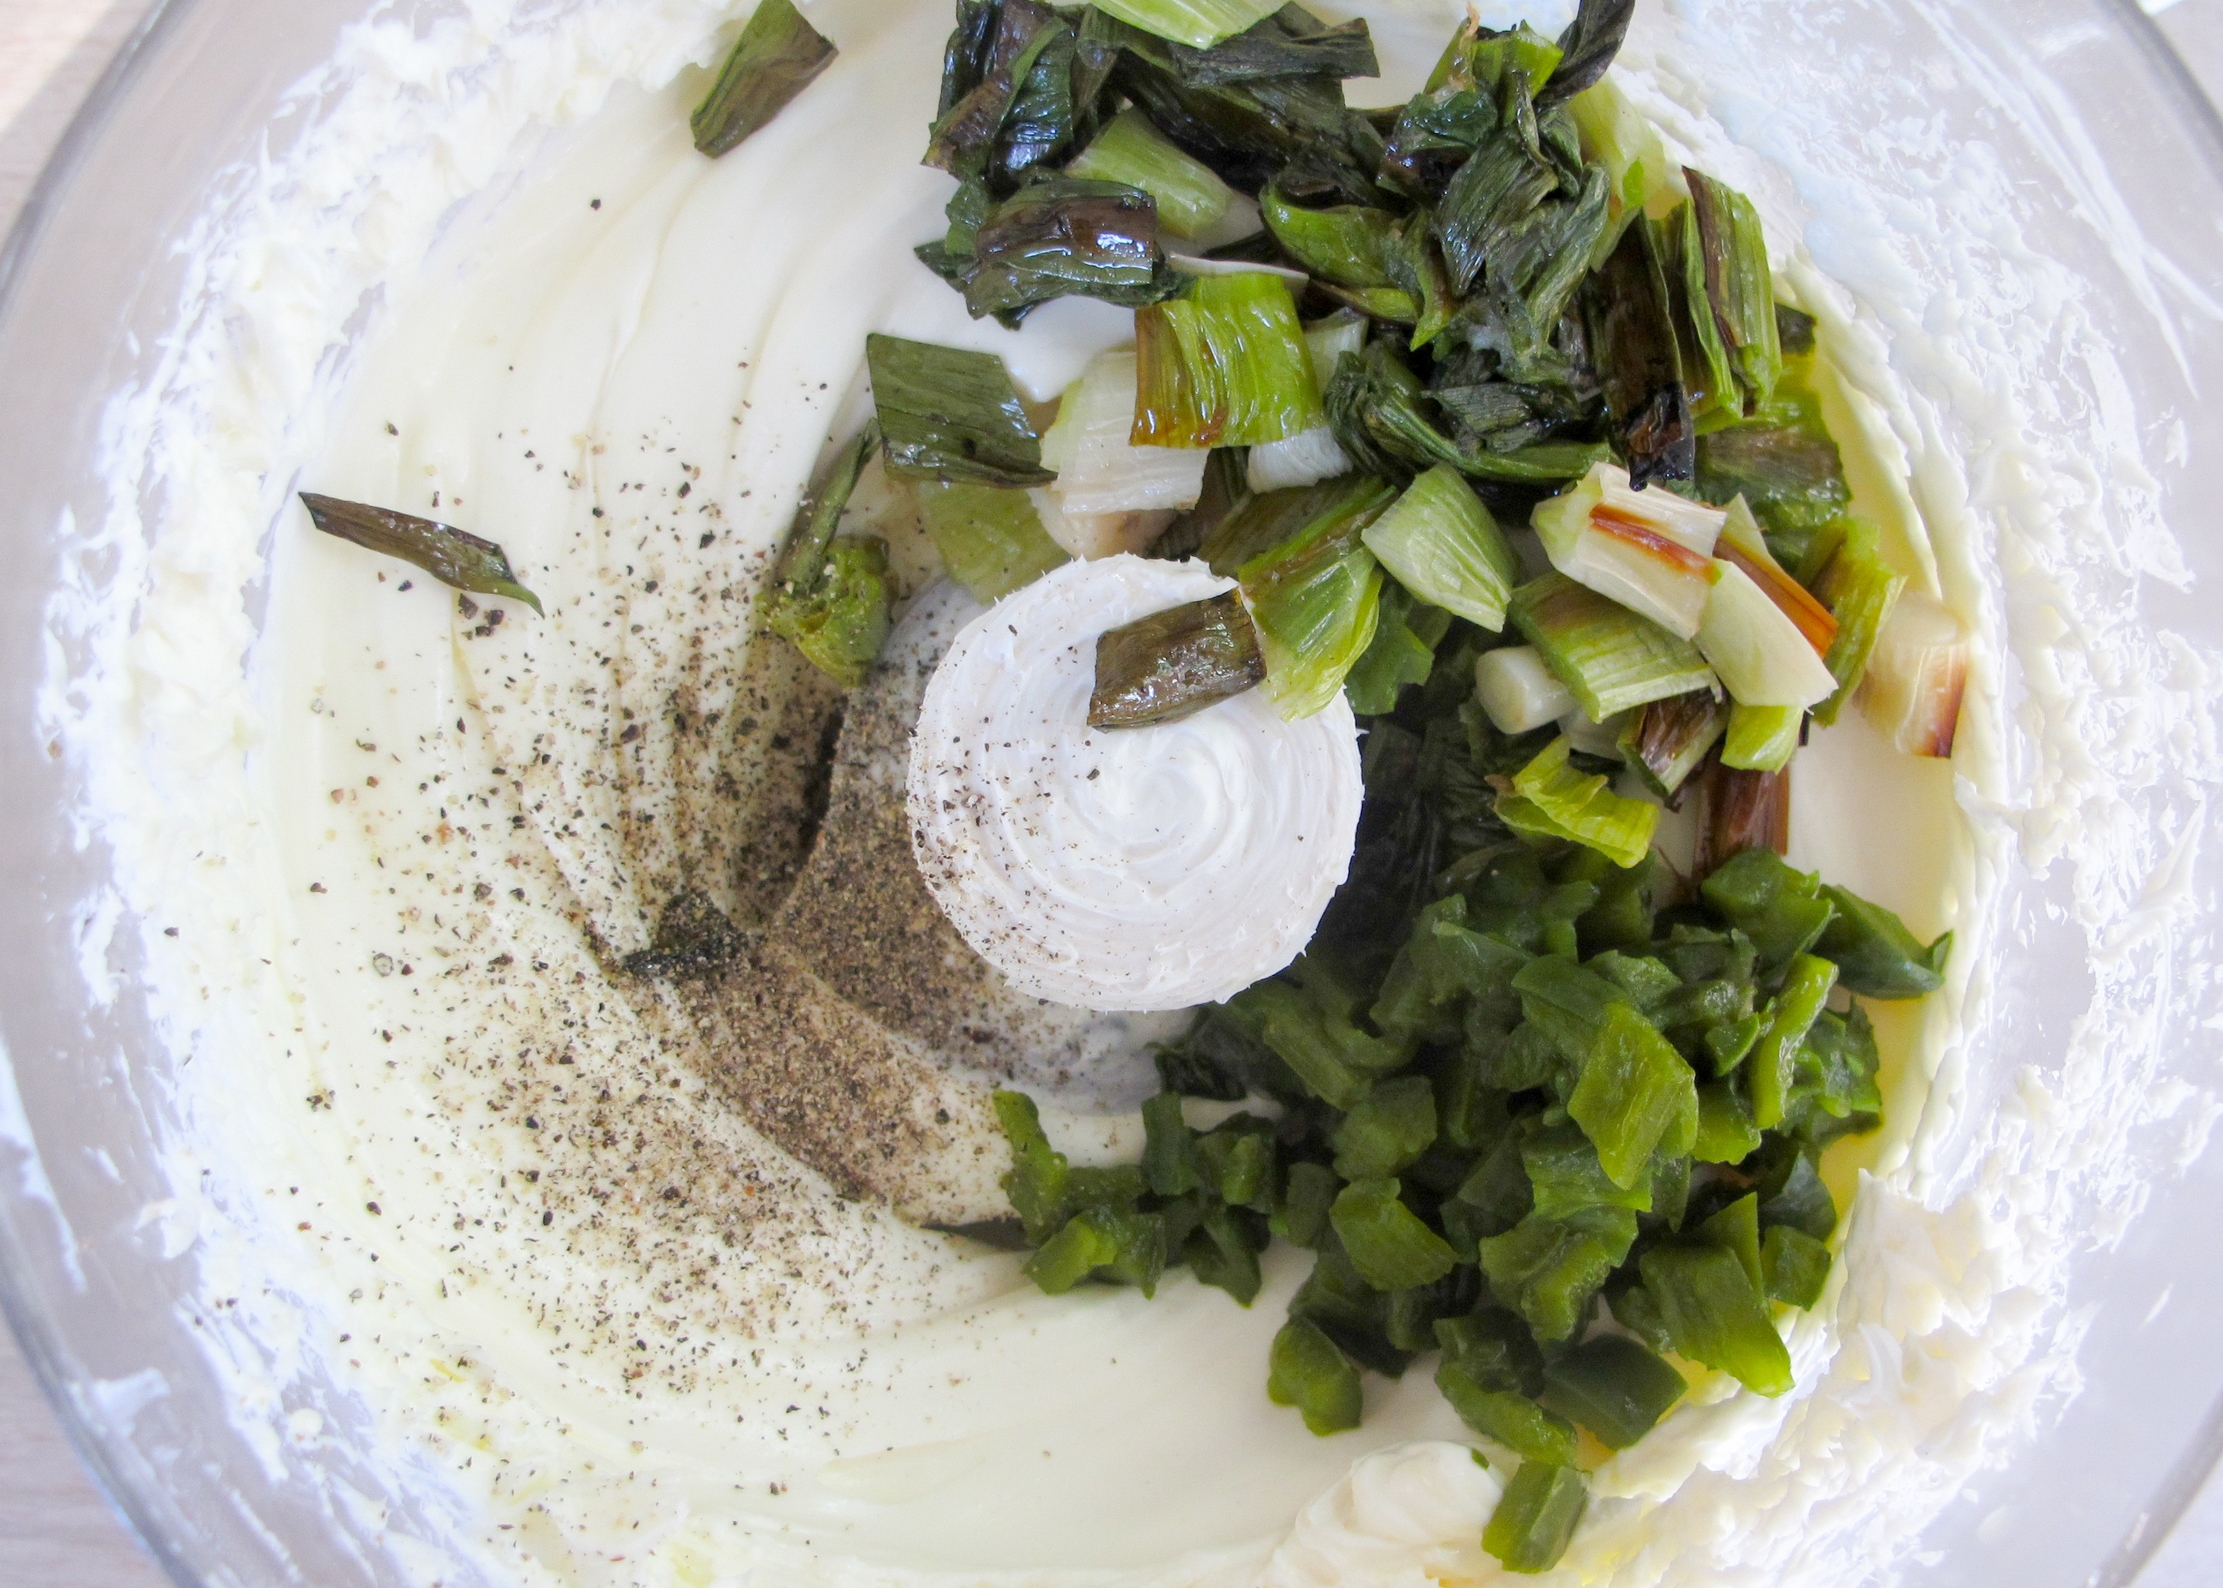
Meanwhile, shred cheese and set aside. Place cream cheese in a food processor with cooled and roughly chopped jalapeños and green onions, and black pepper. Pulse 10 times to combine and until jalapeños and green onions are finely minced. Add shredded cheese and pulse 5 times until combined but not paste-like.

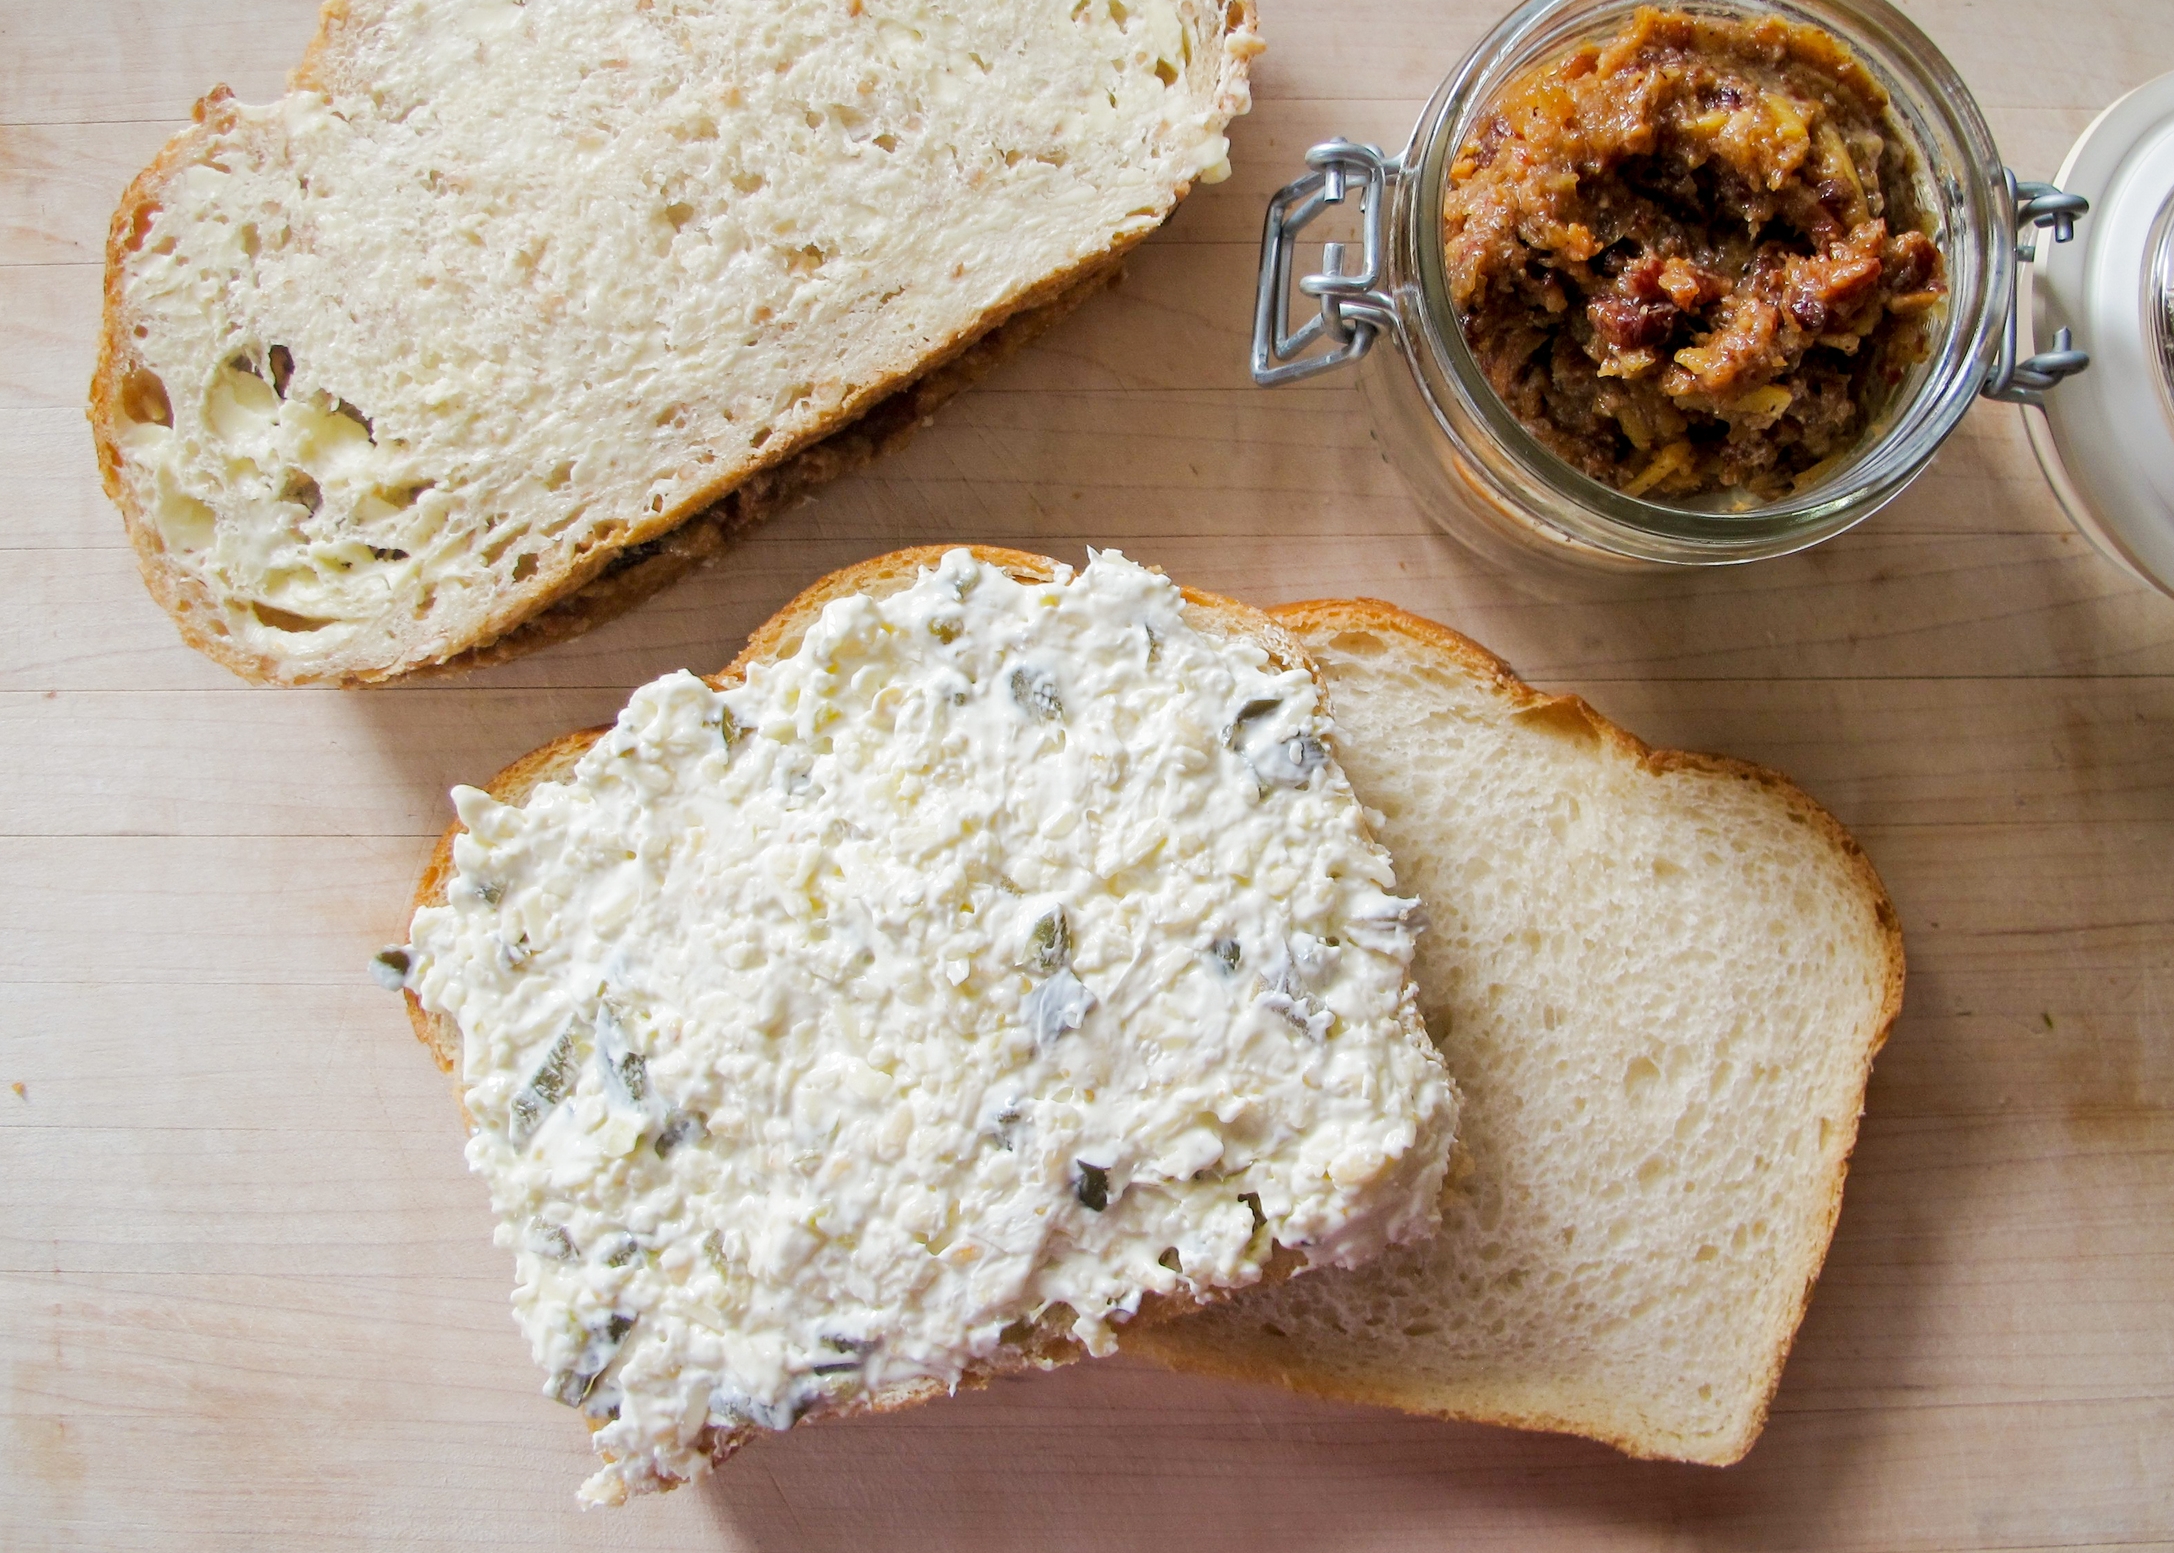
Heat a non-stick griddle to medium-high heat. Spread cheese mixture on a slice of bread, close with another piece of bread. Spread room temperature butter on both sides of the sandwich. Slap the sandwich down onto the griddle and wait for the heavens to sing, cooking about 4-6 minutes per side.

Red Velvet Cheesecake Brownies by Amy Cantu

Print Friendly and PDF
red velvet cheesecake brownies

Cynthia and I knew we wanted to make something “red velvet” for Valentine’s Day, but we weren’t sure what exactly. We brainstormed a long list of “red velvet” baked goods - cakes, cupcakes, mini bundt cakes, cookies, and moon pies - to name a few. The thought of these Red Velvet Cheesecake Brownies made us both simultaneously release a deep sigh and a moan. We knew immediately we had to eat these. I think there is already a cult-following for these Red Velvet Cheesecake Brownies, and I can certainly see why. They are moist, decadent, and ridiculously good. Seriously. They are addictive. You can halve this recipe, but honestly, you will end up making another batch anyway. Just make a full batch and share the love with your friends, family, co-workers, neighbors, or school staff. They will love you forever. And also help yourself to a second serving because you deserve it.

Adapted from Sally’s Baking Addiction.

Notes: What makes “red velvet” red is food coloring. The original recipe called for twice as much food coloring, but I found that 1 tablespoon of red gel food coloring was more than enough for a large batch. If you don’t like the idea of using food coloring, you can leave it out, and you will still have amazing cheesecake brownies instead. I use almond extract in this recipe, because I love the nutty, sweet flavor. You could use all vanilla extract instead, and you would have a more classic red velvet flavor.


Time: 1 hour (includes bake time)
Servings: 16

1 cup (2 sticks) unsalted butter, melted, plus extra to grease pan
2 cups granulated sugar
2 teaspoons vanilla extract
2 teaspoons almond extract
½ cup unsweetened cocoa powder
¼ teaspoon kosher salt
1 tablespoon gel or liquid red food coloring
1 ½ teaspoons white vinegar
4 large eggs, lightly beaten
1 ½ cups all-purpose flour
16 ounces cream cheese, softened
½ cup granulated sugar
2 egg yolks
1 teaspoon almond extract


Preheat the oven to 350 degrees F. Grease a 9x13 baking pan with butter or nonstick spray.

To make the brownie layer, whisk together melted butter, 2 cups sugar, 2 teaspoons vanilla extract, and 2 teaspoons almond extract in a medium mixing bowl, until well combined. Next add cocoa powder, salt, food coloring, and vinegar, mixing well after each addition. Whisk in the eggs, then fold in the flour until just mixed, with no dry spots - do not over beat. Pour the brownie batter into prepared baking pan, reserving ½ cup for the top.

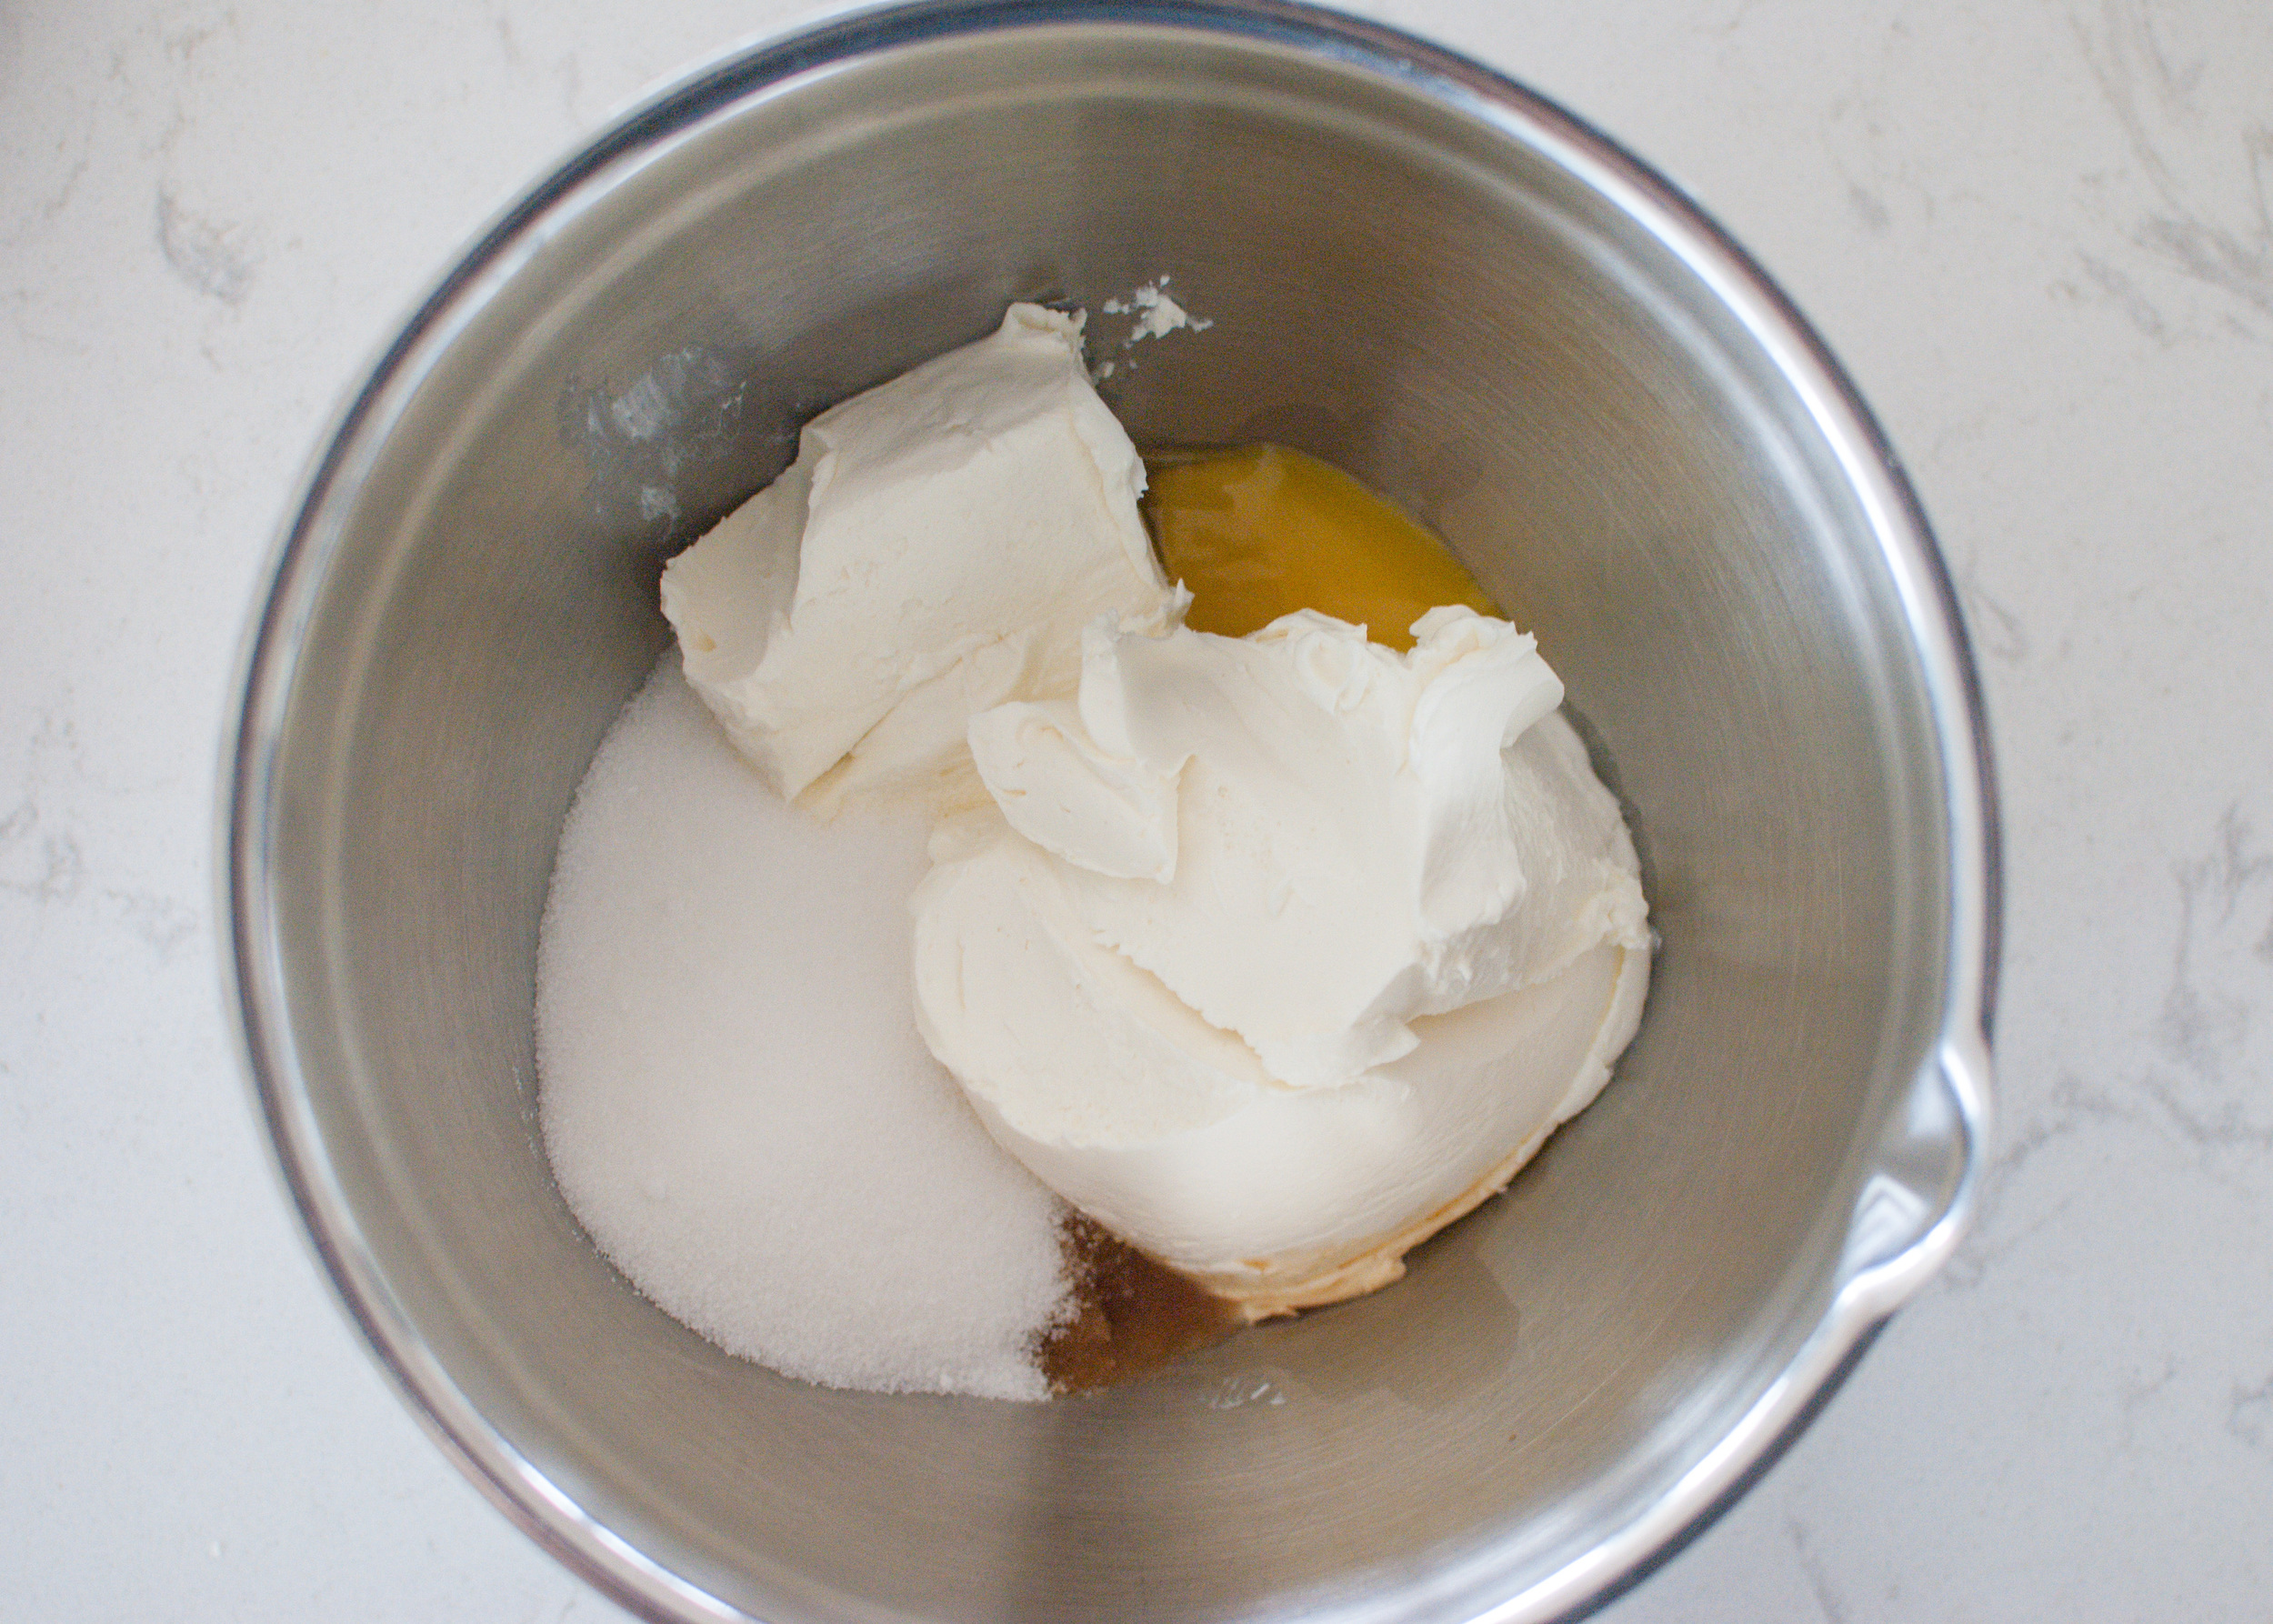
To make the cheesecake swirl, combine softened cream cheese, ½ cup sugar, egg yolks, and 1 teaspoon almond extract in a medium bowl. Use a hand-held mixer on medium speed to beat mixture until completely smooth - about 1 minute. Dollop large spoonfuls of the cream cheese mixture on top of the prepared brownie batter. Cover the cream cheese mixture with the remaining ½ cup brownie batter. Drag a knife through the layers, creating a swirl pattern.

Bake the brownies for about 40 minutes or until a toothpick inserted in the middle comes out clean. Allow the brownies to cool completely before cutting into squares. Cover brownies and store at room temperature for 3 days or in the refrigerator for up to 6 days. Brownies will freeze well, up to 2 months. Thaw overnight in the refrigerator.

All-Purpose Cornbread by Cynthia Raub

Print Friendly and PDF
cornbread

Cornbread is what happens when my two favorite things: corn and bread, get a little crazy - one thing leads to another, and 25 minutes later . . . they make a baby. A crumbly, slightly sweet, and aromatic baby. A cornbread baby that begs for a pat of butter or a drizzle of honey on it’s warm browned top. The variations in cornbread can make one dizzy. People get crazed and lose their minds when it comes to the “right” or “best” way to make it. Street brawls, wars, divorces . . . sadly, all started by disagreements over cornbread. And if I’ve learned anything in life, it’s to avoid the following topics for the sake of polite conversation: religion, politics, and you guess it, cornbread. When Amy said she was making Chicken Chili, I grabbed the basic pantry items for this recipe, got pants on my kids, and drove to her house to cook and eat. This cornbread was the perfect unfussy accompaniment to her tomato-y chili.

Notes: This is a solid recipe for a basic and uncomplicated cornbread that will not let you down. Pureeing (fresh, frozen or canned) corn kernels into the wet ingredients will give you the distinct flavor you won’t get from cornmeal alone, and a sweetness that honey cannot replicate. According to Cook’s Illustrated, this recipe calls for the cornbread to be cooked at a high temperature in a regular baking pan to produce a crunchy, toasted crust. If you’re a cast-iron skillet for everything (especially cornbread) type, you can ratchet down the temperature for this recipe since the skillet will produce a golden crust with less heat.

Yes, this recipe calls for a stick of butter. But it’s not like you’re going to eat the whole pan by yourself, right? Right . . . ? OK, even if you do eat the whole pan by yourself, (Go you! Now THAT’S commitment!) just remember that chewing and breathing burns calories too. You're a winner and don't let anyone tell you otherwise.


SEE MORE: The Shared Chili


Servings: 8"x8" pan
Time: 45 minutes

Cook's Illustrated All-Purpose Cornbread

Ingredients:
1 1/2 cups unbleached all-purpose flour
1 cup yellow cornmeal
2 teaspoon baking powder
1/4 teaspoon baking soda
3/4 teaspoon table salt
1/4 cup packed light brown sugar
3/4 cup frozen corn kernels, thawed
1 cup buttermilk
2 large eggs
8 tablespoons (1 stick) unsalted butter, melted and cooled slightly

Directions:
Preheat oven to 400 degrees, adjust oven rack to the middle position. Butter an 8-inch square baking dish or cake round, set aside.

Whisk flour, cornmeal, baking powder, baking soda, and salt in a large bowl until combined.

In a food processor or blender, process brown sugar, thawed corn kernels, and buttermilk until combined, about 5 pulses. Add eggs to the wet mixture and process until combined (corn pieces will remain), about 5 more pulses.

Make a well in the center of the dry ingredients; pour wet ingredients into the well. Fold dry ingredients into wet, mixing until barely incorporated. Add melted butter and continue folding until the dry ingredients are moistened.

Pour batter into prepared baking dish, smooth surface with a rubber spatula.

Bake for 25-35 minutes until golden brown, and toothpick inserted in the center comes out clean. Slice and enjoy!

Adapted From: Cook's Illustrated

Meatballs with Tomato Sauce and Polenta by Amy Cantu

Print Friendly and PDF
Meatballs with Tomato Sauce and Polenta

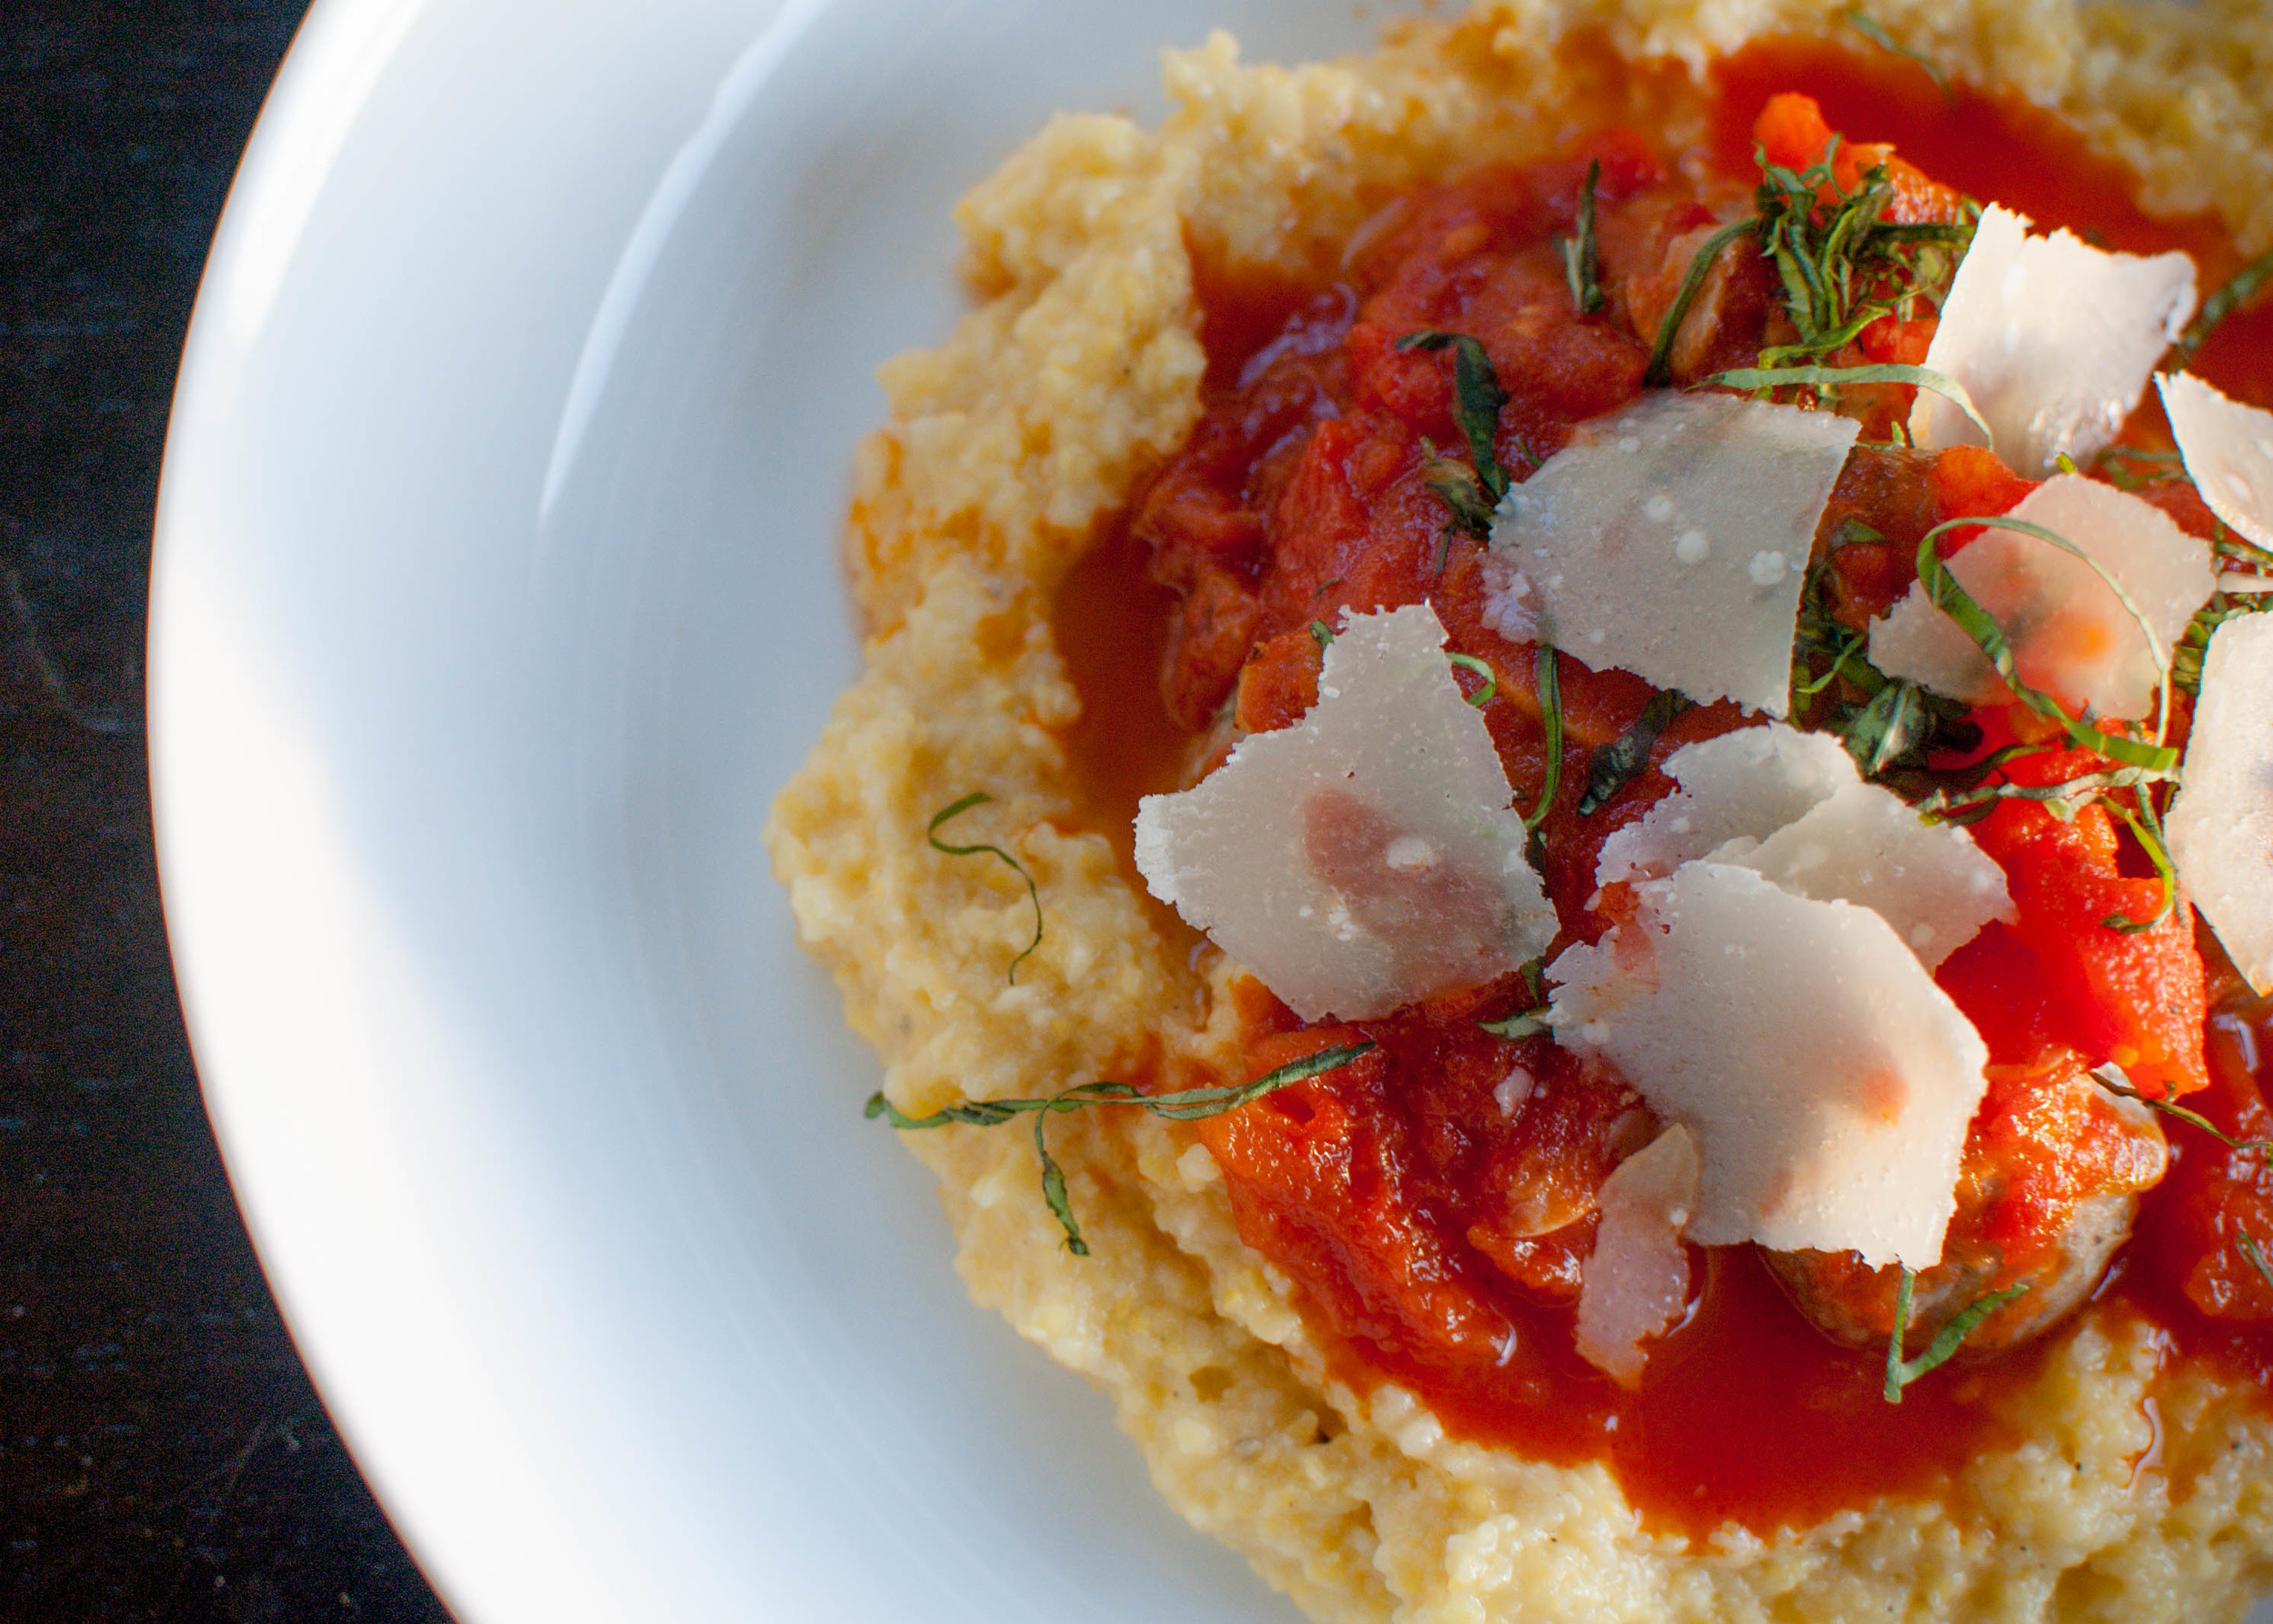
We were out of town for two weeks over the holidays, visiting family and friends. So when we returned home an hour before dinnertime, I stared into the cavernous empty fridge and let out a loud groan. Ugggghhh. What are we going to eat?! I started freezer diving, and when I came up for air, I bestowed upon my family the bag of frozen meatballs from Cynthia! (Cue angels singing and bright spotlight on the frozen meatballs.) I fished out a bag of polenta and a can of tomatoes from the pantry, and dinner was on its way. While the meatballs and polenta baked in the oven, I stirred together a simple tomato sauce on the stove. Within an hour, we enjoyed creamy, parmesan polenta, crowned with savory meatballs bathed in a simple tomato sauce. I gave myself a pat on the back, and whispered a silent thank you to Cynthia. Voila! Dinner is served!

Notes: Cynthia's recipe for Swedish Meatballs are spiced mildly enough that when combined with the tomato sauce and polenta, the dish tastes decidedly more Italian than Swedish. If you are starting from scratch and using Cynthia's recipe, you can substitute 1 teaspoon dried oregano for the allspice and nutmeg. Or, feel free to use your own meatball recipe here.  To make this an easy vegetarian meal, serve the polenta topped with a runny, fried egg and the tomato sauce - yum!


Time: 50 minutes

Serves: 4

20 small meatballs, Cynthia's or your own recipe
1 recipe Simple Tomato Sauce (recipe below)
1 recipe Baked Polenta (recipe below)
Parmesan cheese, grated (optional garnish)
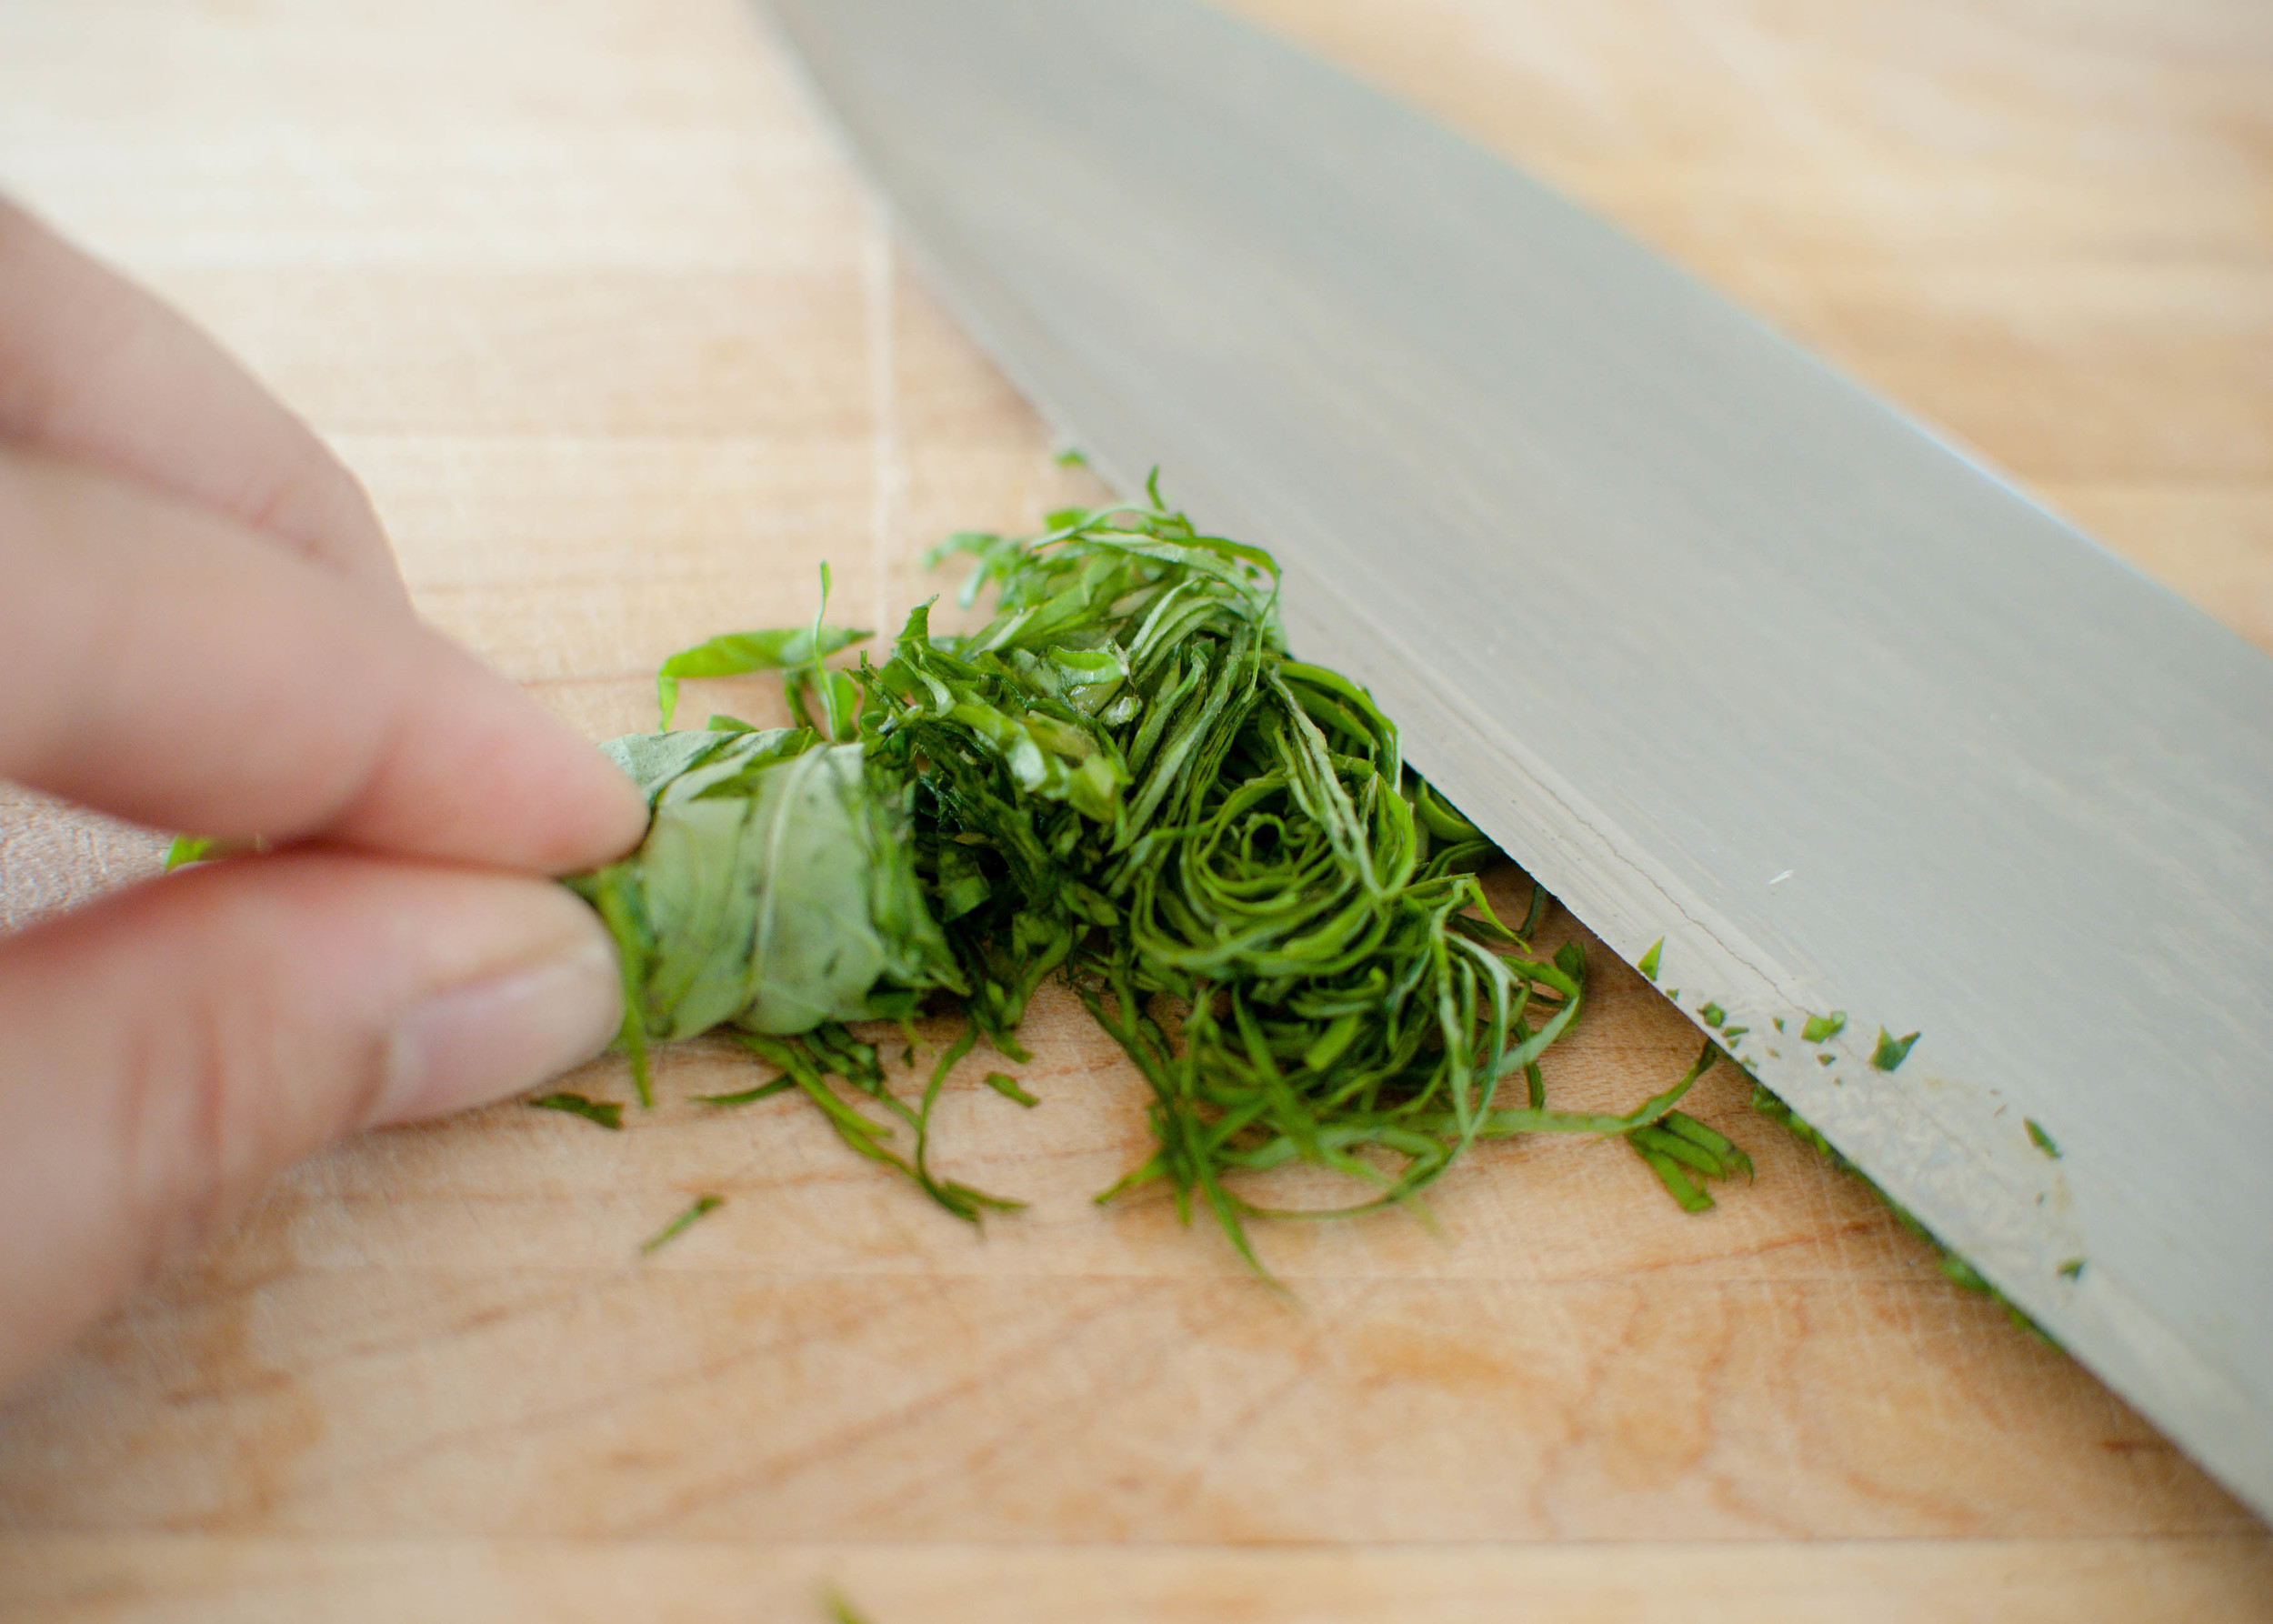
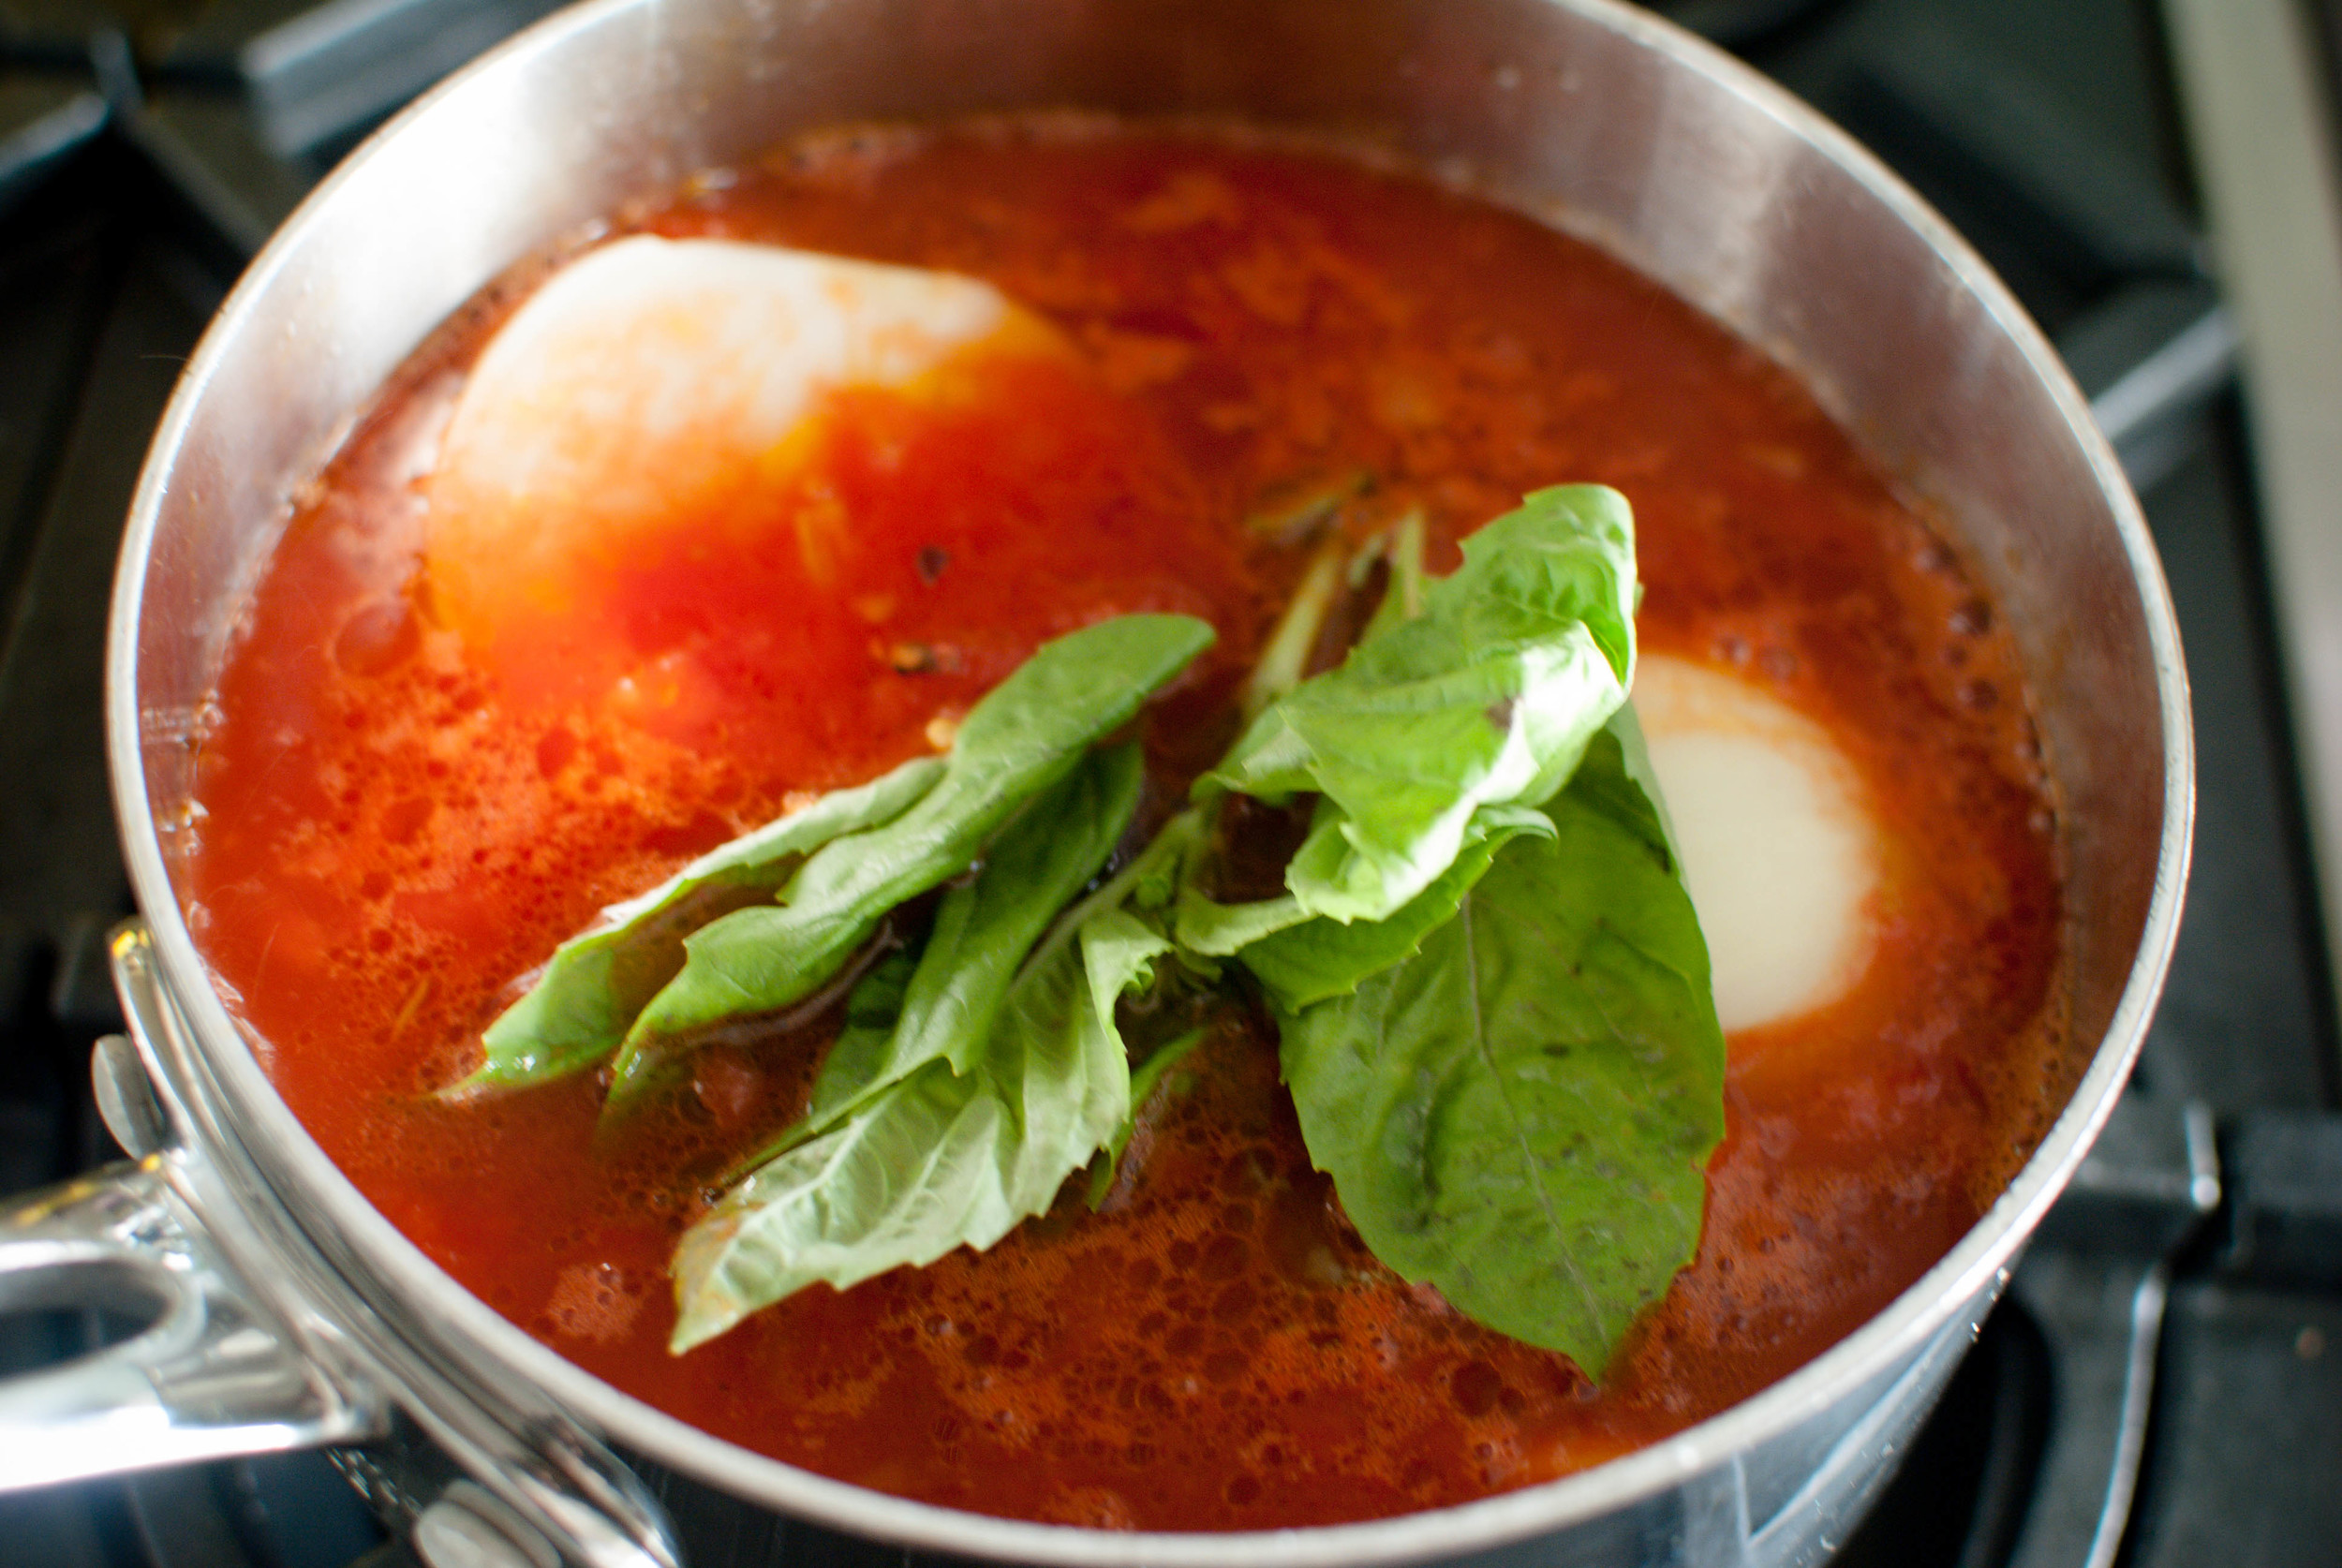
Fresh basil, chiffonade/thinly sliced into ribbons (optional garnish - see photo below)

Preheat oven to 350 degrees. I baked Cynthia’s frozen raw meatballs on a sheet pan, alongside the polenta for the last 35 minutes of cooking. The meatballs were shaped on the smaller side, so make sure to test that your meatballs are cooked through by splitting one open. You could also simmer the meatballs in the tomato sauce, while the polenta is baking in the oven.

Spoon polenta into four shallow bowls. Top polenta with meatballs and tomato sauce. Sprinkle with grated parmesan and basil, if using.

Simple Tomato Sauce

Developed from here and here.

Notes: This is a simple sauce that can be made on the fly with items from your pantry. I like the sweet, subtle anise flavor of fresh basil in this sauce, but if you don’t have any in the house, substitute dried oregano, which will give it a more Italian-American flavor. Dried basil tends to have a flat, dusty flavor, so I prefer dried oregano.

Taking an extra minute to hand-crush canned whole tomatoes (as opposed to already crushed or diced tomatoes), will give your sauce better flavor. The best tomatoes go into cans of whole tomatoes, while the inferior tomatoes get diced up or crushed.

The onion in this recipe is used for flavor and then removed once the sauce is cooked. This leaves you with a rich tomato sauce infused with onion flavor and a nice texture. You can save the onions for something else (they would be delicious alongside pan-seared chicken or roasted meat), or serve them on the side.
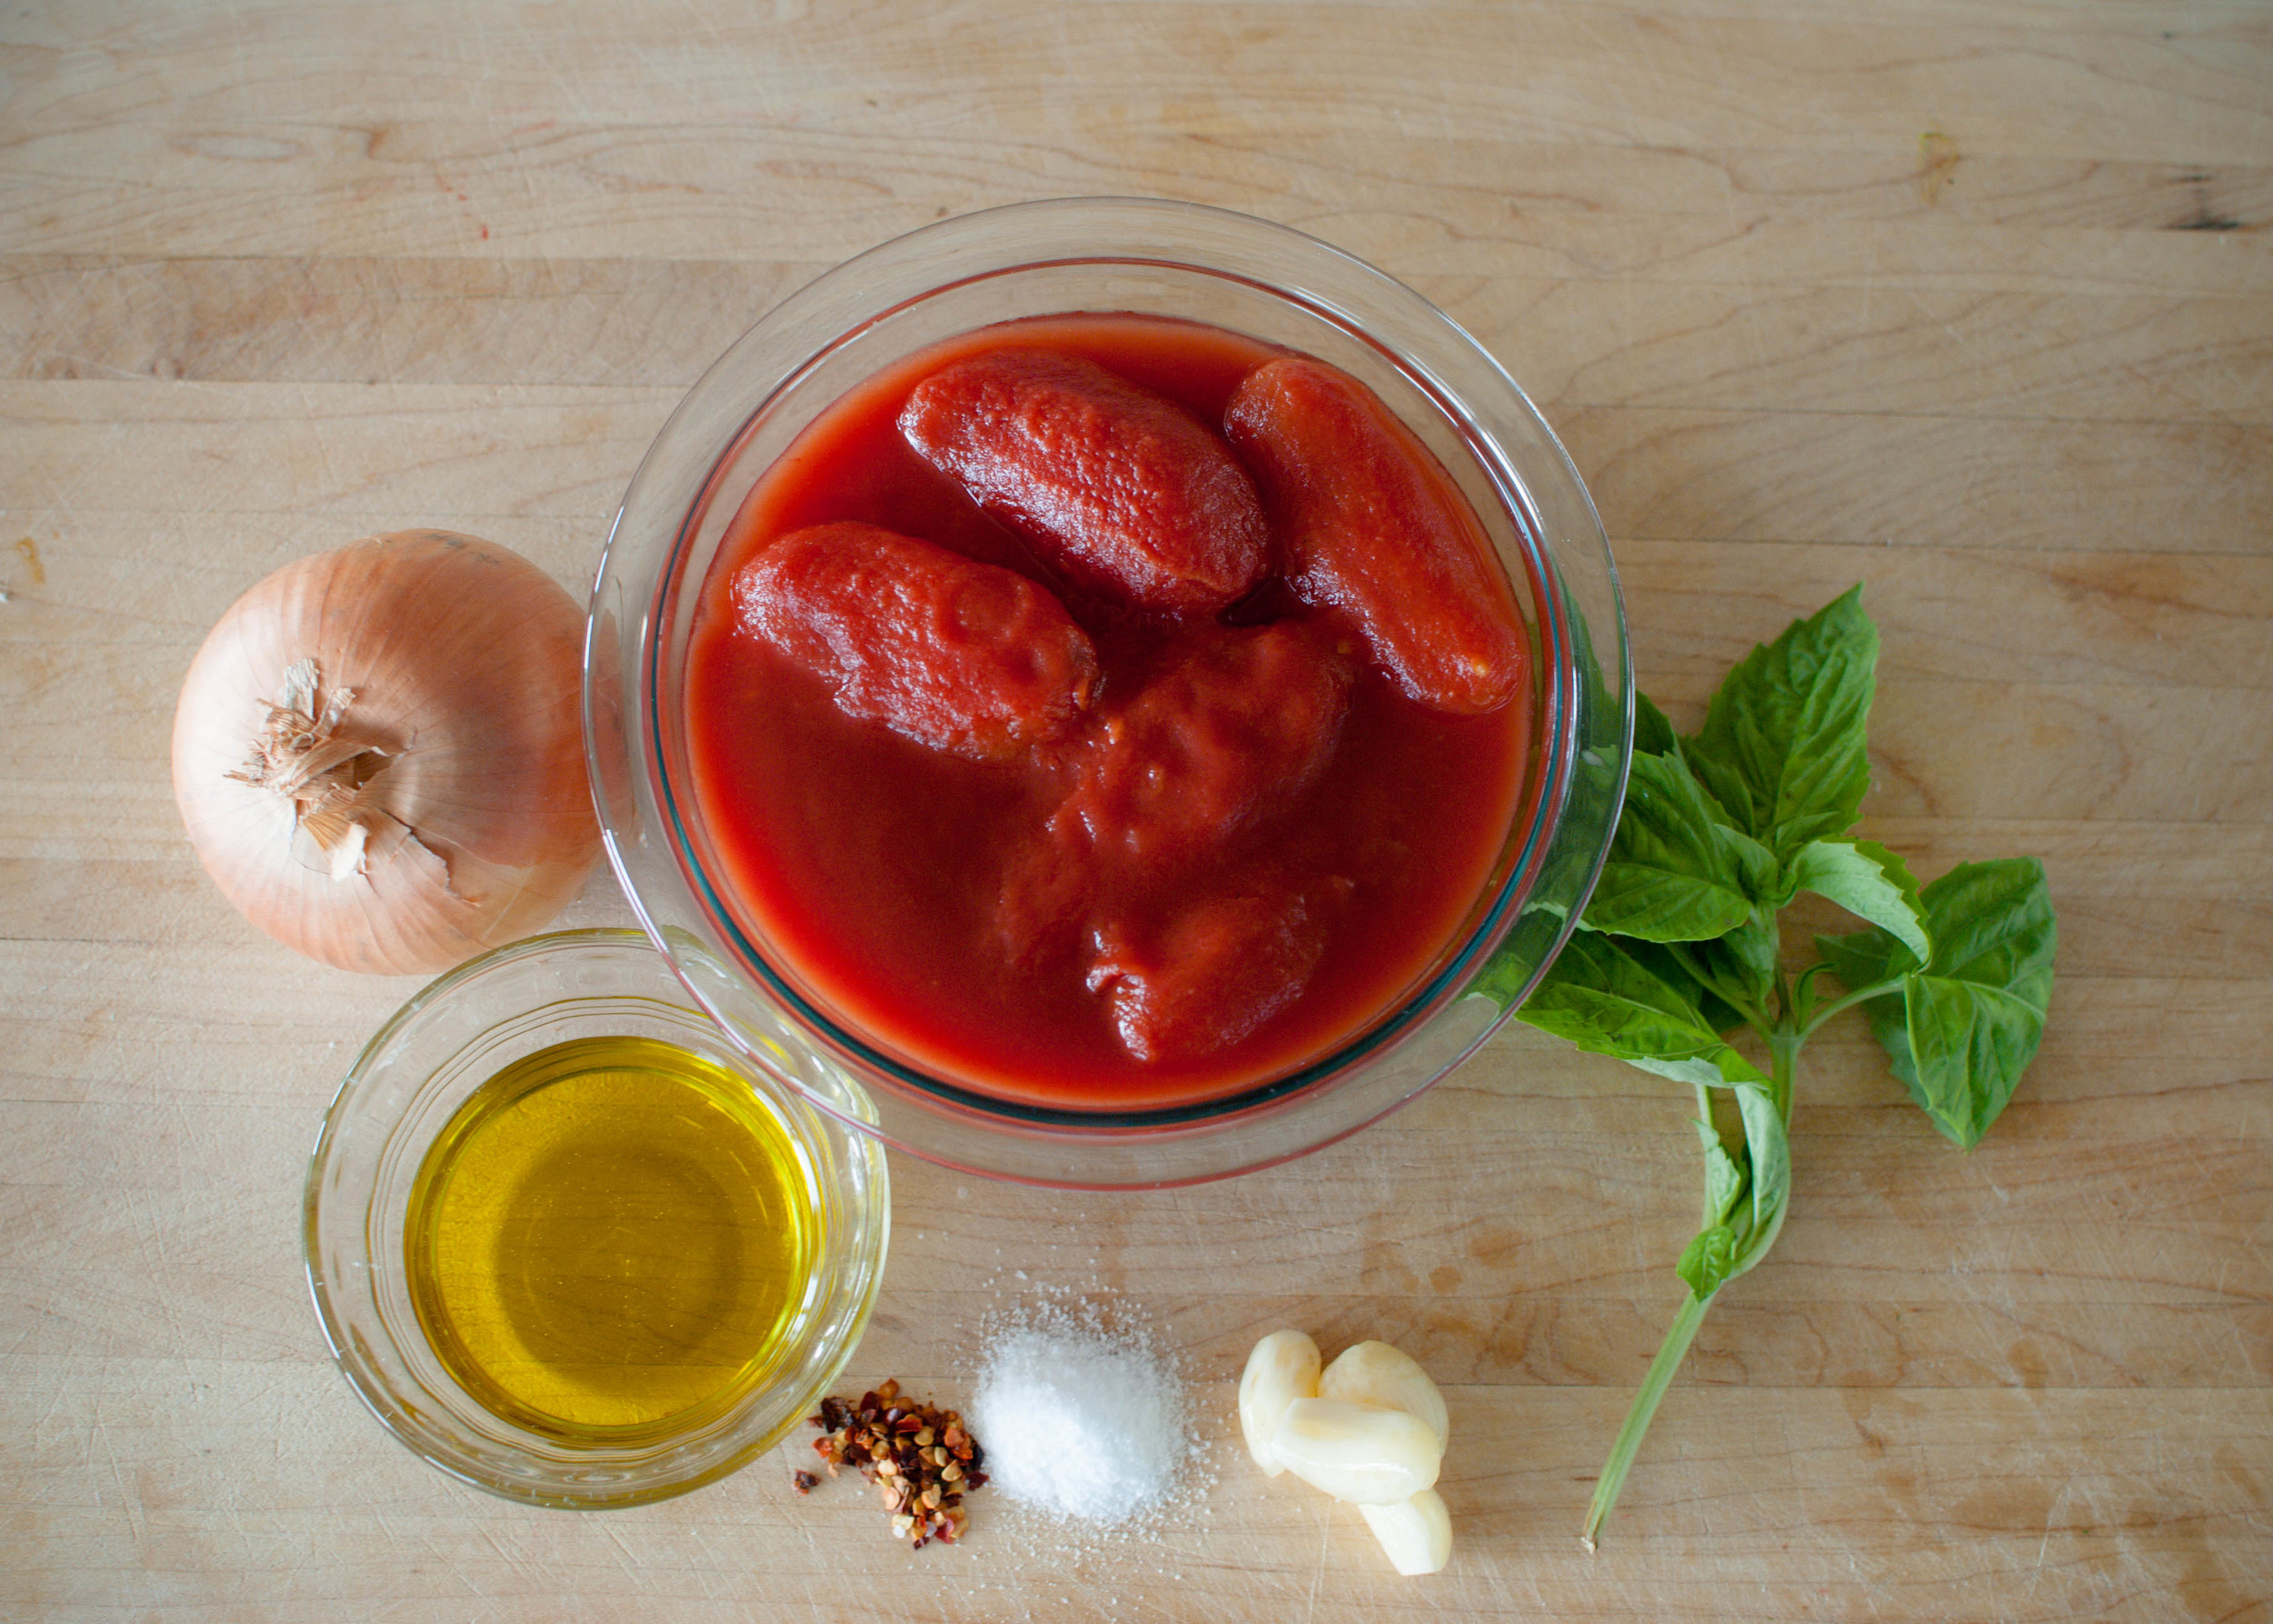
1 28-ounce can whole San Marzano tomatoes
¼ cup extra-virgin olive oil or butter
4 garlic cloves, peeled and slivered
Pinch of crushed red pepper flakes (optional)
1 teaspoon kosher salt
1 medium onion, peeled and halved
1 large fresh basil sprig, or 1/4 teaspoon dried oregano, more to taste

Pour tomatoes into a large bowl and crush with your hands, and reserve.

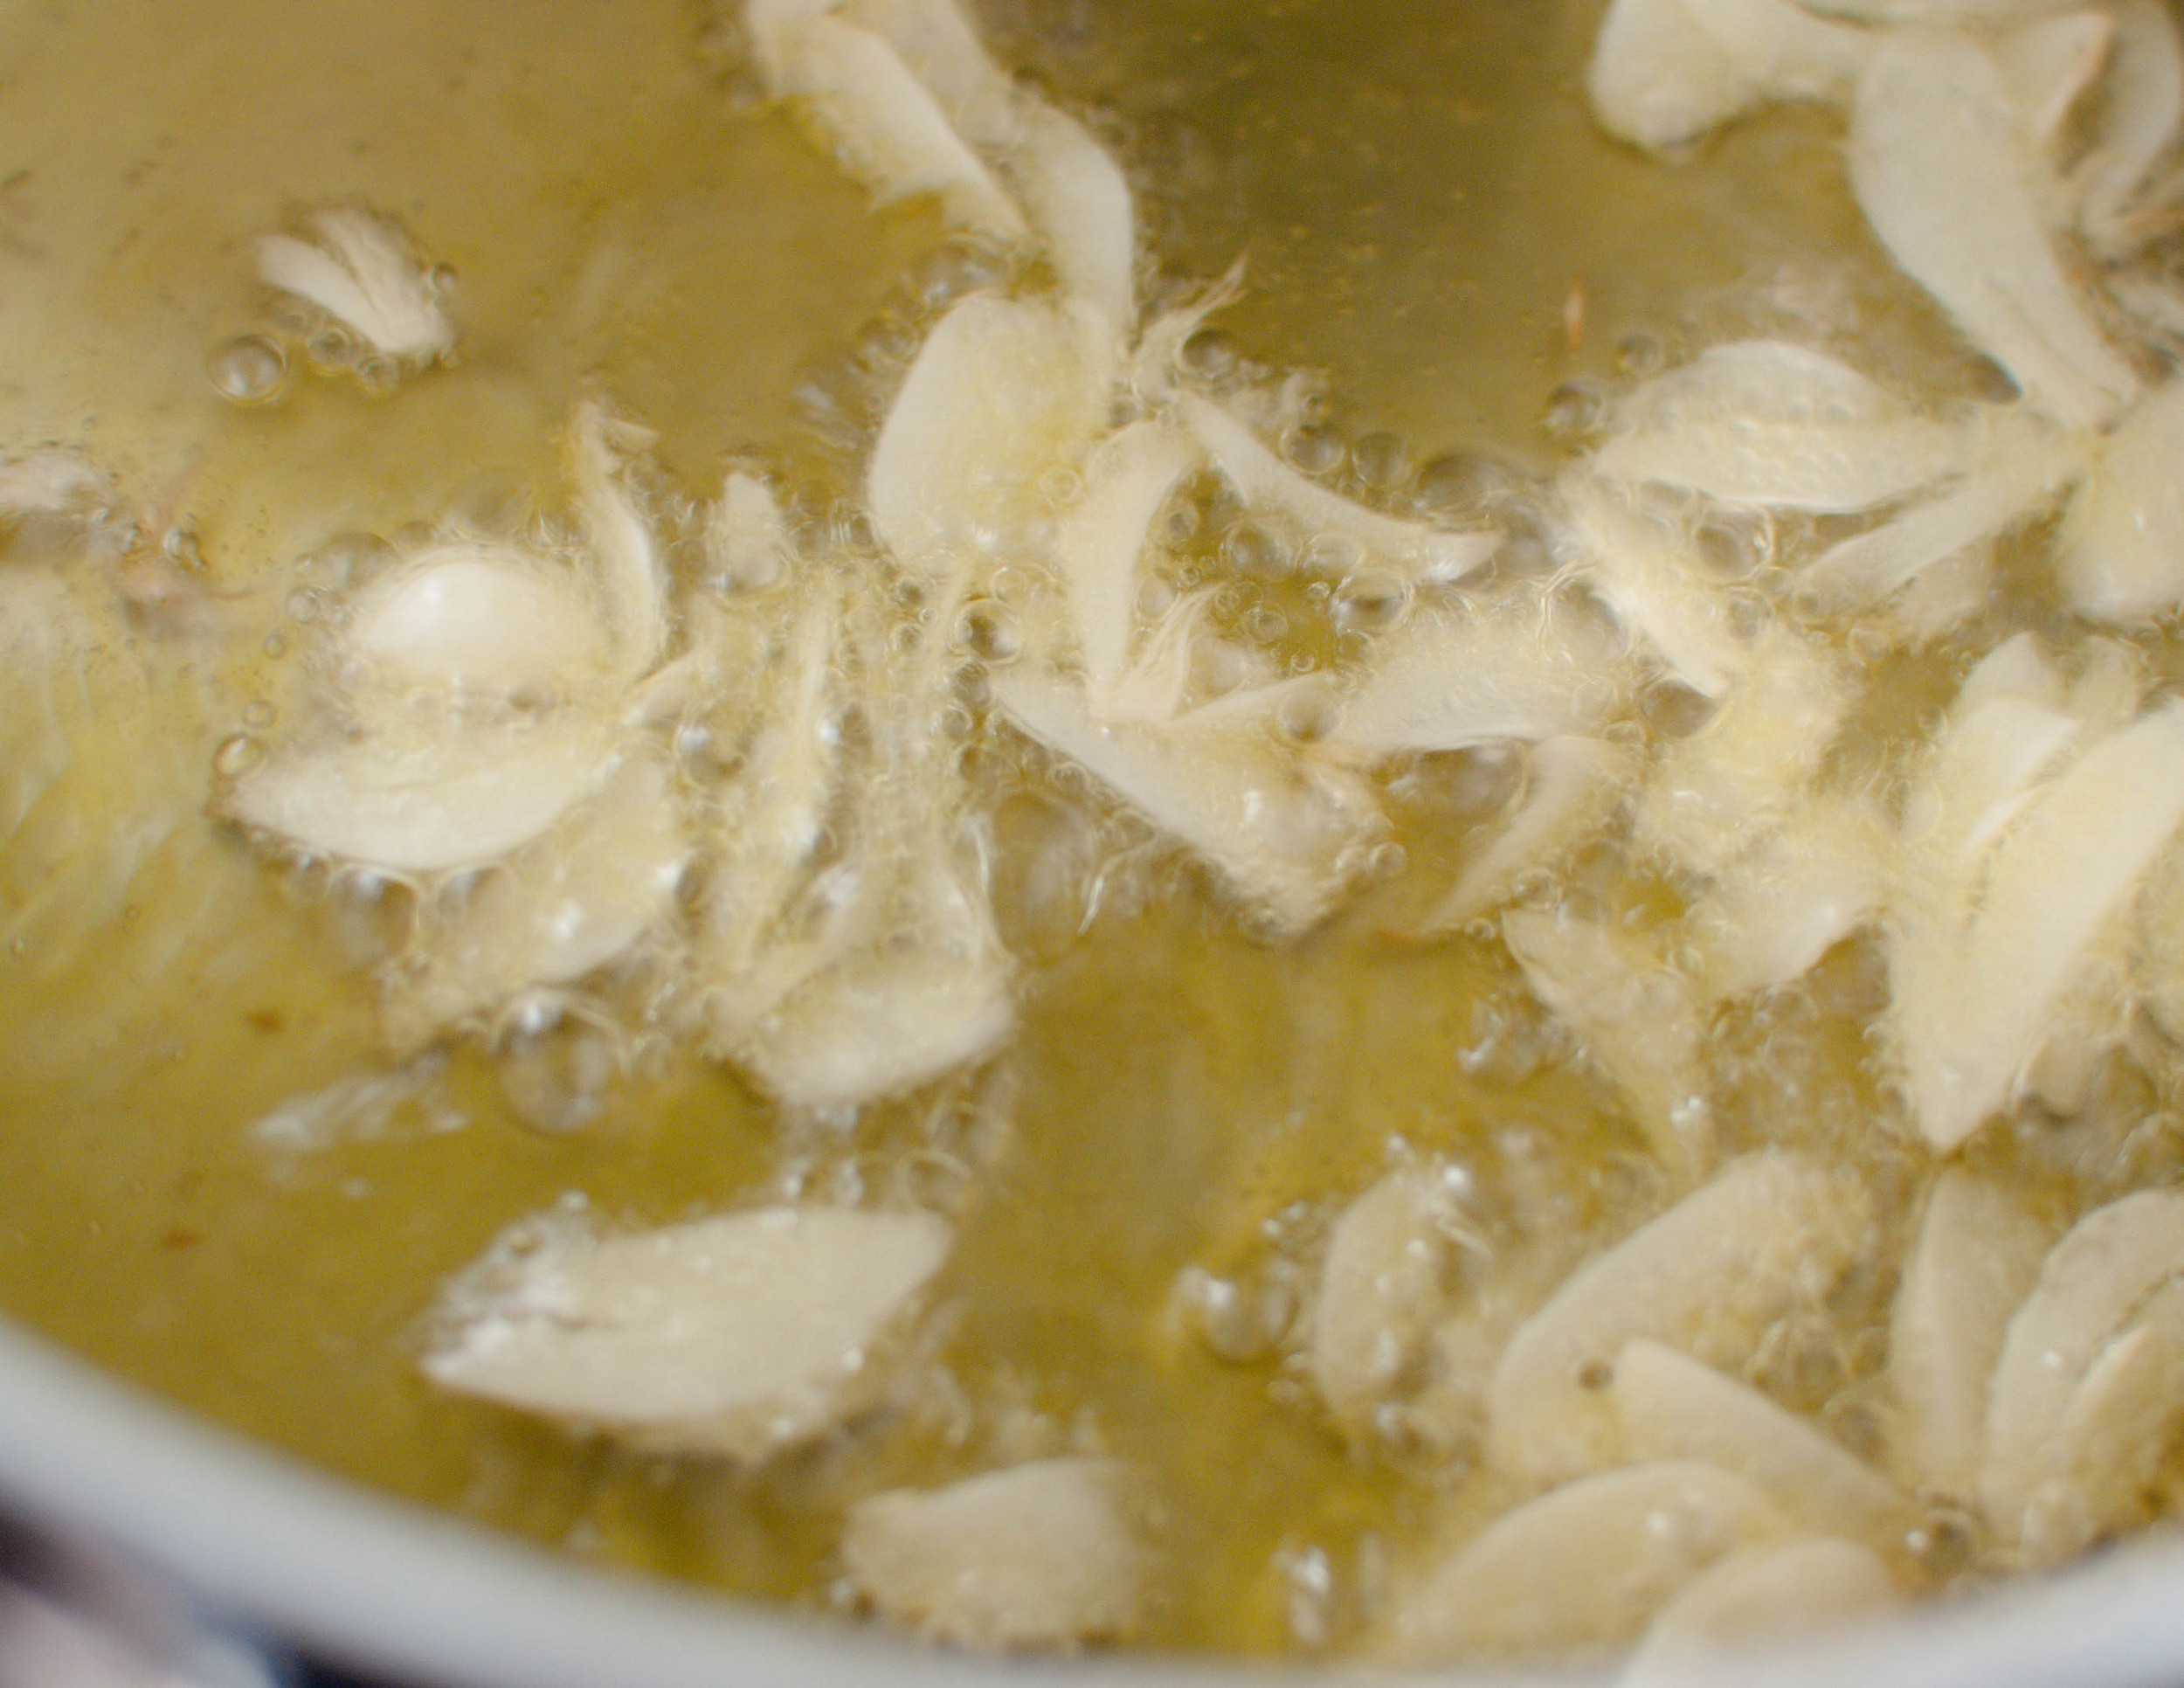
Heat olive oil in a saucepan over medium heat. When it is hot, add garlic. Sauté until the garlic sizzles, but is not brown (see photo above - about 1 minute). Add the crushed tomatoes to the pan, along with the red pepper (if using), salt, onion, and large basil sprig.

Cook uncovered at a slow, but steady simmer for about 45 minutes. Stir occasionally, when you feel moved to do so.

Remove the onion and basil. Taste and correct for salt. Serve.

Baked Polenta

Notes: Baked Polenta takes more time than polenta made on a stove-top, but there is very little active time. Polenta made over the stove requires constant stirring for at least half an hour, while baked polenta cooks in the oven, freeing me up to fix a salad or wrangle with the kids (more likely). The results leave you with a piping hot bowl of creamy corn goodness.

This polenta would also be great topped with any saucy protein (like a meat stew), a fried egg and a side of sauteed greens, or some roasted vegetables.

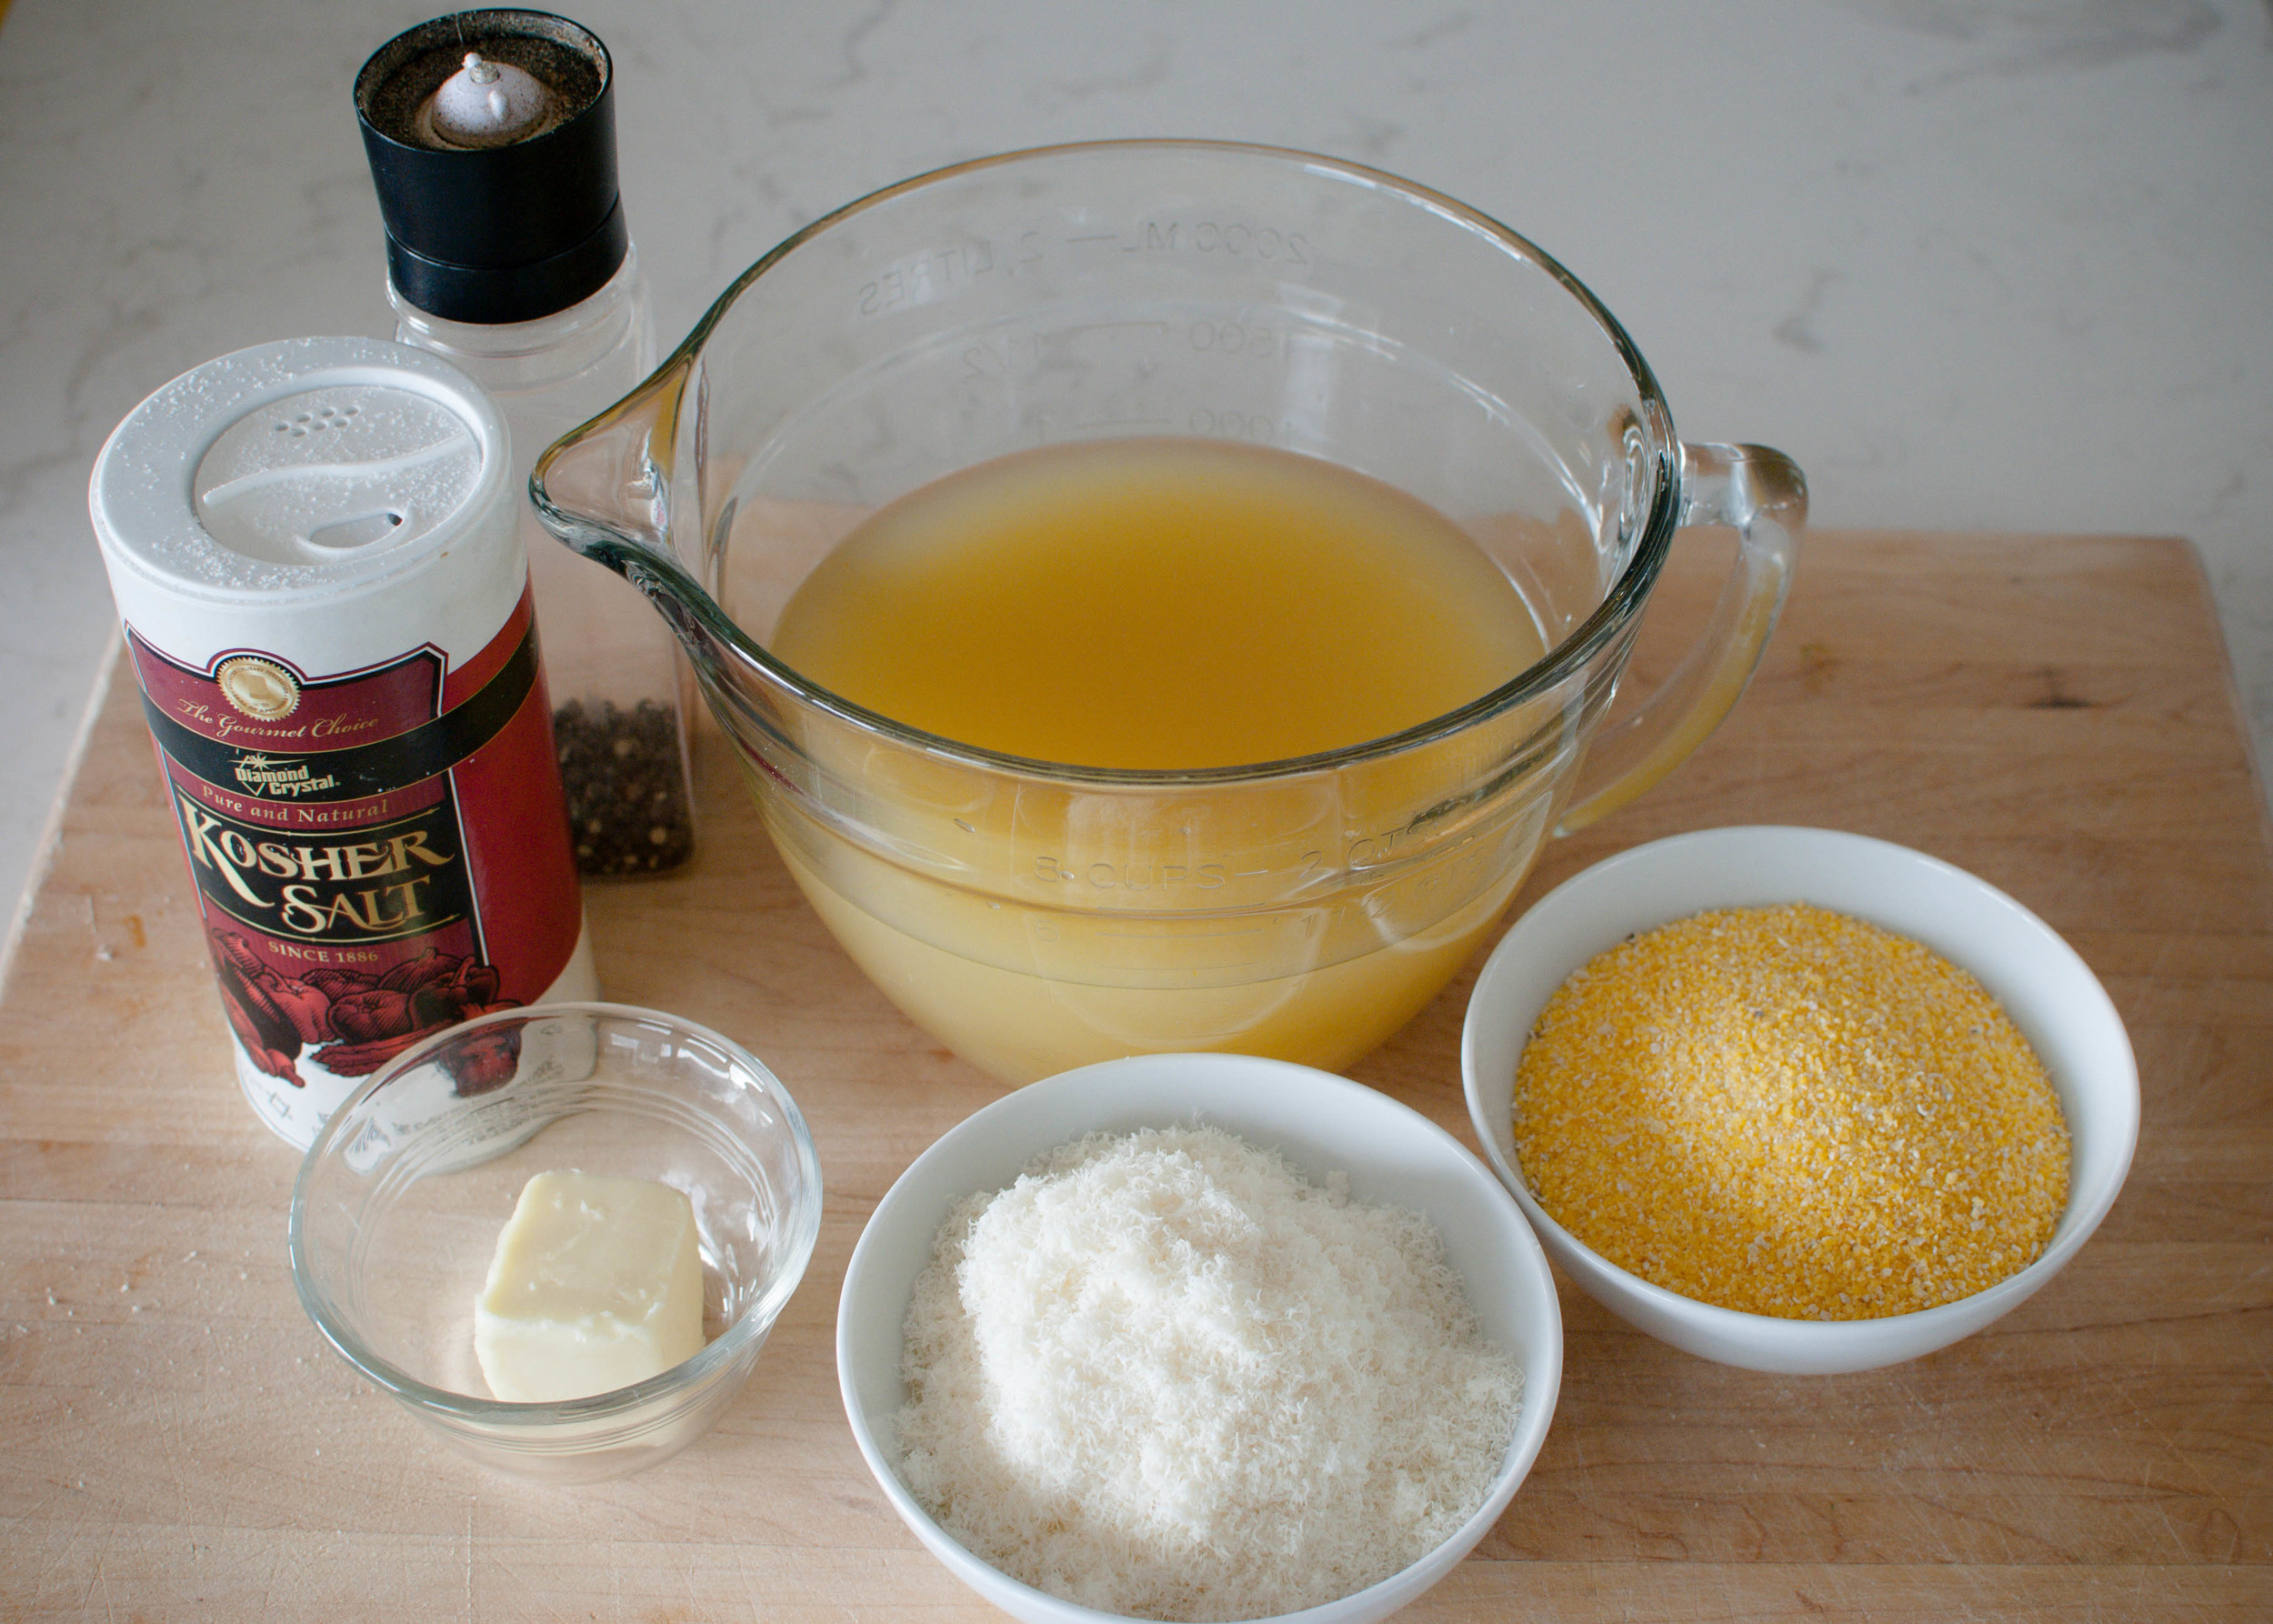
4 cups (1 quart) low-sodium broth (any kind) or water
1 cup polenta, coarse ground cornmeal, or corn grits (not quick-cooking)
1 teaspoon kosher salt (if using unsalted broth or water)
1/4 teaspoon freshly ground black pepper
3 tablespoons butter
2 ounces Parmesan, grated (optional)

Preheat oven to 350 degrees F.

Butter an oven-safe 2 quart dish. (An 8"x8" pan works well too.)

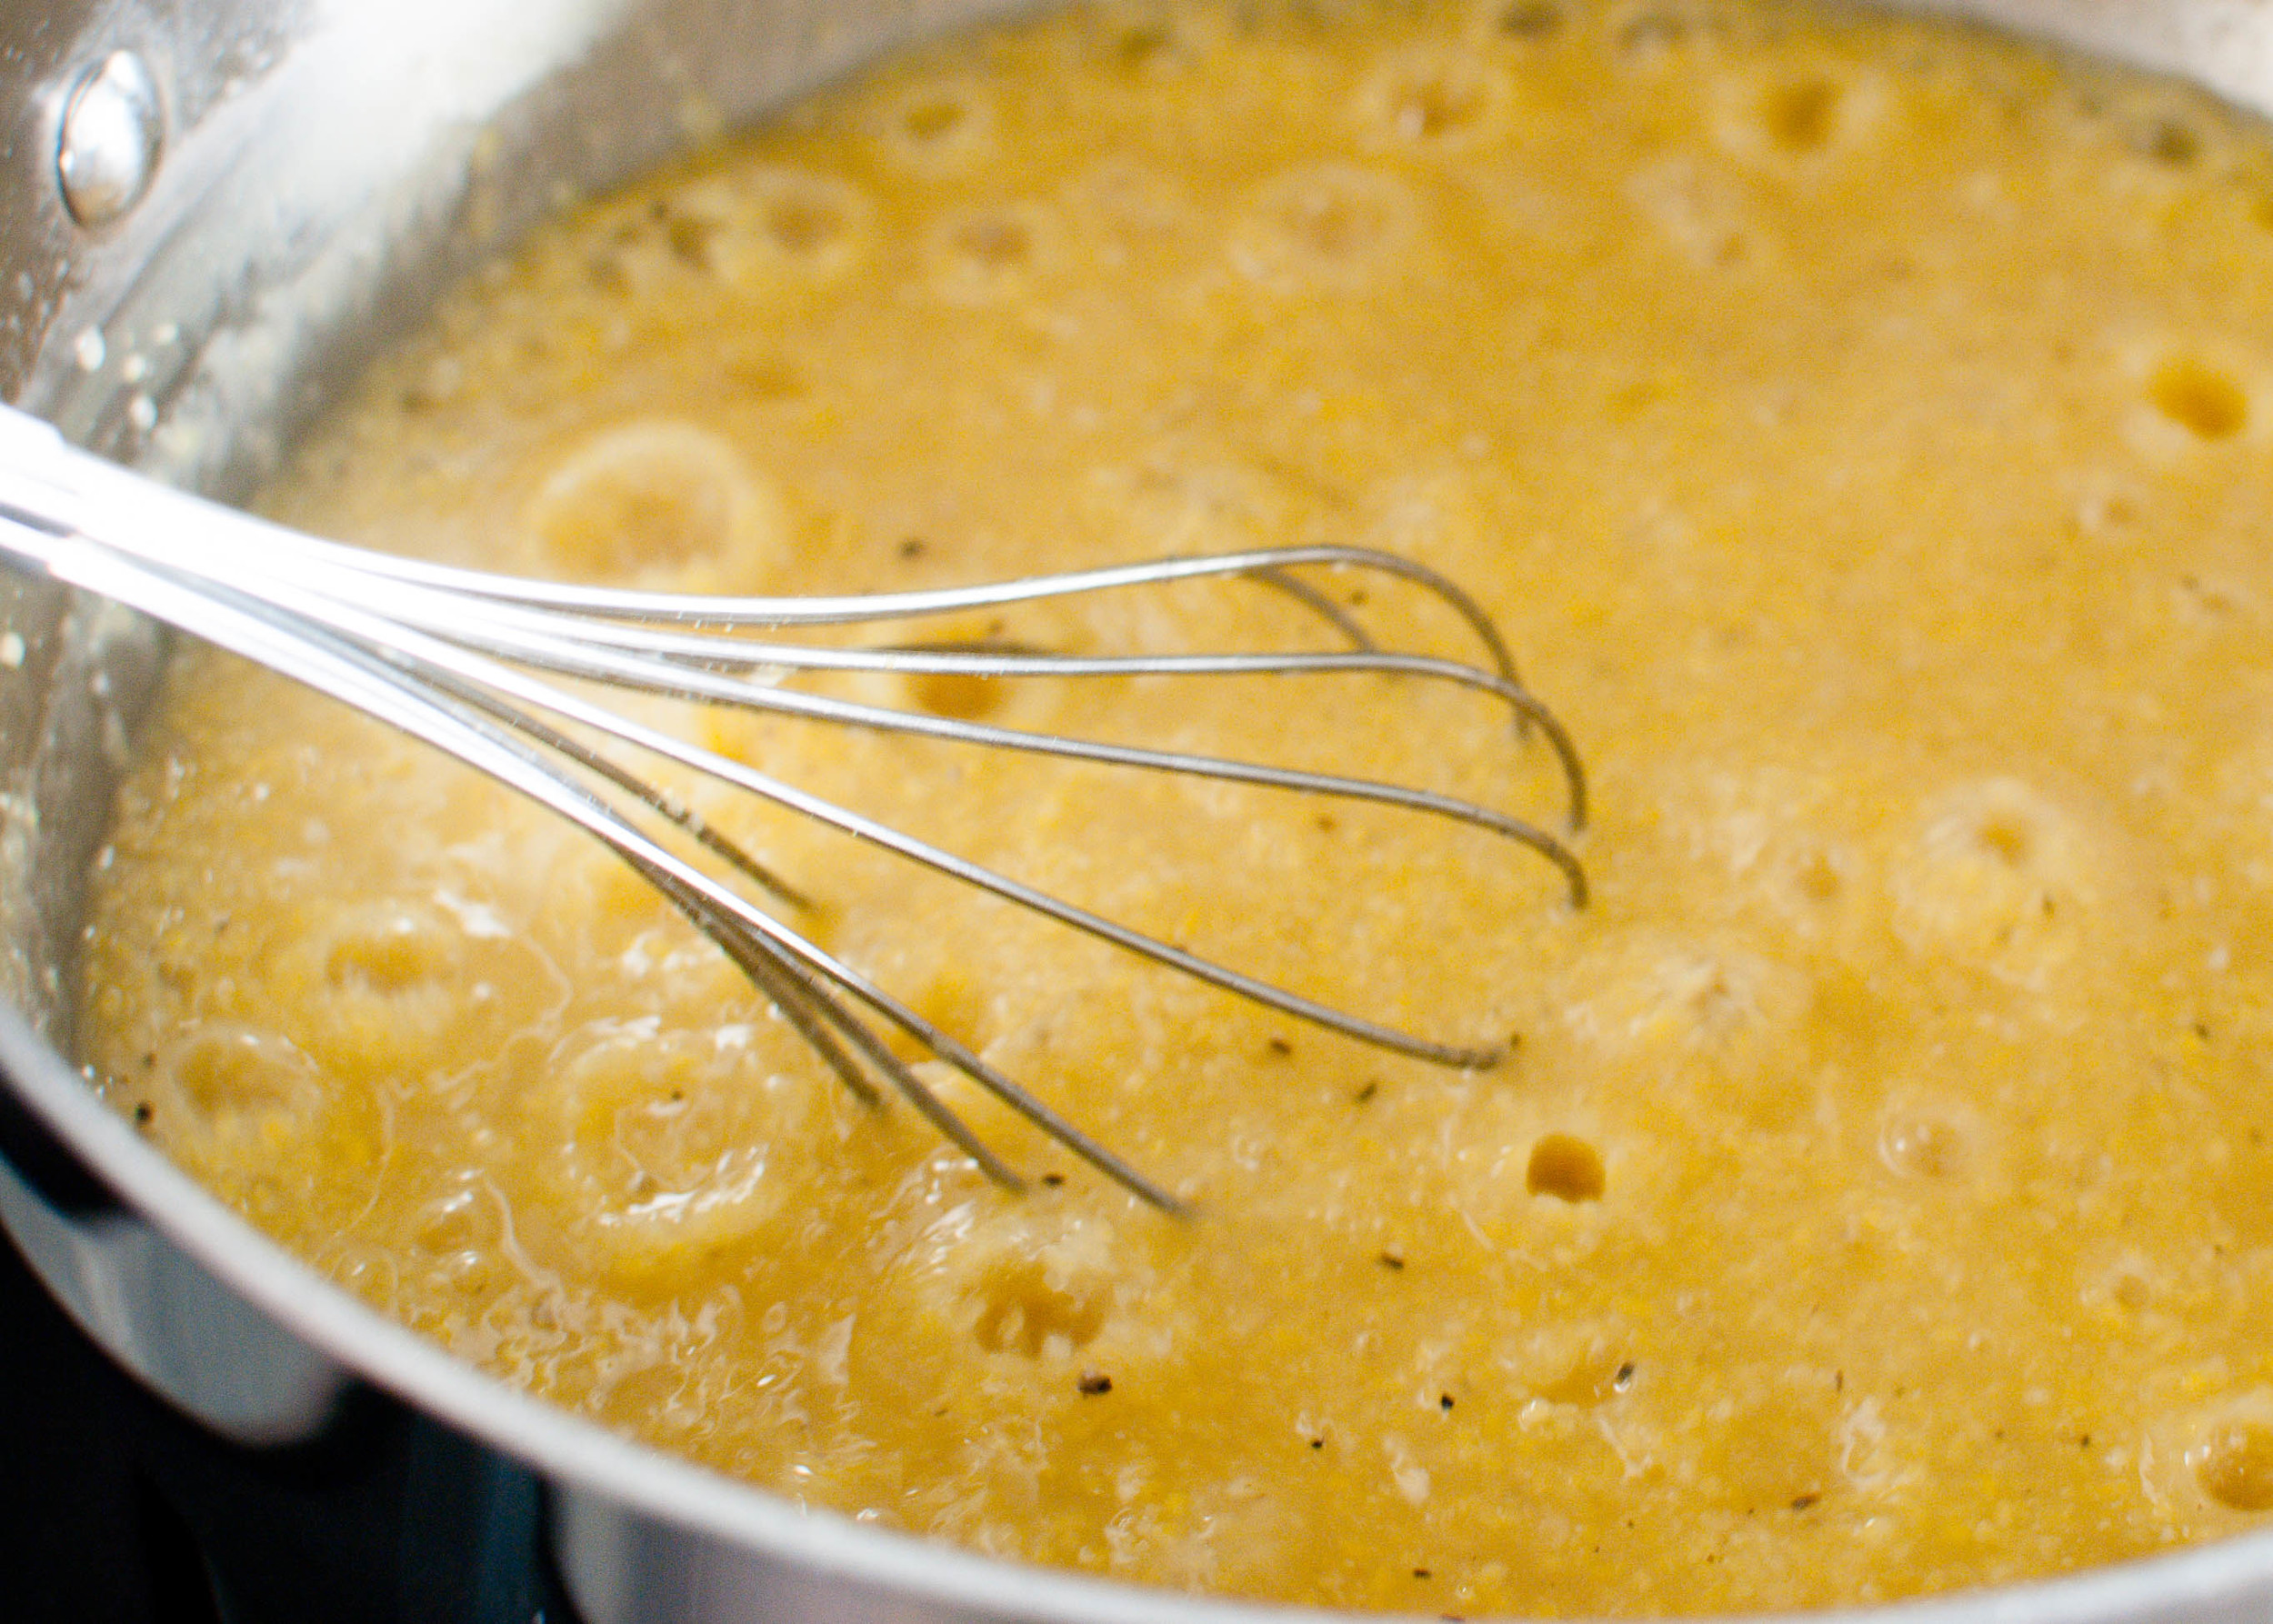
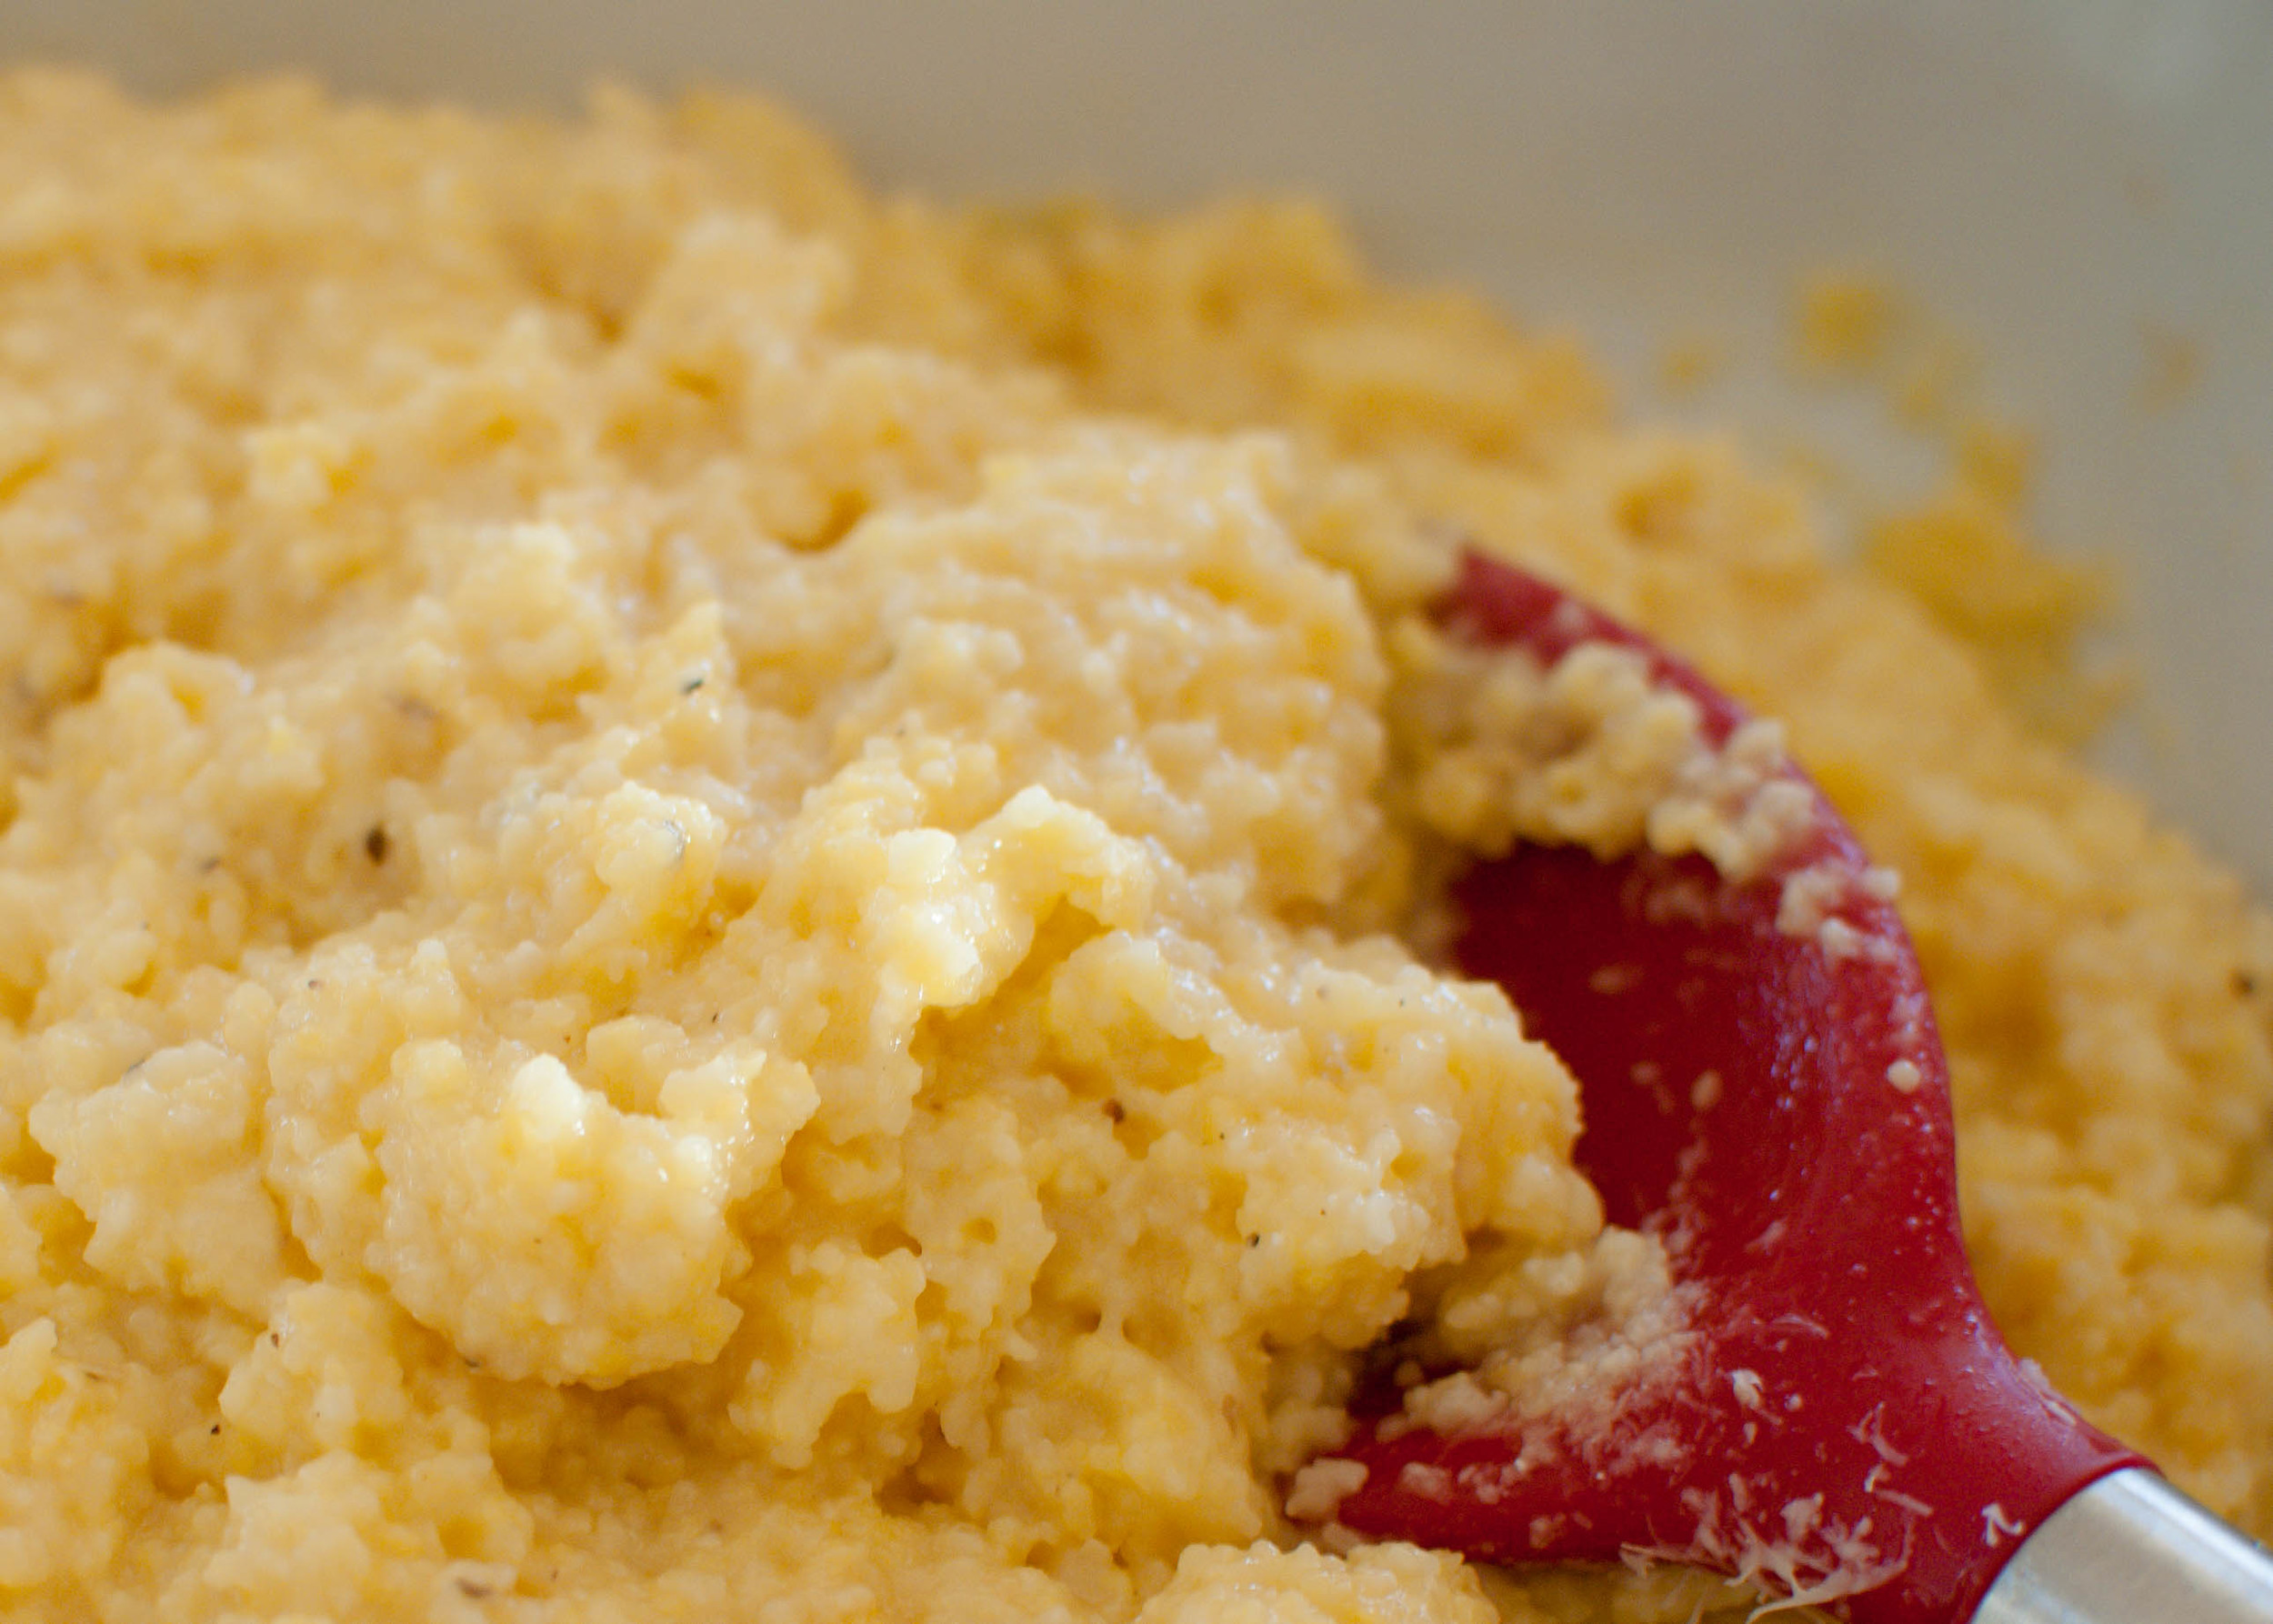
Combine broth (or water and salt), polenta, and pepper in the buttered dish and stir. Bake uncovered for about 1 hour, stirring once or twice. Polenta is done when it is thick and creamy.

Remove from oven, and stir in the grated parmesan and butter. Serve.

Kale Salad with Butternut Squash and Cheddar by Amy Cantu

Print Friendly and PDF
kale salad

I began the new year like a lot of people do - thinking about ways I could eat more veggies. I’ll share this tidbit about myself - I’m super picky about salad and dislike a lot of them, including creamy dressings. (I know, who doesn’t like Ranch or Blue Cheese dressing??? Just me.) I generally prefer my vegetables cooked; maybe it’s growing up in an Asian household where vegetables were just incorporated into the dishes we were eating. Anyway, January rolled around, and I felt like I needed to give this salad eating business some real attention. A kale salad was in order. Has kale salad been overdone? Probably. It’s seems like it’s on every menu that includes a salad these days. So, I wanted a kale salad that would be simple, not overly thought out, and well . . . delicious! This salad is just the thing. The main ingredient is kale, so you can feel really good about eating a leafy green vegetable, but this salad also includes a healthy dose of delicious aged cheddar, which is equally important for making this salad too yummy to pass up. Add a sprinkling of toasted almonds and a tart lemon vinaigrette, and we’ve got a really simple salad that tastes amazing. I hate salad. I loved this salad.

Recipe adapted from Northern Spy’s Kale Salad.

Notes: This salad is highly adaptable. Instead of roasted squash, you could roast carrots or sweet potatoes. In the summer, you could use fresh or roasted strawberries or peaches, and experiment with a soft goat cheese or dollops of good ricotta. I’m a sucker for salad toppings, so I’m always extra generous with the squash, nuts, and cheese. To make this salad vegan, omit the cheese, but add 1 to 2 tablespoons of nutritional yeast (found in health food stores), which lends a savory, cheesy flavor.

If you are staring at the butternut squash thinking, “What do I do with this thing???” here’s how to peel it.

It’s tempting to buy those bags of pre-cut kale in the salad section, but to avoid having to masticate your greens like a cow, don’t do it! The kale pieces are too large, and they don’t remove the tough rib (stem) that runs down the center of each leaf. If you are reading this note too late, and you already have a bag of kale salad, never fear. Spend a few minutes to sort through the leaves to find the pieces with hard stems and tear away the soft leafy part from the stem and discard. Then tear the leaves into smaller pieces with your hands (or use a knife).

Lastly, sometimes both new and seasoned cooks alike, forget to taste their food before serving it. Add the salt, then taste it. Add additional salt and pepper until it tastes good to you. (I tasted the salad three times before I got it right.) The right amount of salt and pepper can change any dish (and especially salad) from ho-hum to wow!


Read More: The Shared Lunch


Time: 30 minutes
Servings: 4

1 1/2 cups cubed butternut squash, or other winter squash (about ¾ lb)
1 tablespoon plus 2 tablespoons extra-virgin olive oil (divided use)
1 teaspoon plus 1 teaspoon kosher salt (divided use)
½ teaspoon plus ½ teaspoon freshly ground pepper (divided use)
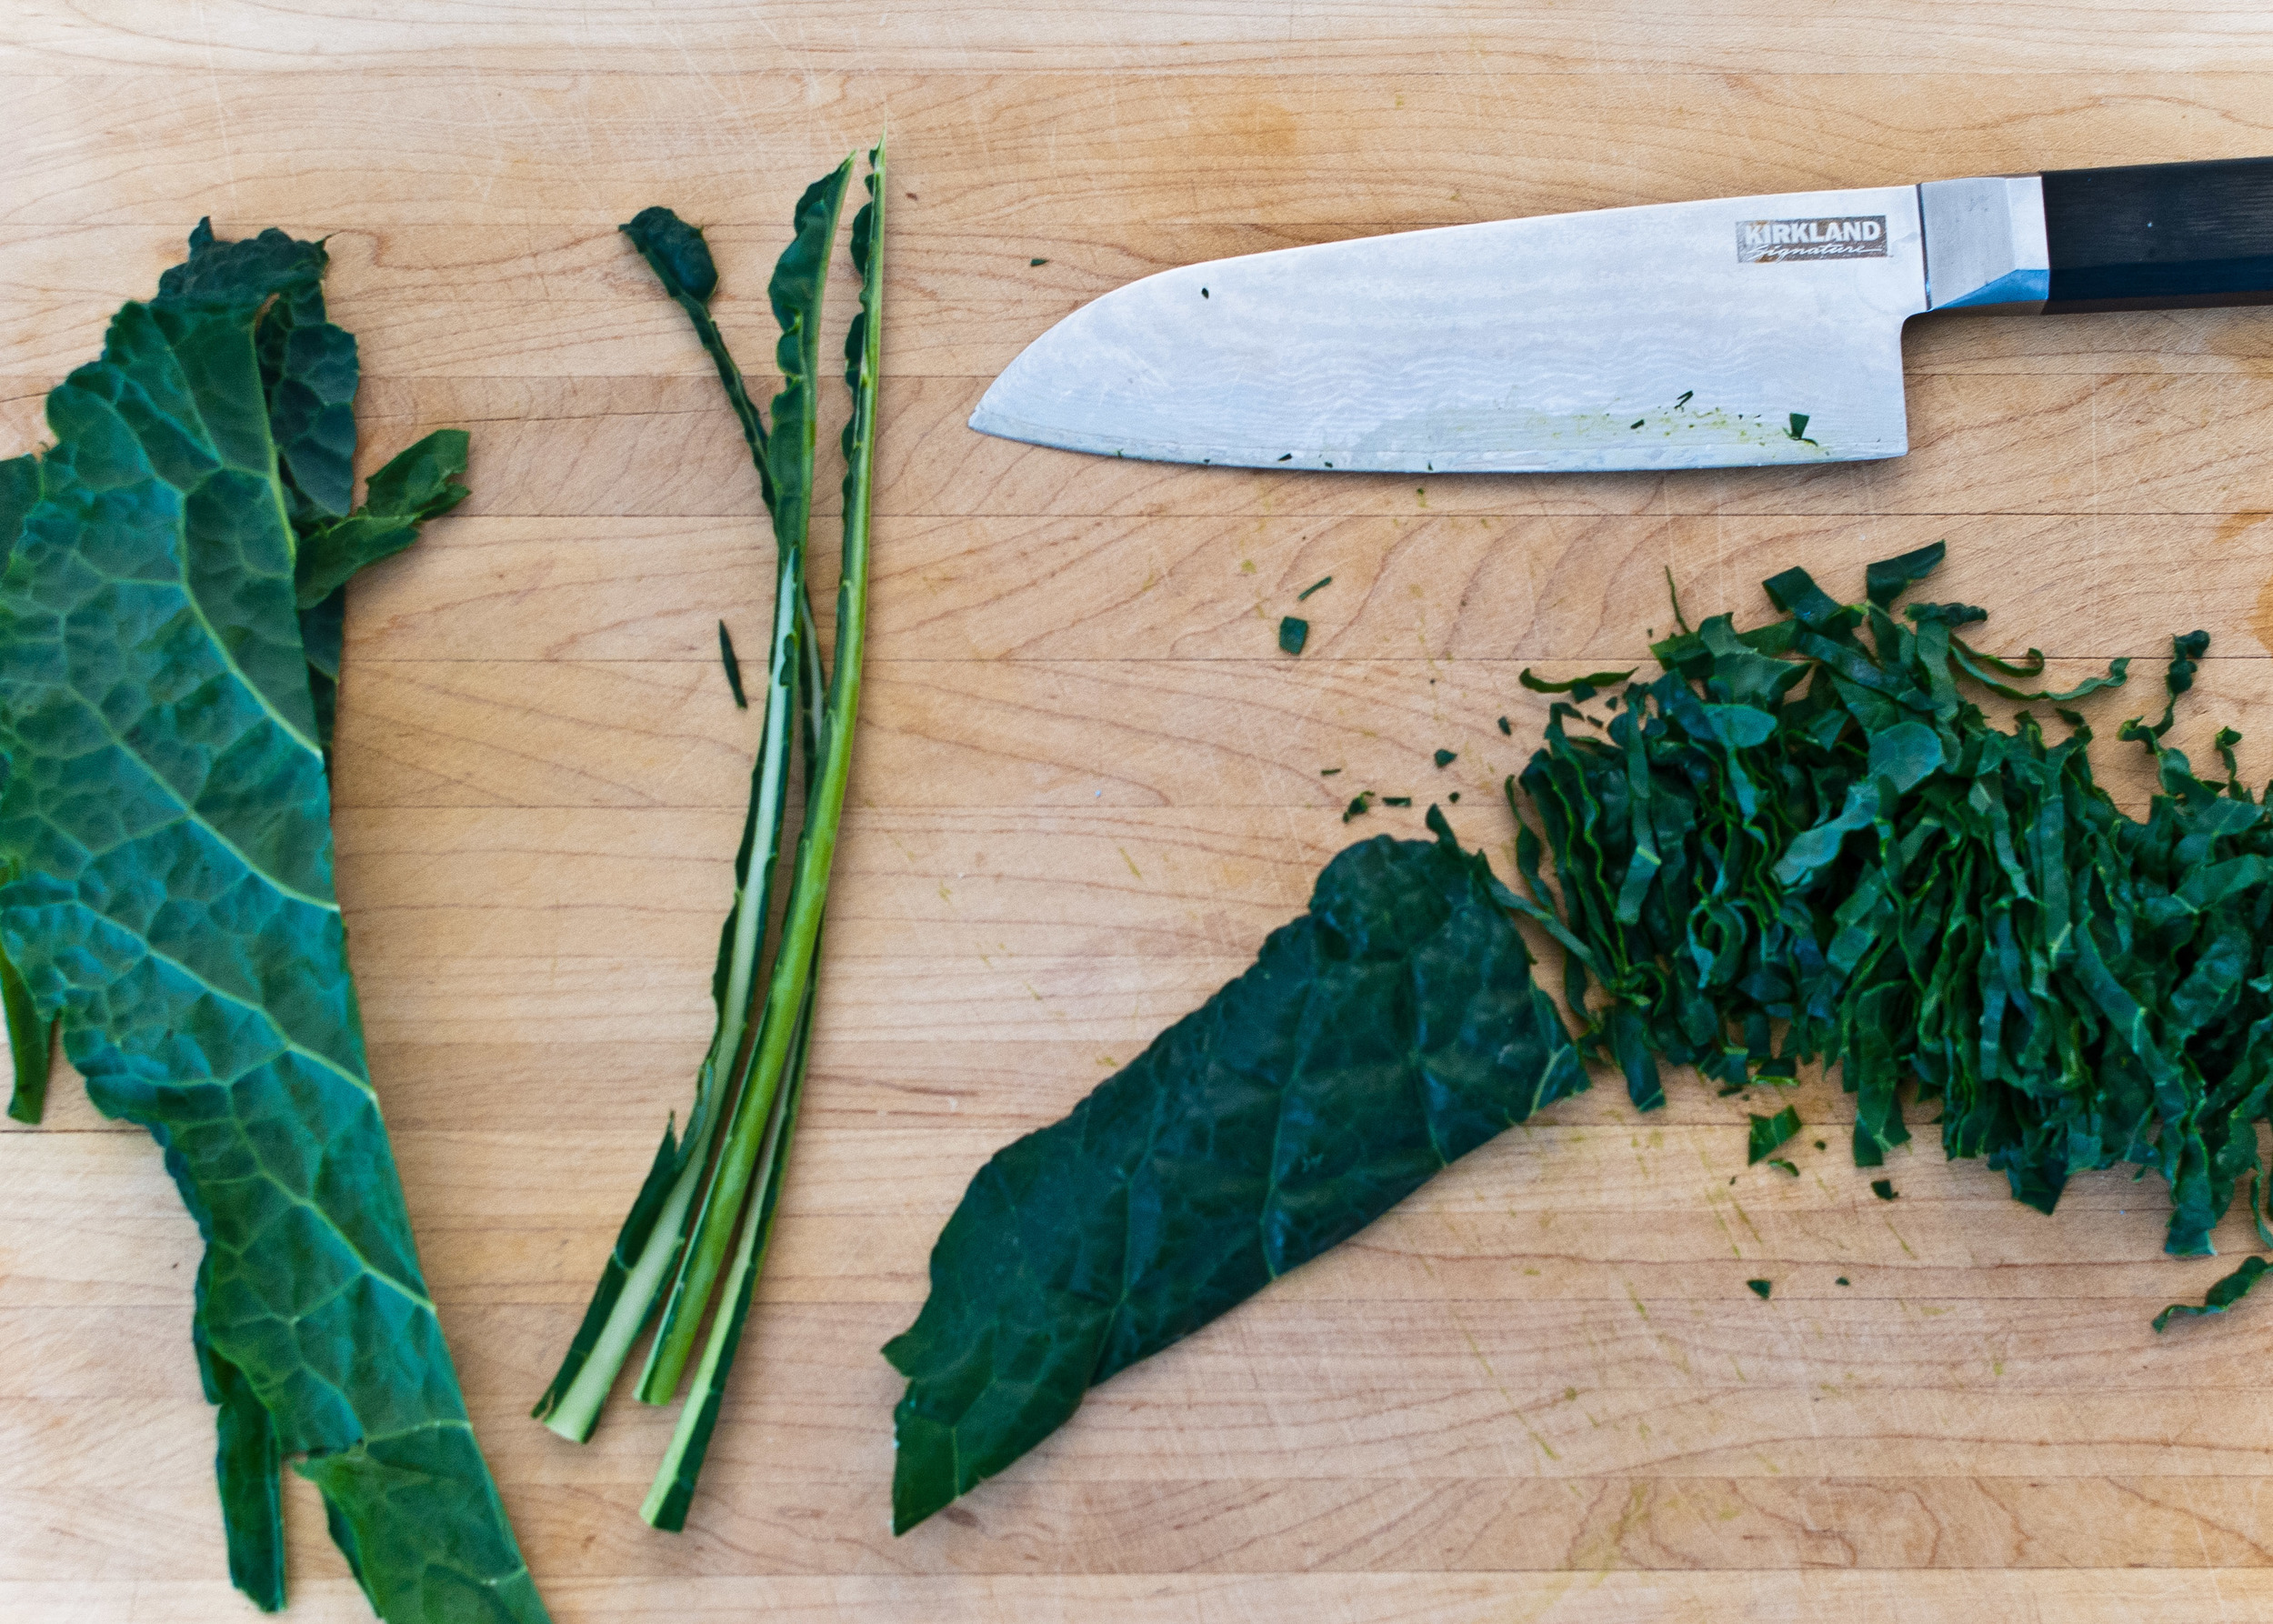
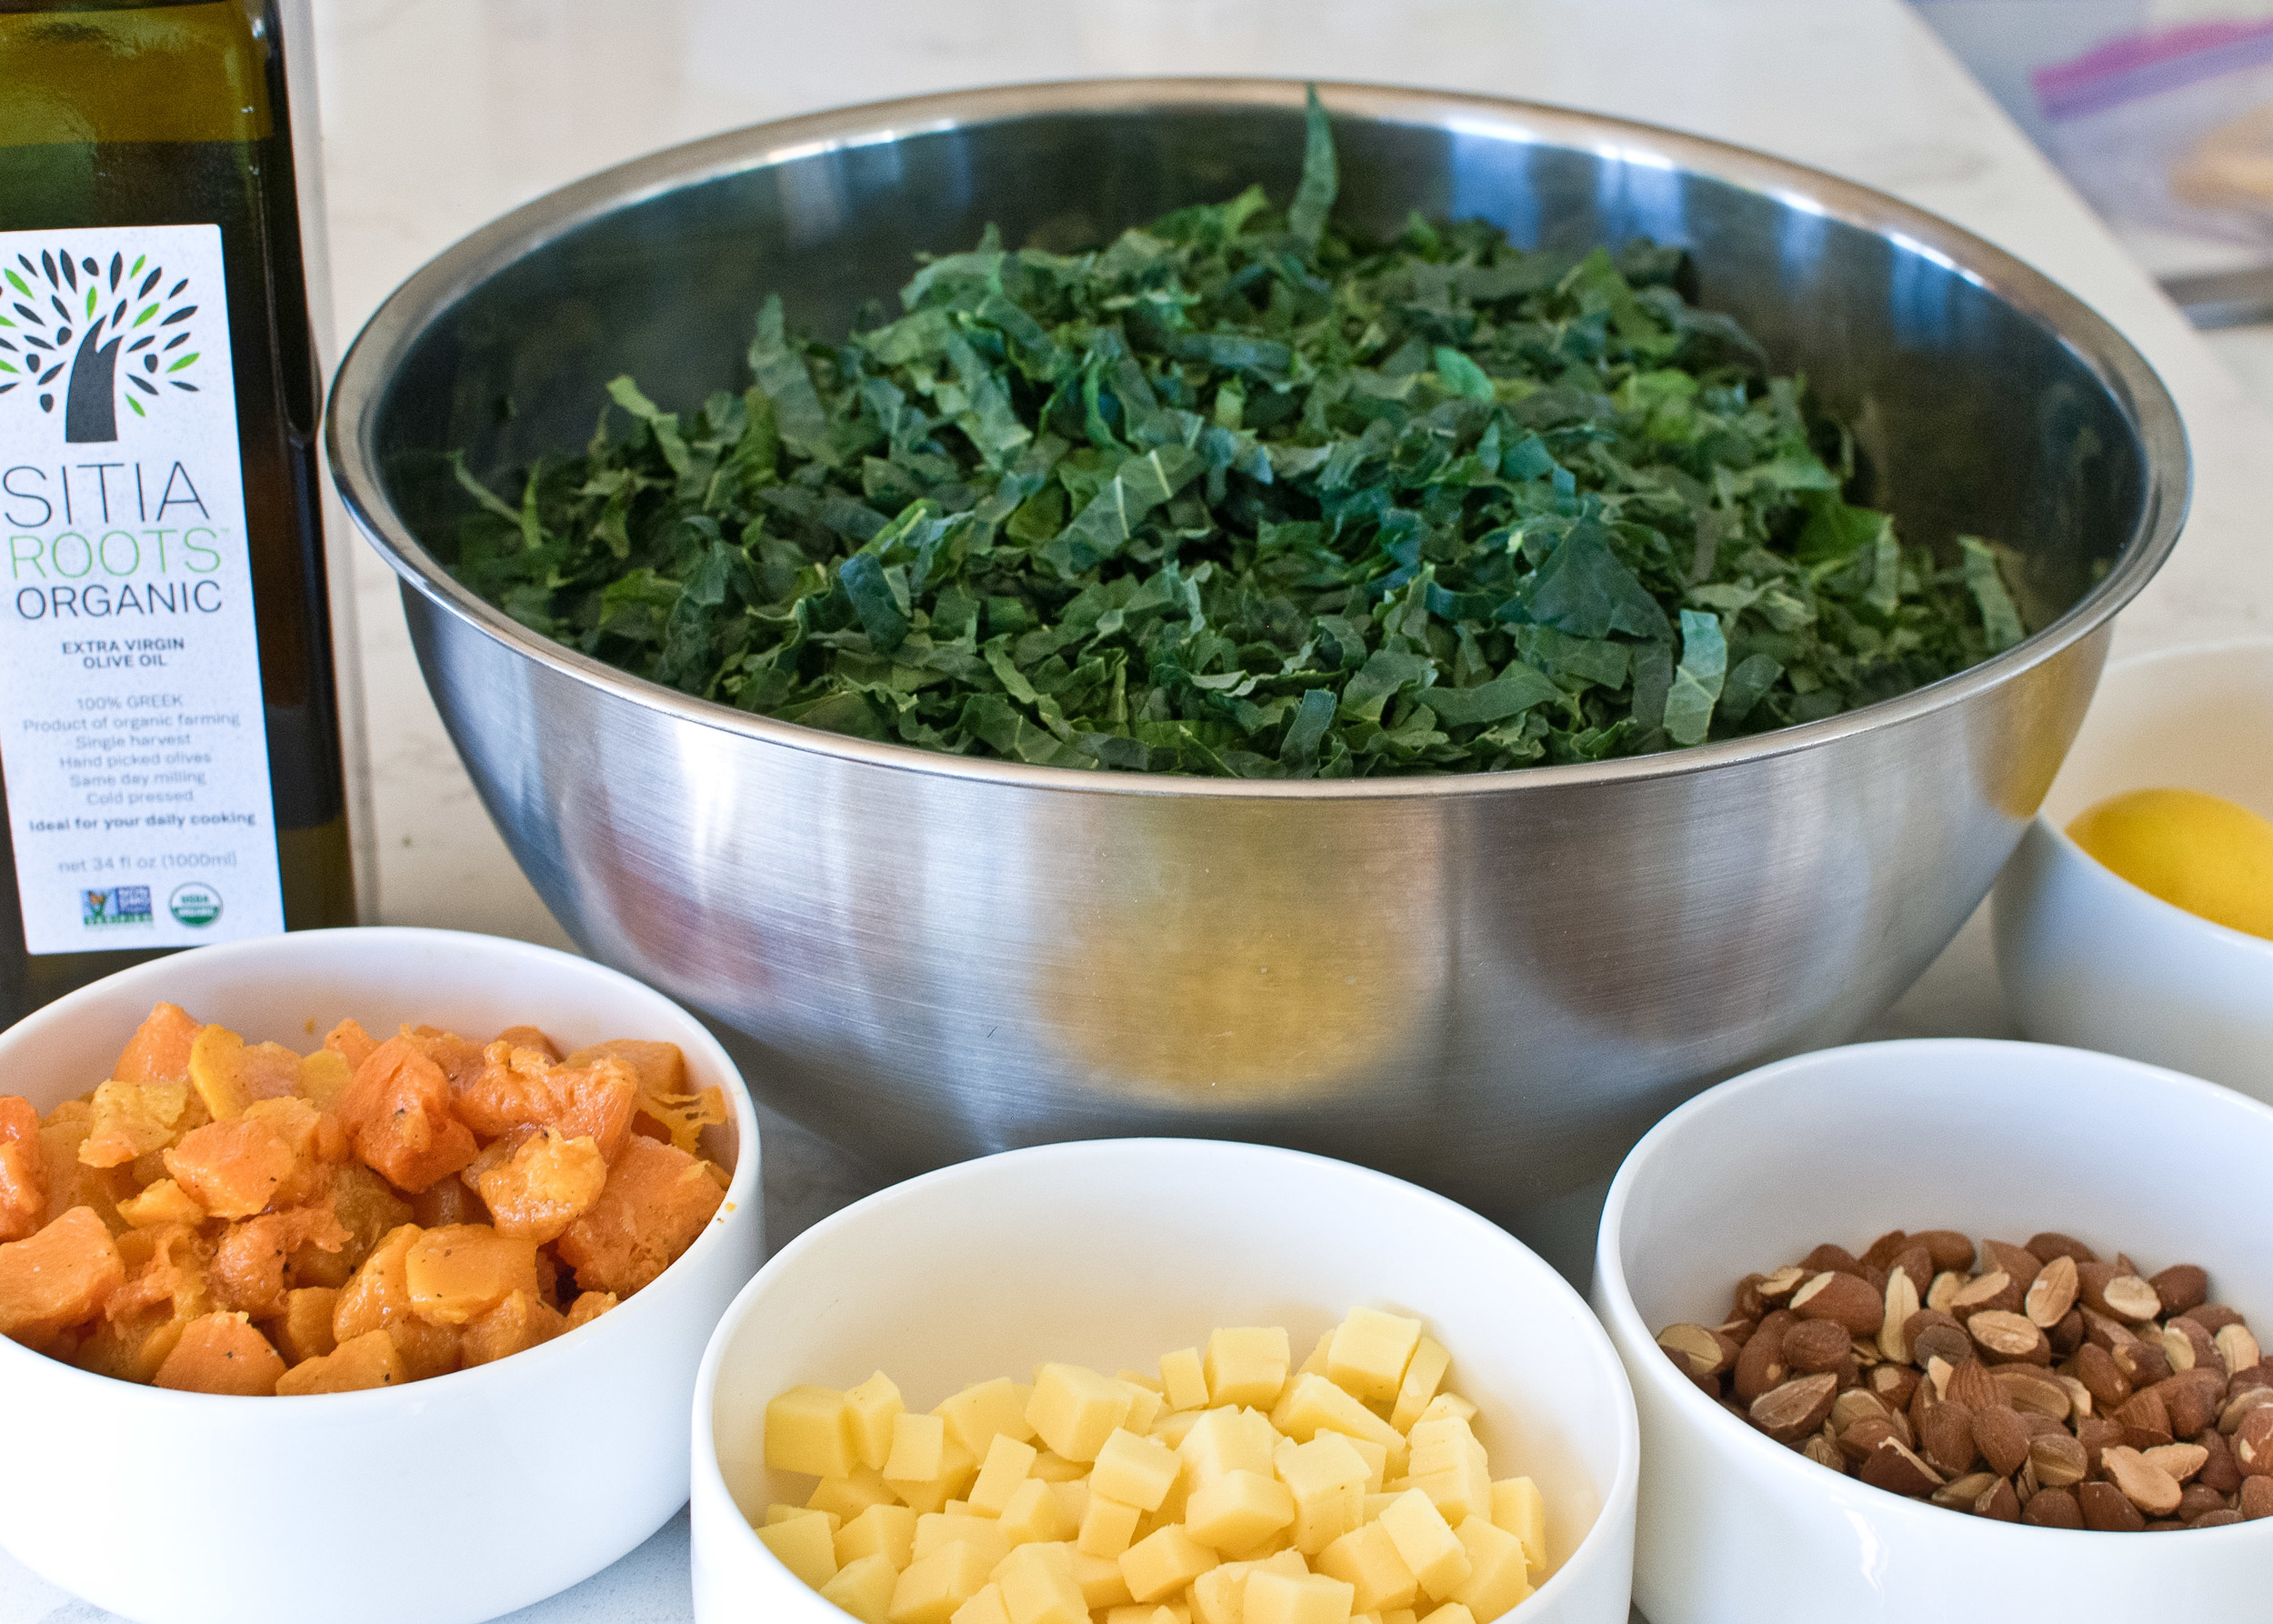
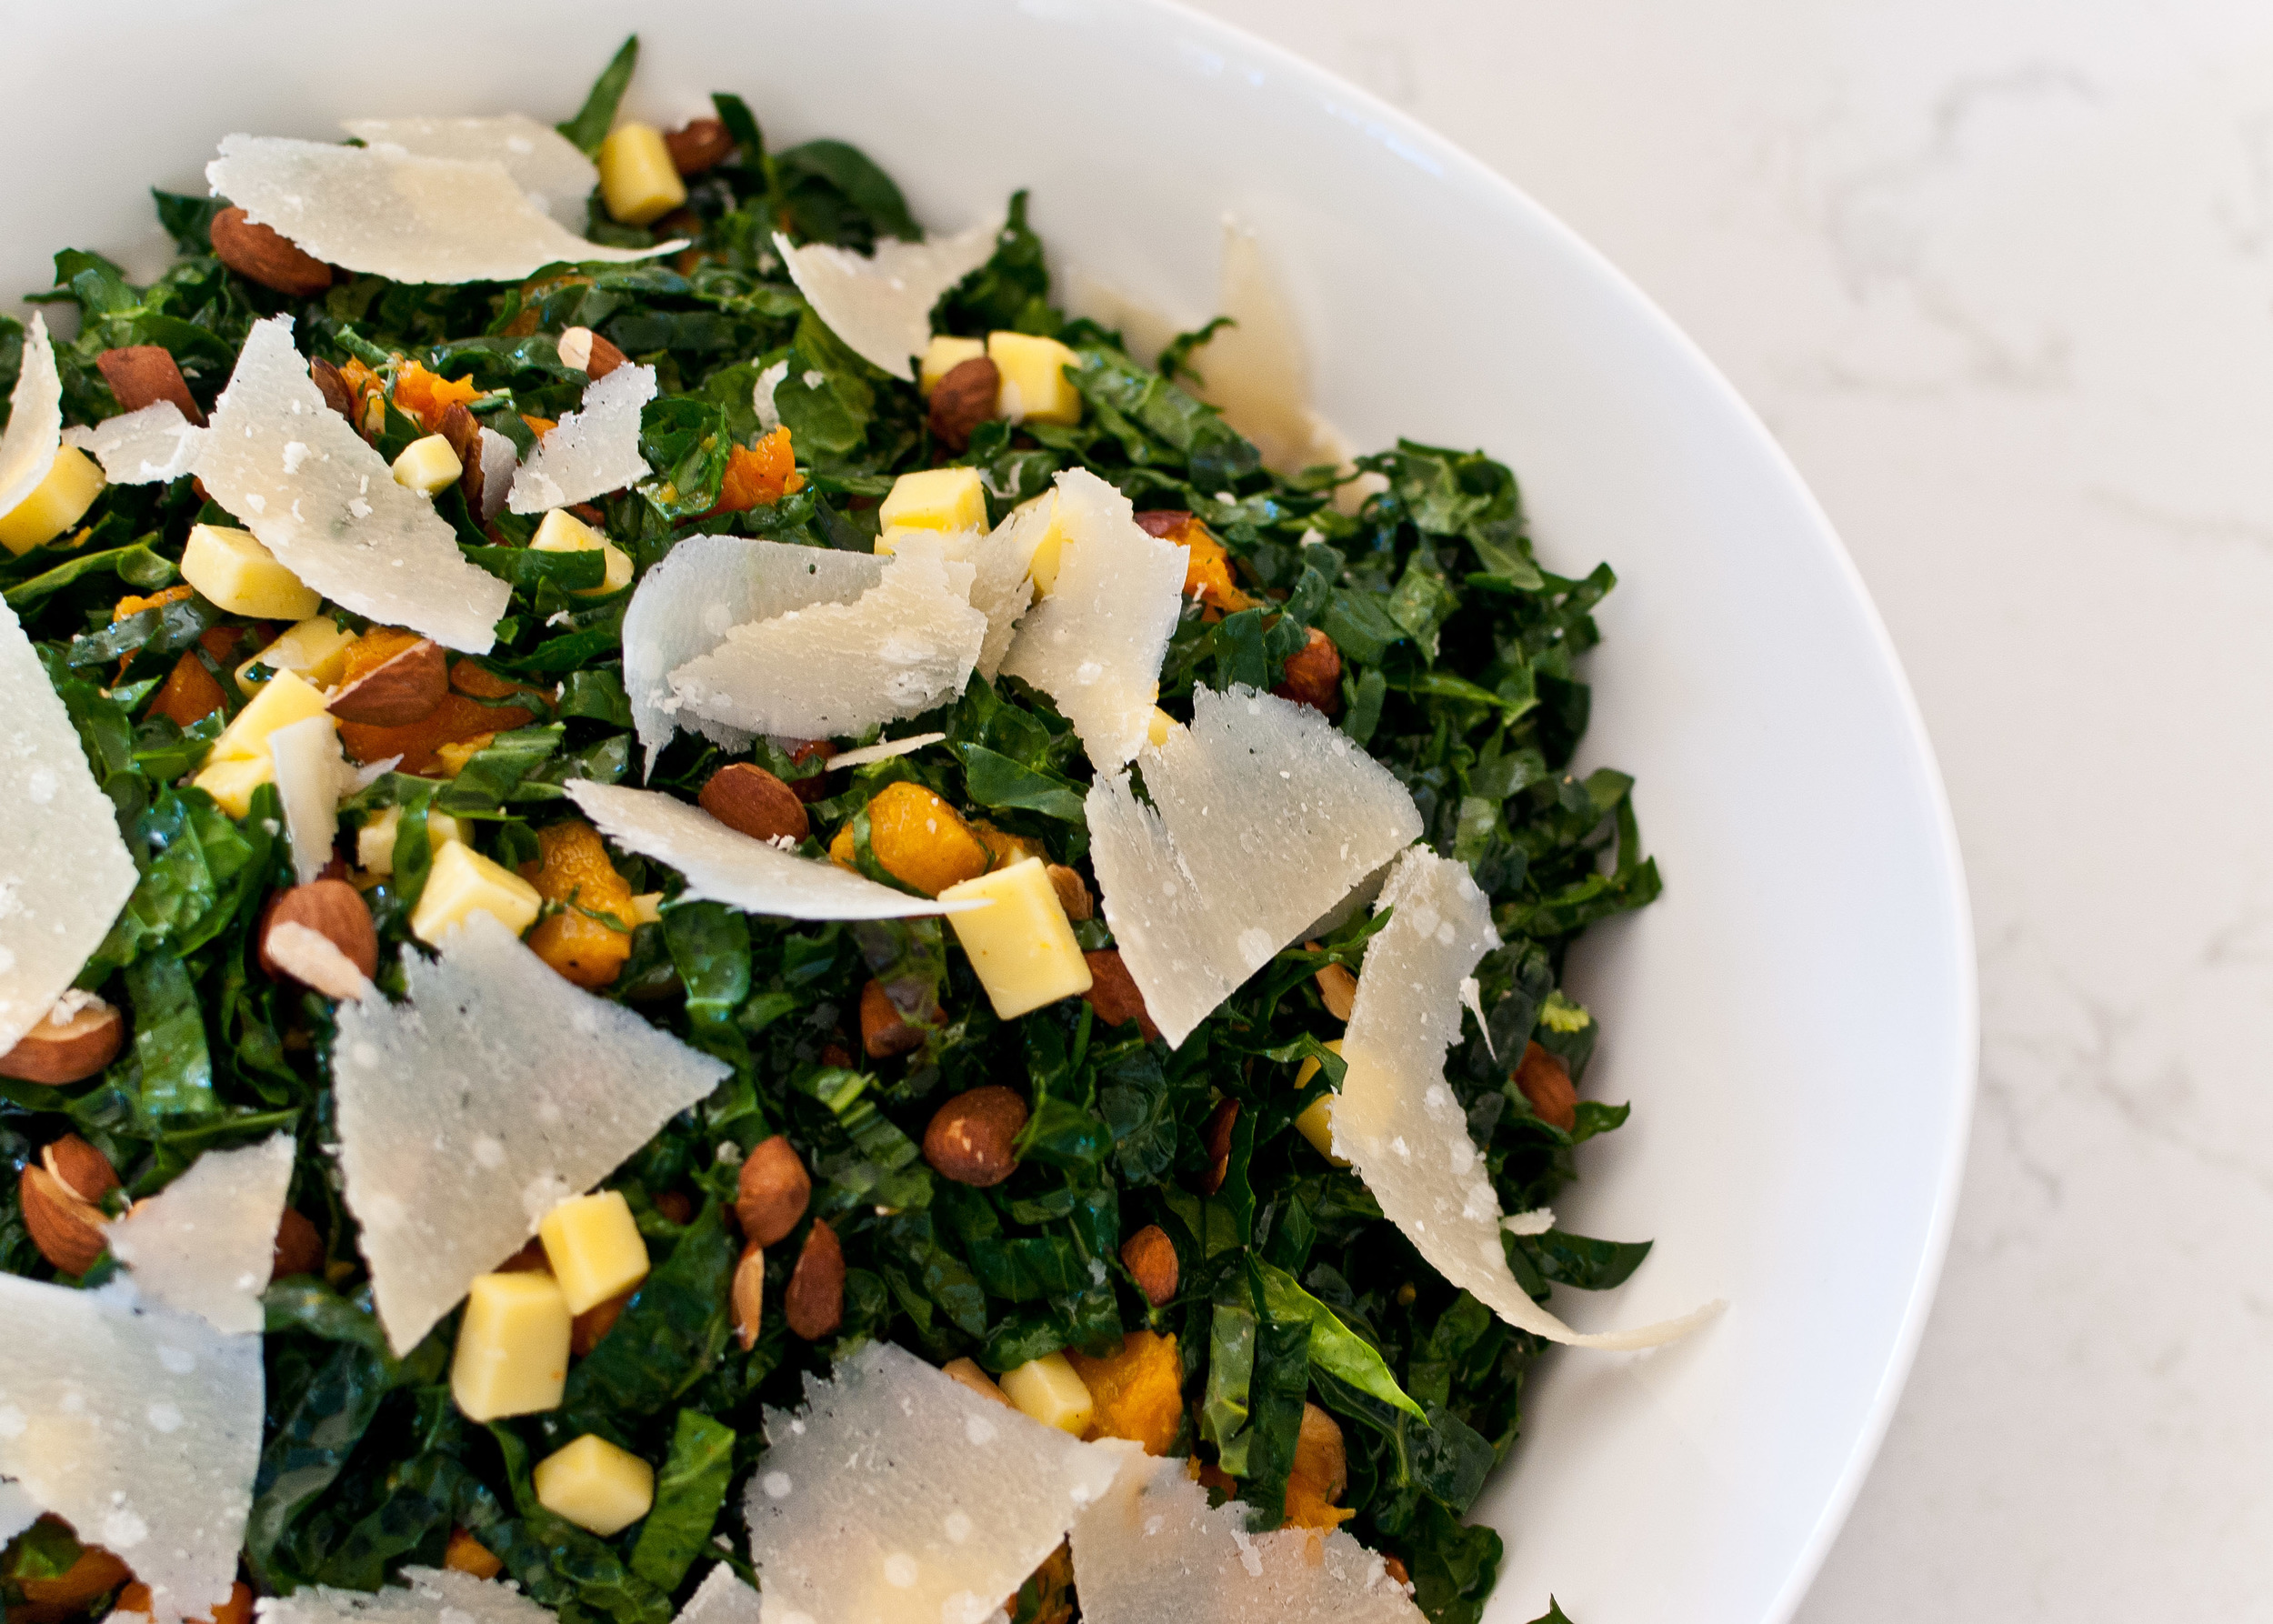
2 bunches kale (preferably lacinato, also called cavalo nero, black, tuscan, or dinosaur kale), ribs removed and sliced into thin ribbons, about 6 cups (see above photo)
3/4 cup almonds, cut roughly in half
1/2 cup crumbled or finely chopped Cabot clothbound cheddar (or any good, aged cheddar - I love Trader Joe’s Unexpected Cheddar for this recipe)
4 tablespoons fresh lemon juice (about 1 large juicy lemon)
Pecorino, Parmigiano-Reggiano, or other hard cheese, for shaving (Optional. Use a vegetable peeler to shave thin slices from a block of cheese.)

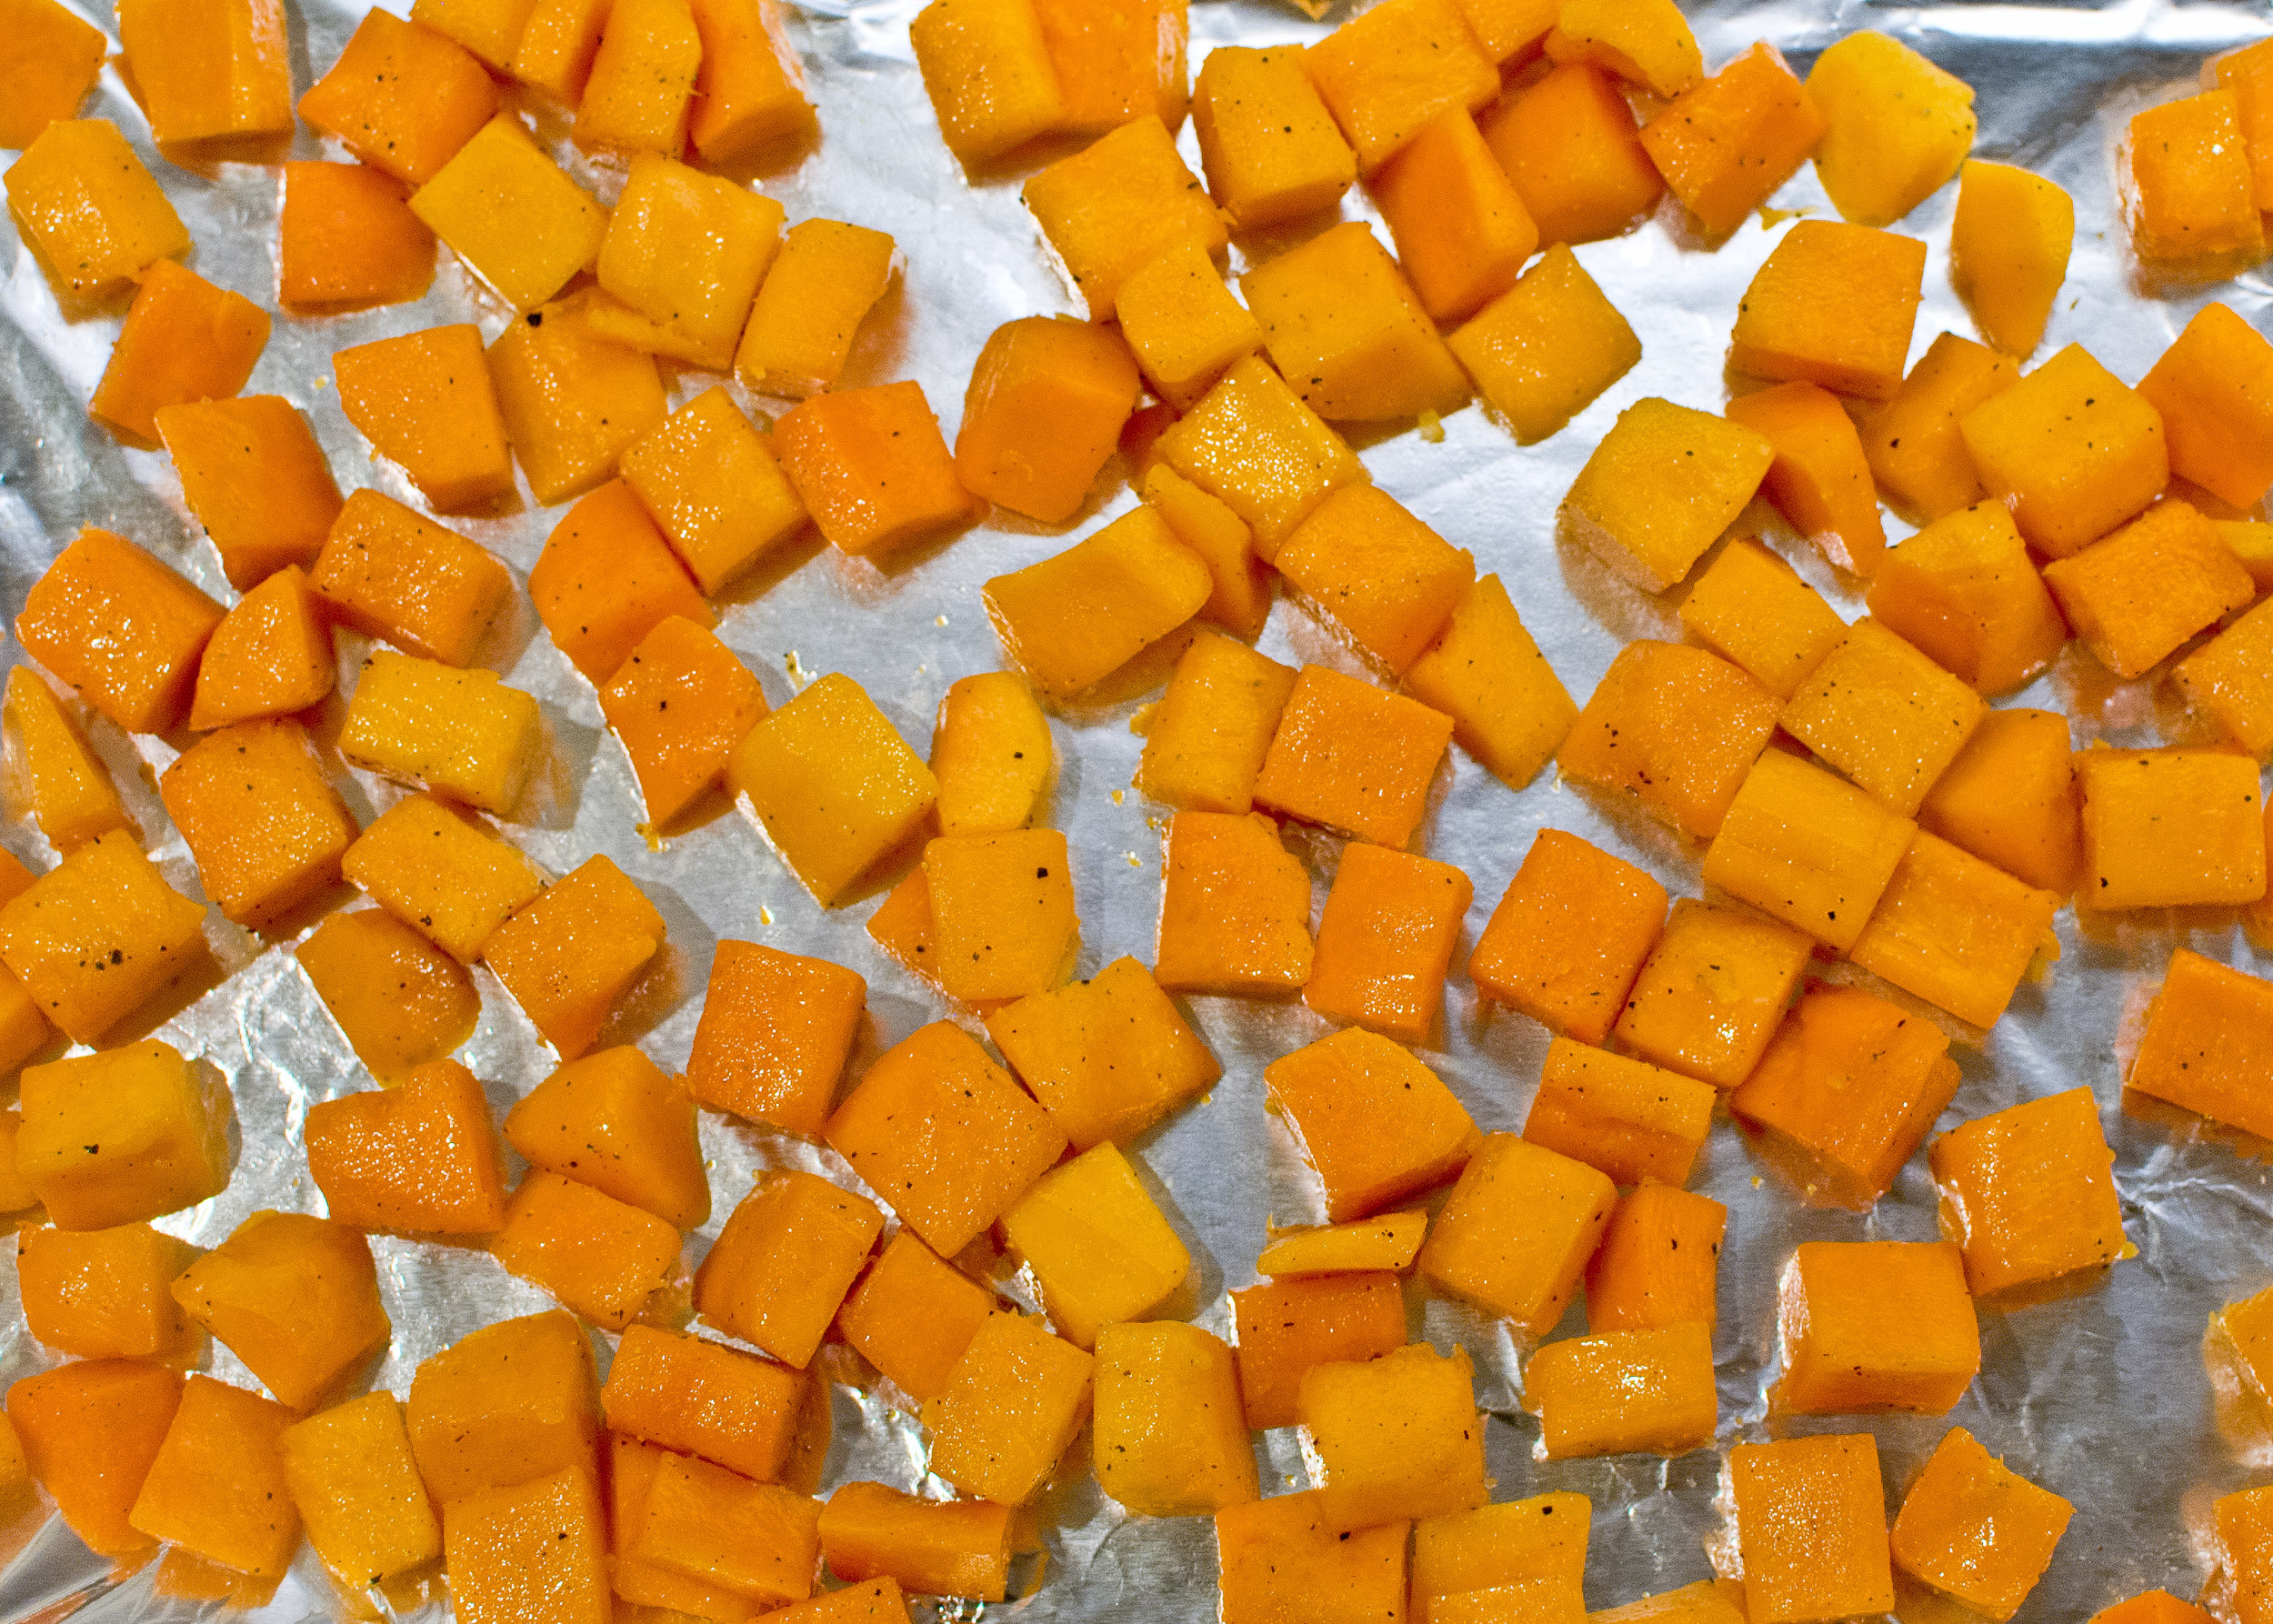
Heat oven to 425° F. Toss squash cubes in 1 tablespoon of olive oil to coat, and season with 1 teaspoon salt and ½ teaspoon pepper. Spread on a baking sheet (lined with parchment or foil for easier cleanup), leaving space between the cubes. Roast in the oven until tender and caramelized, about 40 minutes, tossing with a spatula every 10-15 minutes. Toast the almonds on a baking sheet in the same oven until they start to smell nutty, tossing once, about 10 minutes. Let cool.

In a large mixing bowl, toss the kale with the almonds, cheddar and squash. Season to taste with lemon juice and olive oil (approximately 4 tablespoons lemon juice and 2 tablespoons olive oil). Season with 1 teaspoon salt and ½ teaspoon pepper, adding more if needed.

Divide salad between four plates or shallow bowls. Garnish with shaved pecorino, if desired, and serve.

White Bean Soup with Wilted Greens by Cynthia Raub

Print Friendly and PDF
white bean soup

I love soup! I love lunch!!! The idea of a Soup and Salad lunch is lovely -- to eat a light meal during the day that won't weigh you down so you can continue to kick ass the rest of the day. I'm normally not that sensible, as my meal preferences skew towards heavy and regretful with a generous serving of guilt. Soups like this one, a White Bean Soup with Wilted Greens are deceptively delectable and satisfying despite its humble ingredients. Soups are easy and wholesome weeknight meals that transform into delicious leftovers for lunch the next day. Because I was so proud of myself for not starting this soup with browned sausage, I added the option of fried pancetta and pancetta-fat torn croutons at the end. Because as much as I love soup and lunch, I really REALLY love cured ham products and bread fried in oil. The soup alone is hearty and delicious; but when I prepared this for Amy and Christine, I felt compelled to finish it with additional optional garnishes to make it special.

Notes: I have made this soup numerous times and every time, it's a little different. This is the amazing thing about the forgiving nature of soups! I've made it with beans I have cooked, canned beans, water, chicken stock; I have added sausage, and most of the time I don't have a hard cheese rind to add- but it's always delicious despite the small changes! The acid at the end can also be changed to white wine vinegar or apple cider vinegar. This soup tends to thicken up as it sits. When reheating leftovers, add a splash of broth or water to thin out. To make this vegetarian, omit the pancetta croutons and perhaps make olive oil and garlic croutons instead. Additionally removing the parmesan and rind would make this recipe vegan.


READ MORE: THE SHARED LUNCH


Time: 55 minutes
Servings: 6 large meals, 8 smaller portions

White Bean Soup with Wilted Greens
8 tablespoons olive oil plus more for serving
1 cup onion (small dice)
1 cup celery (small dice)
1 cup carrot (large dice)
5 garlic cloves, minced
4 cups vegetable broth
1 teaspoon chopped fresh rosemary
2 fresh thyme sprigs
2 bay leaves
1/2 teaspoon crushed red pepper (optional)
2 (15-ounce) cans no-salt-added white beans (Great Northern, Cannellini or Navy beans all work here), rinsed and drained
1 (1 1/2-ounce) piece Parmigiano-Reggiano cheese rind (optional)
Kosher salt and pepper to taste
4 cups of greens (kale, escarole, or spinach)
Lemon juice to taste
Shaved fresh Parmesan cheese
1 tablespoon finely chopped rosemary for garnish

Pancetta Fat Torn Croutons
6 oz diced pancetta
1 sprig thyme (optional)
2 crushed garlic cloves (optional)
4 loose cups of a rustic bread (Ciabatta, Pugliese, etc.) torn into 1 inch pieces
Olive Oil
Salt

Tear 1 inch pieces of bread from a loaf of bread - about 4 loose cups, set aside.

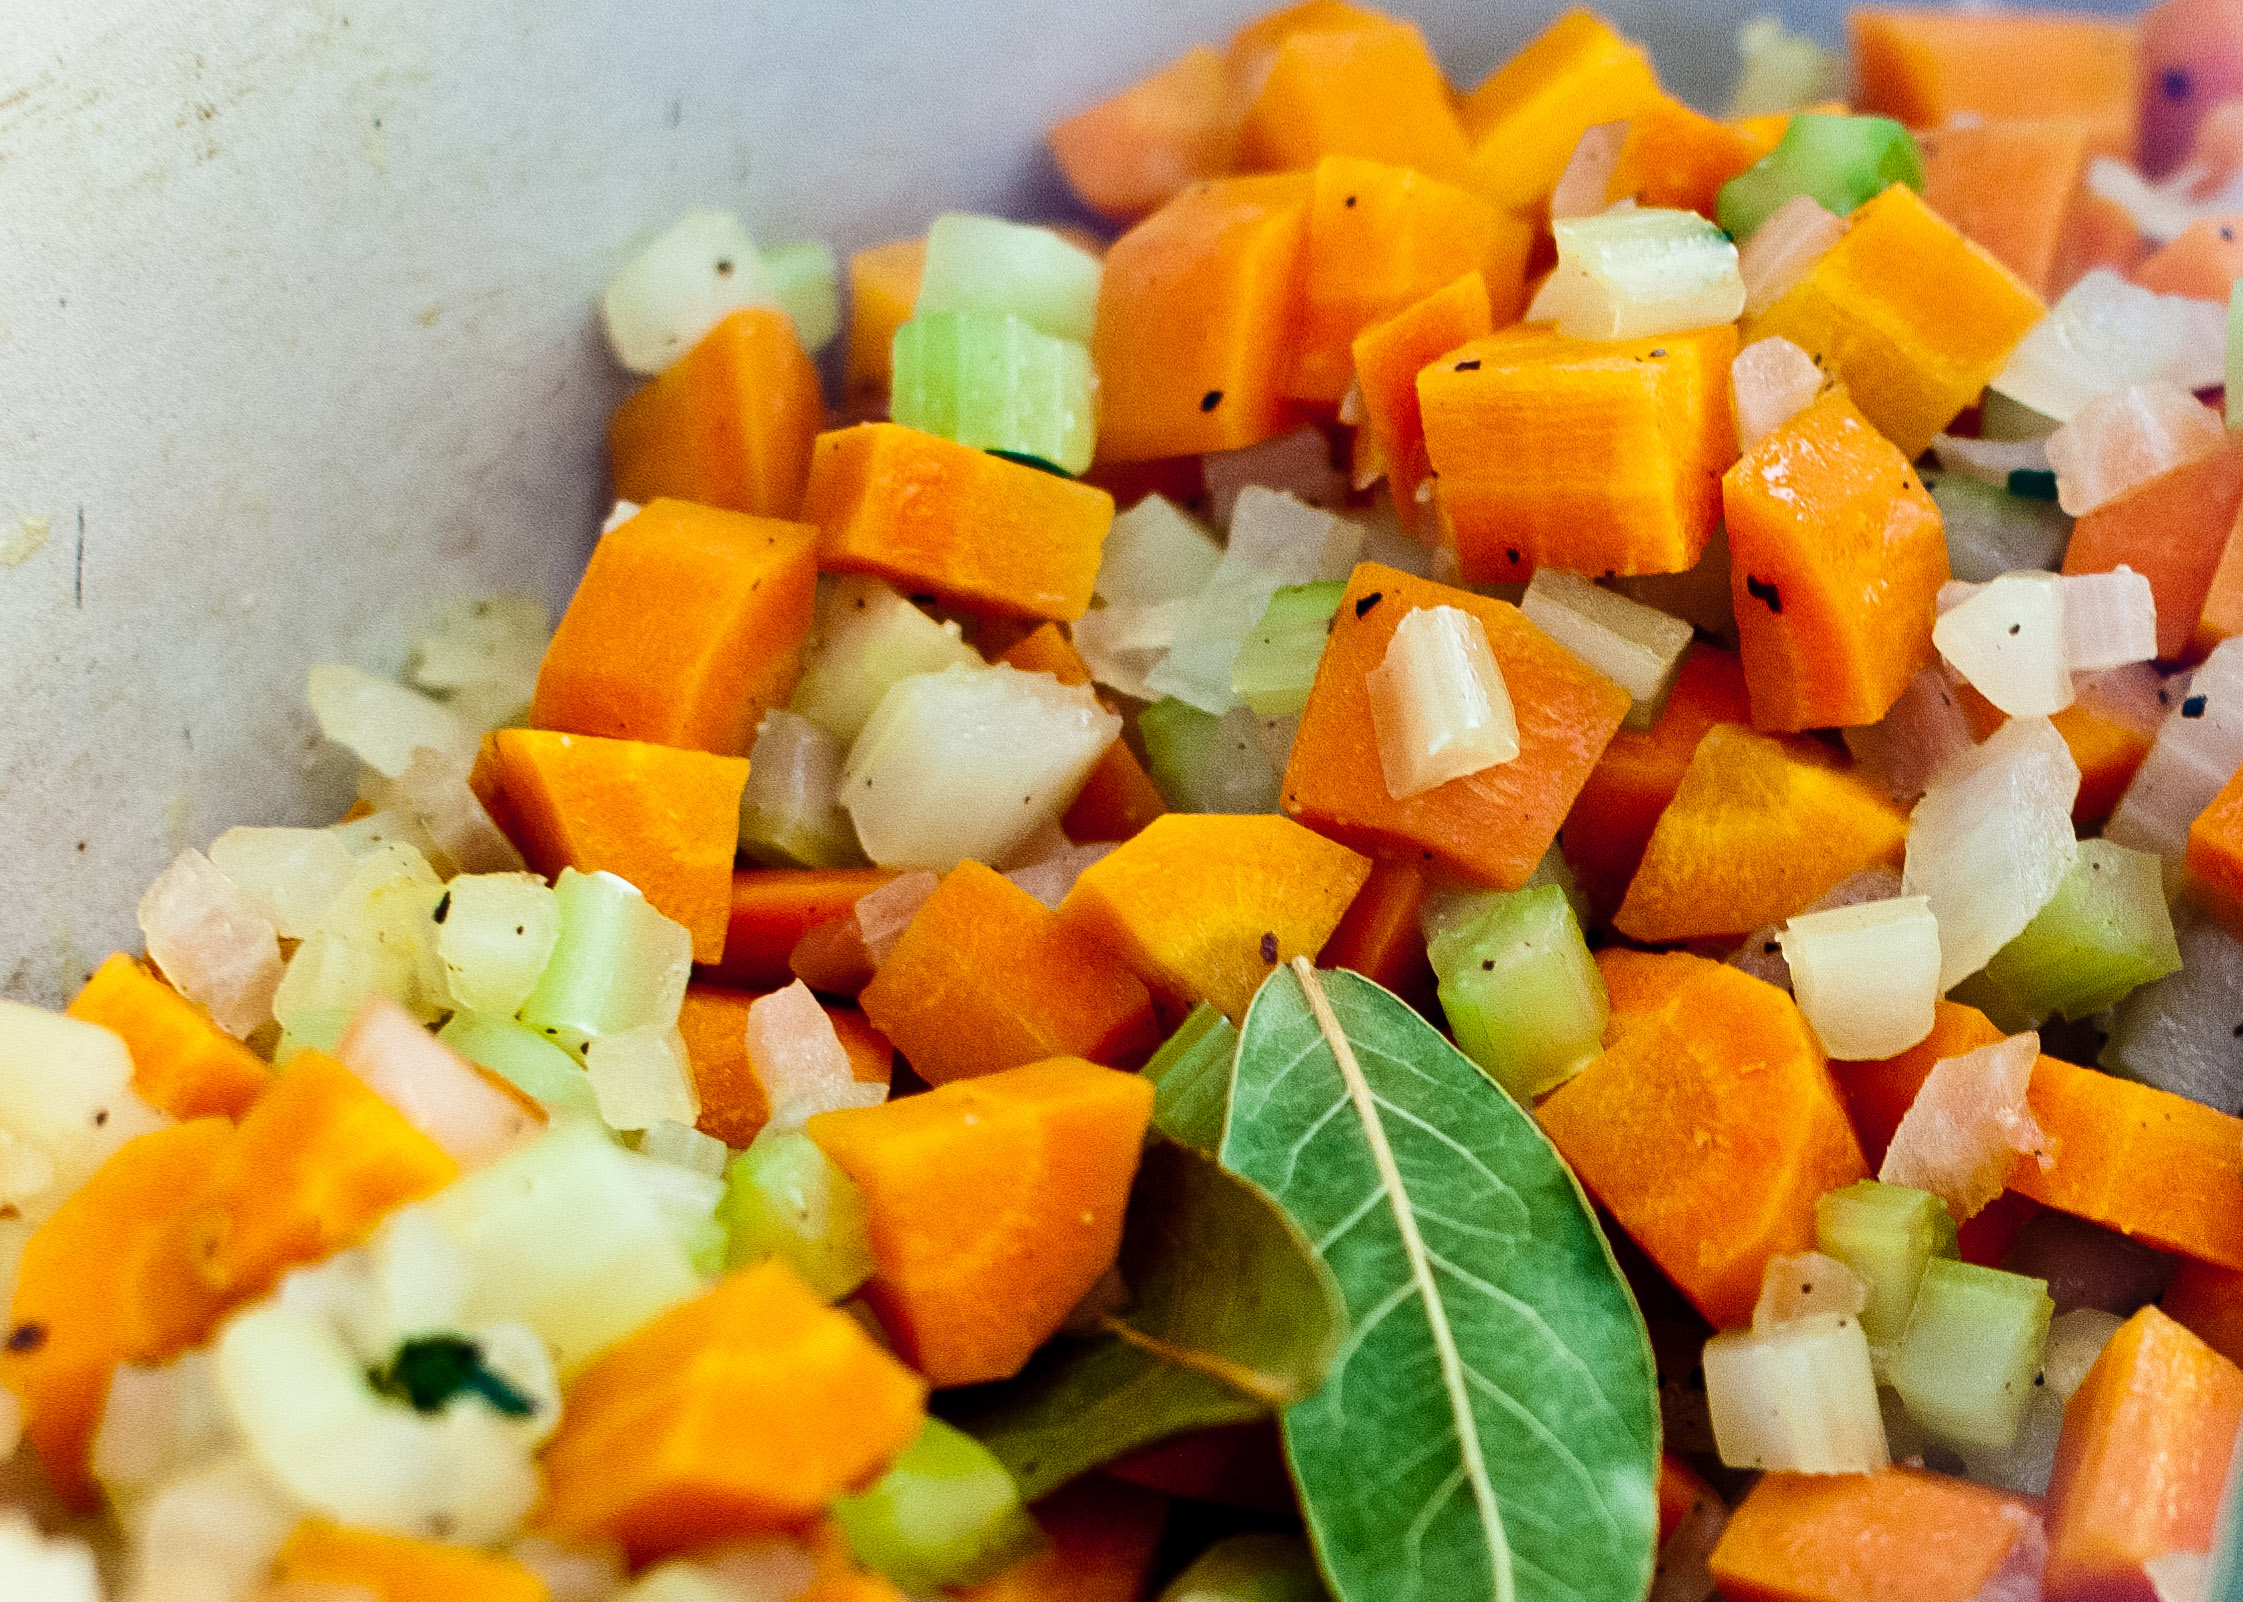
Heat 2 tablespoons of olive oil in a large Dutch oven or stockpot over medium-high heat. Add onion and cook until translucent, about 4 minutes, stirring frequently. Add celery, carrots and garlic, and sweat for 2 minutes. Add vegetable broth, beans, herbs (except chopped rosemary), and cheese rind. Season with salt, pepper and crushed red pepper to taste. Bring to a boil, reduce heat, and simmer 10 minutes.
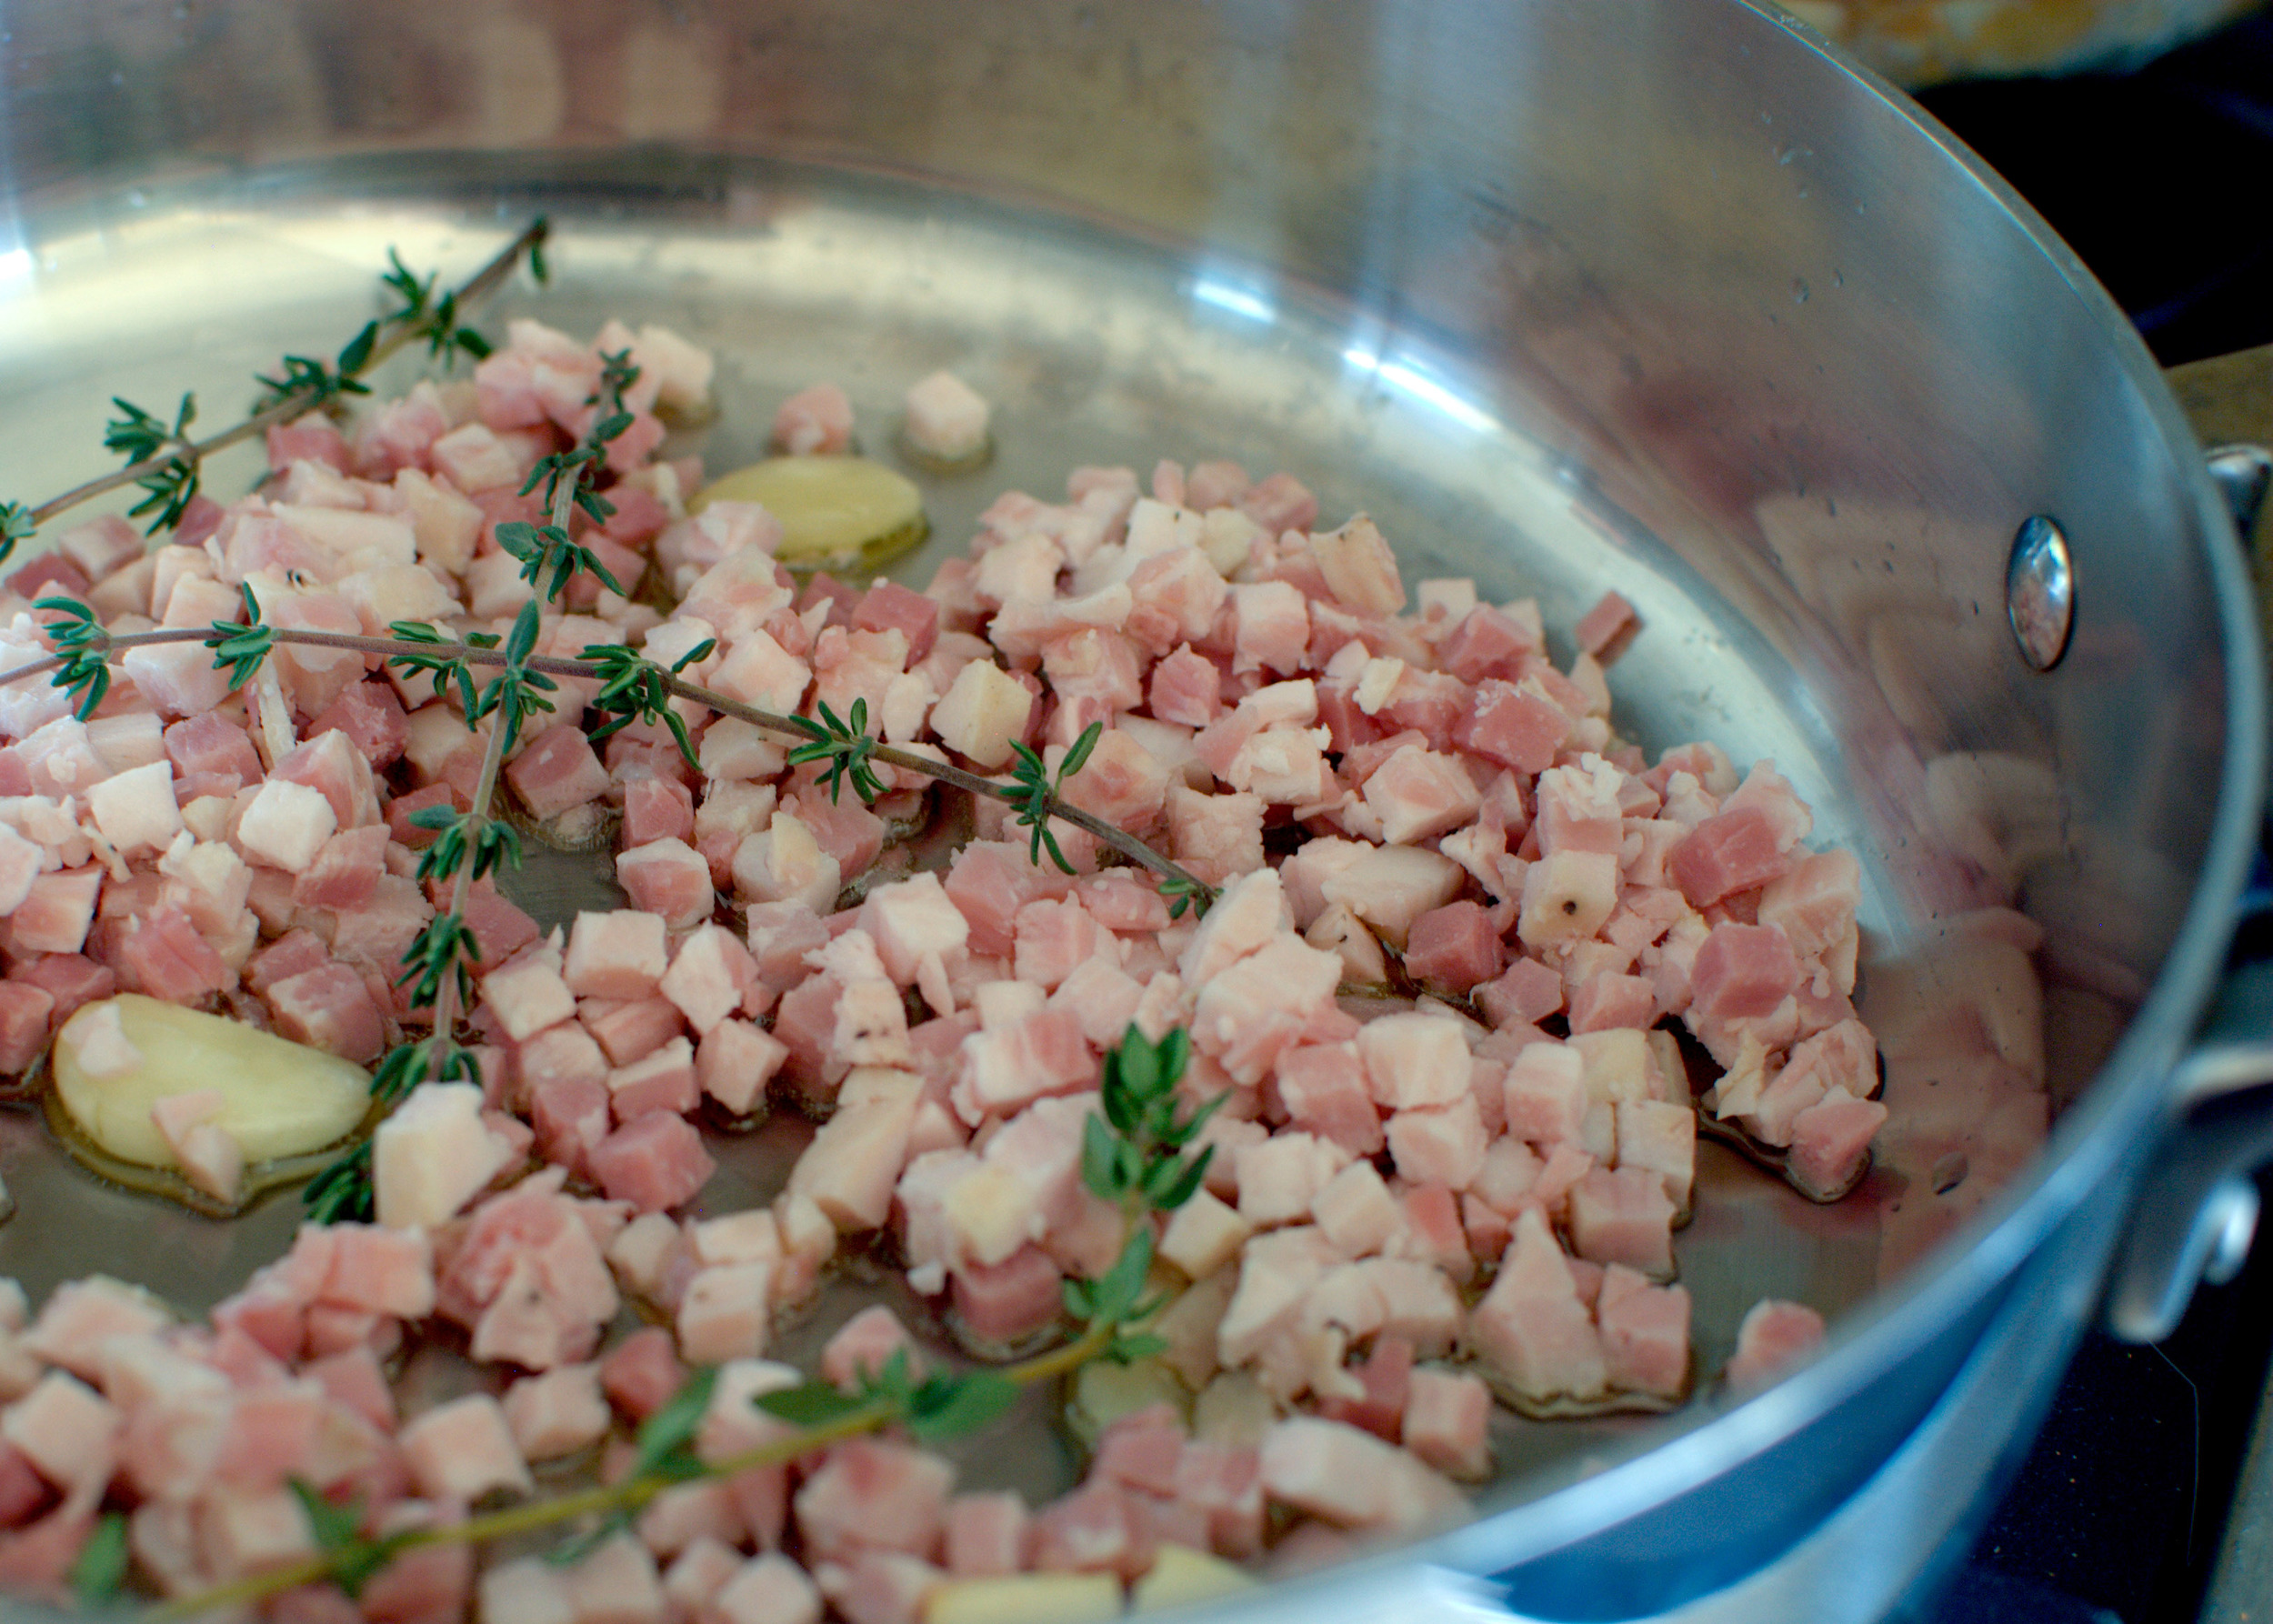
While the soup is simmering, sauté the pancetta, crushed garlic clove, and thyme sprig in 2 tablespoons of olive oil, until the fat is rendered and the pancetta is browned. Remove pancetta to a paper towel lined plate. Reserve fat, thyme and garlic in the pan.

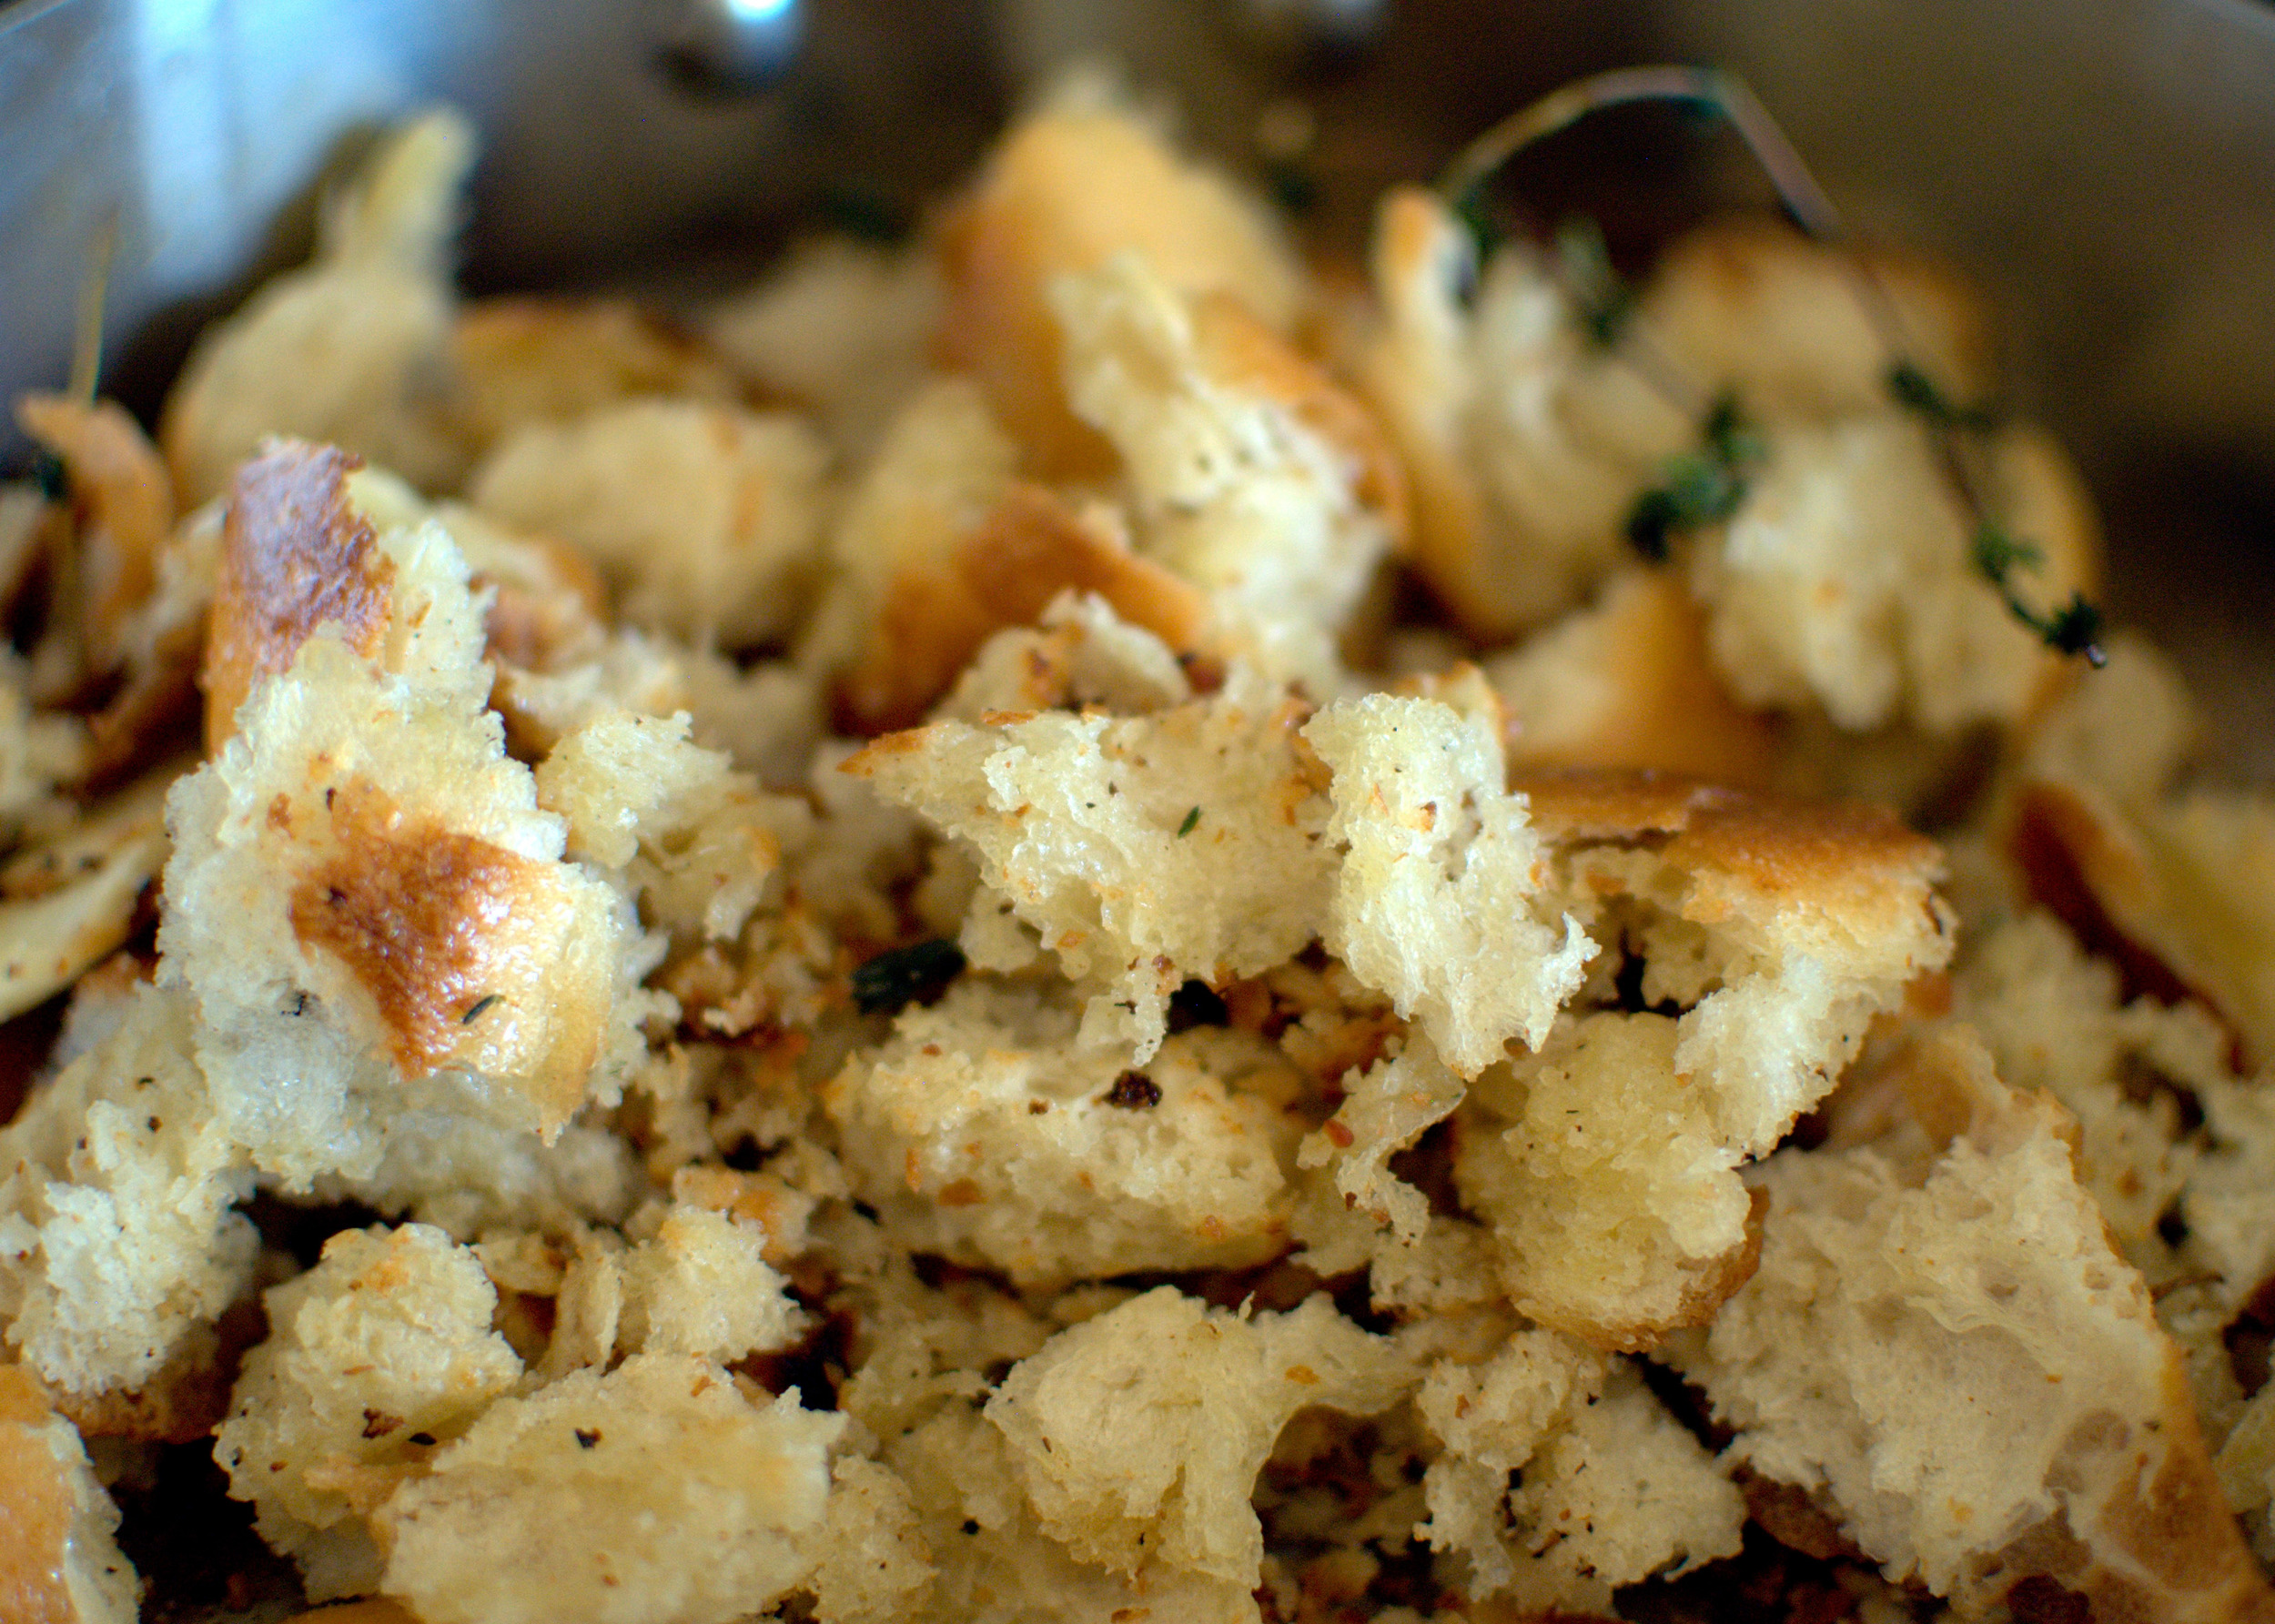
Add 2 tablespoons of olive oil to the pancetta pan at medium-high heat. Add torn bread in a single layer to the pan. Toss the bread frequently, exposing all sides to the fat and heat, browning the bread until golden. Cooking the croutons may have to be done in batches, depending on the size of your pan. Add oil each time, enough to cover the bottom of the pan lightly, for every batch. Sprinkle croutons with kosher salt.

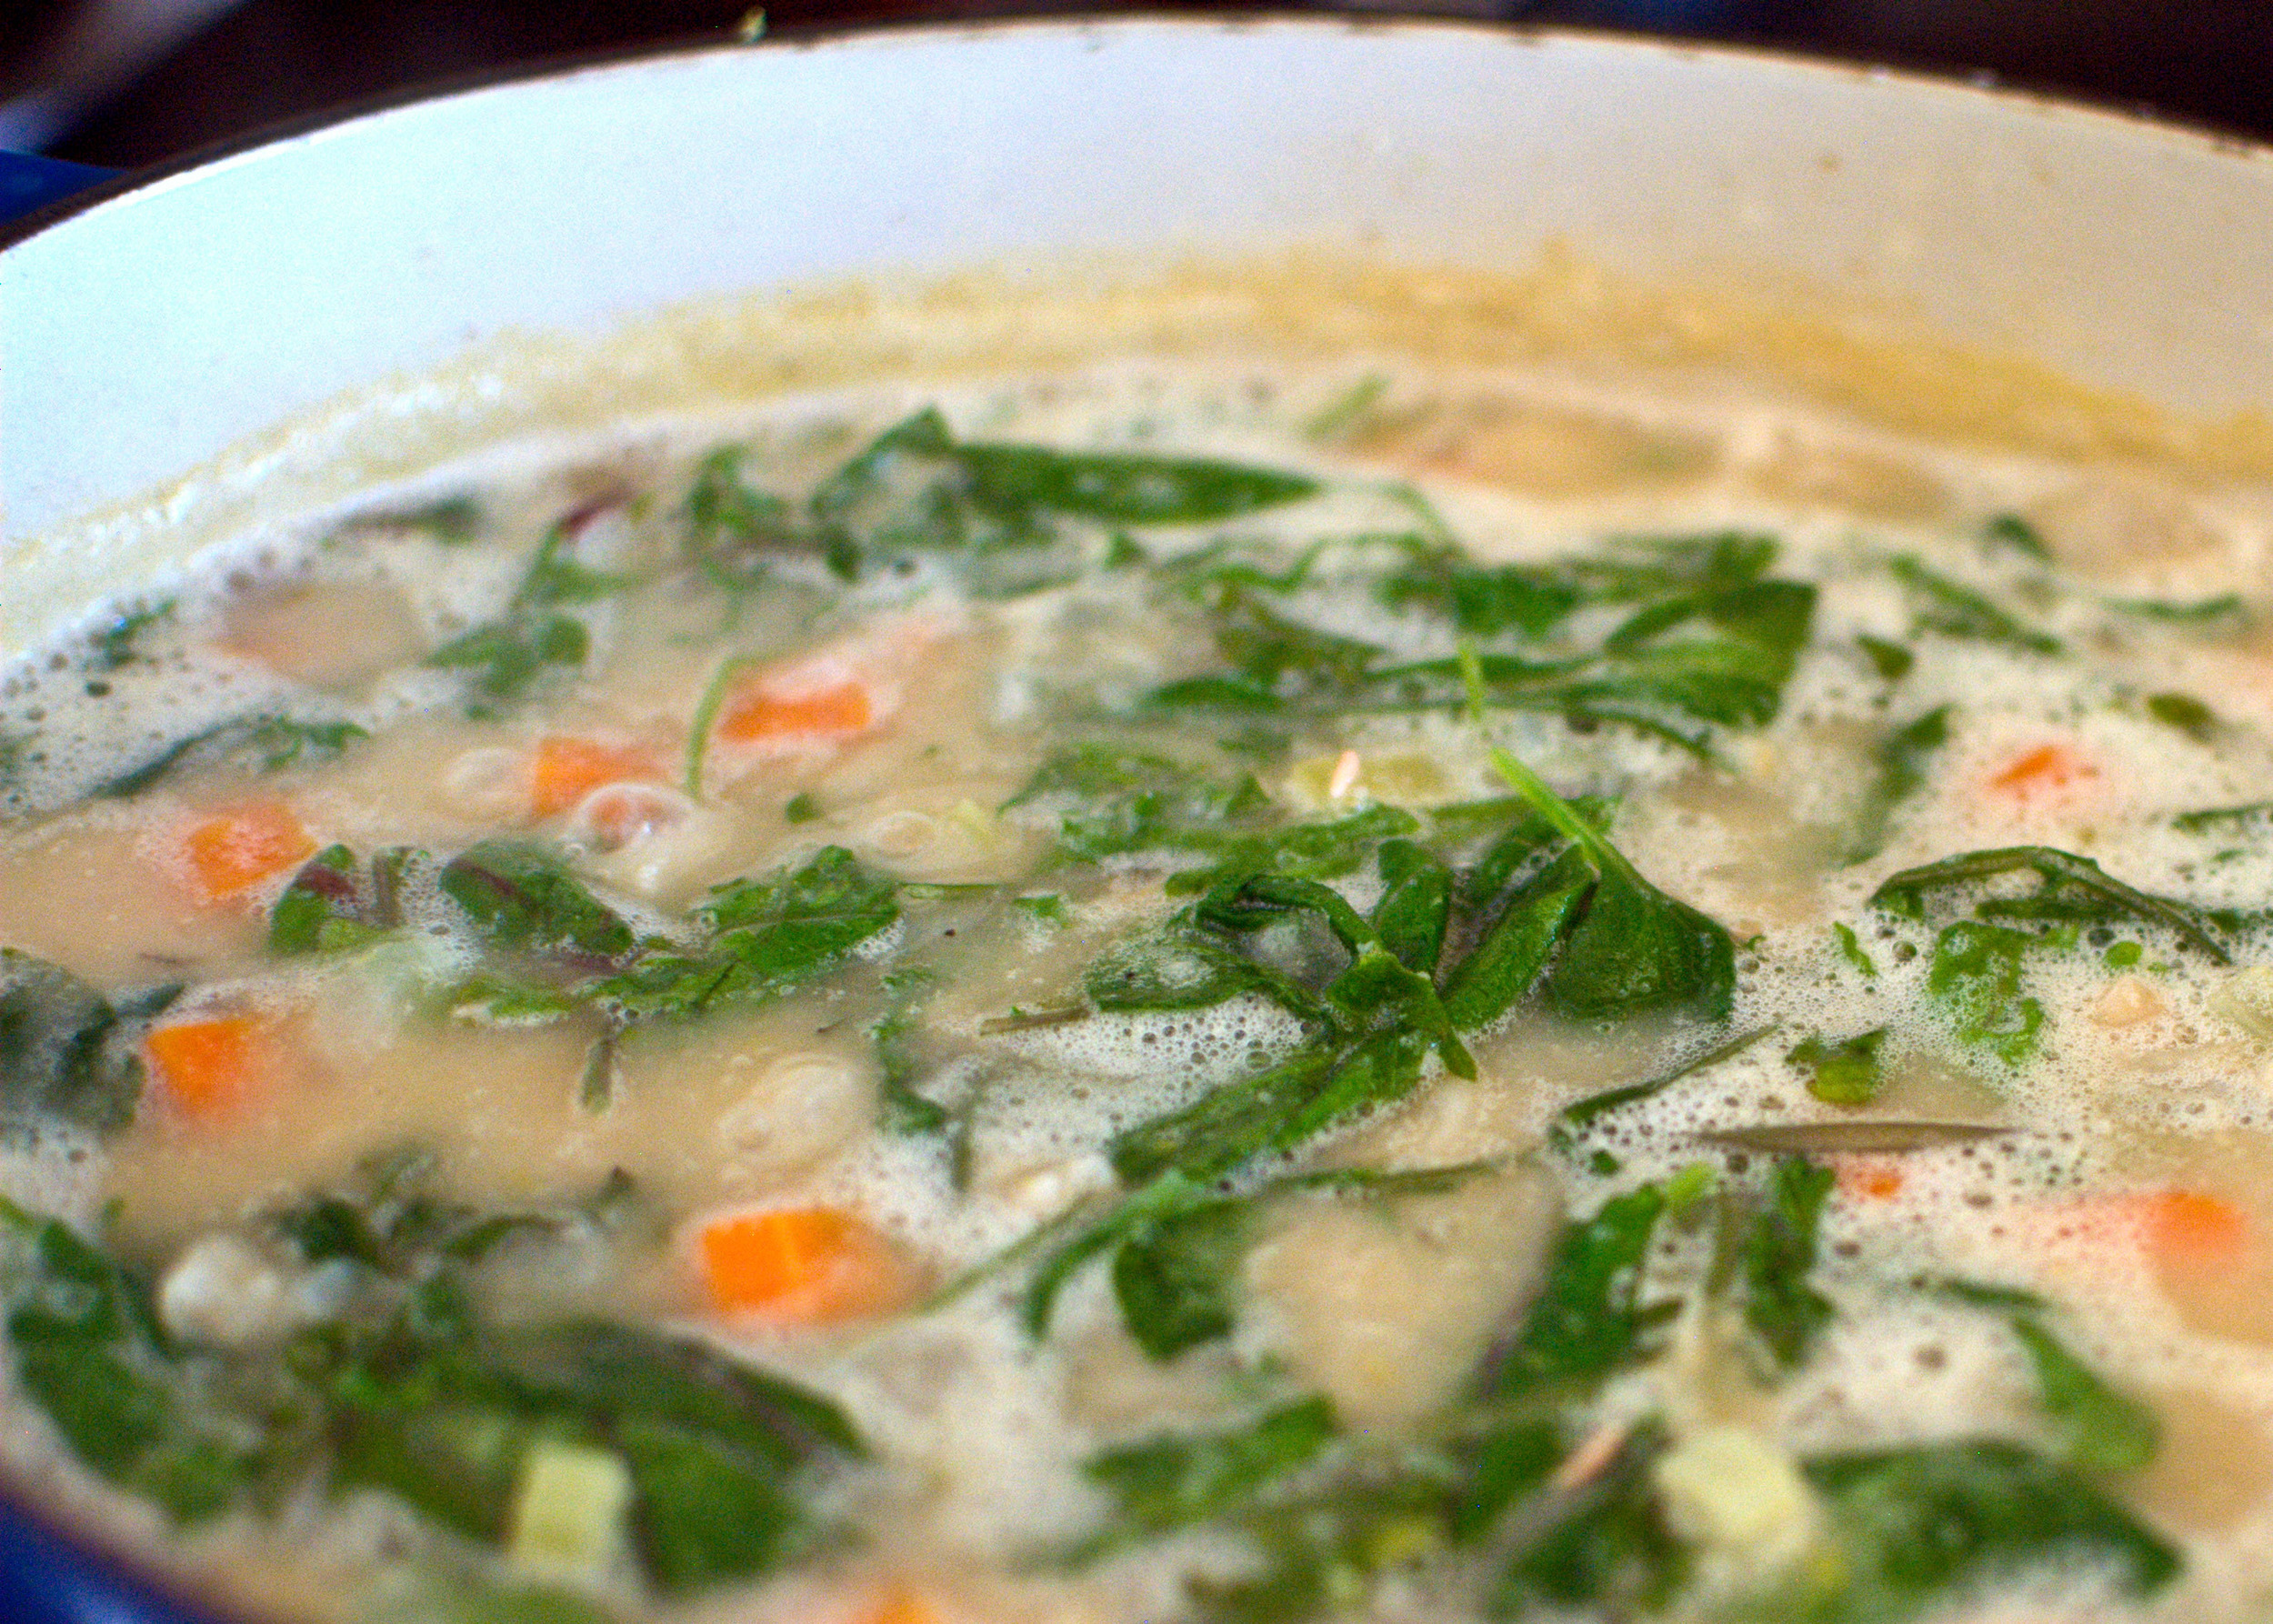
Add greens to the soup and simmer until the greens are wilted. Taste, adjusting salt and pepper to your palette, then finish with a squeeze of lemon juice for brightness. Remove and discard parmesan rind; ladle into a bowl, finish with a drizzle of nice olive oil, chopped rosemary, croutons and pancetta.

Recipe developed from:
30-minute Tuscan White Bean Soup
White Bean Soup with Escarole

Apple Pie by Cynthia Raub

Print Friendly and PDF
AboutPhoto-9.jpg

I craved caramel with the tart Granny Smith apples -- so I chose a classic apple pie recipe from The Joy of Baking, that included two additional and simple steps to develop a caramel sauce. Macerating the apples in sugar and salt in the first few steps produced a juice, that when combined with butter over low heat, turned into a light caramel syrup. The sauce added richness and depth to the apples, it also helped bind the filling to make for a neat slice.

Recipe from: http://www.joyofbaking.com/ApplePie.html

Notes: I was ambitious with the first pie, creating a lattice top and braided edge -- unfortunately, I had too large of a gap between my lattice pieces which lead to the top layers of apples and caramel sauce drying out. My second attempt, with a fully covered top with vents, turned out markedly better. It was moist, so the tender apples clung to the buttery pie crust and it sliced perfectly.


READ MORE: THE SHARED PIE


2 1/2 pounds apples (about 6 large), peeled, cored, and sliced 1/4 inch thick (I used half HoneyCrisp and half Granny Smith)
1/4 cup granulated white sugar
1/4 cup light brown sugar
1 tablespoon lemon juice
1 teaspoon ground cinnamon
1/4 teaspoon ground nutmeg (optional)
1/4 teaspoon salt
2 tablespoons unsalted butter
1 1/2 tablespoons cornstarch or flour
Pastry for double-crust pie, 9-inches (This is my go-to recipe: http://www.joyofbaking.com/PieCrust.html)

In a large bowl combine the sliced apples with the sugars, lemon juice, ground cinnamon, nutmeg, and salt. Let sit at room temperature for at least 30 minutes or up to three hours. Then, place the apples and their juices in a strainer that is placed over a large bowl (to capture the juices). Let the apples drain for about 15-30 minutes or until you have about 1/2 cup of juice. Put reserved juice into small pot with butter, reduce for 6-9 minutes at a medium temperature until syrupy and caramelized.

Meanwhile, remove the top pastry crust from the refrigerator and let it sit at room temperature for about 10 minutes so it has time to soften. Transfer the drained apples slices to a large bowl and mix them with the cornstarch. Then pour the reduced syrup over the apples and toss to combine. Pour the apples and their syrup into the chilled pie crust. Moisten the edges of the pie shell with a little water and then place the top crust over the apples. Tuck any excess pastry under the bottom crust and then crimp the edges using your fingers or a fork. Using a sharp knife, make five- 2-inch slits from the center of the pie out towards the edge of the pie to allow the steam to escape. Cover the pie with plastic wrap and place in the refrigerator to chill the pastry while you preheat the oven.

Preheat the oven to 425 degrees F. Place the oven rack at the lowest level and place a baking stone or baking sheet on the rack before preheating the oven. Place a piece of aluminum foil on the stone (or pan) to catch any apple juices. Set the pie on the stone or pan and bake for about 45 to 55 minutes or until the juices start to bubble through the slits and the apples feel tender (not mushy) when a toothpick or sharp knife is inserted through one of the slits. Make sure to cover the edges of the pie with a foil ring to prevent over browning after about 30 minutes. Remove the pie from the oven and place on a wire rack to cool for about 3-4 hours before cutting. Serve warm or at room temperature with vanilla ice cream or softly whipped cream. Store at room temperature for 2 to 3 days.

Makes one 9 inch pie. Recipe doubled to yield two pies.

Extra Smooth Pumpkin Pie by Amy Cantu

Print Friendly and PDF

I must have read at least 10 different recipes for pumpkin pie, before I settled on this one from Serious Eats. I like that it’s a little bit different with the addition of cream cheese, but still very much a classic pumpkin pie. The cream cheese is not enough to make it cheesecake, but just enough to lend a smooth, silky texture to the pumpkin pie and just a hint of tang. The pie tasted a little less sweet than I would have liked, but it turns out anything smothered in maple-cinnamon whipped cream (see recipe below) is amazing. It wasn’t perfect, but Cynthia still declared it delicious (always the optimist) - especially with the whipped cream.

I made my own pie crust using this straight-forward, all butter recipe, but you can always use store-bought, if you don’t have the time.

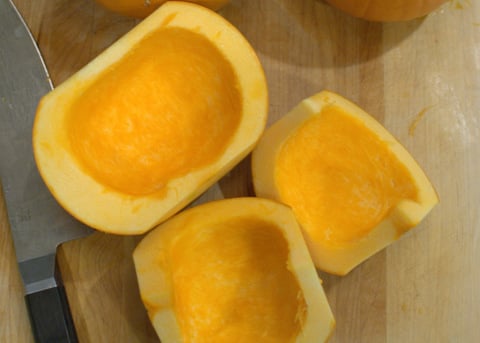
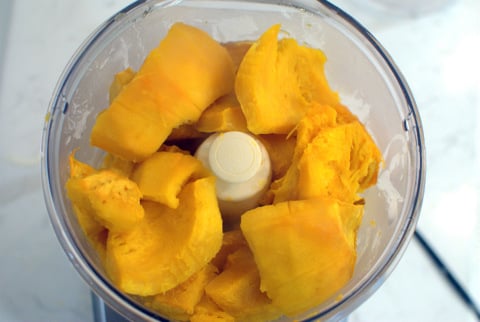
Notes: This pie really did have a great, super smooth texture. I got super excited about sharing pies with Cynthia, so I decided to go all out and make my own pumpkin puree for this recipe. Was it hard? Actually, no. Did you know that in the Fall, most grocery stores (even Trader Joe’s) carry Sugar Pie Pumpkins, perfect for making your own pumpkin puree? Once I googled it, I realized it wasn’t actually that big of a deal. This recipe is super easy to follow.

Some variations - if you want to make your own puree but don’t want to fuss with whole pumpkins, you could roast cubed butternut squash, and it would still be delicious. I bet no one will be able to put their finger on how it’s different from pumpkin pie! I didn’t press the pumpkin pie mixture through a fine mesh strainer as the recipe suggests, but I did pass the homemade pumpkin puree through the strainer. I still found the texture to be extra smooth. Lastly, taste your pie filling and adjust the seasonings to your liking. Maybe you like more spices. Maybe you like it sweeter. You aren’t bound to the recipe. Make the changes that make the pie yours.


READ MORE: THE SHARED PIE


6 ounces granulated sugar
1/2 teaspoon kosher salt
1 teaspoon ground cinnamon
1 teaspoon ground ginger
1/2 teaspoon freshly grated nutmeg
8 ounces cream cheese, at room temperature
1 (15-ounce) can pumpkin puree, or 15 ounces homemade pumpkin puree
4 tablespoons unsalted butter, melted and cooled
3 large eggs
One half recipe Easy Pie Dough

Adjust oven rack to lower middle position. Place a heavy duty rimmed baking sheet on the rack and preheat oven to 425°F.

Roll pie dough into a circle roughly 12-inches in diameter. Transfer to a 9-inch pie plate. Using a pair of kitchen shears, trim the edges of the pie dough until it overhangs the edge of the pie plate by 1/2 an inch all the way around. Fold edges of pie dough down, tucking it under itself, working your way all the way around the pie plate until everything is well tucked. Use the forefinger on your left hand and the thumb and forefinger on your right hand to crimp the edges. When oven is ready, line chilled pie shell with foil or parchment paper and fill with weights (I reuse dried beans for this), transfer to the preheated baking sheet, and bake for 15 minutes. Remove weights and liner, turn pie, and bake until the bottom crust is a golden brown, about 10 minutes. Remove pie shell from oven and allow to cool completely.

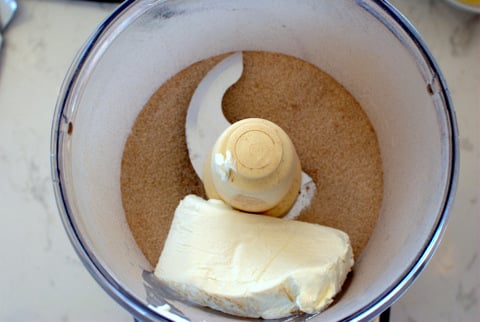
Reduce heat to 350°F. In the bowl of a food processor, combine sugar, salt, cinnamon, ginger, and nutmeg, and pulse 3 times to mix. Add the cream cheese and pulse until a homogeneous paste forms. Add the pumpkin and butter and process for 30 seconds. Stop to scrape down the sides of the bowl, then process until the mixture is completely smooth, about 30 seconds longer. Add the eggs and process until completely smooth, scraping down sides as necessary. For extra-smooth pie, press the mixture through a fine mesh strainer or a chinois using the back of a ladle.

Pour the mixture into prepared pie shell and smooth over the top with a rubber spatula. Rap the shell firmly against the counter a few times in order to release any air bubbles. Transfer to the baking sheet in the oven and bake for until the filling puffs slightly and the center only moves slightly when jiggled, 30 to 35 minutes, rotating the pie half way through baking. Allow the pie to cool for at least one hour before serving. It may be chilled for up to two days.

Makes one 9” pie. Recipe doubled to yield two pies.

Maple - Cinnamon Whipped Cream

2 cups heavy whipping cream
½ cup maple syrup, preferably Grade B (or more to taste)
1 teaspoon ground cinnamon
⅛ teaspoon kosher salt

Combine heavy cream, maple syrup, cinnamon, and salt in a chilled mixing bowl. Using an electric mixer, whip on the highest setting until soft peaks form. Do not over beat (you’ll get maple butter)! Dollop liberally onto your pie and enjoy!